Sample No. 0264
Make a 3D Paper Pumpkin with Seven Scrapbook Paper Shapes
Turn seven patterned paper pumpkins into a freestanding fall decoration with simple folds, paper connectors and a twine tie.
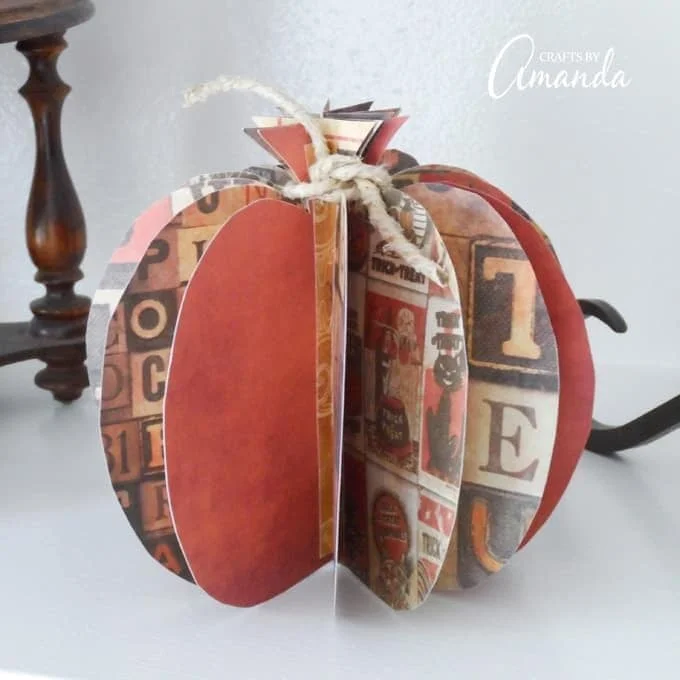
Seven folded paper shapes and a few narrow connectors give this pumpkin its rounded, freestanding form. Made with scrapbook paper, it’s a seasonal decoration that can suit a fall display, Halloween decor or a Thanksgiving table. Amanda Formaro’s project uses a hand-drawn paper template, so you can choose the pumpkin outline and coordinate the colors with your own supplies.
The construction is straightforward: cut matching pumpkin shapes, crease each one down the middle, then join the creases with strips of lighter paper. The folds create the dimensional shape, while the connectors hold the pieces together. A piece of twine tied around the stem finishes the top.
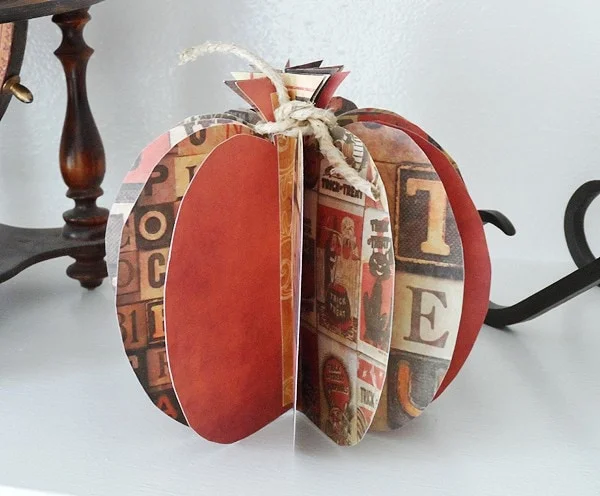
Use fall or Halloween themed cardstock to create this 3D paper pumpkin to display at home. Add a little twine to the top for a simple finishing detail.
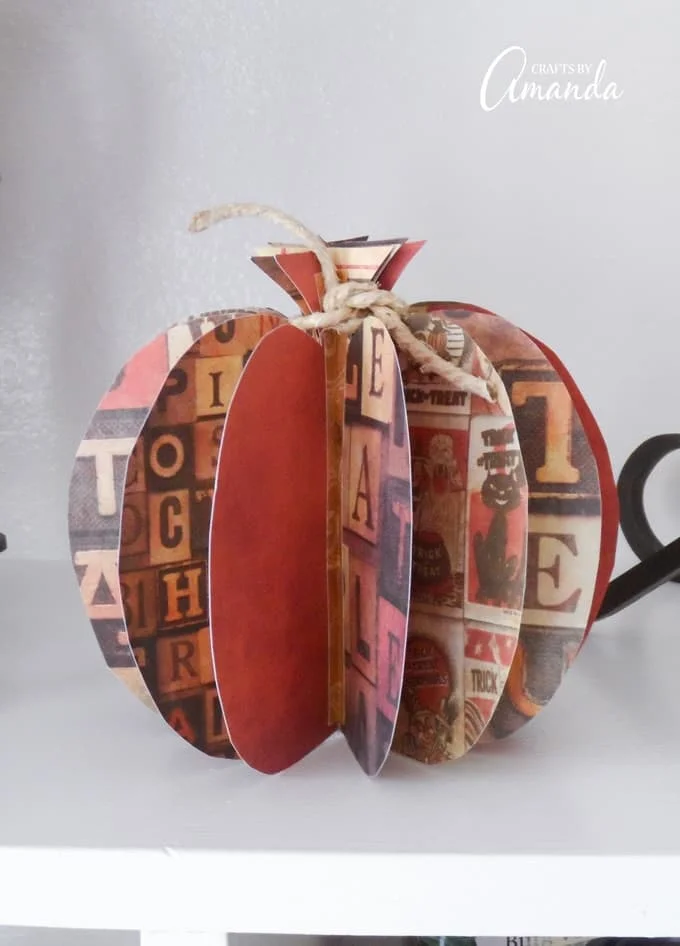
Choose papers for the shape and finish
For the seven pumpkin pieces, the project calls for heavy, two-sided scrapbook paper in a fall or Halloween theme. The paper’s weight helps the finished decoration hold its shape, and the two-sided design means both sides can show as the pieces fan around the center. The result will depend partly on the paper you choose; the source describes the finished pumpkins as sturdy, with sturdiness varying by paper.
You’ll also need lighter-weight scrapbook paper in a similar fall theme. Cut this paper into half-inch-wide strips to connect the folded shapes. Glue tape or a glue stick will attach the strips, and twine will tie around the stem. A plain sheet of paper is needed to make the template. A paper cutter is optional; scissors can be used to cut the shapes and strips.
- Heavy, two-sided scrapbook paper in a fall or Halloween theme
- Lighter-weight scrapbook paper in a similar fall theme
- Glue tape or a glue stick
- Twine
- A plain sheet of paper
- A paper cutter, optional
Cut the template and pumpkin pieces
Start by cutting seven 6-inch squares from the scrapbook paper. The printable instructions specify seven squares; keep the pieces the same size so they can be stacked and cut using one template. Set aside the lighter paper for the connectors.
Next, cut a 6-inch square from plain paper. Draw a pumpkin outline on it, making sure to include a stem, then cut out the shape. This becomes the template for all seven patterned pieces. Place it over each scrapbook paper square and cut around it to make seven matching pumpkins.

Fold and connect the shapes
Fold each paper pumpkin in half and crease it firmly. The crease marks the center of each shape and gives you a clear line for joining the pieces. Place two pumpkins next to each other with their creased edges touching.
Cut the lighter-weight scrapbook paper into half-inch-wide strips. Make each strip a little shorter than the height of the pumpkin shapes. Apply glue tape to the back of one strip, then press it across the touching creases so it attaches to both pieces. The strip bridges the folds and connects the shapes.
Continue adding the remaining pumpkin pieces one at a time. Bring each new crease alongside the joined center, then use another strip to connect the pair. Repeat until all seven shapes are joined into one dimensional pumpkin. Take care to keep the creases aligned as you work; that’s what lets the connected paper pieces open into a rounded form.
Cut a piece of twine and tie it carefully around the stem. The twine adds a small finishing touch to the top. Set the pumpkin on a fall mantel or include it in a Thanksgiving tablescape. It can also be displayed at a Pumpkin Painting Party.

If you’d like another simple pumpkin project, try these no-sew sweater pumpkins. For other seasonal ideas, browse Fall Luminaries, a Sunflower Wreath, Mason Jar Lid Pumpkins, a Sunflower Welcome Sign, a Deco Mesh Pumpkin Wreath or Black Cat Pumpkins.
With the seven folds connected and the twine in place, the pumpkin is ready to display through the fall season. Amanda Formaro’s project was originally published on her blog on September 16, 2013.


