Sample No. 0265
Make a Doll in a Box Costume from Recycled Cardboard
Turn a shipping box into a pink doll costume with wrapping paper, paint and tape. The project can also work as a party photo prop.
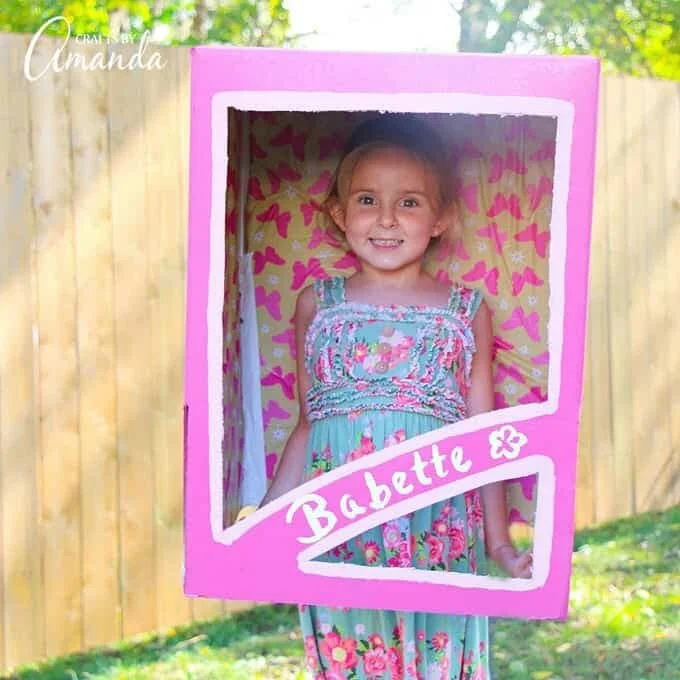
A cardboard box can become a wearable doll package with a few coats of paint, a paper lining and a simple window cutout. This project uses materials that may already be at home, and the finished box can serve as a Halloween costume or a photo prop for a birthday party.
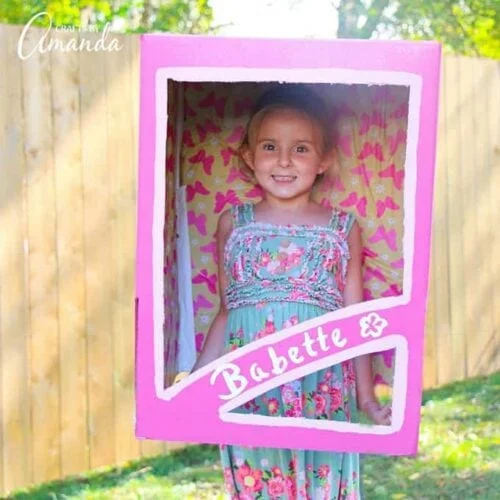
The maker’s daughter came up with the doll-in-a-box idea. Instead of cutting openings for arms and legs, they shaped the box as a freestanding frame around the child. That makes it practical for parties, trick-or-treating or a school celebration. The maker used spray paint to finish the box quickly, but acrylic or poster paint can provide the same effect. Pink wrapping paper is another option for covering the outside.

Materials and tools
- 1 large box, or multiple small boxes taped together
- Pencil
- Pink spray paint
- Light pink acrylic paint
- White acrylic paint
- 1 paintbrush set: one thin brush and one medium-sized brush
- Glitter duct tape or pink duct tape
- Spray adhesive
- Pretty wrapping paper
- Box cutter
Use a box that can fit around the wearer while leaving room to move. The source doesn’t give specific box dimensions, so check the fit before painting or cutting. Keep the cutout high enough to frame the child comfortably, and have an adult handle the box cutter. Children can help mark the window and trim rough edges with scissors after the initial cut.
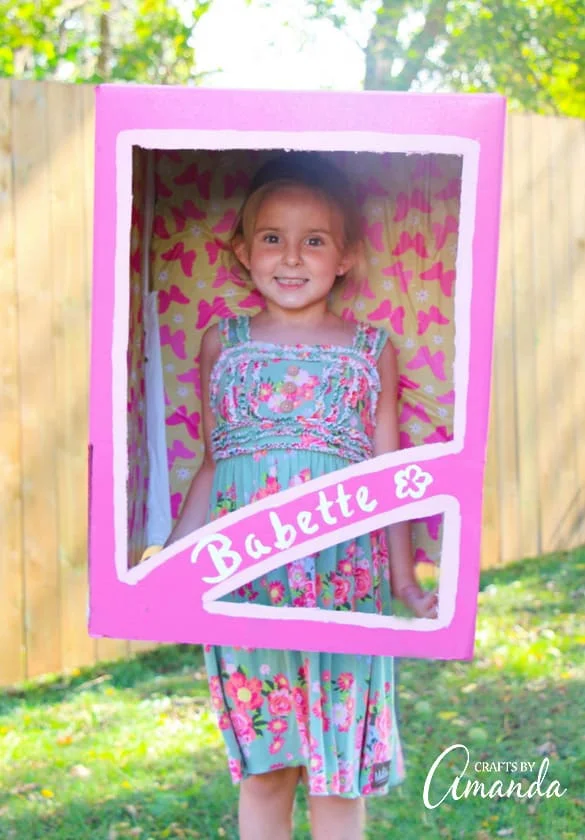
Build and decorate the box
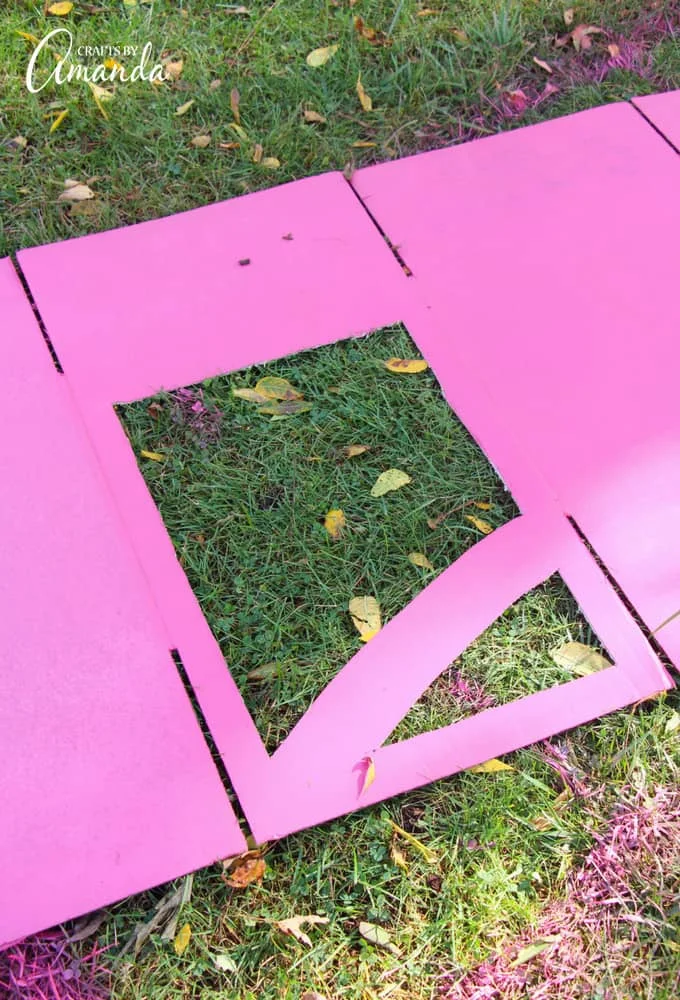
Open the box at its taped seams and lay it flat on a surface suitable for spray painting.

Apply an even coat of pink spray paint. Let it dry for at least 2 hours. The maker left the box outdoors for 2 hours, then moved it to a shed to air out overnight.

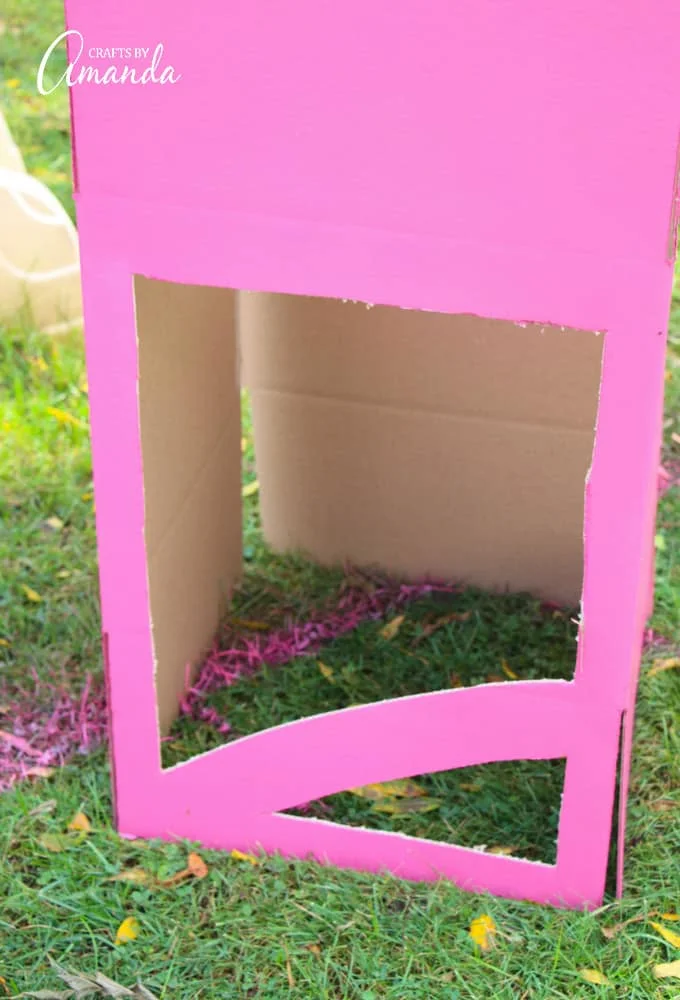
Use a pencil to draw the doll package window on the box. An adult should cut along the outline with a box cutter. Trim any rough edges.
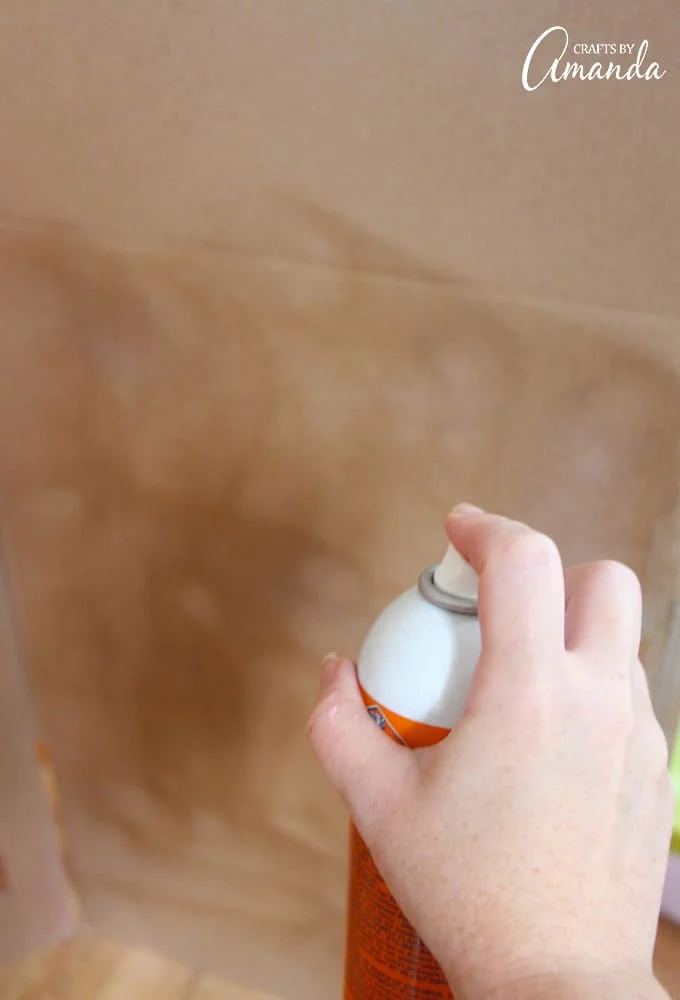
Spray adhesive onto the inside of the uncut sides. Starting at one edge, press the wrapping paper into place and smooth it carefully across the surface. The adhesive grabs immediately, so work steadily as you apply the paper.
Reassemble the box with glitter or pink duct tape. Press the tape firmly along the seams to hold the panels together.
With a medium-sized brush, paint a light pink border around the cutout. Let the paint dry.
Write the doll’s name in pencil, then trace the lettering with white acrylic paint and the thin brush.
Let all painted areas dry before wearing the costume.
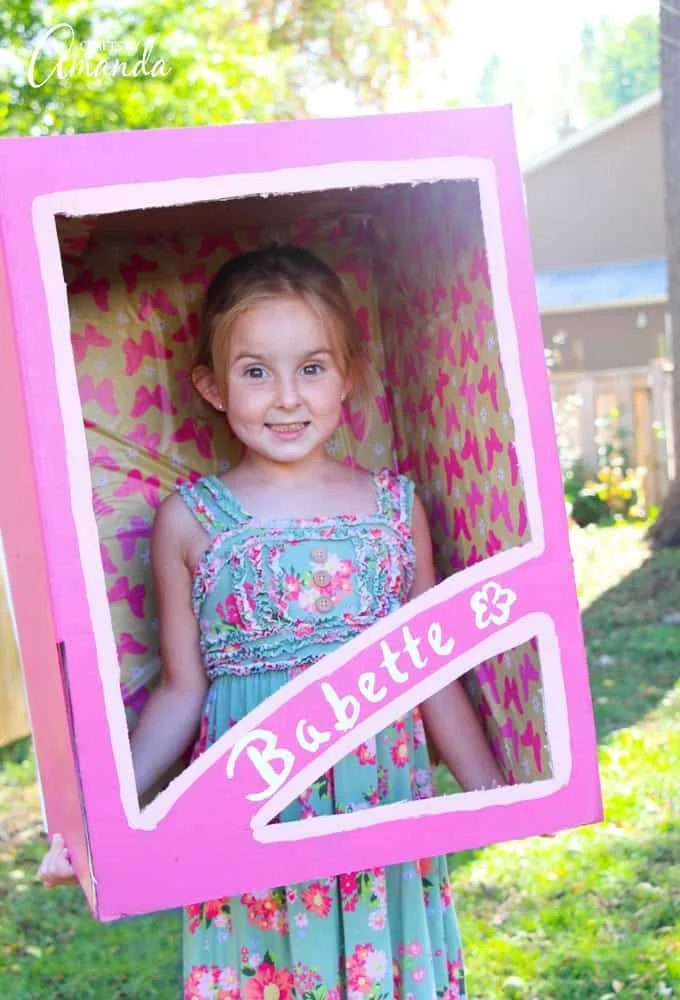
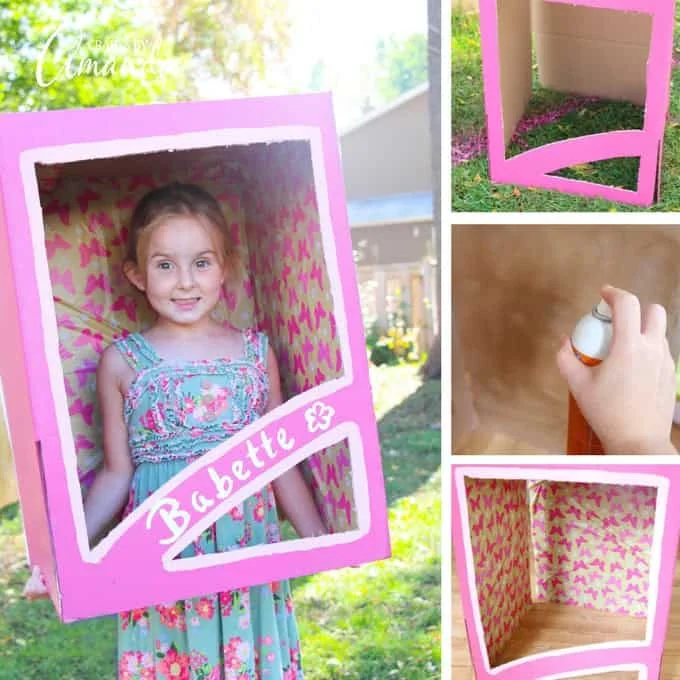
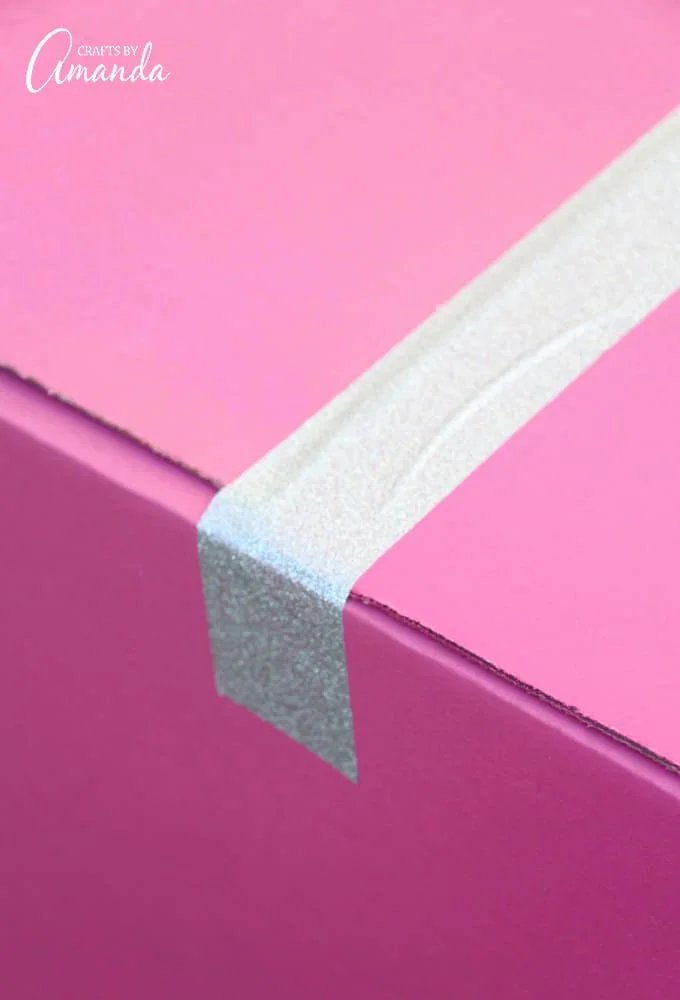
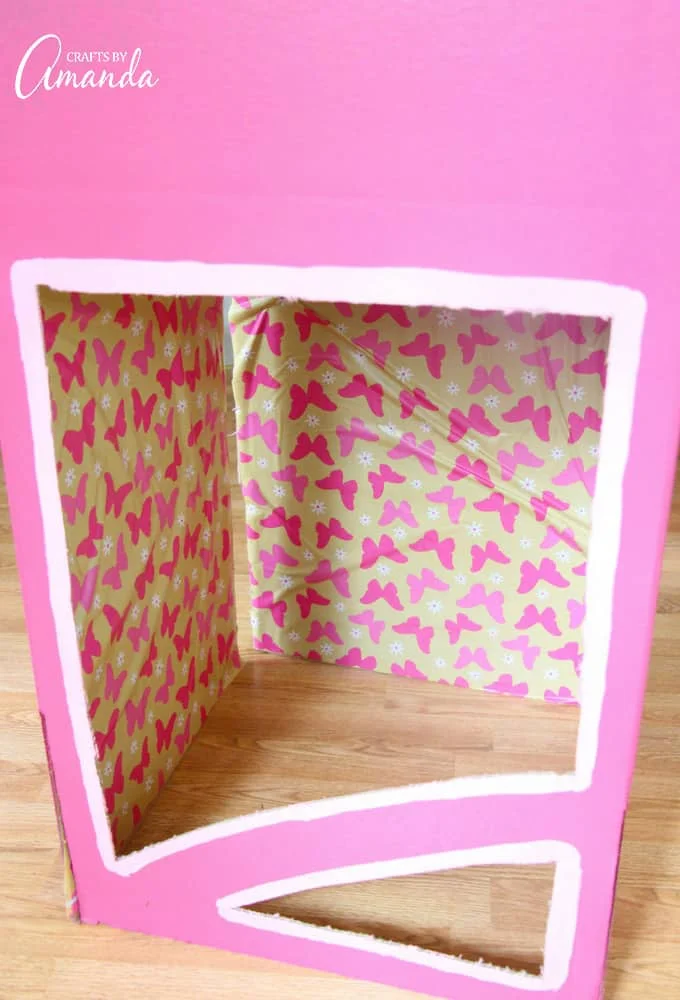
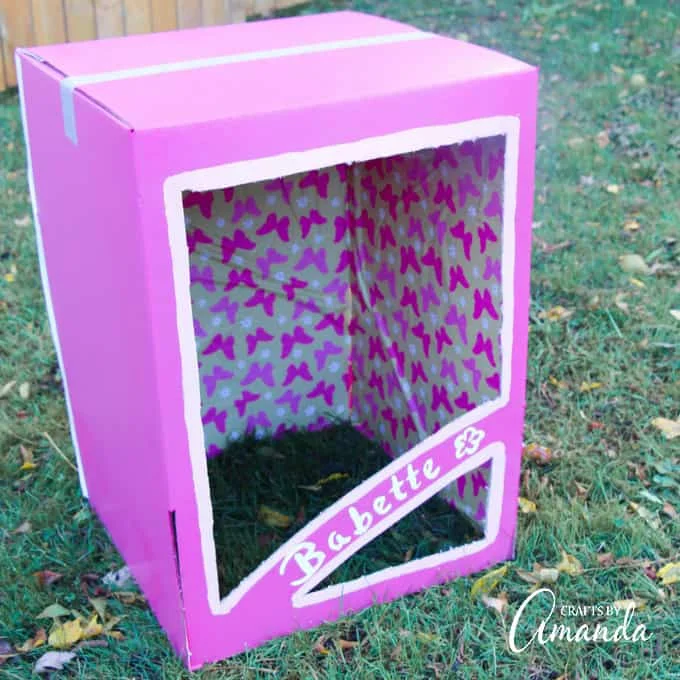
The order matters: paint the flattened box first, then cut the window, line the inside and tape the box back together. Waiting for the paint to dry before adding the name helps keep the lettering clear. When smoothing the wrapping paper, take care around the opening and corners so the paper lies flat and doesn’t catch on the edges.
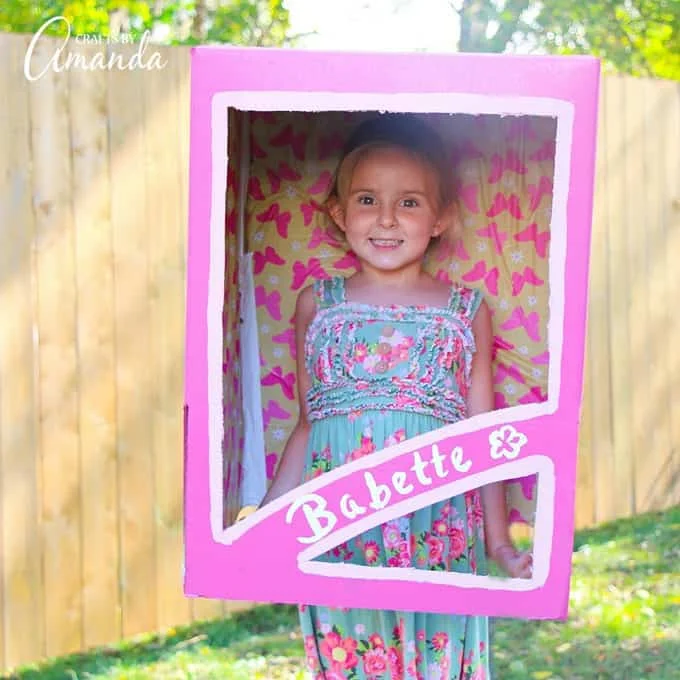
Fit and finishing options
The maker found handles unnecessary, but you can add them with duct tape or cut openings in the box. Another option is to make two holes in the back and thread a belt through them, then fasten it around the child’s waist to help support the costume. A backpack can be used in the same way, with the shoulder straps carrying the box.
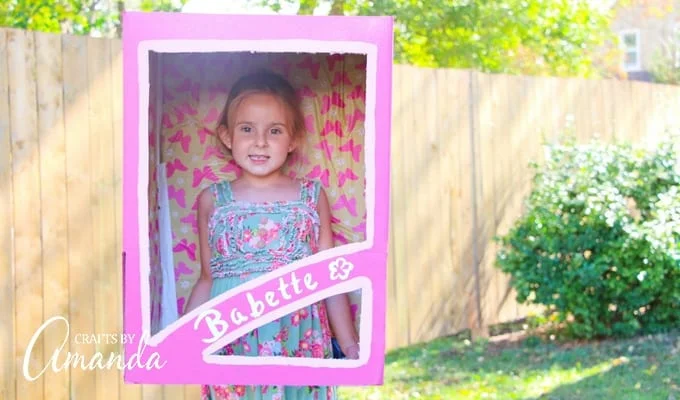
Try the box on before the event to see whether it stays in place and allows comfortable movement. If it needs support, choose the belt or backpack approach that fits the wearer and the box. For younger makers, an adult should do the cutting while children take part in drawing the window, choosing the wrapping paper and adding the doll’s name.
The result is a personalized package costume made from a shipping box, with plenty of room to adjust the color, label and support to suit its wearer.


