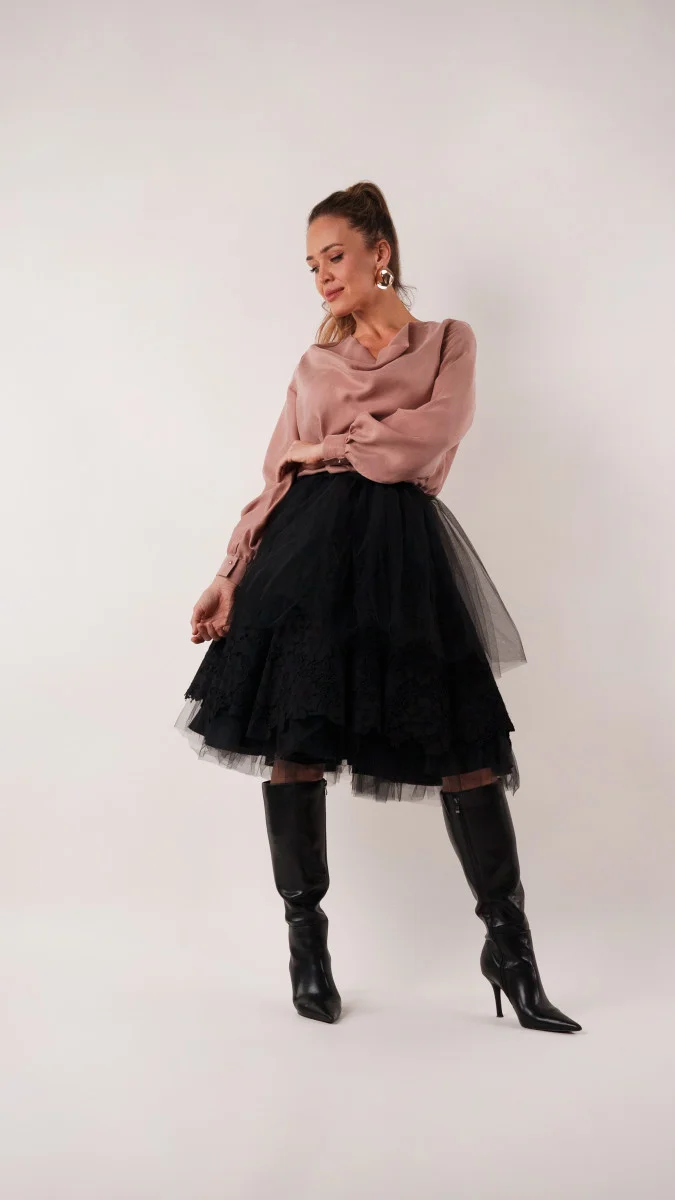
Sample No. 0279
Sew a Draped Castine Cowl Neck Blouse with Rayon Twill
Make the free Castine blouse pattern in fluid rayon twill, with a softly draped cowl and gathered sleeves, while practicing neat seam finishes.

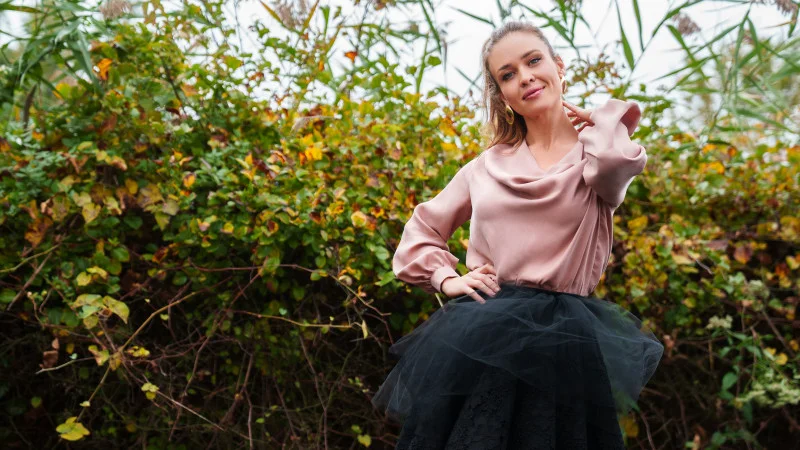
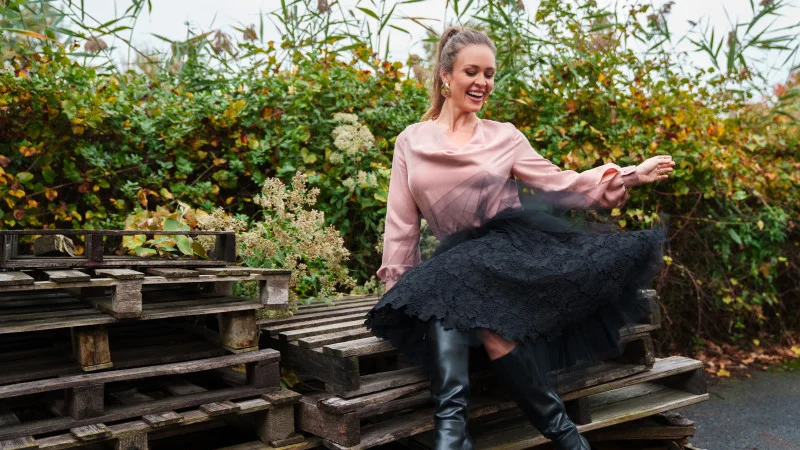
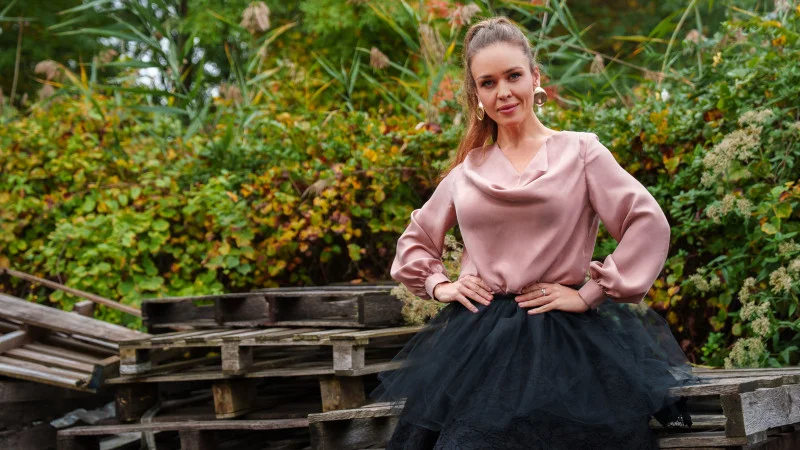
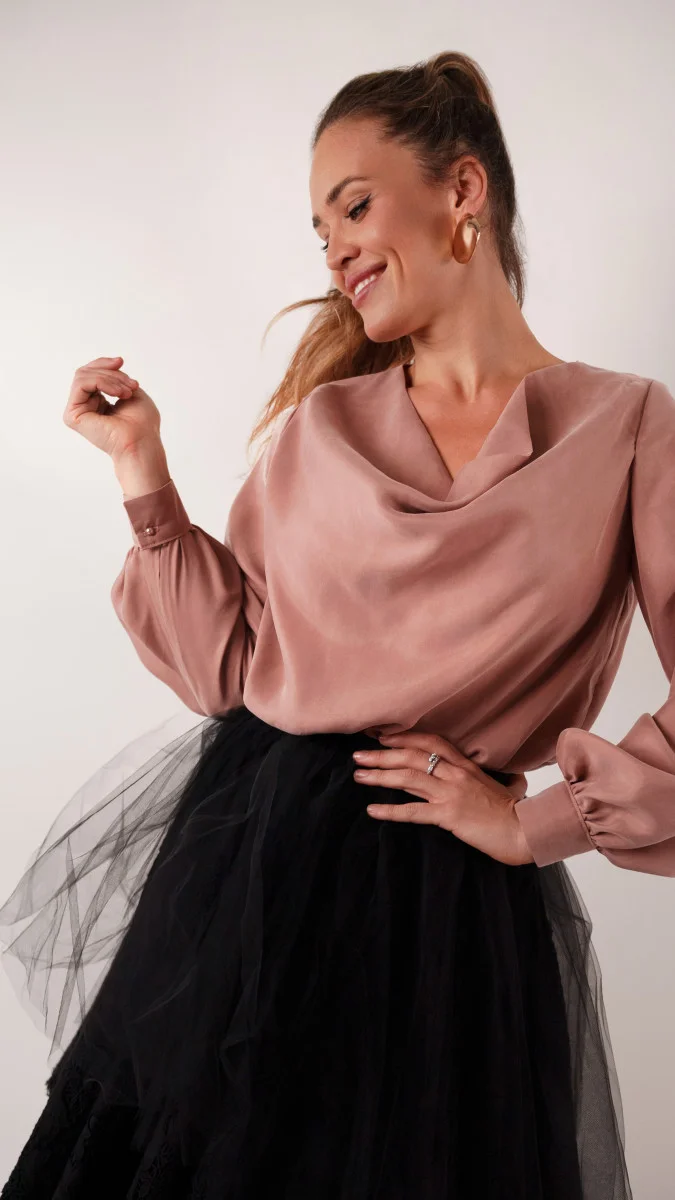
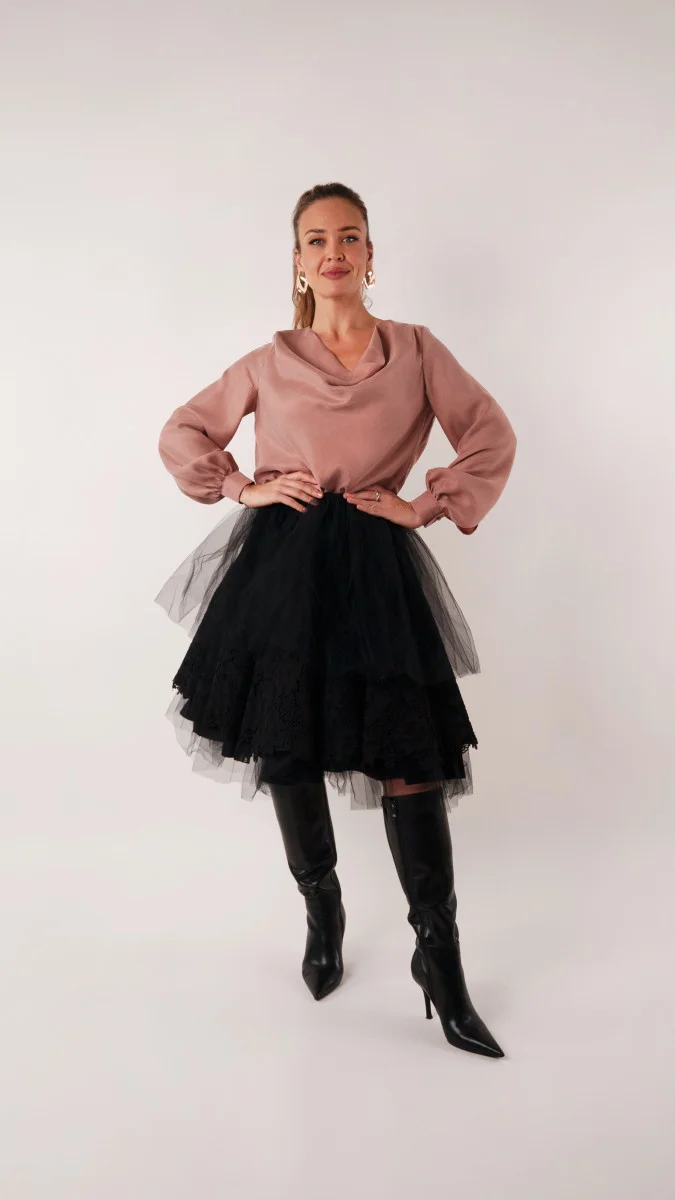
The Castine Cowl Neck Blouse (pattern MDF574) is a good reminder that fabric choice can change the character of a familiar shape. Its softly draped neckline, easy fit and gathered sleeves bring movement to the blouse; in washed copper rayon twill from the Darcy Collection, even a twill with a reputation for structure takes on a fluid look. The cowl makes the first impression, but careful cutting matters: the neckline needs to hang naturally across the bust. This is an intermediate project, especially useful if you’re building confidence with drapey fabrics. French seams, bias binding and flat-felled seams also give you a chance to practice tidy interior finishes.

Think of the fabric as part of the design. Silk charmeuse can give the blouse a more luxurious finish; rayon challis and viscose georgette are other options, with challis described as easier to handle. The pattern is intended for lightweight or featherweight fashion fabrics, and the suggested alternatives include charmeuse, chiffon, georgette, Swiss dot, China silk and challis. The copper rayon twill featured here belongs to the Darcy Collection. The blouse is light enough to layer under a winter coat and versatile enough to wear into spring.


Materials and sizing
The free pattern download includes technical drawings to show the seams and silhouette, plus a size chart. Use the chart as a starting point: compare the printed pattern measurements with the fit you want, blend between sizes if needed, and make adjustments before cutting. Sewing a test garment in a similar fabric is a sensible way to check those changes. Read all the instructions first.

For a size medium, the listed materials are 2.5 yards of Washed Copper and Rayon Twill in Dusty Rose from the Darcy Collection, two Pearlized Glamour gold dome shank buttons, 12L/7.5 mm, and one spool of Gutermann Sew-All thread, 250 m, shade 323 Old Rose. You’ll also need the free MDF574 Castine Cowl Neck Blouse pattern. The “Shop This Look” box gives quantity estimates for other sizes. It initially shows fabric in full-yard quantities; use the decrease button to select half-yard increments before adding the materials to your cart.
Helpful extras include a point turner, hand-sewing needles and a seam ripper.
Get the pattern and check the fit
The Castine pattern is offered as a free PDF in both A4 and letter formats. Enter your name and email in the form to receive the download link by email; its subject line is “Your Free Download from Mood Sewciety – The Castine Cowl Neck Blouse.” The pattern is copyrighted by MoodFabrics.com and MoodSewciety.com. Mass production, resale or distribution of the pattern in any form is prohibited.

Sewing the Castine Cowl Neck Blouse
The steps below take the blouse from cut pieces through construction. Plan to use a ½-inch seam allowance unless a step specifies otherwise.


Three rayon twill sewing tips
- Choose a size 70 Microtex machine needle to help prevent pulls in the fabric.
- Press seams open with medium heat and medium steam.
- If you have a serger, you can finish the seam allowances with it instead of using bias binding, French seams or flat-felled seams.


Pattern pieces and cutting
- (A) Back: cut one on the fold.
- (B) Front: cut one.
- (C) Sleeves: cut two, mirrored.
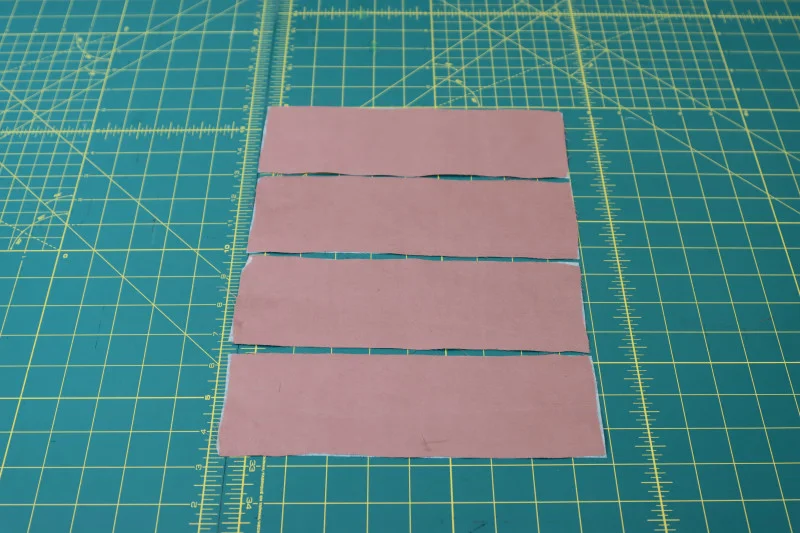
- (D) Cuffs: cut four.


Step 1: Sew the cowl
- Cut the front piece with its top edge on the fold. The inner facing should extend only about 6 inches down, to roughly halfway along the armscye.
- Finish the facing’s lower raw edge with a double-rolled ¼-inch baby hem.
- Fold the front in half at the neckline, wrong sides together, and press the fold.
- Pin the facing to the front, wrong sides together, matching it at the shoulders and armscyes.
- Stitch the facing to the blouse along the armscyes using a ¼-inch seam allowance.
Finish the cowl facing and neckline
The cowl’s shape depends on a clean, soft finish, so take care with the facing before joining the blouse pieces. Cut the blouse front on the fold, keeping the inner facing piece 6 inches long. Hem the facing’s lower edge with a double rolled ¼-inch hem, then press the folded neckline.
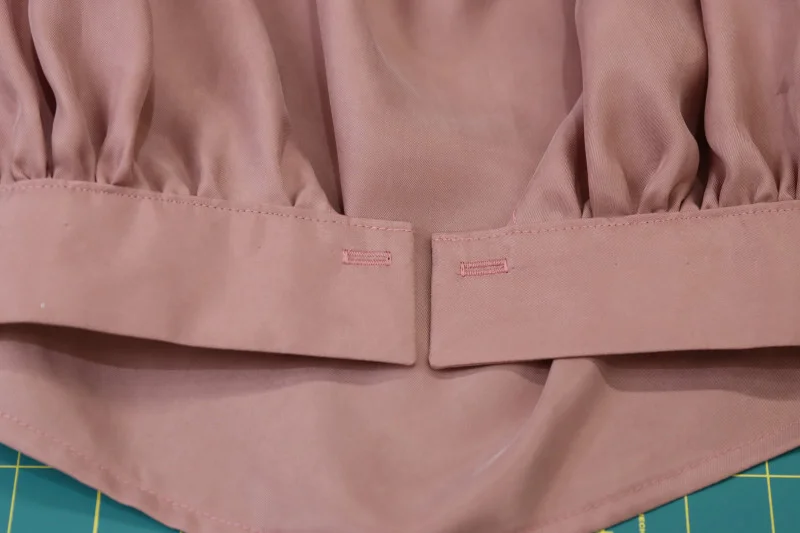


Pin the facing to the blouse front with wrong sides together, then stitch it to the front at the armholes and shoulder seams. That construction keeps the facing in place while the cowl drapes.


Join the blouse body
Give the back neckline a double rolled ¼-inch baby hem. Then place the front and back pieces with their wrong sides together. Sew the shoulder and side seams with a ¼-inch allowance, trim the allowances to ⅛ inch, and press them open and flat.


For French seams, turn the blouse wrong side out after pressing the first seams. Sew the side and shoulder seams again with a ⅝-inch allowance to enclose the trimmed edges, then press the finished seams open and flat. The small first allowance and the wider second pass are what leave the raw edges tucked inside.


Shape the sleeves and cuffs
Fold each sleeve in half with right sides together and align the inseams. Pin from the underarm down to a point 5 inches above the hem, leaving the remaining length open for the slit. Sew to the last pin and press the inseam and slit allowances open and flat.
To make flat felled seams, fold the allowances toward the wrong side of the sleeve and topstitch along both sides of the inseam. This encloses the seam and finishes the slit area neatly.


Run two parallel lines of long straight stitches along each sleeve hem. These are gathering stitches; leave their thread tails available so you can draw the fabric in later.

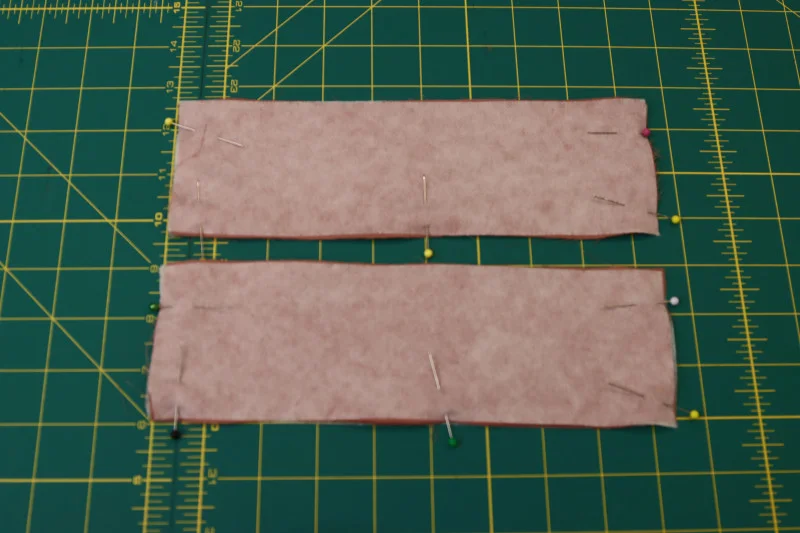
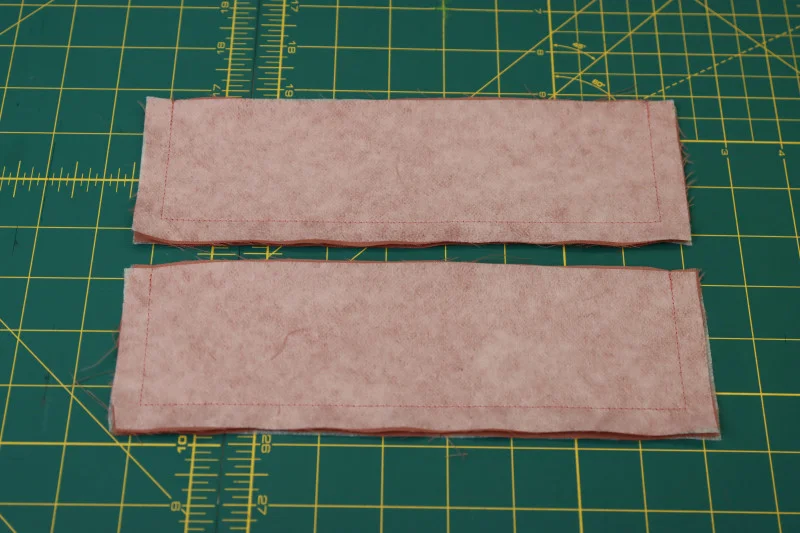
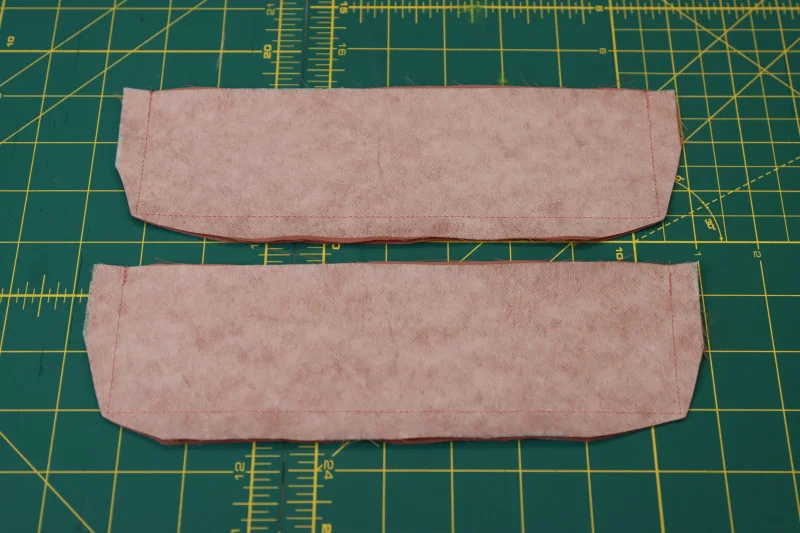
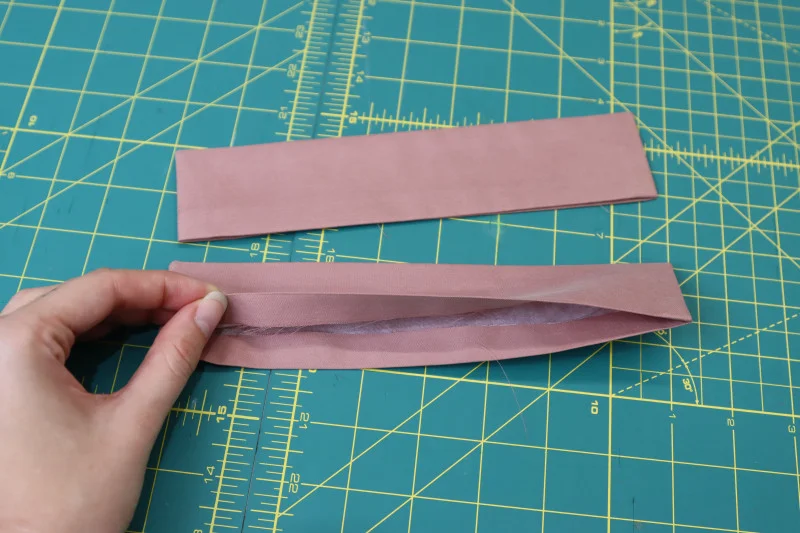
Prepare the cuffs by fusing interfacing to the wrong side of each cuff piece. Pair the pieces right sides together, making two stacks of two. Pin each stack, sew one long edge and both short edges, then clip the corners and turn the cuffs right side out. Press a ½-inch fold into each open raw edge so it can be tucked inside the cuff.
Finish the cuffs and sleeves
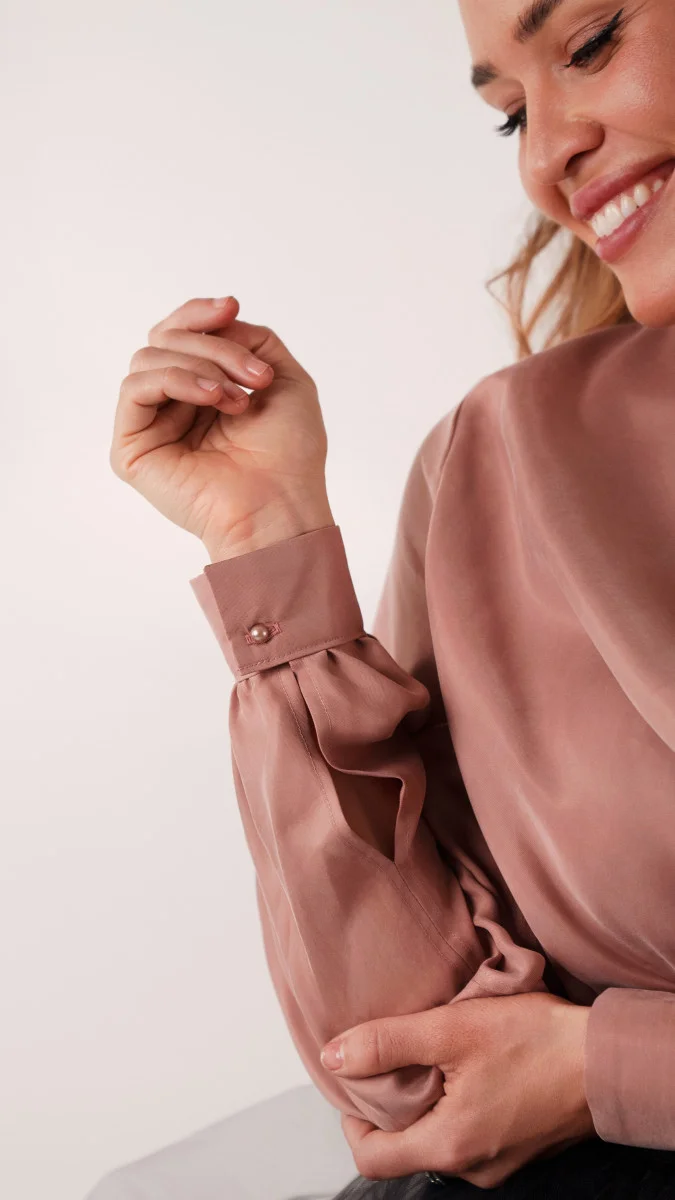
A tidy cuff depends on two small choices: keeping the sleeve gathers even and leaving the same amount of cuff free at each opening. Gather each sleeve hem until it measures 1 inch less than the cuff’s width. Set the sleeve into the cuff so one edge meets the cuff opening and the other sits 1 inch short of its opposite edge; pin, then topstitch with a ⅛ inch seam allowance. Mirror the cuff placement on the second sleeve so the plackets face opposite directions.


Set in the sleeves and bind the armholes
Place each sleeve and the blouse right sides together. Match the sleeve cap to the armscye, checking that the sleeve front meets the blouse front, then sew the seam. That front-to-front check is easy to skip when the pieces are turned inside out; it saves unpicking a sleeve later.


Hem and add the cuff buttons
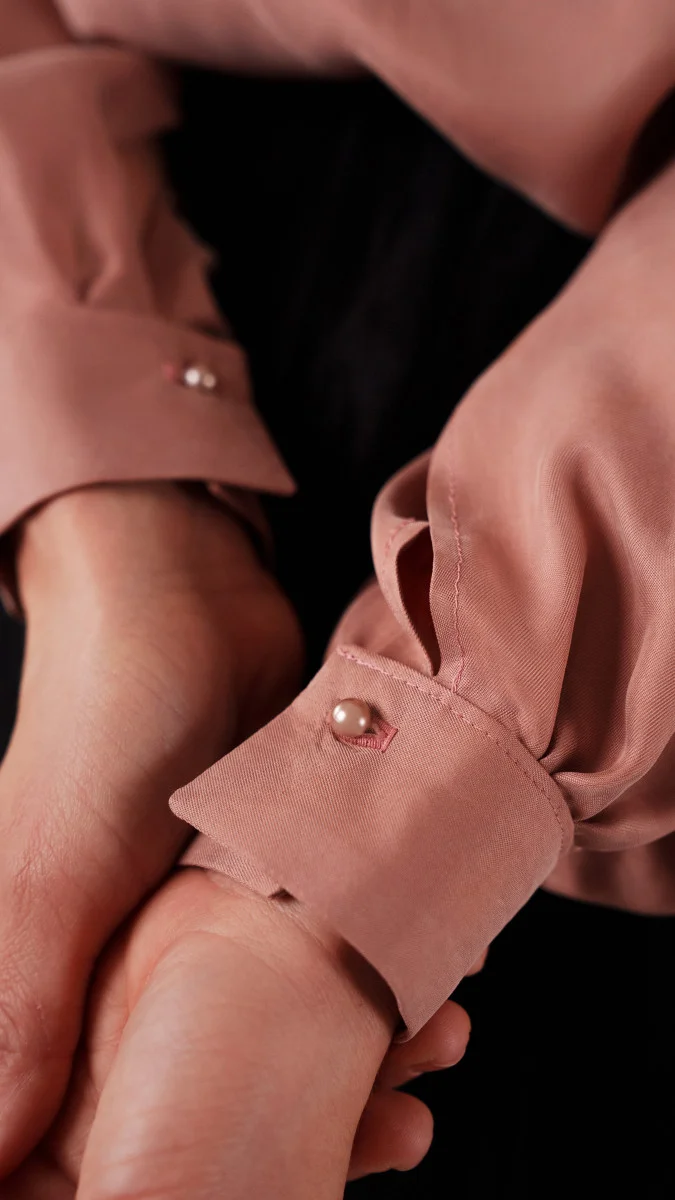
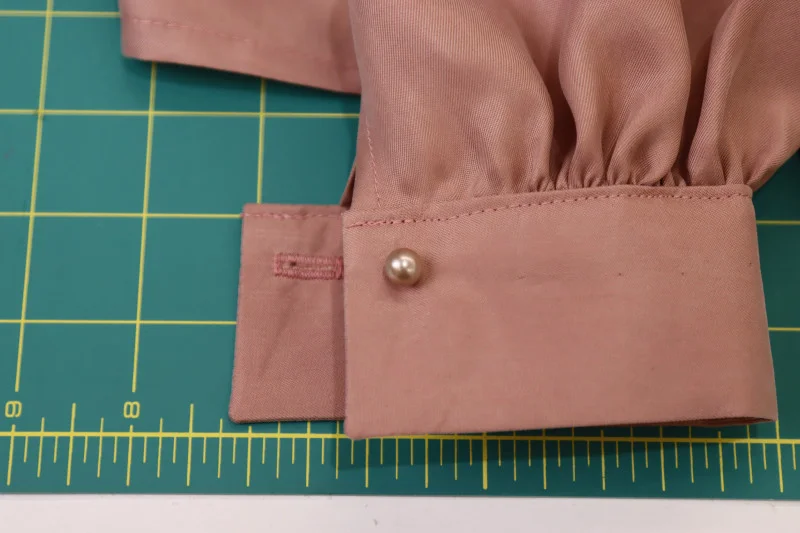
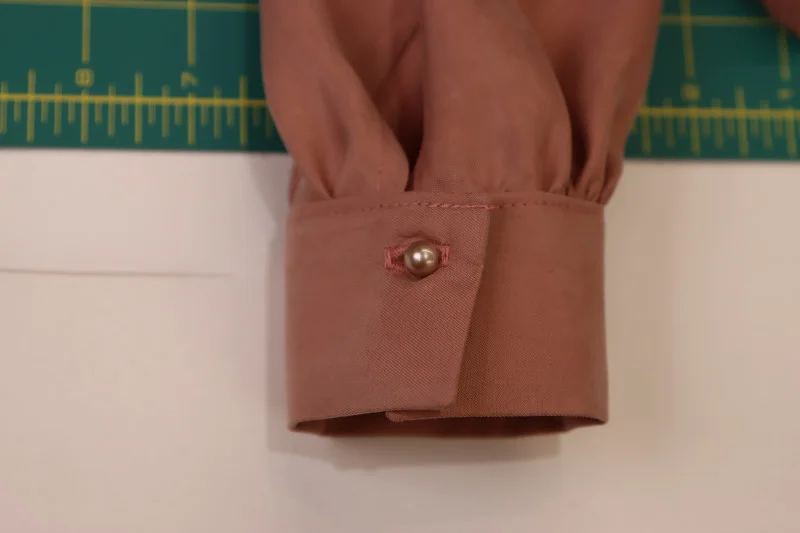
Finish the lower edge with a double rolled ¼ inch baby hem. Then mark buttonhole positions on the plackets at the cuff ends and stitch the holes with your machine’s buttonhole foot. Open each buttonhole carefully with a seam ripper. Fold the cuff closed to locate the matching button position on the opposite side, then sew the buttons on by hand.