Sample No. 0260
Fall Napkin Luminaries: A Simple Jar Decoupage Project
Turn seasonal paper napkins and a glass jar into glowing fall decor with gentle decoupage, a few basic supplies and an overnight drying time.
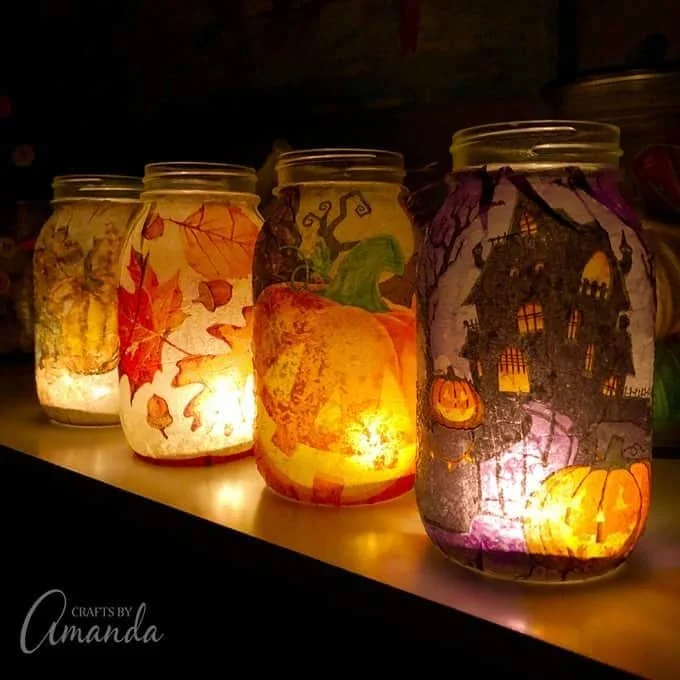
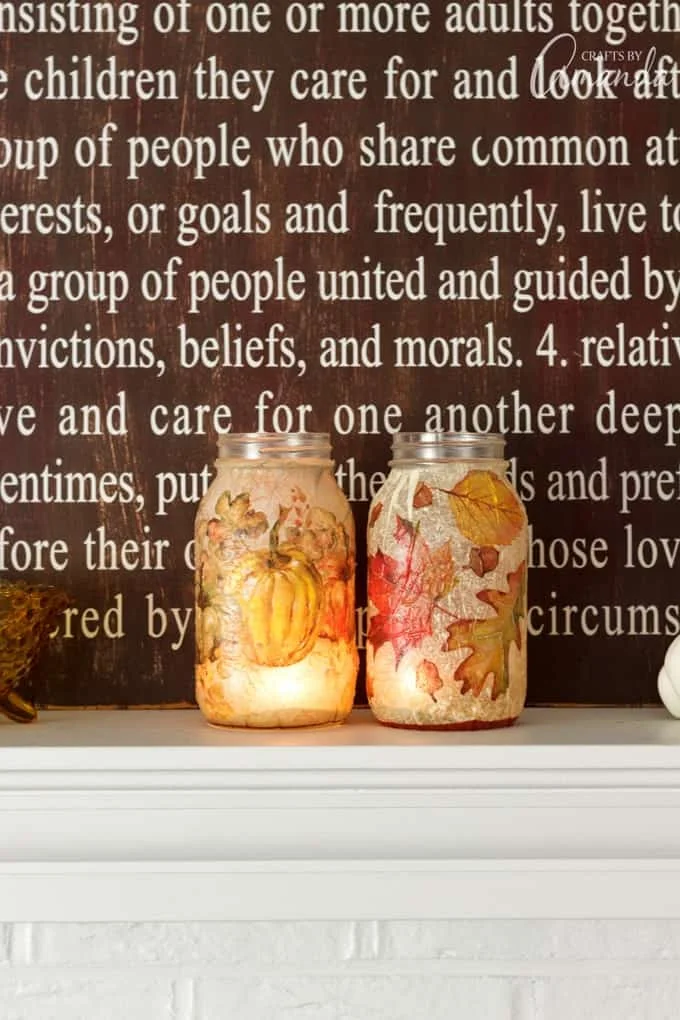
Seasonal napkins can give a plain glass jar a warm, patterned glow for a mantel, window or Thanksgiving table. Amanda Formaro’s fall napkin luminaries use a simple decoupage process: prepare the glass, place napkin designs on both sides, then let the finish dry fully before adding a candle.
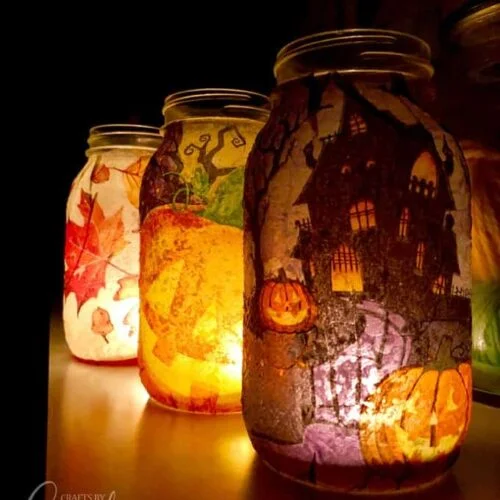
The project is listed for adults and uses three supplies: paper napkins, Mod Podge and a glass jar. You’ll also need a large paintbrush. Fall and Halloween napkins are easy to find at dollar stores, large retailers and grocery stores, so you can choose a design that suits your display.
Prepare the napkin and jar
Start with a clean, dry jar and napkin designs cut to fit the areas you want to decorate. If your napkins have two plies, separate them first; the napkins used for this project were sturdy and single-ply. The thinner decorative layer is delicate, so handle it gently as you position it.
Before applying the napkin, brush a thin layer of Mod Podge onto the front of the jar. This first coat primes the glass by giving it a tacky surface, which helps the paper stay in place. Lay the jar on its side with the wet side facing up, ready for the design.
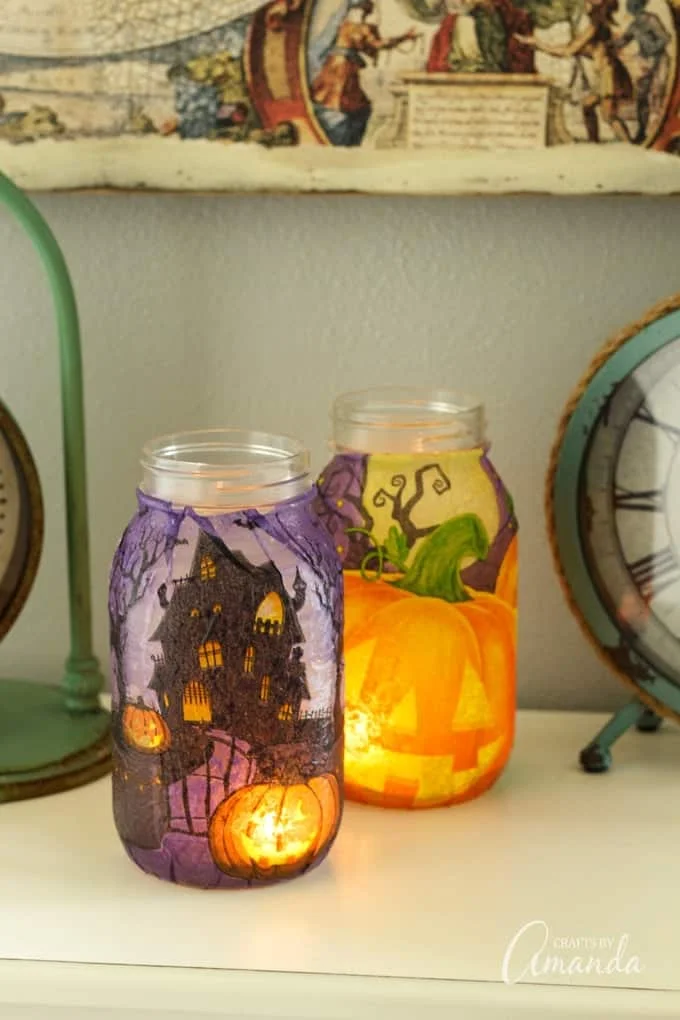
Apply the design
- Wash and dry the glass jar.
- Separate the napkin plies if needed, then cut out the designs.
- Brush a thin coat of Mod Podge onto the front of the jar.
- Set the jar on its side with the coated side facing up.
- Place the napkin on the jar, pressing softly from the center outward.
- Brush Mod Podge onto the bottom, side edges and rim.
- With a light touch, coat the entire napkin with Mod Podge.
- Turn the jar and repeat the process on the back.
- Let the project dry completely before displaying it or adding a candle; overnight drying is best.
- If desired, finish the rim with burlap, ribbon or twine.
The order matters: first anchor the napkin to the primed glass, then cover the edges and surface. Pressing outward from the center helps lay the paper against the curved jar, while a gentle brush hand reduces the chance of tearing it. Use a generous amount of decoupage medium, but stop before it starts to drip.
Keep the finish smooth and intact
Napkins soften when wet, so avoid scrubbing or pushing hard with the brush. A heavy application can wrinkle or tear the printed layer and damage the design. If the jar has excess Mod Podge running down its sides, use less on the next pass; the aim is an even coat without drips.
White glue mixed with water may work as an adhesive, but the source cautions that it can yellow over time. Mod Podge and other decoupage mediums are formulated to resist yellowing. The thin primer coat also makes glass easier to work with by helping the napkin grip.
Set wet pieces on a wire cooling rack so they don’t stick to the table as they dry. Leave the finished jar overnight when possible. It needs to be completely dry before you add a candle or put it on display. Store Mod Podge with its lid tightly closed, in a cool place and out of children’s reach.
Choose a spot for your luminary
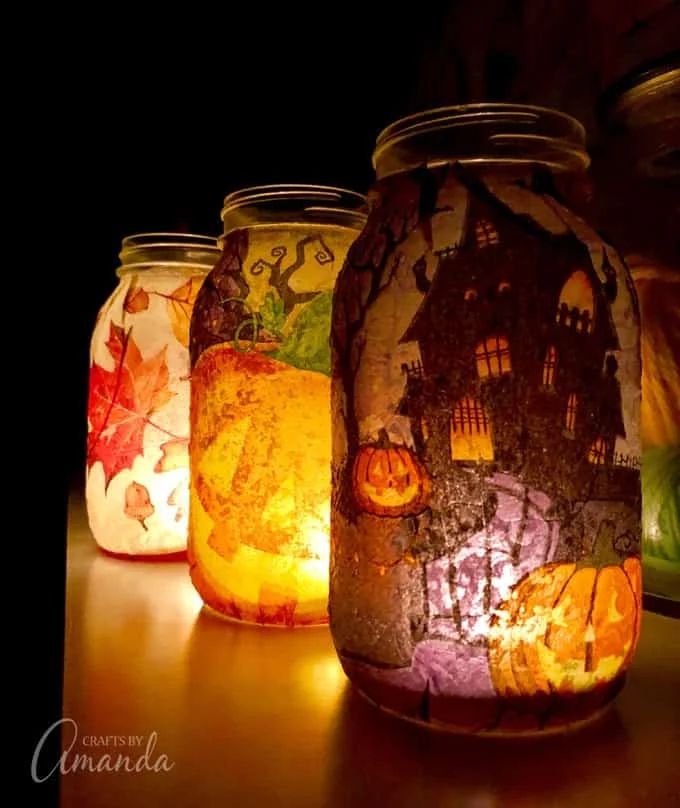
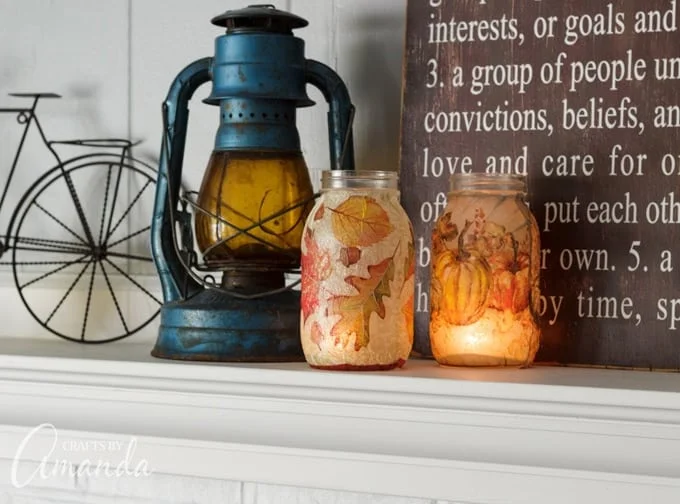
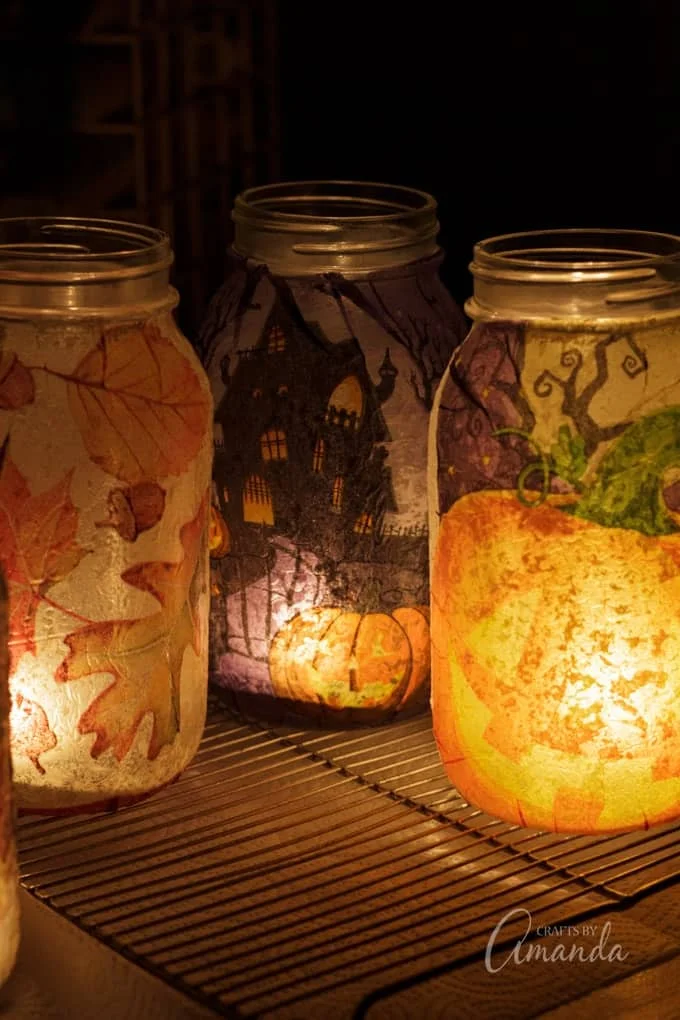
Once dry, the jar can brighten a mantel, window or seasonal table. The optional trim around the rim adds another texture, but the napkin pattern can stand on its own. For a group display, different fall or Halloween prints can bring variety while keeping the same jar-and-decoupage method.
Formaro presents the project as an approachable option for a crafting evening, home decorating or a group activity for seniors. A project video is also available with the source tutorial for a closer look at the application steps.
For more seasonal making, the source points readers to ideas including fall Mason jars, a burlap pumpkin wreath, a wood slice pumpkin chalkboard, Mason jar lid pumpkins, a decomesh pumpkin wreath, a pumpkin grapevine wreath and stacked plastic pumpkins. The key takeaway for this luminary is simple: prepare the glass, work gently with the napkin, and give the finish a full night to dry before lighting it.


