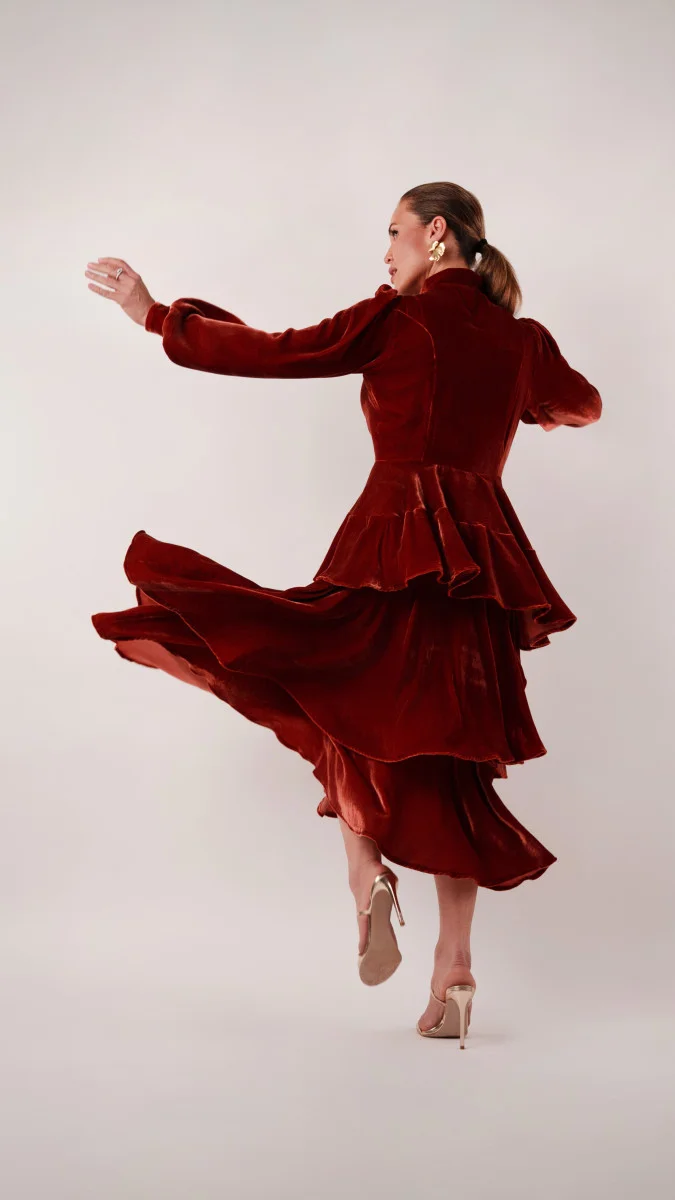
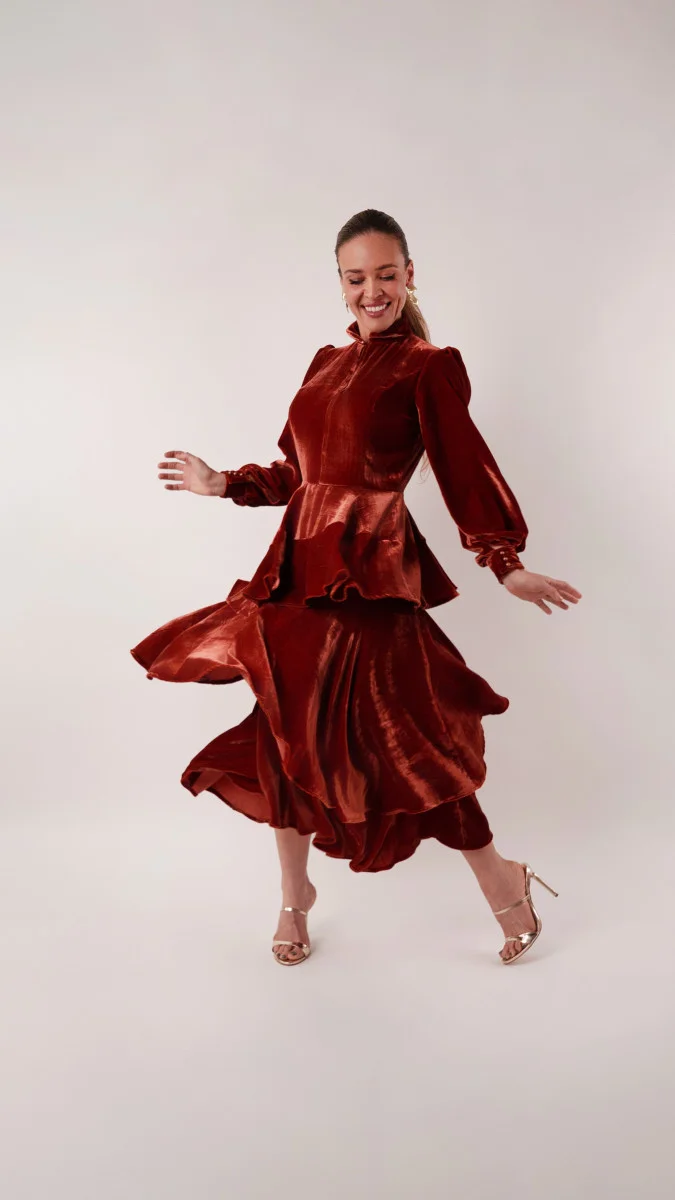
Sample No. 0259
Sew the Vanadinite Tiered Midi Dress: Free Pattern and Velvet Sewing Tips
Make a flowing tiered midi dress with a free pattern, fabric and fit guidance, and tips for sewing velvet without damaging its soft sheen.



Plan your fabric, fit, and supplies
The free MDF571 pattern includes technical drawings and a size chart. Use the chart as a starting point, then compare the printed pattern measurements with the fit you want; blending between sizes is an option. A test garment in a similar fabric can help you check the fit before cutting into your chosen material. Read the instructions all the way through first.Materials for a size medium
The featured version uses six yards of Silk and Rayon Velvet – Ruby Wine – Adelasia Collection, one Invisible Zipper 24″ by YKK – 809 Dark Clay, seven Italian Bronze Iridescent Ball Shank Back Buttons – 16L/10mm, and one spool of Gutermann Sew All Thread 250m – 570 Rust. The pattern is listed as MDF571 and is available as a free download below. These quantities are for a medium; the “SHOP THIS LOOK” box provides estimates for other sizes. You may also want hand sewing needles and a point turner. The shopping box initially shows whole-yard amounts. To order fabric in half-yard increments, use the minus button to reduce the quantity, then add the materials to your cart. Challis, charmeuse, sateen, and satin are suggested alternatives; the pattern is intended for lightweight or medium-weight fashion fabrics. The featured velvet comes from The Adelasia Collection.
Get the free pattern
Submit your name and email through the form below to receive the PDF download link by email. The file is set up for both A4 and letter-size printing. The email subject line is “Your Free Download from Mood Sewciety – The Vanadinite Tiered Midi Dress.” MoodFabrics.com and MoodSewciety.com prohibit mass production, resale, or distribution of the pattern.Before cutting velvet
Velvet has a nap, meaning its surface fibers lie in a particular direction. Keep the nap running consistently across every pattern piece; otherwise, sections can reflect light differently and feel different to the touch. A sharp microtex needle helps prevent thread pulls. When pressing, use low heat and place muslin between the iron and fabric. Silk is heat-sensitive, and silk velvet can crinkle or lose its smooth surface under too much heat.
How to Sew The Vanadinite Tiered Midi Dress
The directions below take you through construction from the first seams onward.

Use a 1/2″ seam allowance unless a step says otherwise.
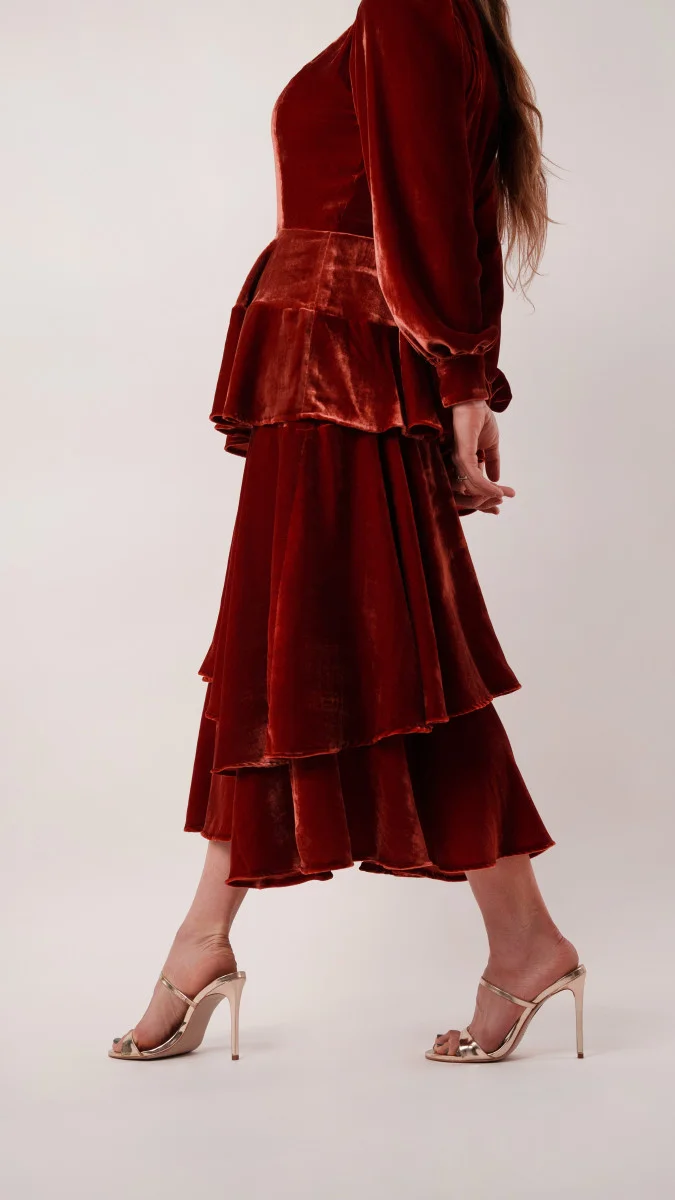
Pattern pieces and cutting list
- (A) TOP BACK CENTER: Cut 1 on fold.
- (B) TOP BACK SIDE: Cut 2 mirrored.
- (C) TOP FRONT SIDE: Cut 2 mirrored.
- (D) TOP FRONT CENTER: Cut 2 mirrored.
- (E) COLLAR: Cut 2 on fold.
- (F) SLEEVES: Cut 2 mirrored.
- (G) CUFFS: Cut 4.
- (H) UNDERSKIRT: Cut 2 on fold.
- (I) RUFFLE 1 (HEM RUFFLE): Cut 2 mirrored.
- (J) RUFFLE (2) UNDERSKIRT MID RUFFLE): Cut 2 mirrored.
- (K) RUFFLE 3 (WAIST RUFFLE): Cut 2 mirrored.
- (L) RUFFLE 4 (WAIST PANEL BOTTOM): Cut 2 mirrored.


Step 1: Assemble the back bodice
1. Arrange the center back and side back pieces with their right sides facing up. 2. Match the notches on the side back pieces to those on the center back, then pin the side pieces along the princess seams. 3. Sew the seams to join the pieces.

Step 2: Join the front bodice
1. Lay the front bodice pieces right side up. Place the two center front pieces with right sides together. 2. Pin the center front seam from the waist to the neckline notch, then sew to that notch. 3. Press the seam open and flat. Turn the neckline keyhole seam allowance to the wrong side and press it in place. 4. Topstitch around the keyhole seam allowances using a ⅜-inch seam allowance. 5. Match the notches and sew the side front pieces to the center front, following the same approach used for the back bodice.

The underskirt’s uneven ruffles are intentional, so keep their seam positions aligned as you assemble them. That detail shapes the tiers; it isn’t a cutting mistake.
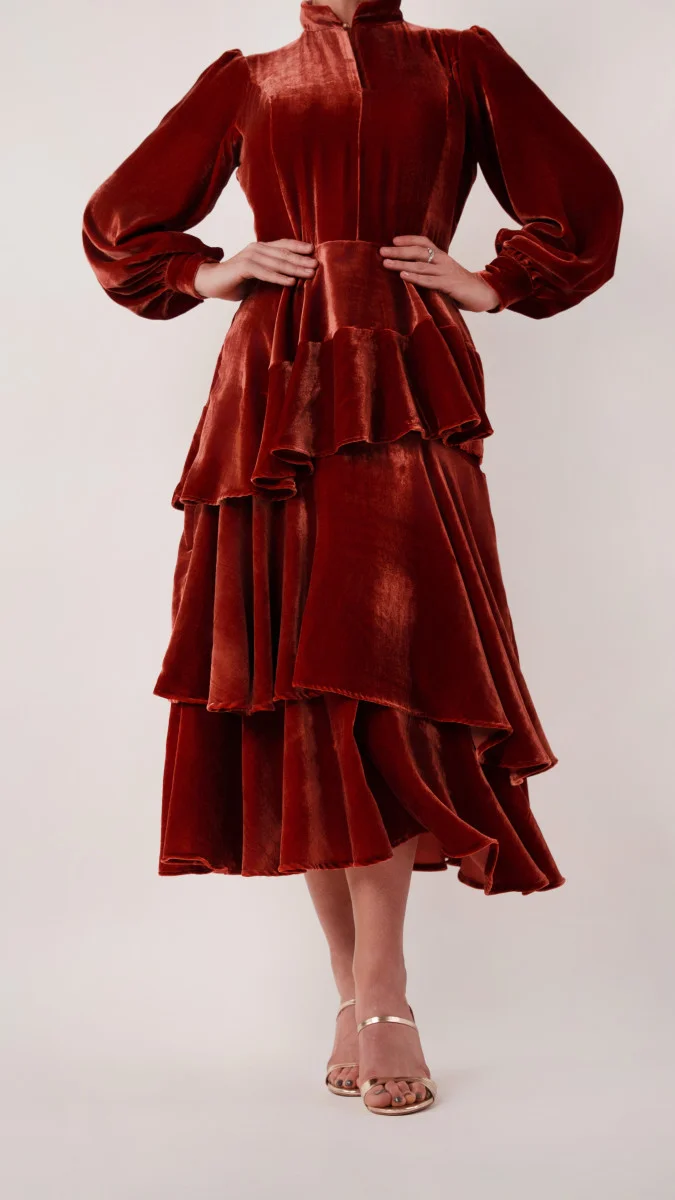


Join the bodice’s front sections along the princess seams, matching right sides together. Place the side fronts beside the center front pieces before pinning and stitching so the shaping stays in order.
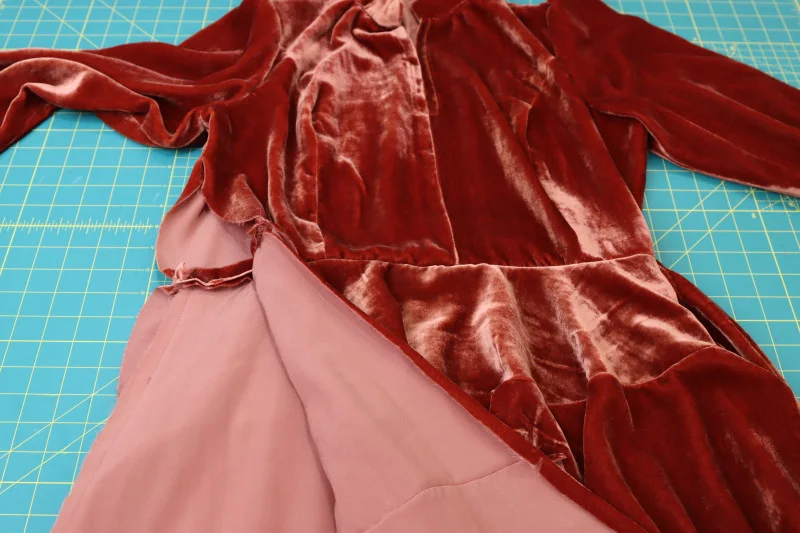


Join the bodice and underskirt
Set the front bodice over the back with right sides facing. Sew only the wearer’s left side seam. That placement leaves the wearer’s right side available for the zipper later, so take a moment to confirm left and right from the garment’s perspective.
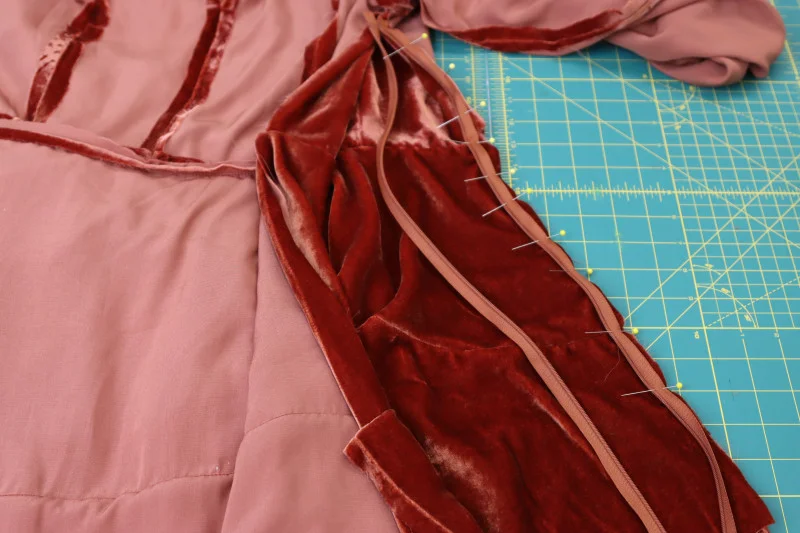


For the underskirt, put the two pieces right sides together and stitch one side seam. Clip a notch at the marked midpoint of its seam allowance. That mark identifies where the second ruffle attaches.


Build the skirt ruffles
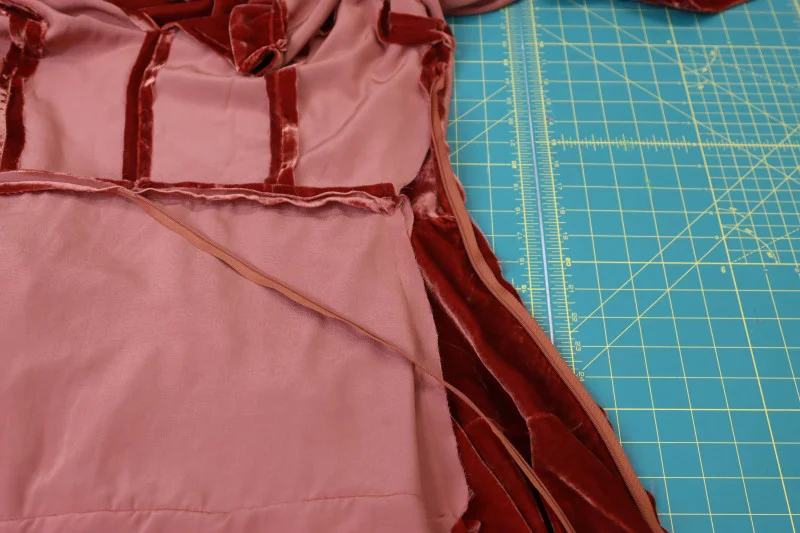
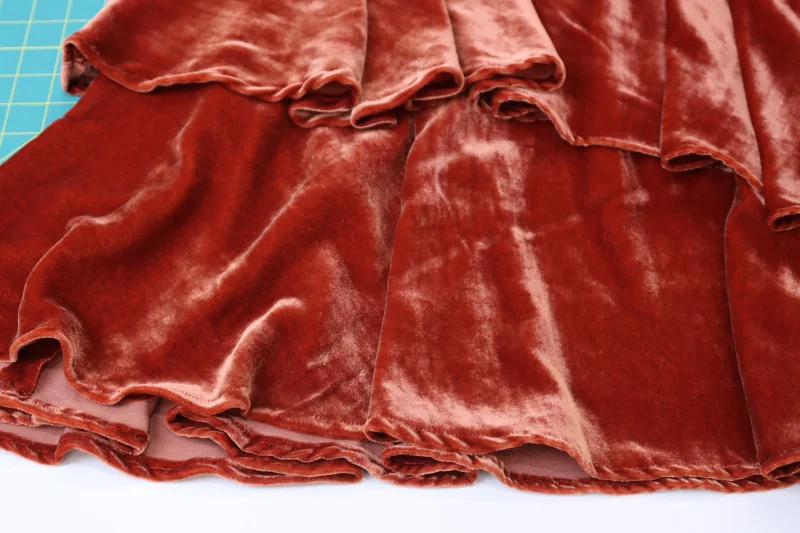
Ruffle 2 isn’t a perfectly even circle. Compare its straight edges and use the longer one to close the ruffle’s side seam, right sides together. When you attach the ruffle, match that closed seam to the underskirt’s closed seam; pin its inner circle along the notched center line, right sides facing, then stitch.
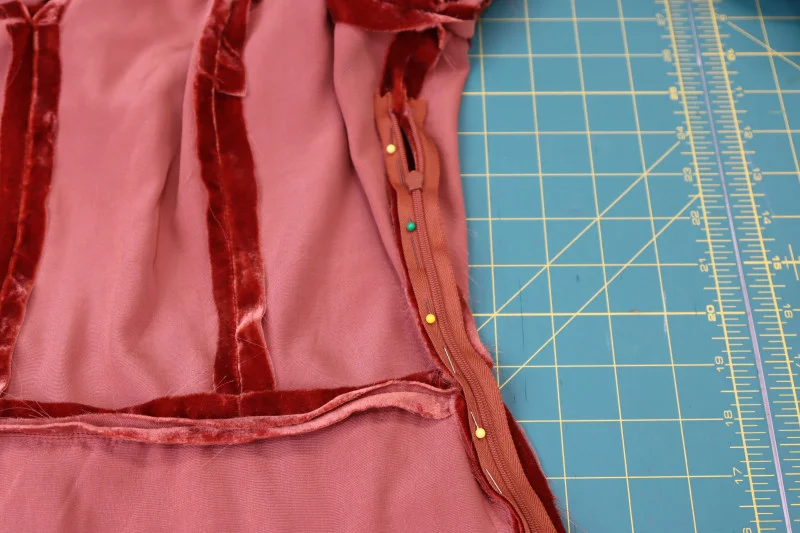


Ruffle 1 is symmetrical, with its inner circle centered, so either side can face the seam. Join one side seam, then pin the inner circle to the underskirt hem, right sides together, and sew it in place.
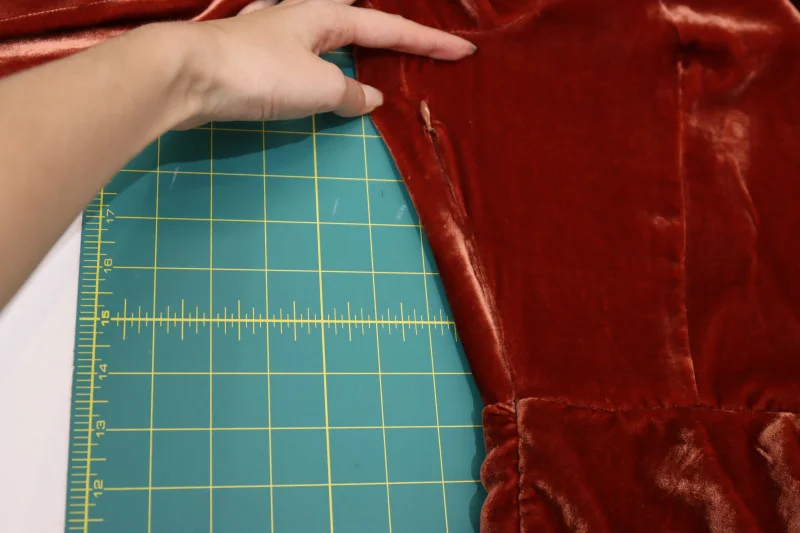


Make and attach the waist ruffle
Find the shorter edge of ruffle 3 and sew its two short ends together, right sides facing. This piece will sit directly at the underskirt waist. Ruffle 4 is a symmetrical circle with a centered inner opening; join one straight edge to form its side seam.
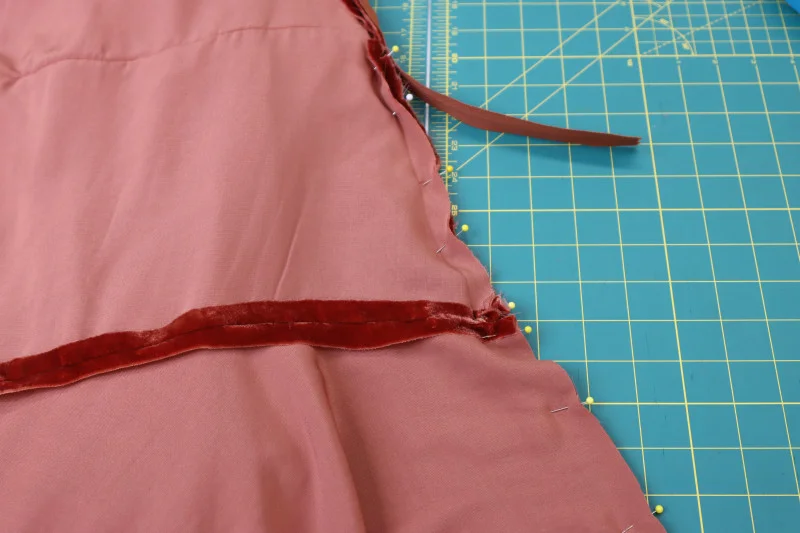


Open both ruffles at their seams and lay them flat. Pin ruffle 4’s inner circle to ruffle 3’s outer hem, right sides together, then stitch around the opening. The open side of this assembled waist ruffle will be longer than its closed seam.
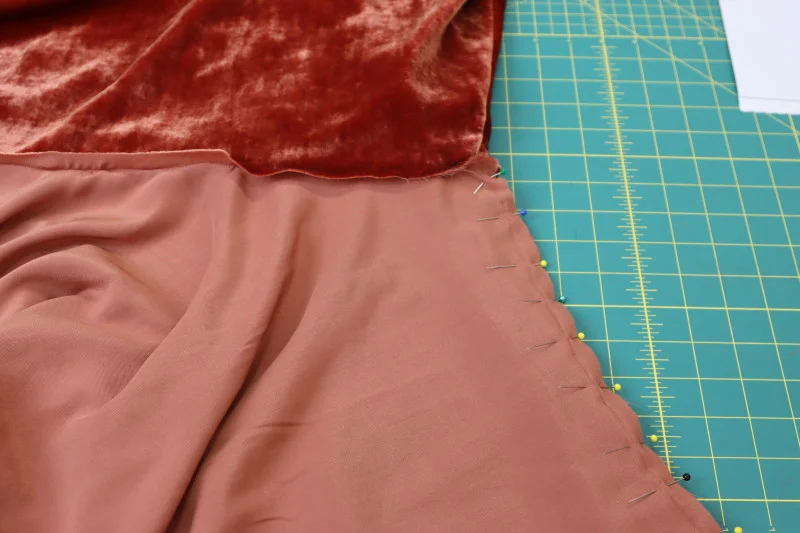


Line up the open and closed side seams of the waist ruffle with the corresponding points on the underskirt. Pin with the waist ruffle’s wrong side against the skirt’s right side, then sew along the waistline.
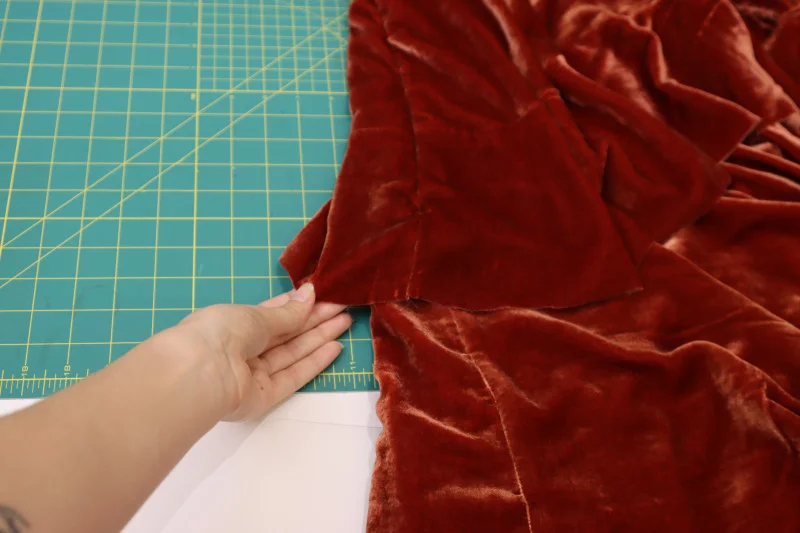


Step 9: Collar
Shape the collar and finish the neckline
The collar’s shape depends on clean seams and a careful turn. Place the two collar pieces with right sides facing, pin around the edges, then stitch the two short sides and the concave curve; leave the convex edge open for joining to the neckline. Turn the collar right side out and use a point turner to sharpen the corners.


Match the collar’s raw edge to the bodice neckline, aligning its ends with the front keyhole opening, and sew the layers together. Understitching the seam allowance toward the bodice is optional, but it can help stop the collar from rolling out into the keyhole.



Prepare the sleeves and cuffs
Leave an opening at each wrist for the buttoned cuff. Fold each sleeve in half with right sides together and pin the inseam from the underarm to 4.5 inches above the wrist. Stitch to the last pin, press the seam allowances open, then press the slit edges to the wrong side and topstitch them with a ⅜-inch seam allowance.
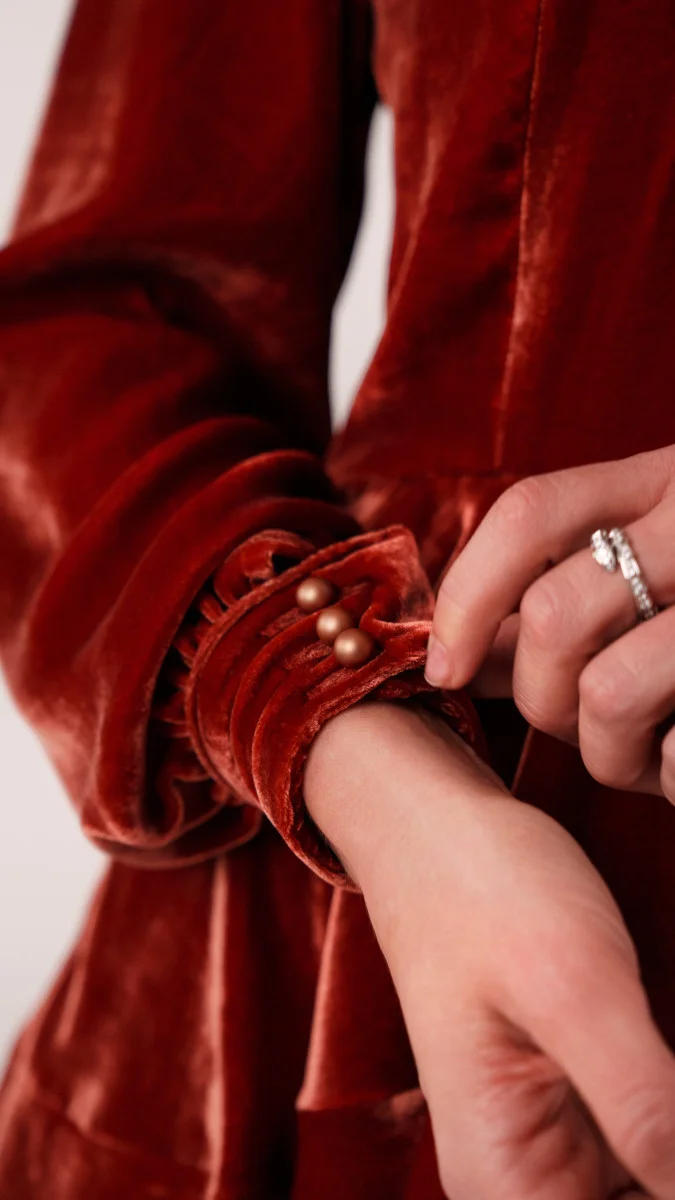


Run two parallel rows of long stitches along each sleeve hem and another pair across the top of each sleeve cap. The cap gathering stitches in this example measure about 10 inches. Pull the upper threads to ease in the fabric at both the wrists and sleeve caps.
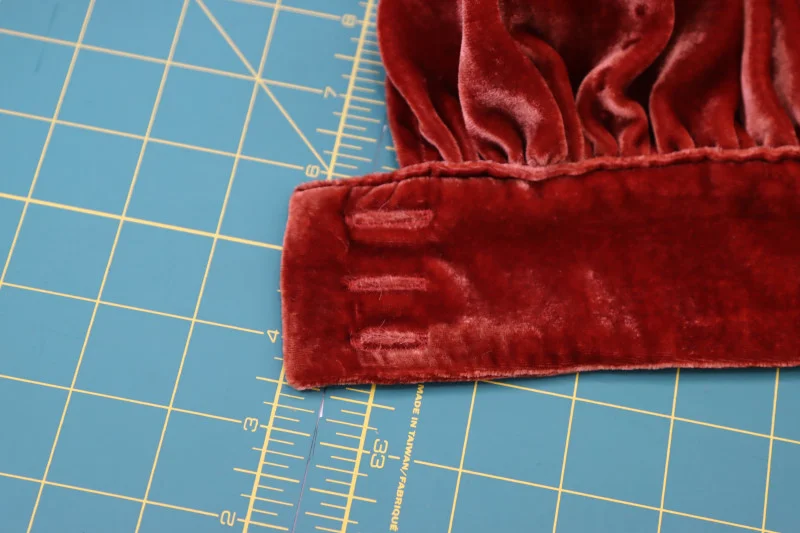


Make two cuffs, each from a pair of pieces placed right sides together. Stitch one long edge and both short edges, trim the corners, turn right side out, and sharpen the corners with a point turner. Before attaching them, press the remaining raw edges inward by ½ inch.
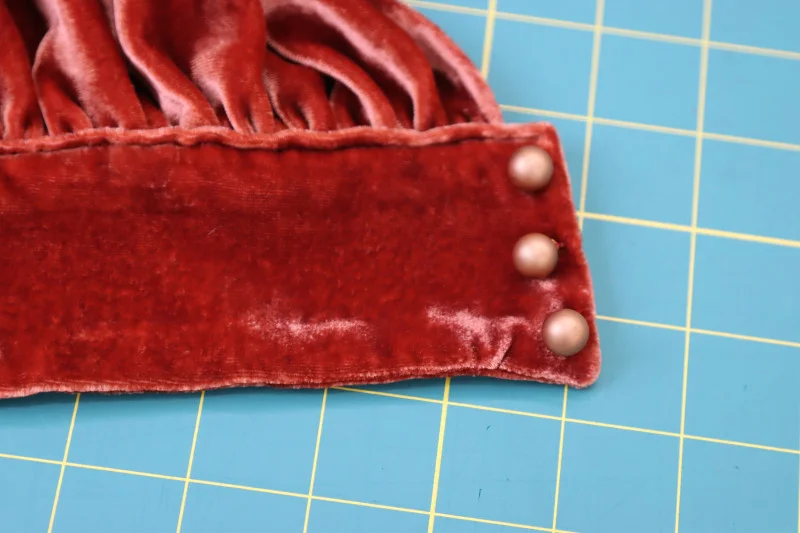


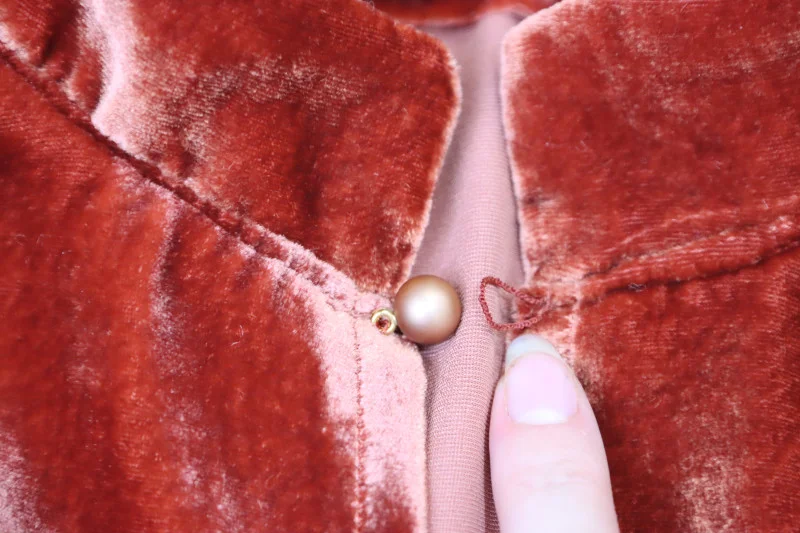
Gather each wrist until it is 1 inch narrower than its cuff. Sandwich the sleeve edge between the cuff layers, tucking the pressed raw edges inside, then pin and topstitch along the cuff’s upper edge to catch the gathers. Check the overlap before sewing: the cuff extension should point in opposite directions on the left and right sleeves so the button closures mirror each other.


Set the sleeves and join the skirt
With the bodice inside out, pin a gathered sleeve cap into the armscye, matching the sleeve front to the bodice front and placing it along the side seam that is already closed. Sew it in. On the other side, close the bodice side seam only from the underarm to halfway down; leaving the lower section open makes room for the side seam zipper. Fit the second sleeve into that now-partly-closed armscye and stitch it in.



Finish this section by matching the skirt waist to the bodice waist, right sides together. Align the open and closed side seams on both pieces, pin, and sew the waist seam. These alignments matter: they preserve the zipper opening while bringing the dress together cleanly.