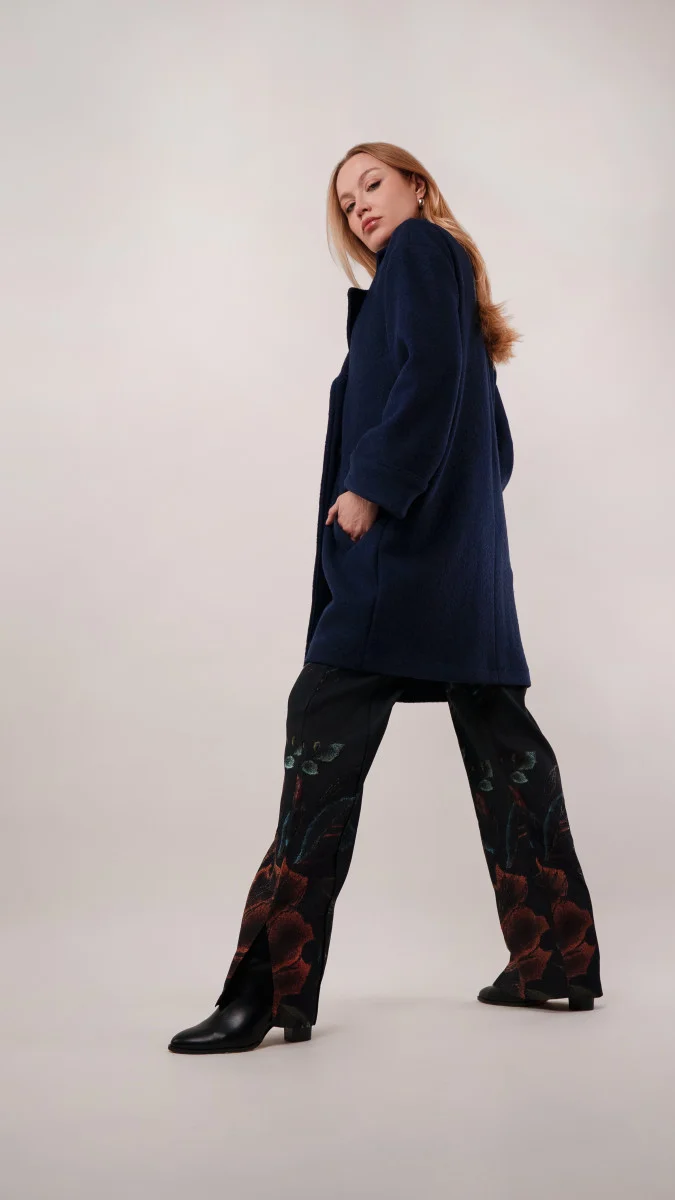
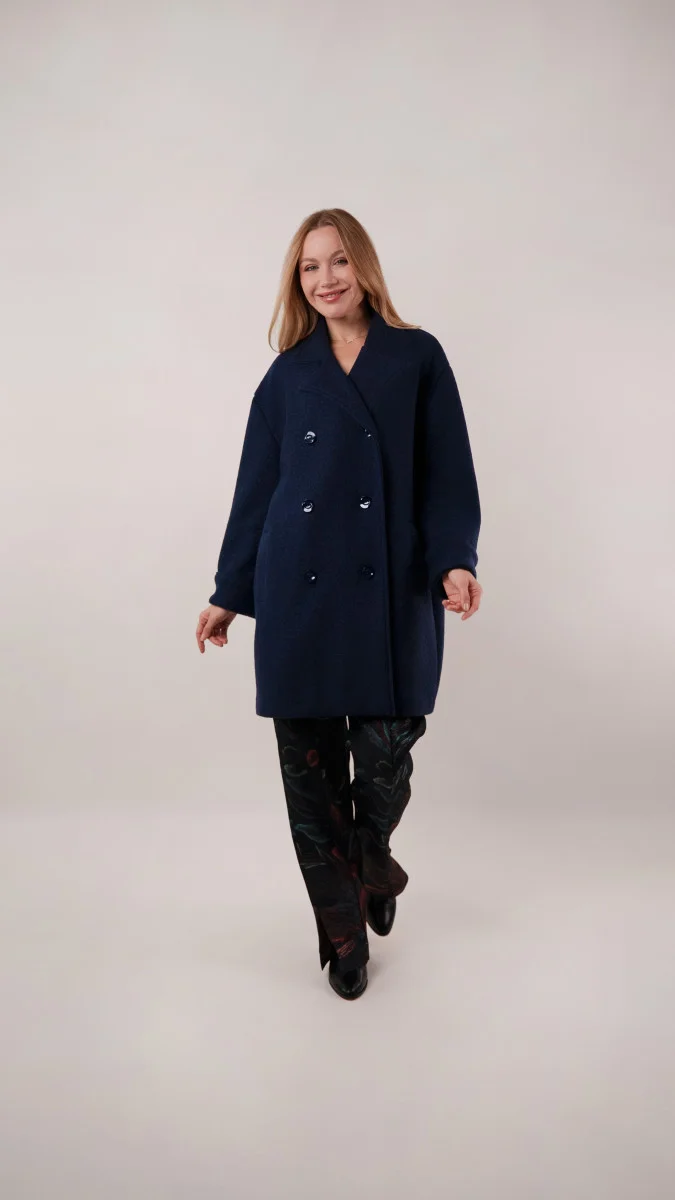
Sample No. 0258
Sew the Duxbury Double-Breasted Caban in Boiled Wool
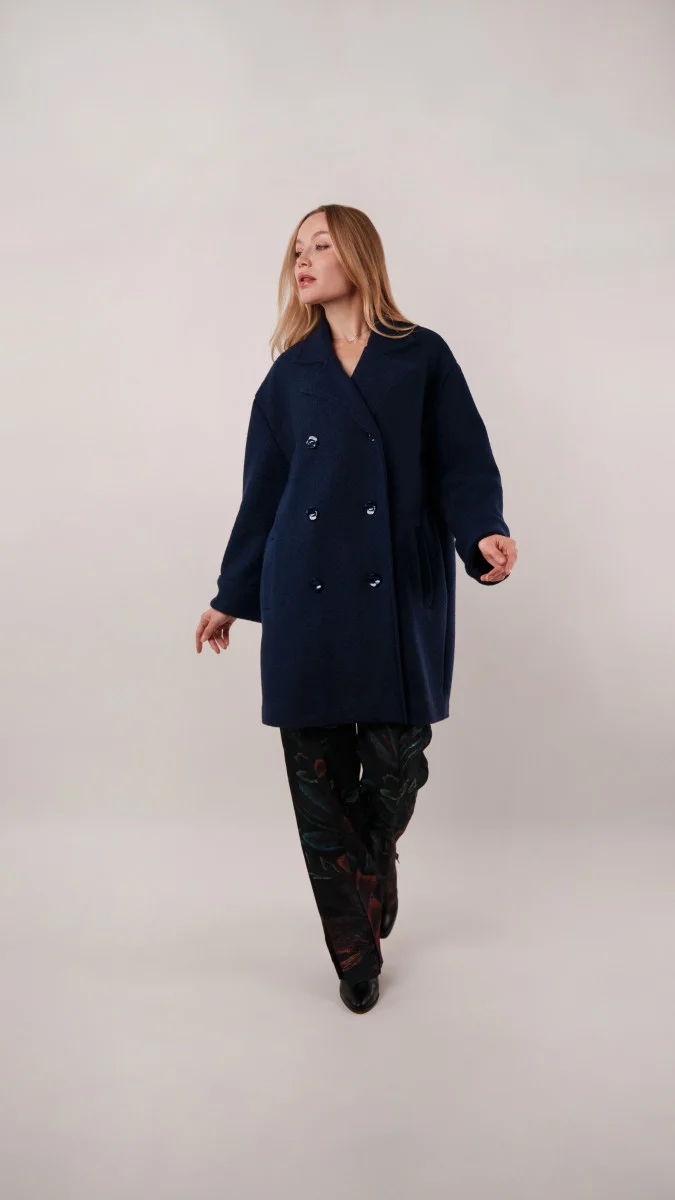
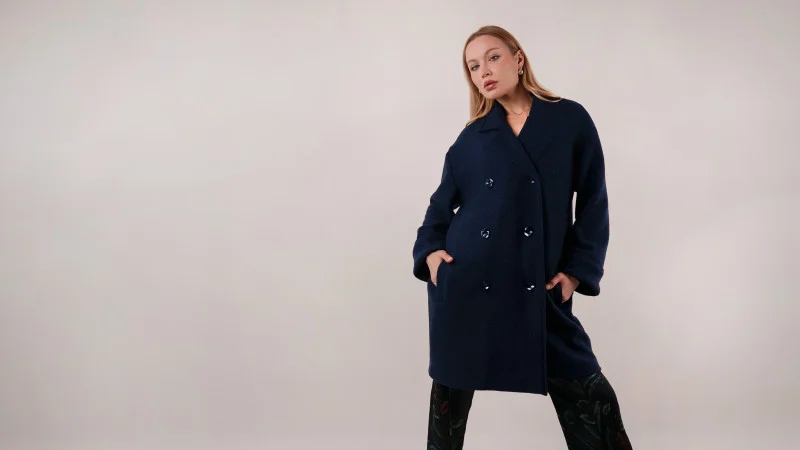
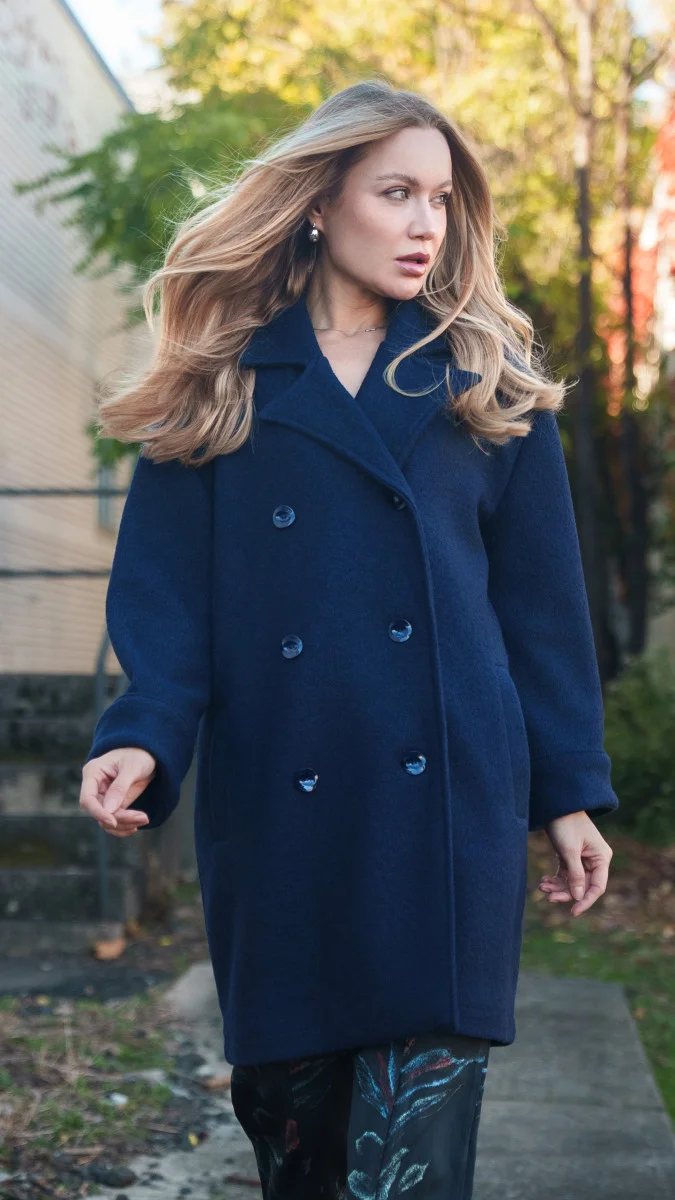
Make a cozy caban with welt pockets, oversized lapels and a double-breasted front. The guide covers materials, fitting and construction from start to finish.
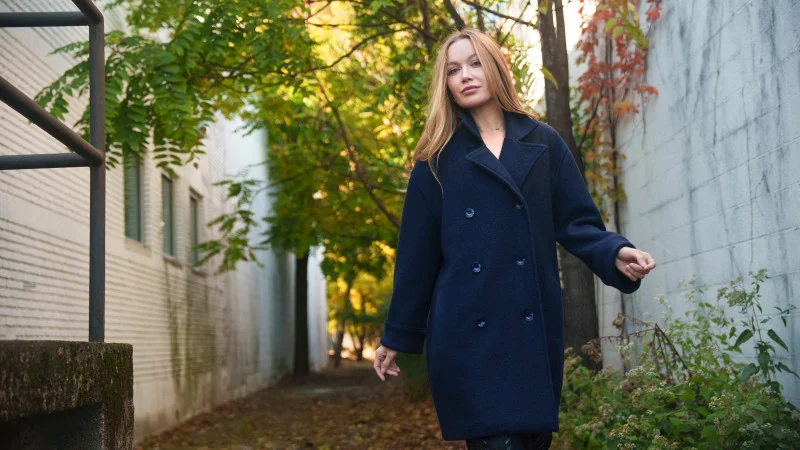
The welt pockets are the most precise part of the Duxbury Double-Breasted Caban, but they’re also what gives this boiled-wool coat its polished finish. Once the pockets are in, the remaining construction moves through familiar coatmaking stages: joining the body, setting the sleeves, attaching the collar and facings, hemming, then adding buttons.
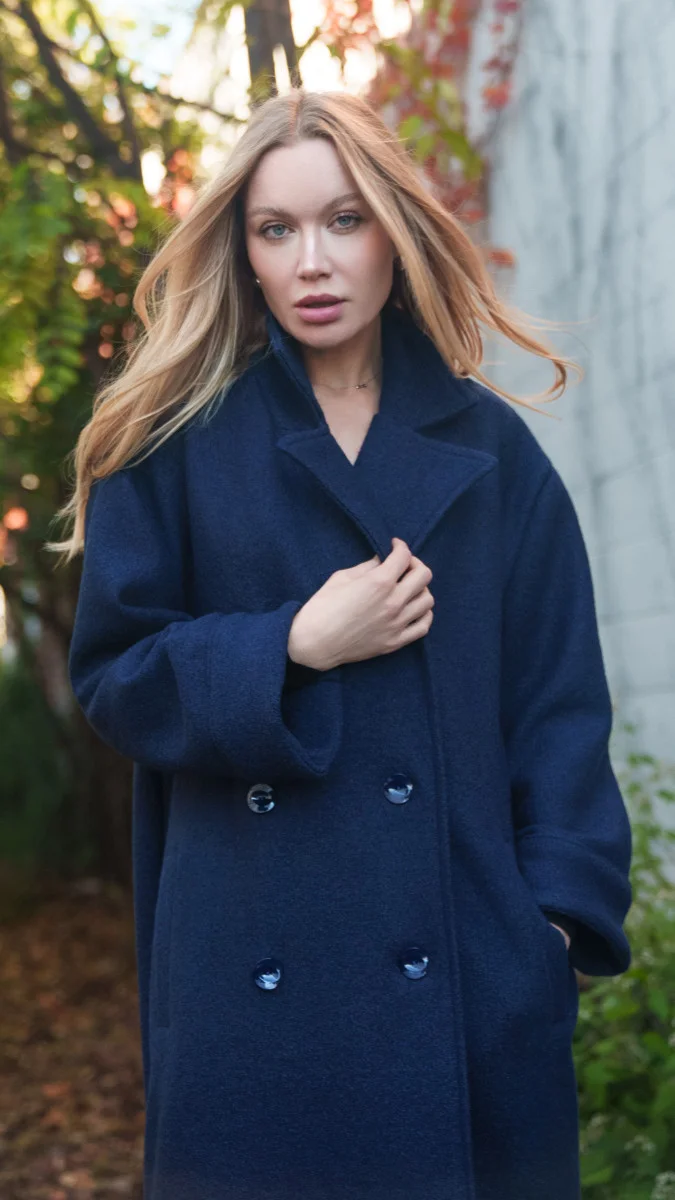
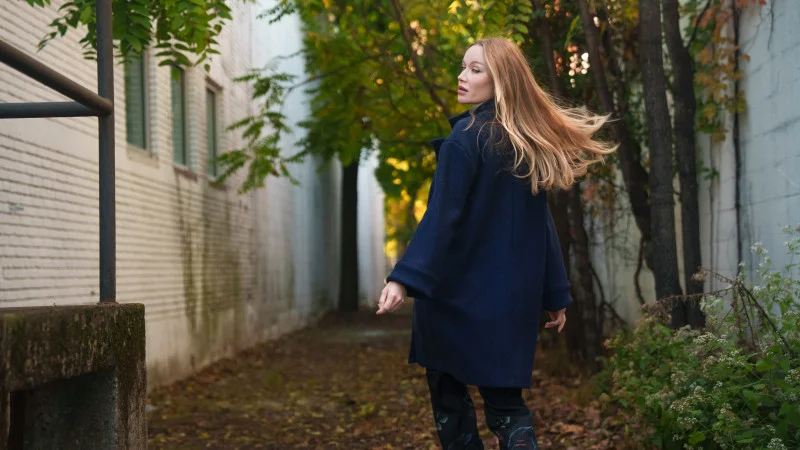
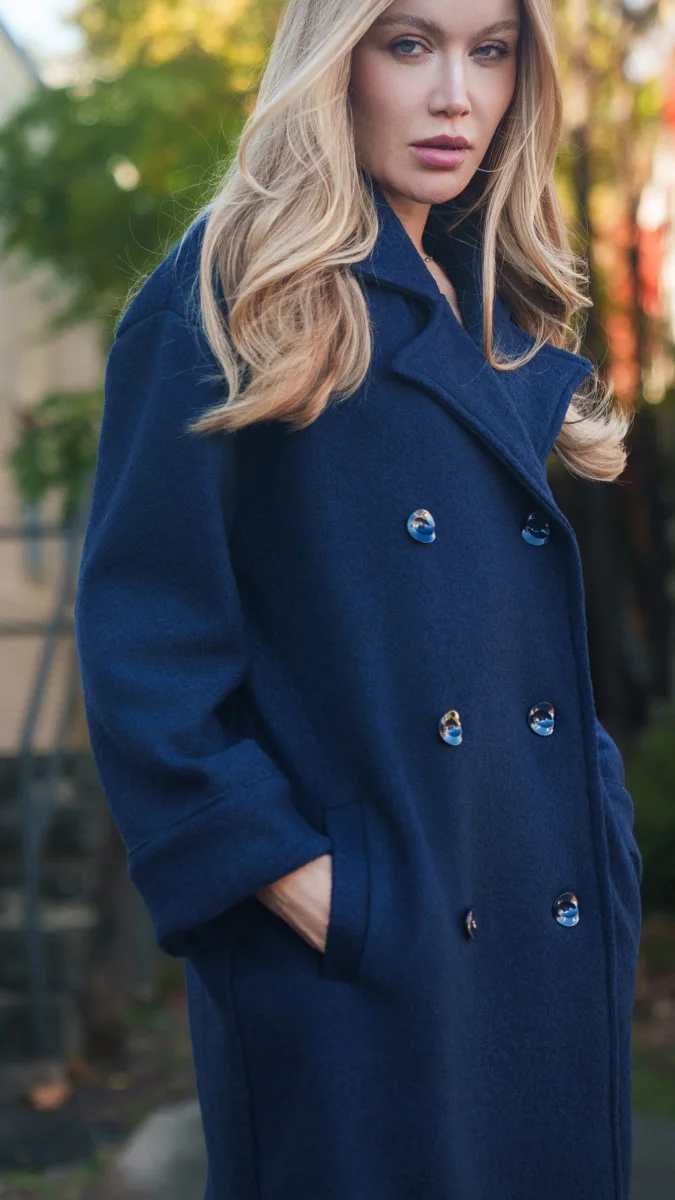
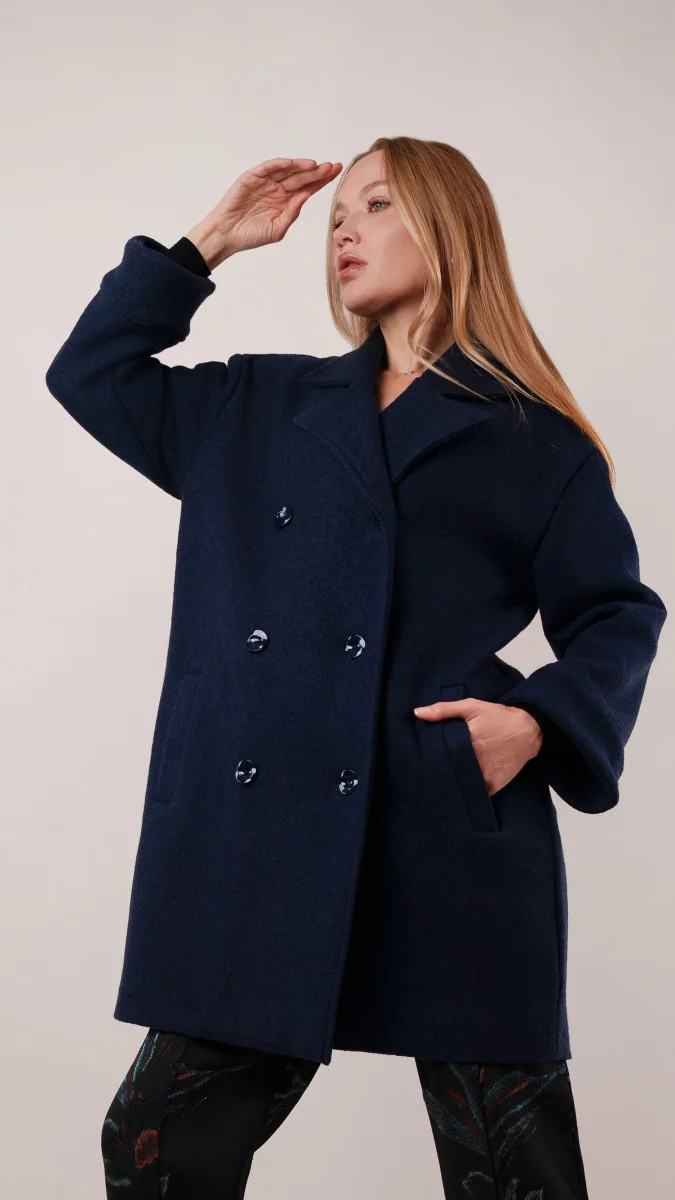
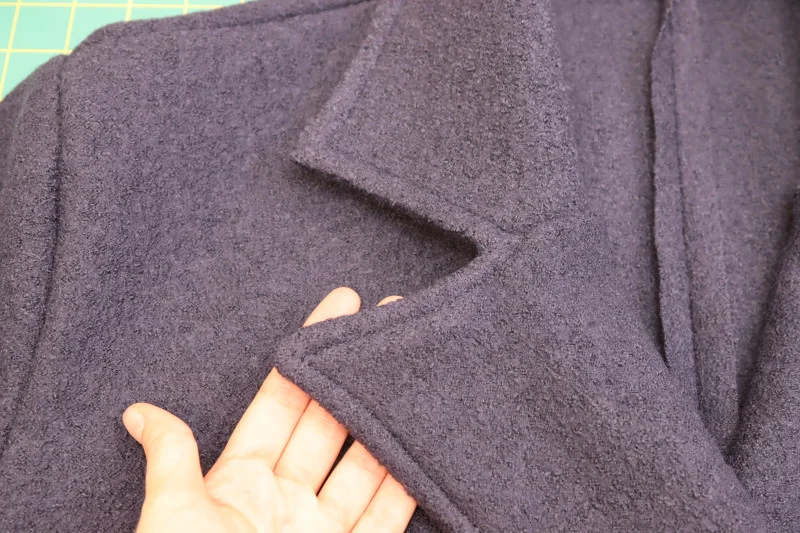
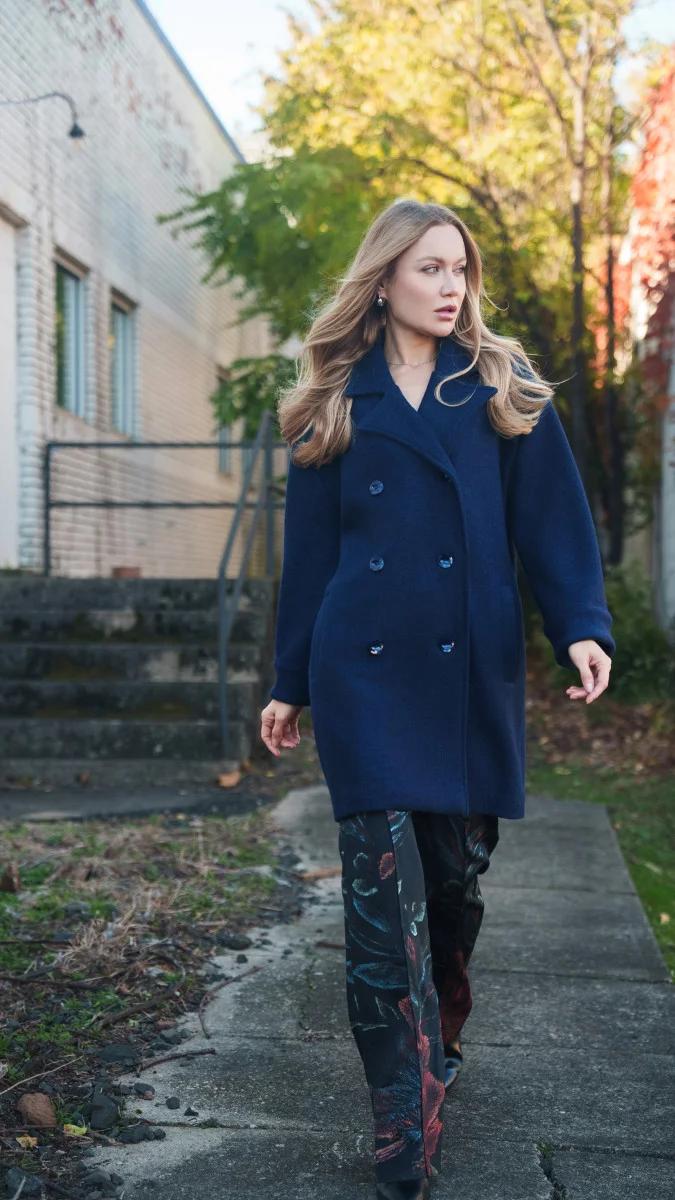
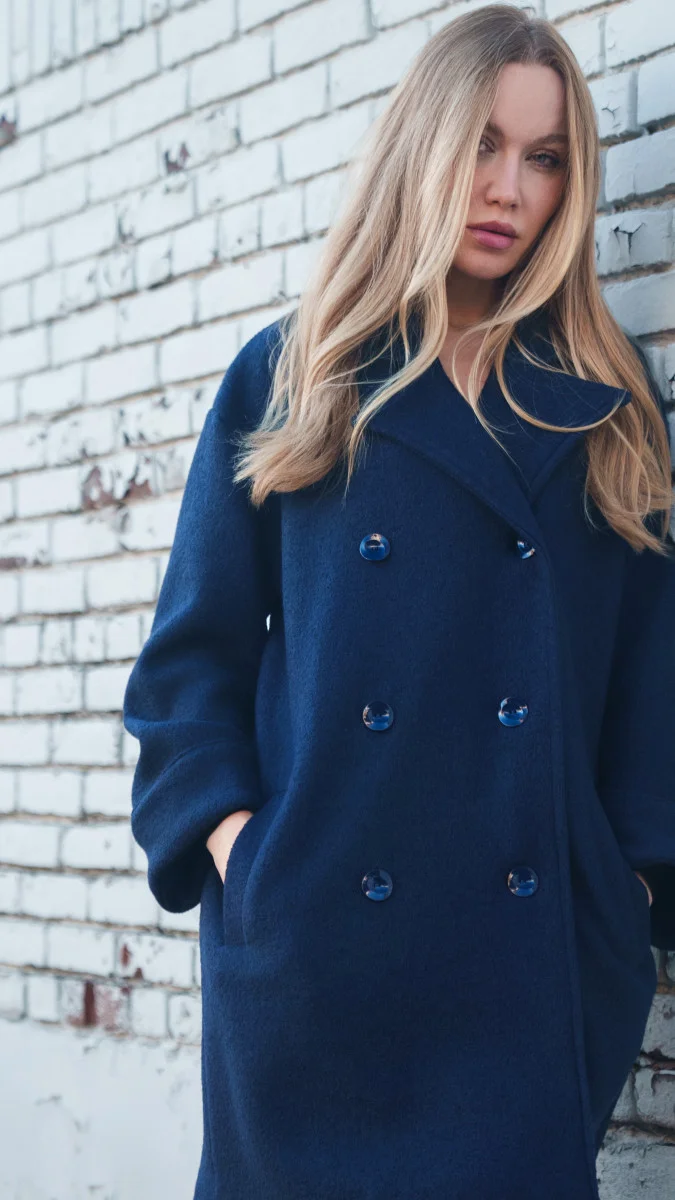
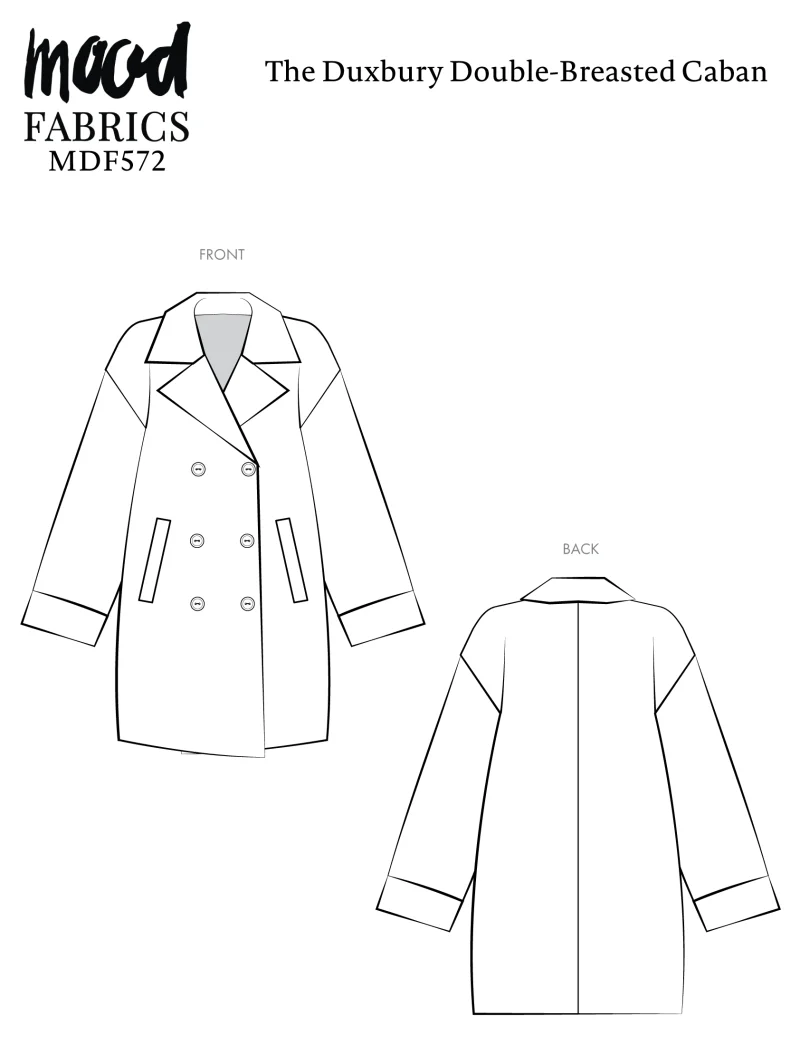
Designed by Mood Sewciety, pattern MDF572 pairs a double-breasted front with oversized notched lapels and cuffs. The sample uses navy boiled wool, a knit fabric that has been felted. Its weight gives the coat structure, and the felted surface resists fraying enough that raw seam allowances may be left unfinished. The design has no zipper and needs no lining in the sample fabric.

Choose materials and check the fit
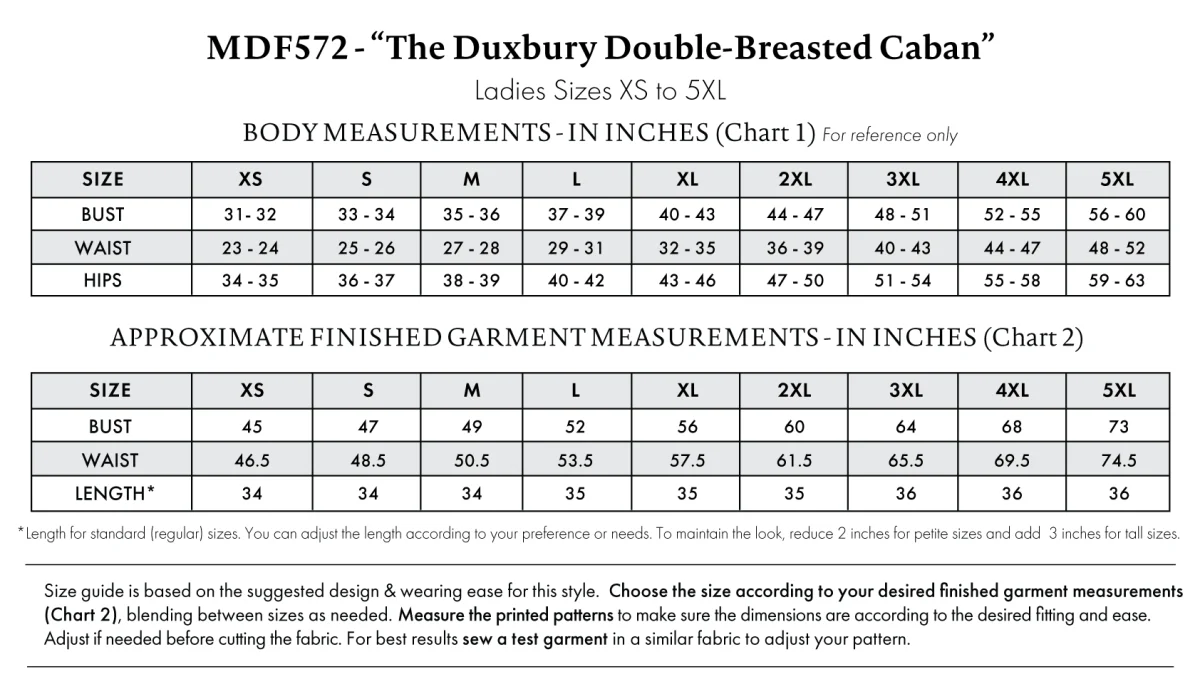
The quantities below are for a size small. The pattern download includes technical drawings and a size chart. For other sizes, consult the project’s size information.
- 4 yards of boiled wool coating fabric
- 0.5 yards of nonwoven fusible interfacing
- 8 buttons, 44L/28mm
- 1 spool of 250m all-purpose thread
- Pattern MDF572, available as a free PDF download
Tailor’s chalk and a point turner are also used. The sample’s fabric comes from the Ketil Collection, but the pattern is suited to heavyweight fashion fabrics. Tweed, faux fur and other coating fabrics are suggested alternatives. The design can stay in classic navy, shift to a bold color, or use more than one shade for color blocking. Larger buttons can make the double-breasted front more prominent.
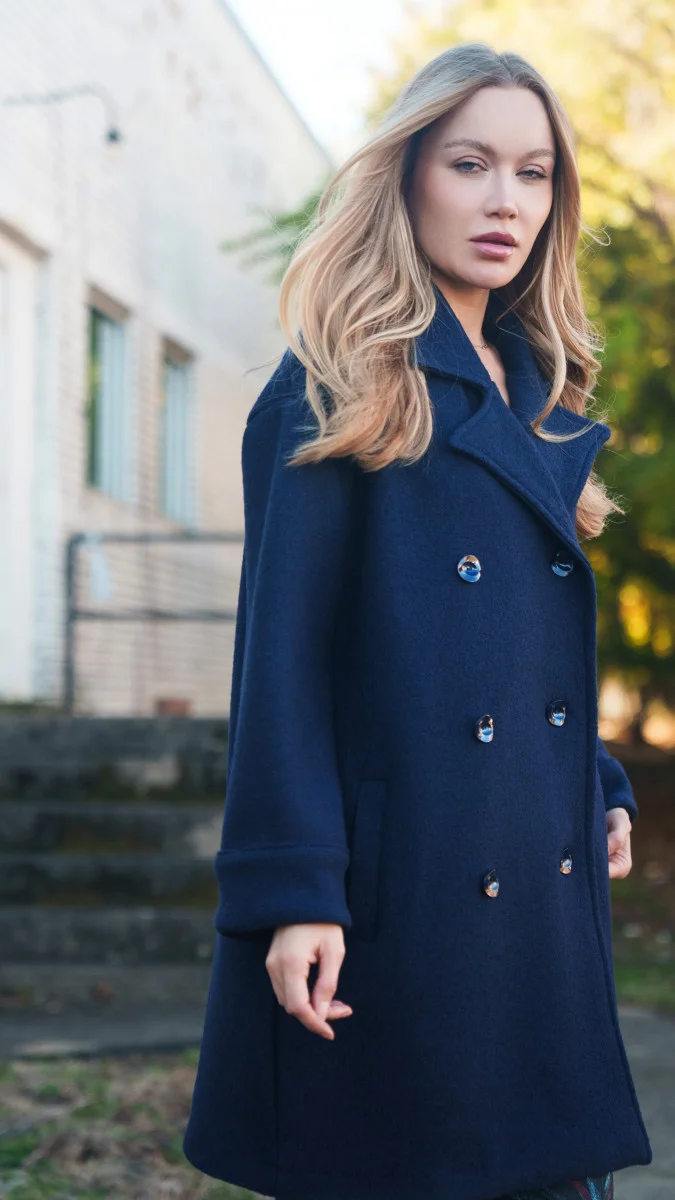
Before cutting, read the full instructions and compare your measurements with the pattern’s sizing guide. The suggested fit is based on the design’s intended wearing ease; you can also choose by finished garment measurements and blend between sizes when needed. Measure the printed pattern pieces to confirm the finished dimensions suit you, and adjust before cutting. A test garment in a similar fabric can help you assess fit. The pattern notes that standard-length measurements may change after alterations; for petite sizing, reduce length by 2 inches, and for tall sizing, add 3 inches. If your fabric has no stretch, use the approximate finished garment measurements when selecting a size.
For the boiled-wool sample, use a size 90 Microtex needle. Press wool with medium heat and gentle steam. Raw edges may remain unfinished because boiled wool is knitted and felted, though you can finish them if you prefer. Clip corners where possible to reduce bulk at the thick fabric’s turning points.

Pattern pieces and cutting plan
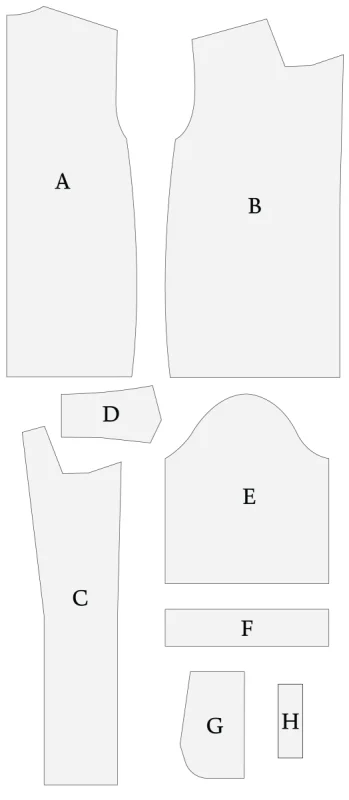
- (A) Back: cut 2 mirrored in fabric.
- (B) Front: cut 2 mirrored in fabric.
- (C) Front facing: cut 2 mirrored in fabric.
- (D) Collar: cut 2 on the fold in fabric.
- (E) Sleeves: cut 2 mirrored in fabric.
- (F) Cuffs: cut 4 in fabric.
- (G) Pocket bags: cut 2 mirrored sets in lining.
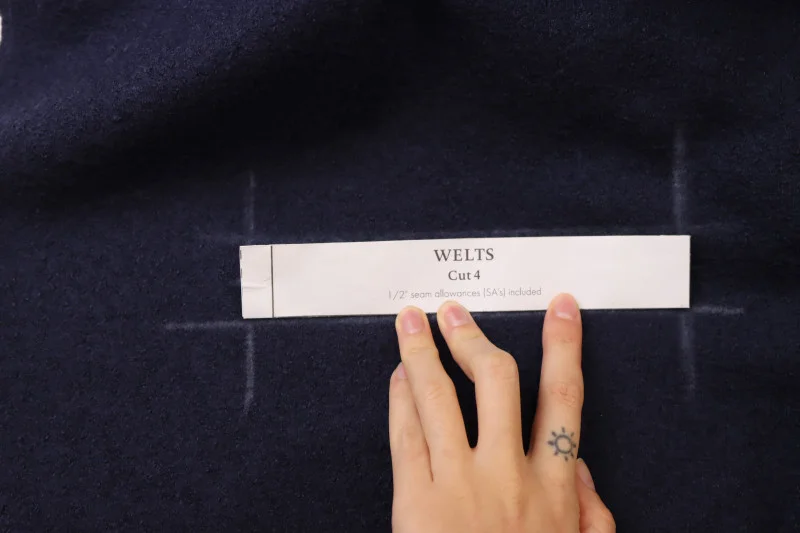
- (H) Welts: cut 4 in fabric.
Use a 1/2-inch seam allowance for all seams unless a step specifies otherwise. The pocket instructions are the place to slow down: accurate marking and careful clipping help the openings sit cleanly and let the pocket bags hang free of the coat front.
Construct the welt pockets first
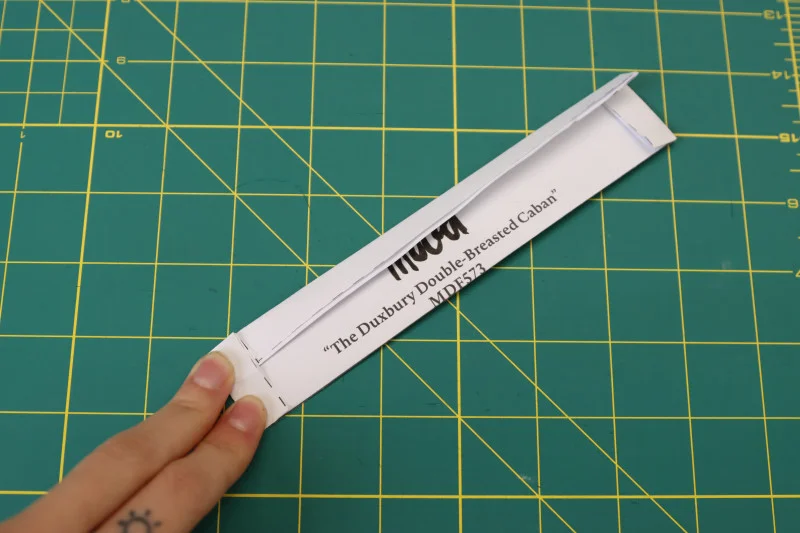
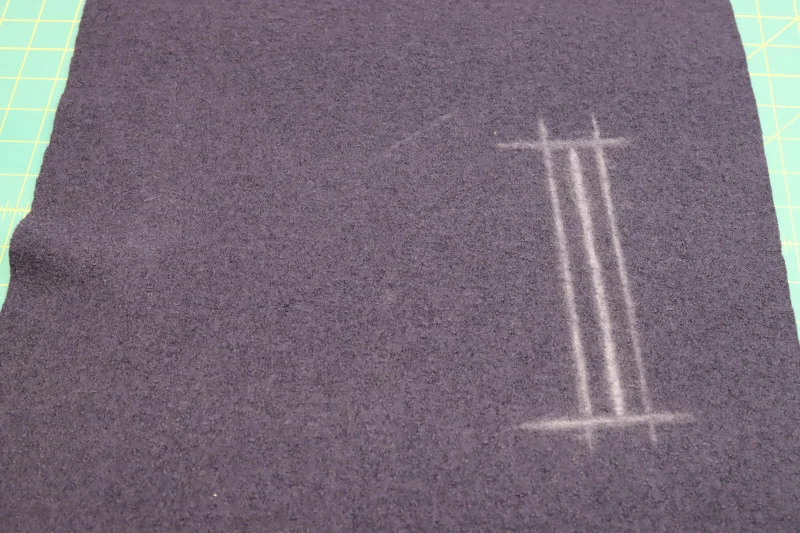
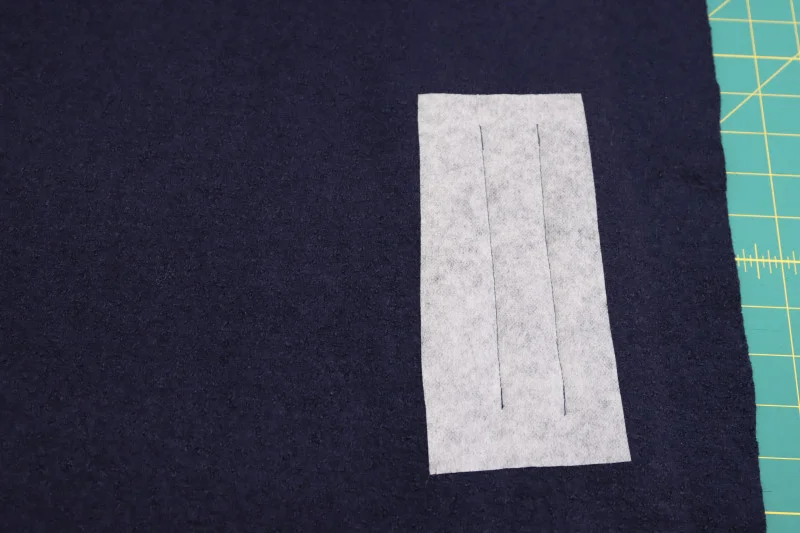
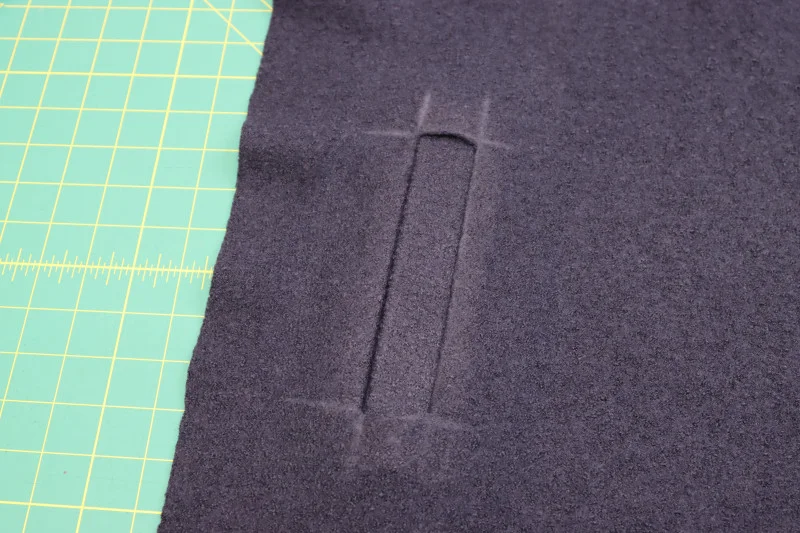
- Transfer the welt placement from the paper pattern to both front coat pieces. To change the placement, fold a welt pattern piece in half, then fold its seam allowances inward so only the inner welt shape remains. Center this template over the pocket’s chalk line and trace around it. Extend the chalk marks beyond the template corners, then repeat on the other front. Fuse interfacing to the wrong side of each front, behind the chalk markings.
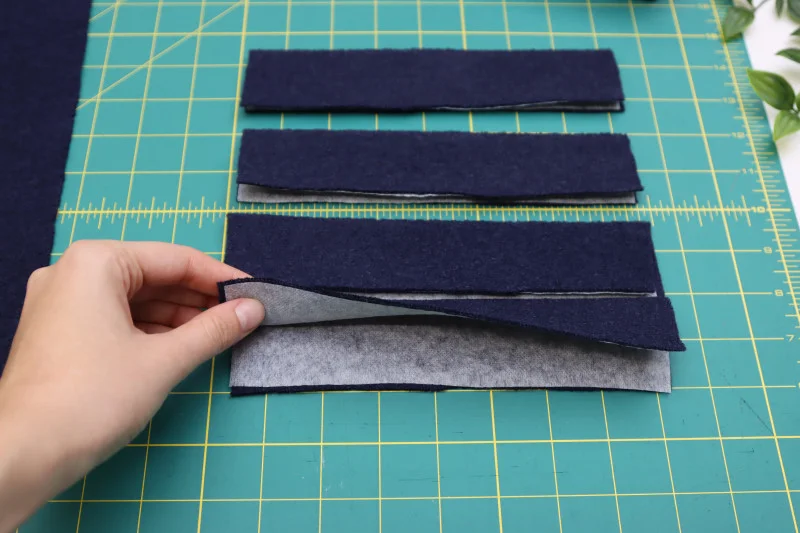
- Fuse interfacing to the wrong side of each welt. Fold each welt lengthwise, wrong sides together, and press.
- Set the welts over the marked templates with their raw edges meeting the center chalk line. Pin along the outer chalk lines, then stitch from one corner to the other on each line. Stop at the corners; the chalk extensions are guides, not additional stitching lines.
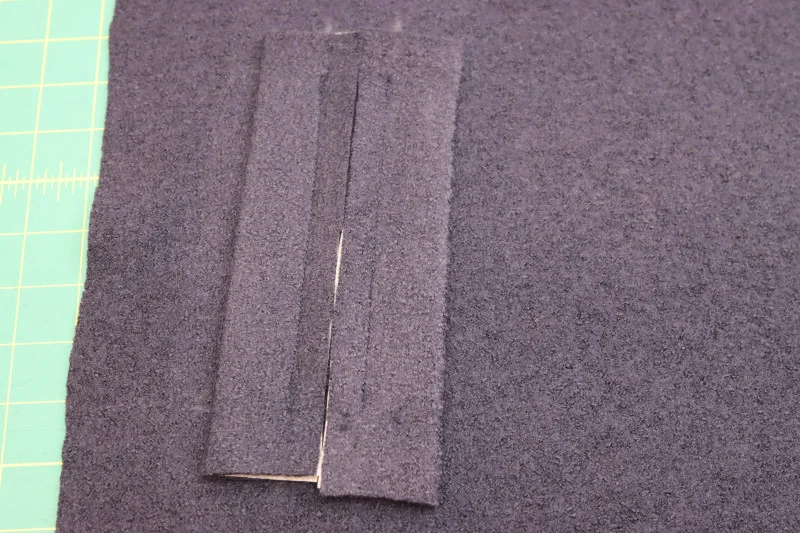
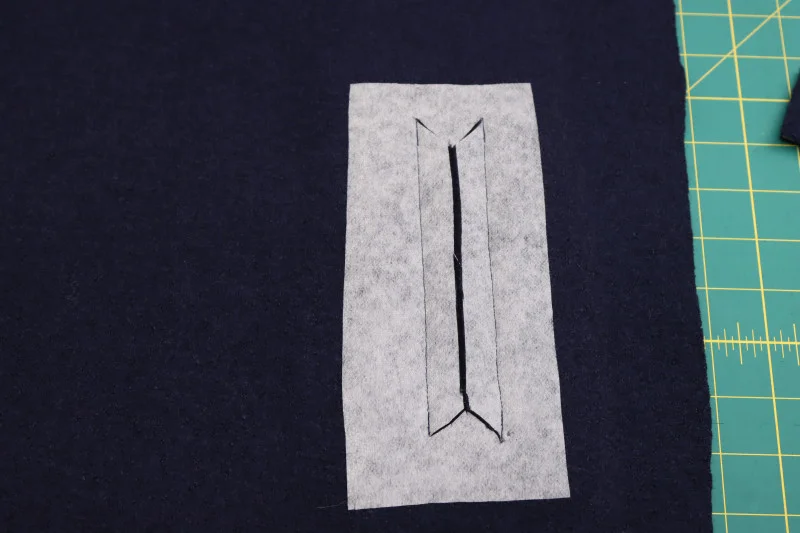
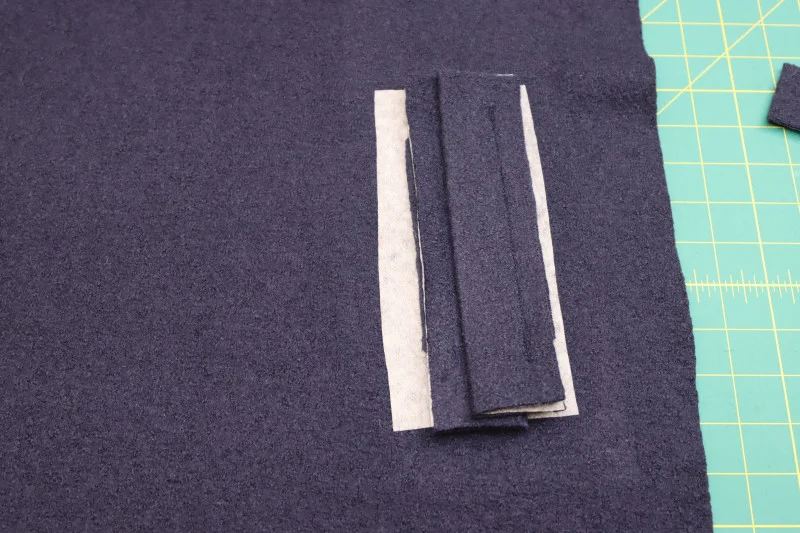
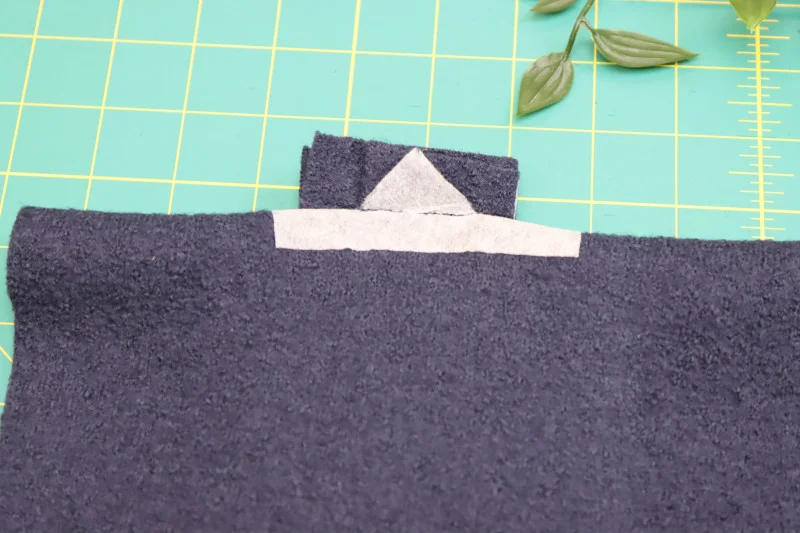
- Cut along the center chalk line, stopping about 1 inch short of each end. Snip triangular notches at both ends, aligning the tips with the welt stitching. Push the welts through the slit to the wrong side. Arrange the opening so a hand can enter from the coat’s side: the welt nearer the side seam goes under the welt nearer the center front. Press from the right side.
- Fold the coat front right sides together so the welt seam allowances and triangular notches extend outward. Stitch across the base of each triangle, catching the welt ends. Repeat at the other end of that pocket and on the second front.
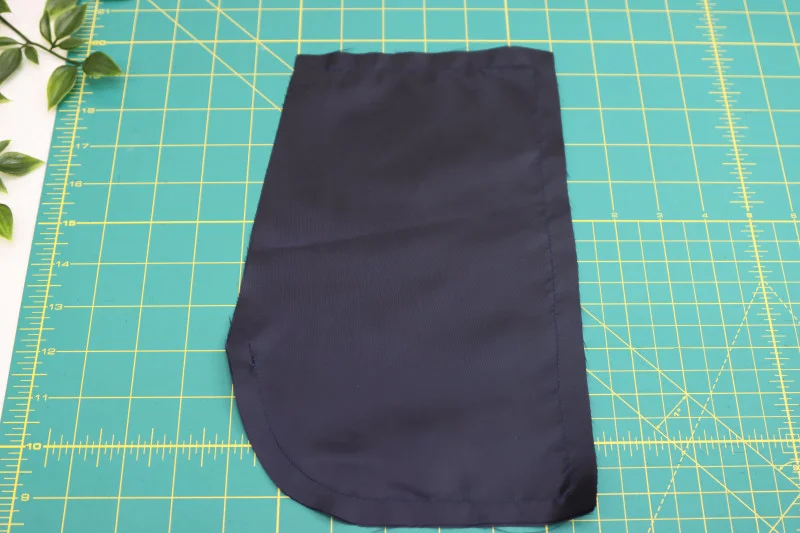
- For each pocket, place two pocket bag pieces right sides together. Stitch around the perimeter, leaving the opening unsewn. Leave about 1 inch between the raw edge of the opening and the start of the pocket-bag seam so the bag can attach to both welts. Serging the perimeter is optional; keep the opening clear. Make both pocket bags this way.
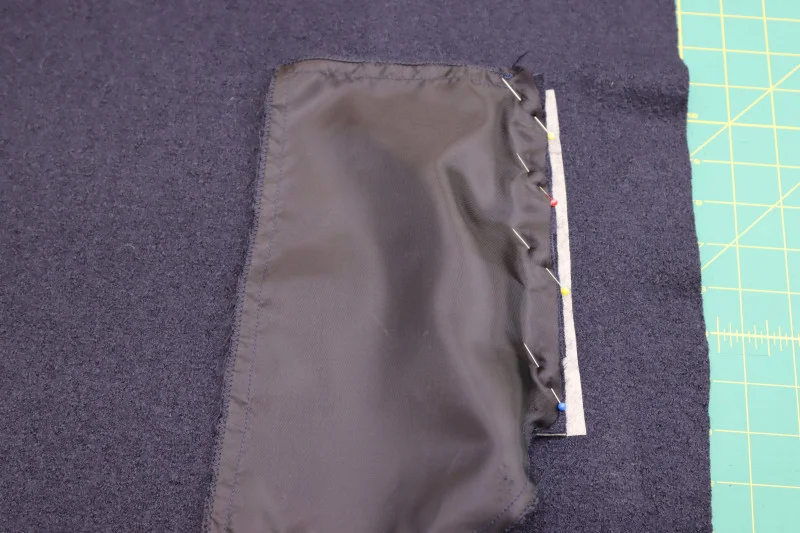
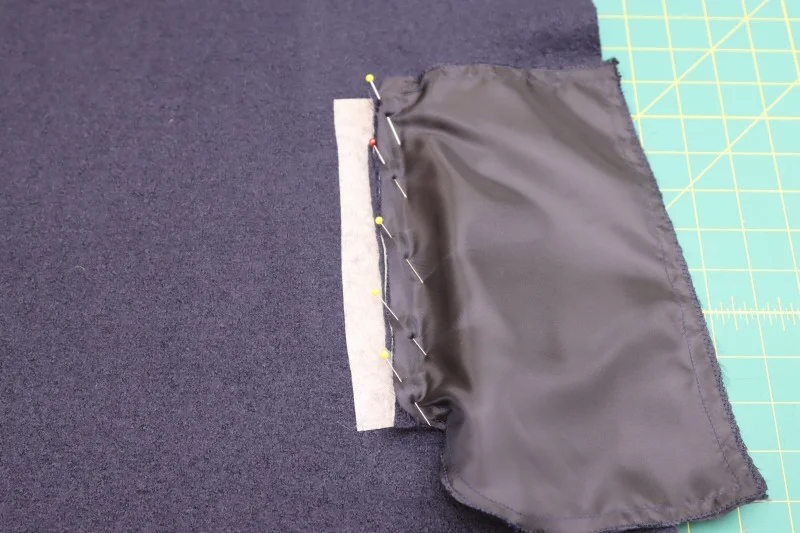
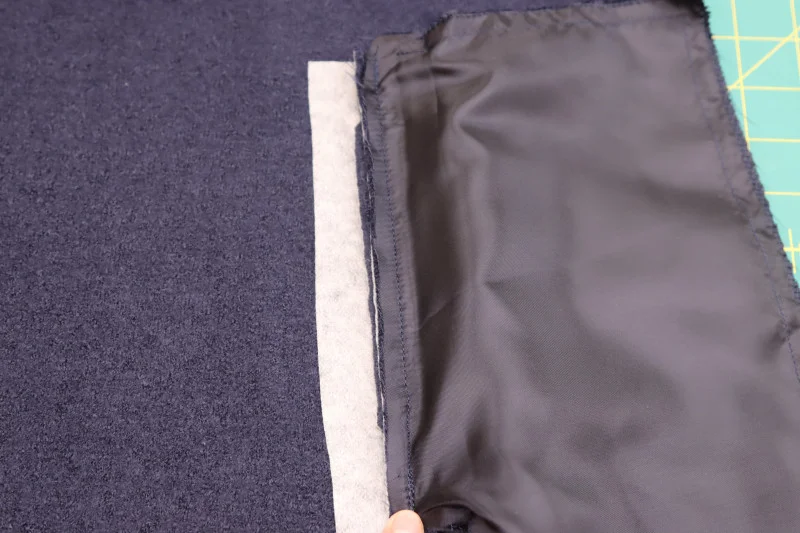
- Separate the two sides of a pocket-bag opening. Pin one raw edge to one welt’s seam allowance and the other edge to the opposite welt’s seam allowance. Keep pins and stitching within the pocket bag and welt allowances; sewing through the coat front would close the pocket. Stitch each side separately.
Join the coat body and sleeves
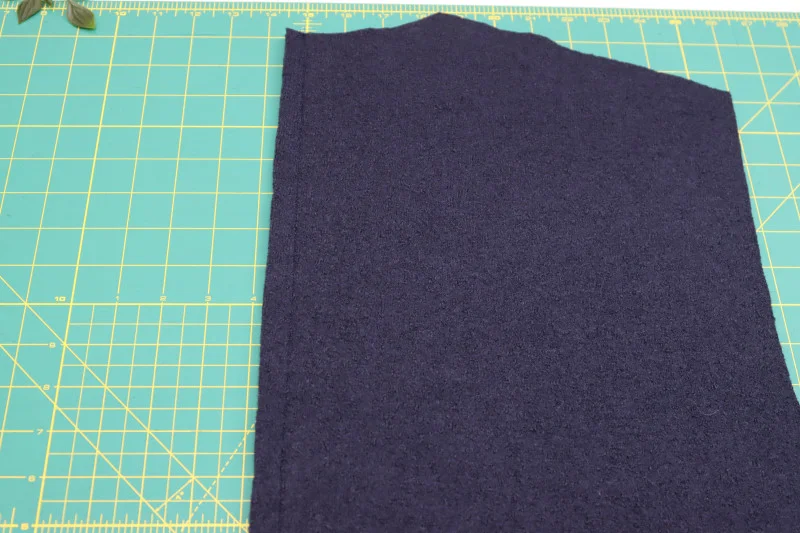
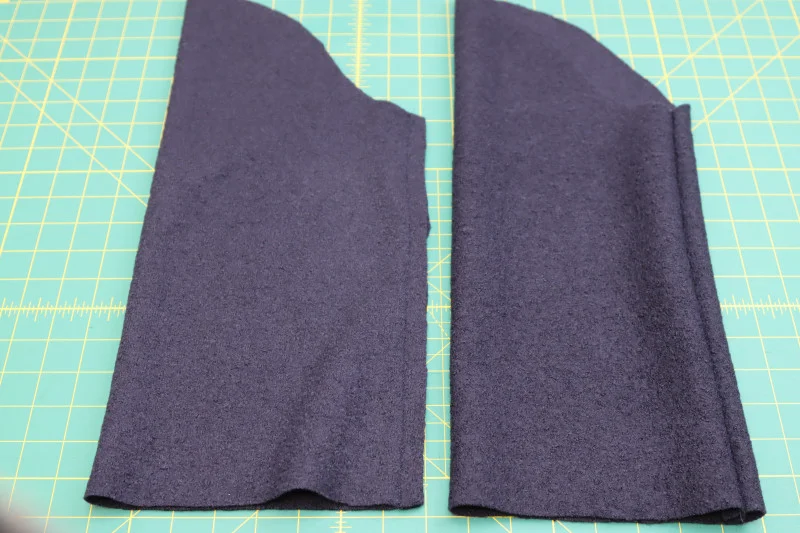
- Place the back pieces right sides together. Pin and stitch the center-back seam, then press it open and flat.
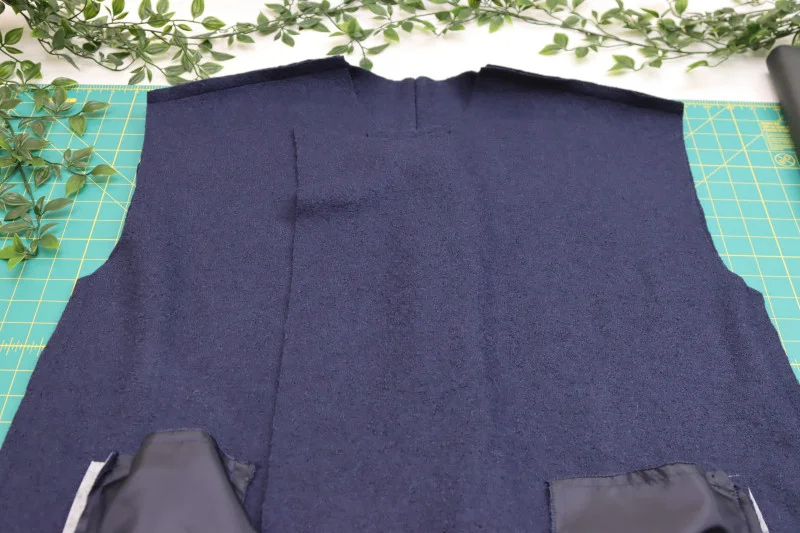
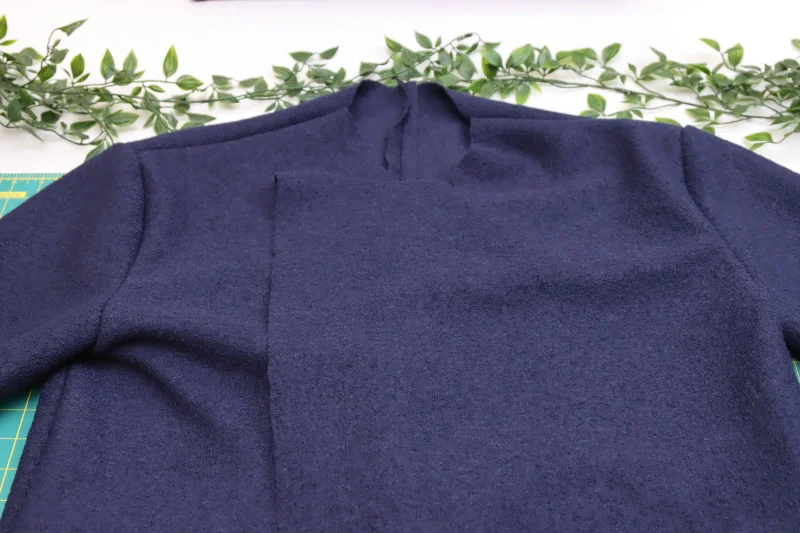
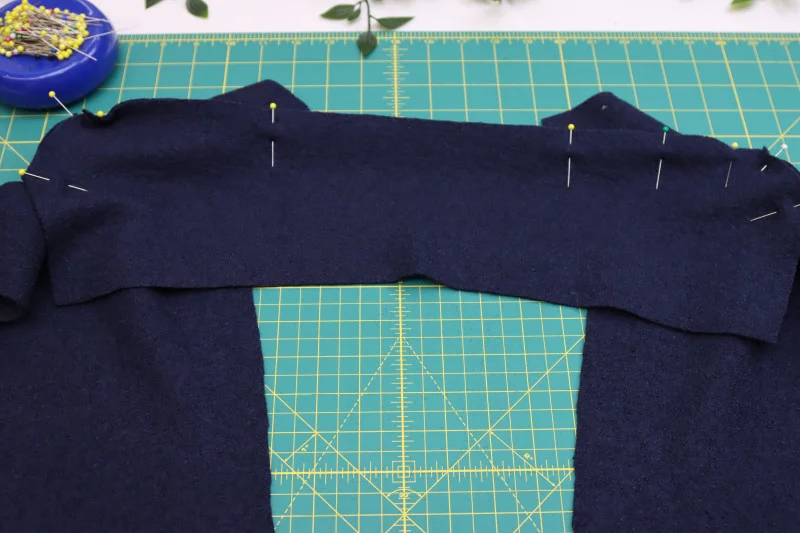
- Lay the two front pieces right sides together over the back. Pin and sew the shoulder and side seams. Press both sets of seams open and flat.
- Fold each sleeve in half with right sides together and the inseams aligned. Pin and stitch the inseams.
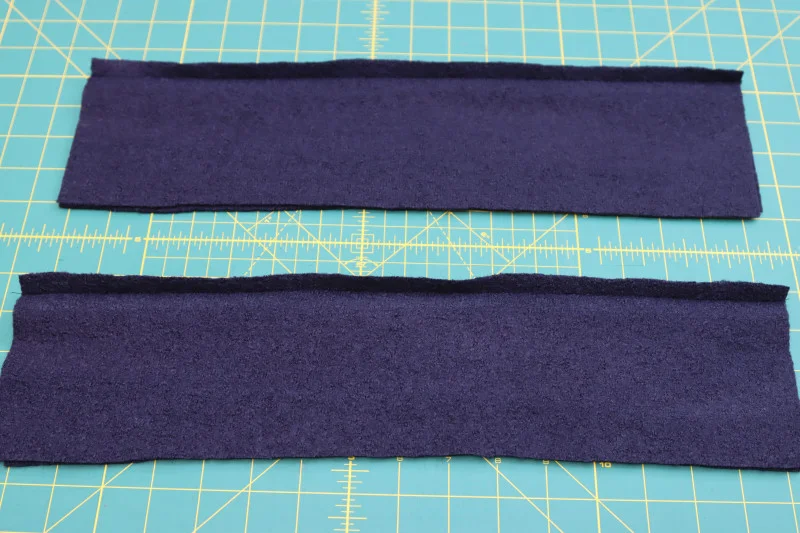
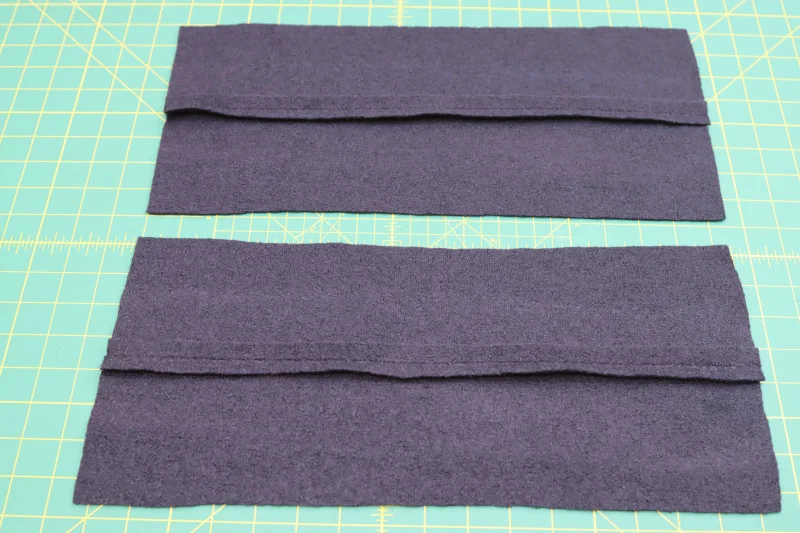
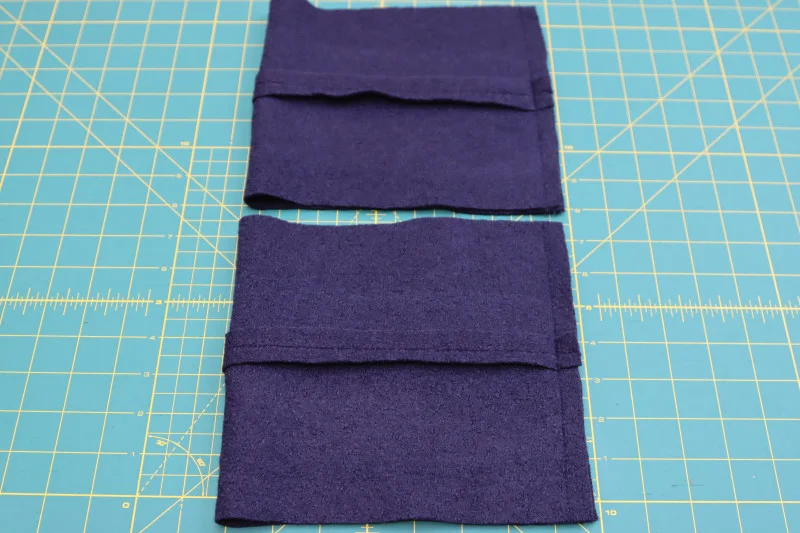
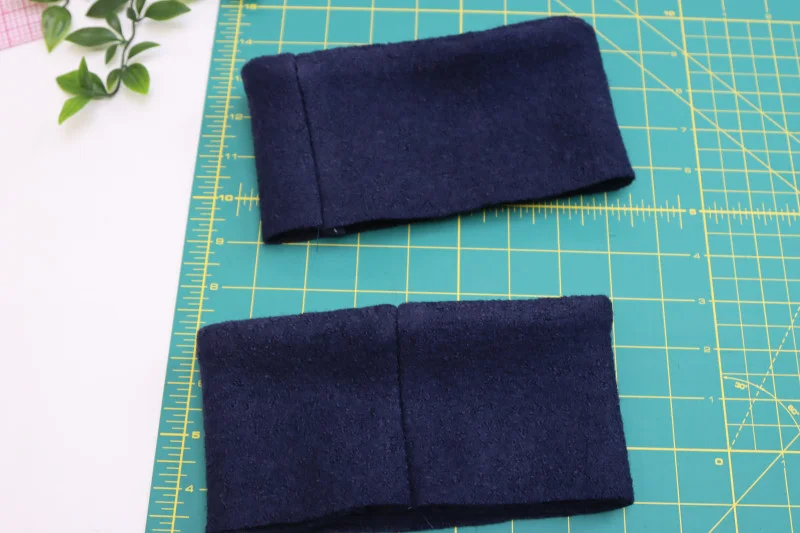
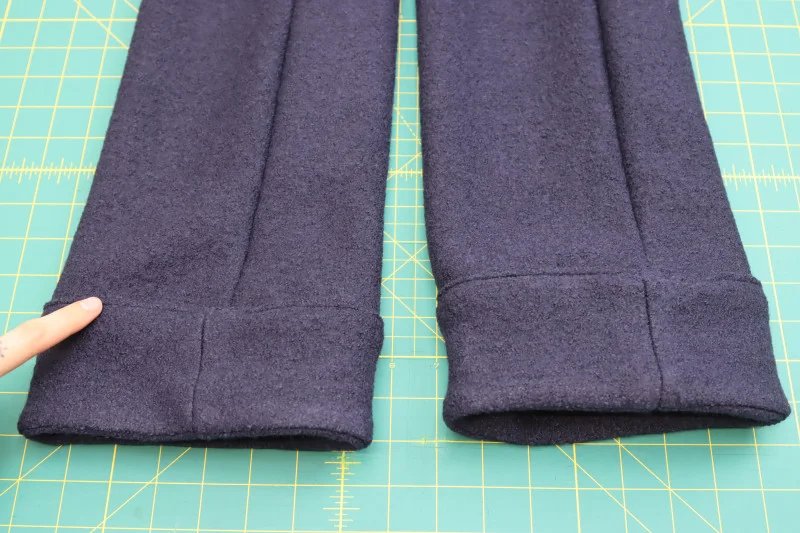
- Make two cuff pairs, placing two cuff pieces right sides together in each pair. Sew one long edge of each pair and press the seams open. Fold each cuff right sides together with short edges aligned, then stitch the short edges to form a loop. Fold each loop lengthwise, wrong sides together, enclosing the seam allowances.
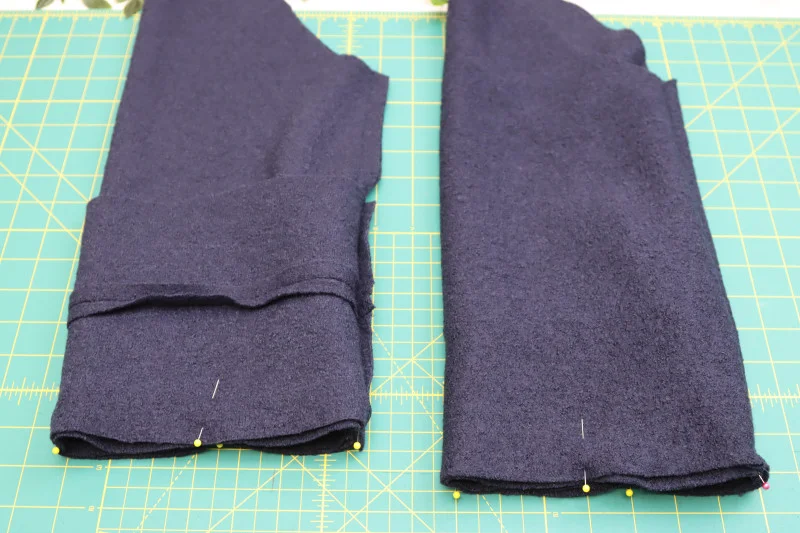
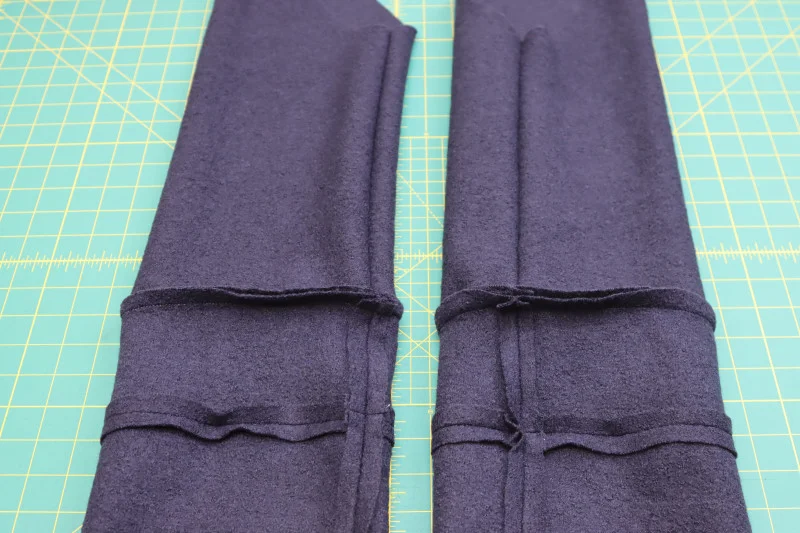
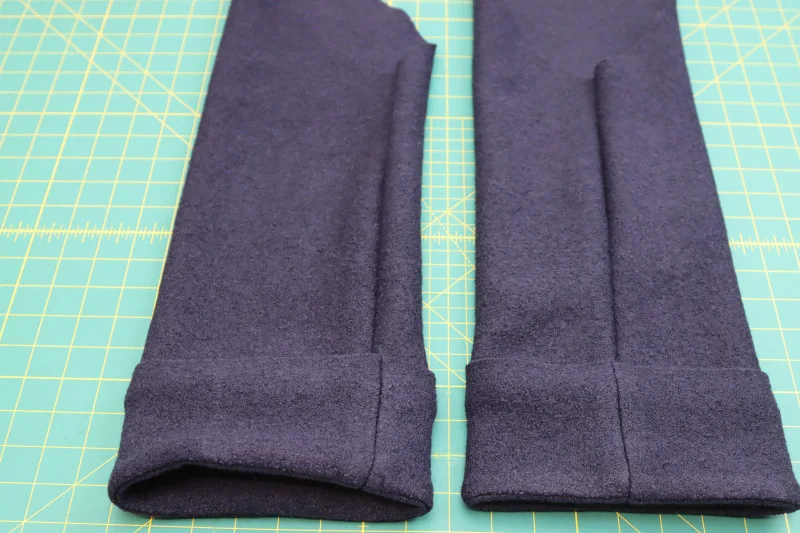
- Open the cuff folds. Position each cuff’s right side against the wrong side of its sleeve, aligning raw edges at the sleeve opening. Pin and stitch. Unfold the cuff away from the sleeve, then fold it in half again, wrong sides together, over the center seam so its lower edge meets the sleeve hem. Turn the cuff’s lower edge inward by 1/2 inch and press. Pin this folded edge over the sleeve hem seam allowance, then topstitch to cover that allowance.
- Pin each sleeve into the coat armscye, right sides together, matching the sleeve front to the coat front. Sew the sleeves to the body.
Attach the collar, facings and hems
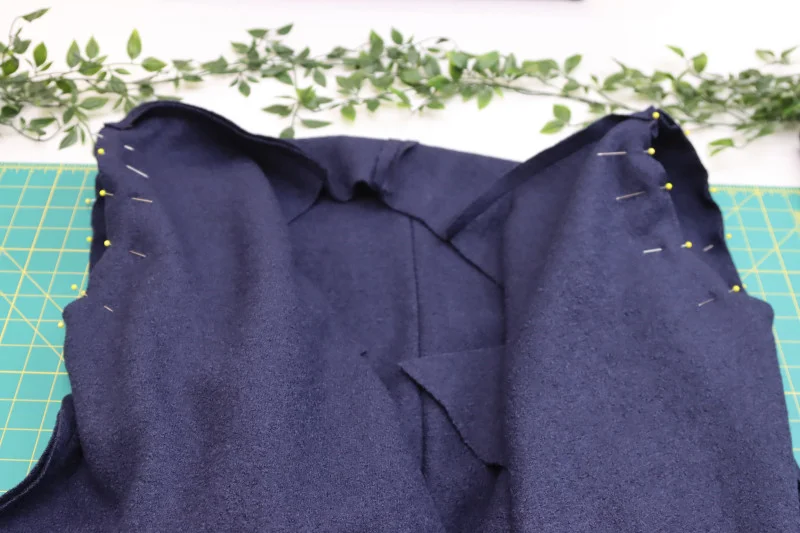
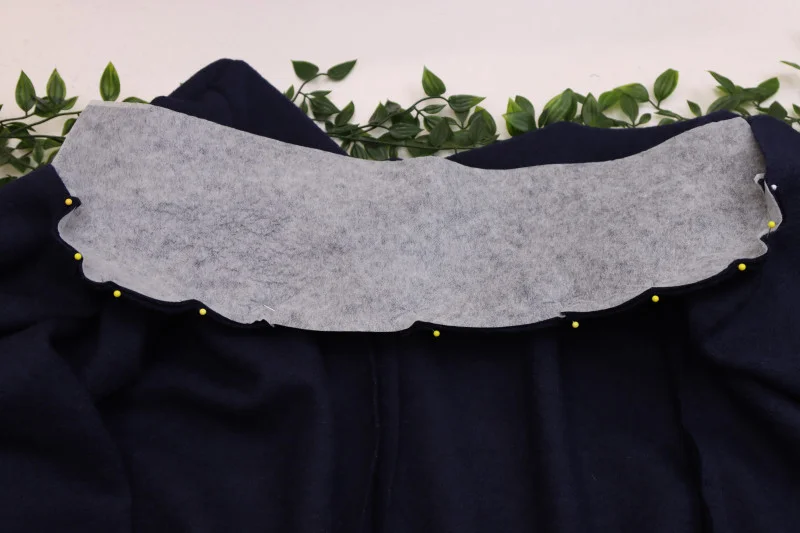
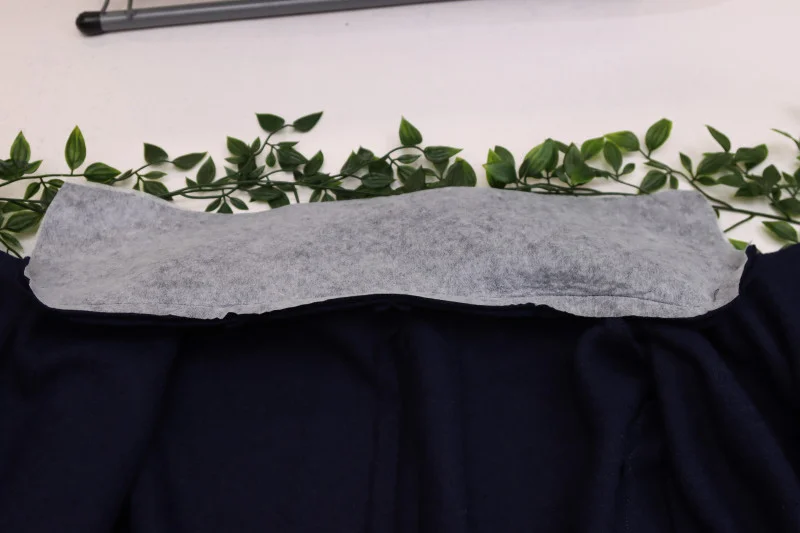
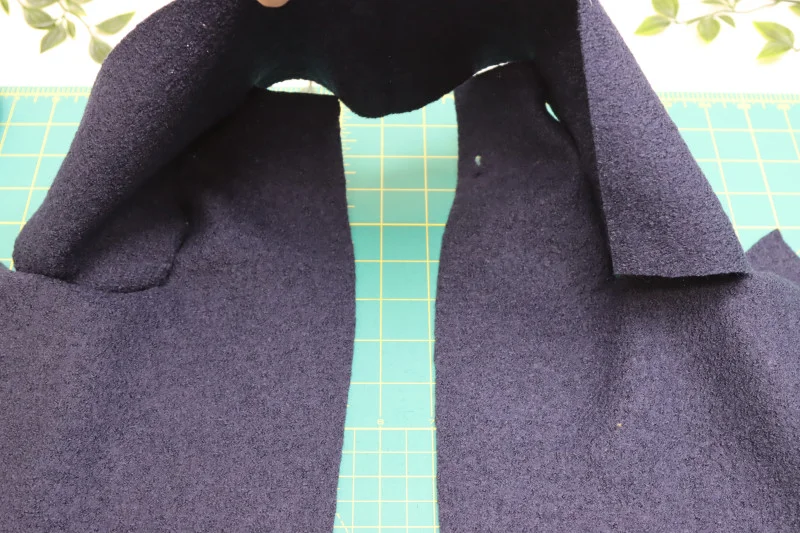
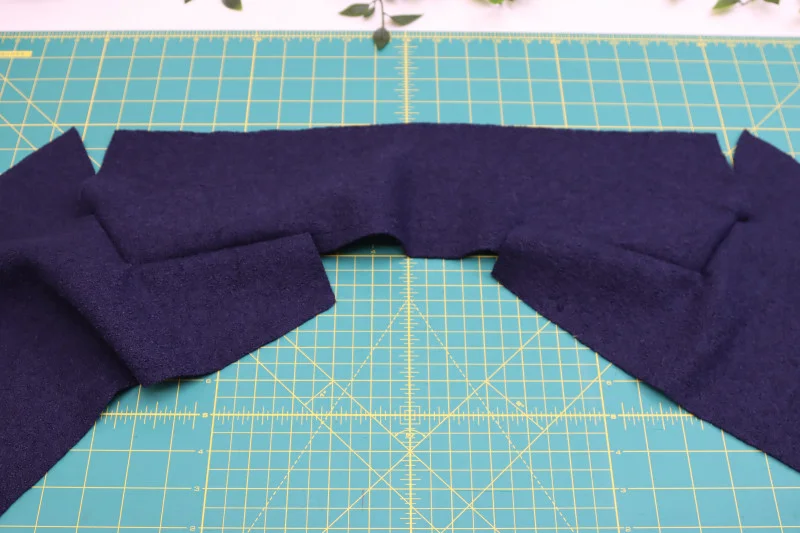
- Fuse interfacing to the wrong side of one collar piece. Pin it right sides together to the coat neckline, matching the collar notches with the shoulder seams and lapel corners. Stitch along the notched edge.
- Pin the second collar piece right sides together with the coat facings. Match the inner notches to the facing tops, the middle notches to the lapel corners, and the outer notches to the notches along the lapel edges. Stitch the collar to the facings.
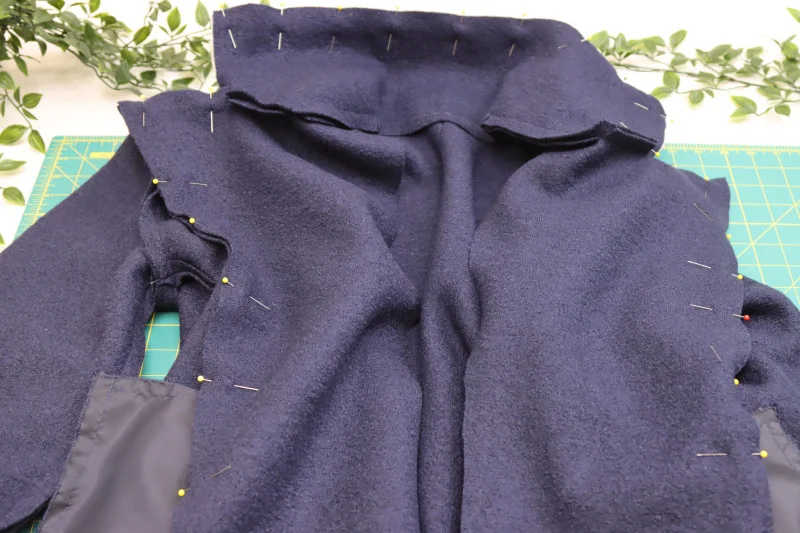
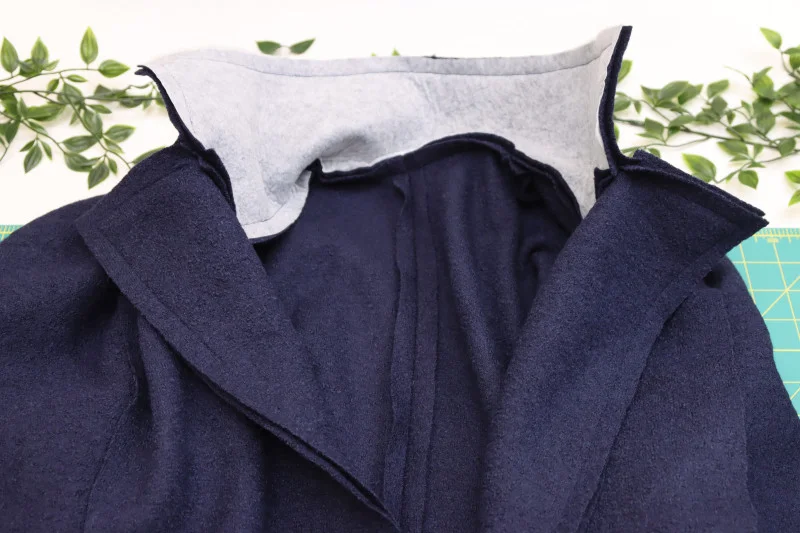
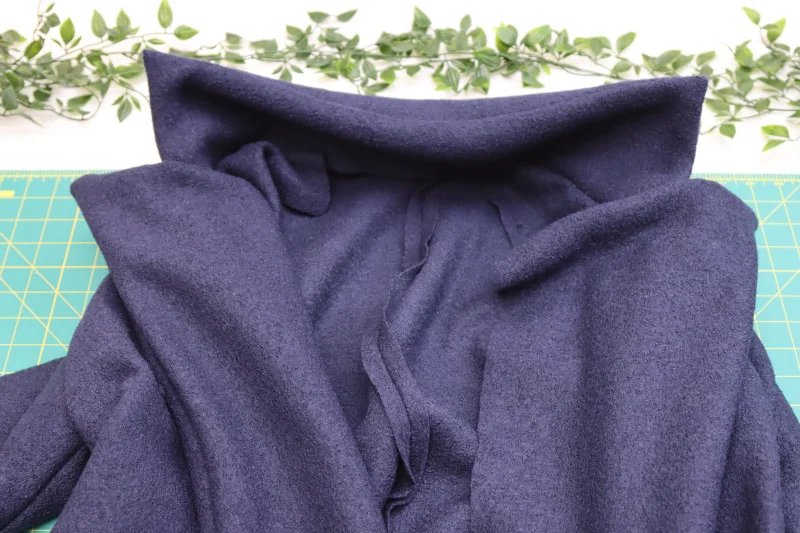
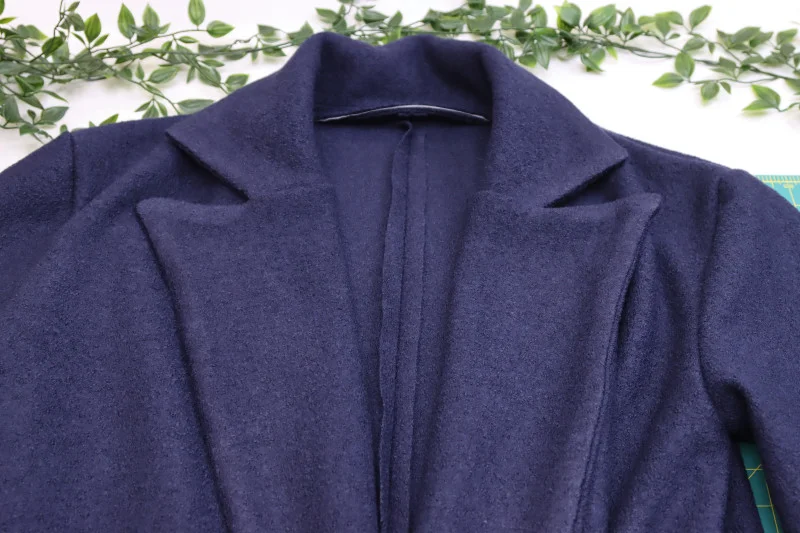
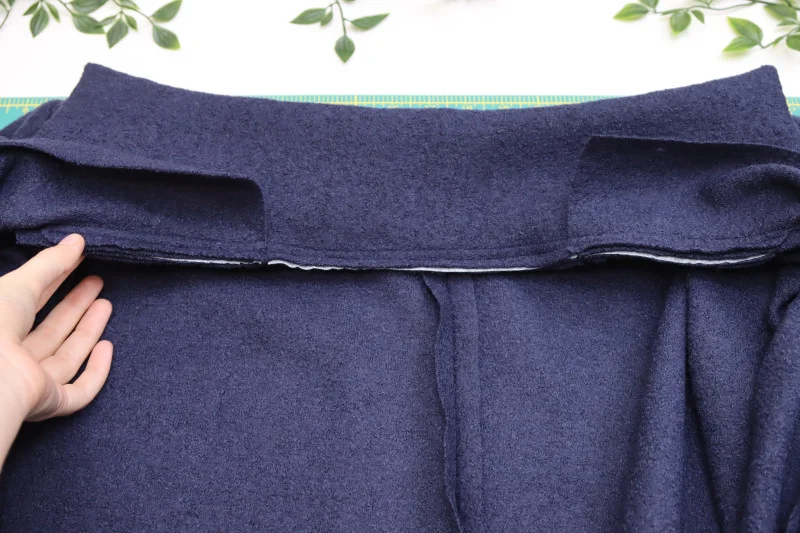
- Place the facing and its collar right sides together with the coat’s front opening and neckline. Pin the front opening to the facings and match the main collar and lapel to the facing collar and lapel. Stitch around the front neckline, pivoting at corners. Clip the collar and lapel corners, turn the coat right side out, and move the facings inside. Use a point turner to shape the corners. Match the lower edge of the facing collar to the main collar’s seam allowance and pin. Stitch along the lower edges of the two collar pieces to join the inner and outer collar. Press the collar and lapels into shape.
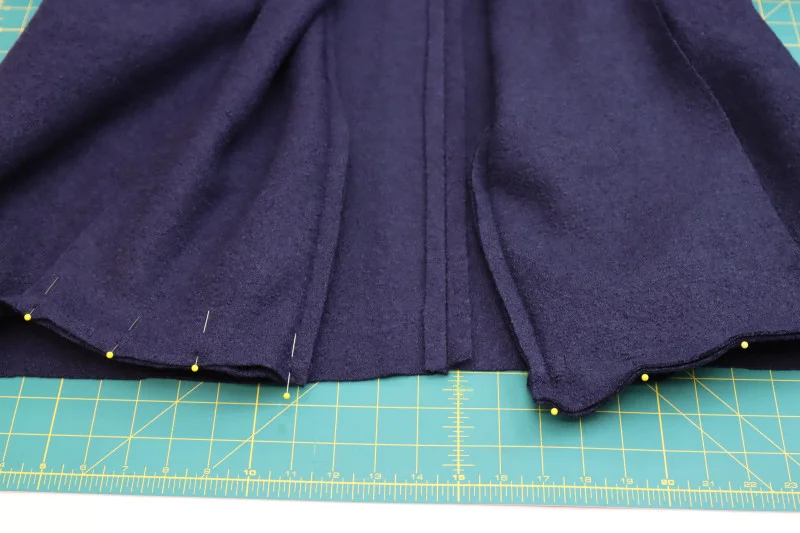
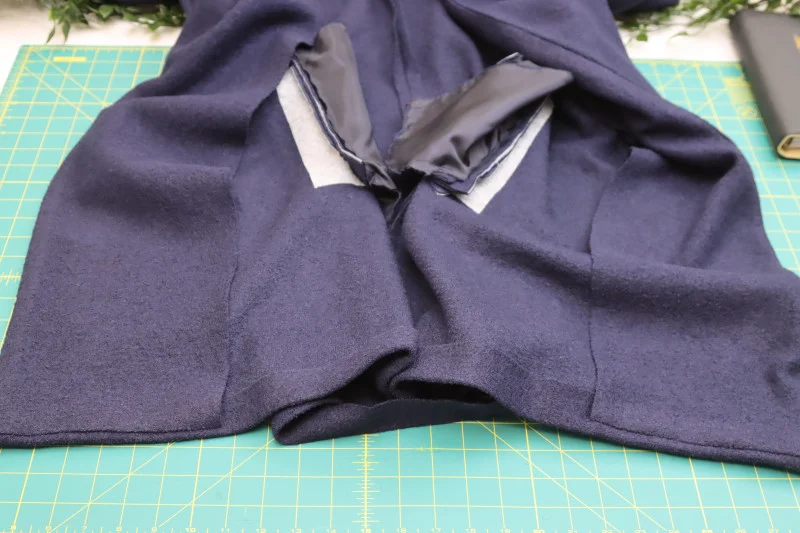
- At the hem, turn each facing right sides together with the coat front. Pin and stitch the facing to the coat hem, then clip the lower front corner. Turn the facings to the inside.
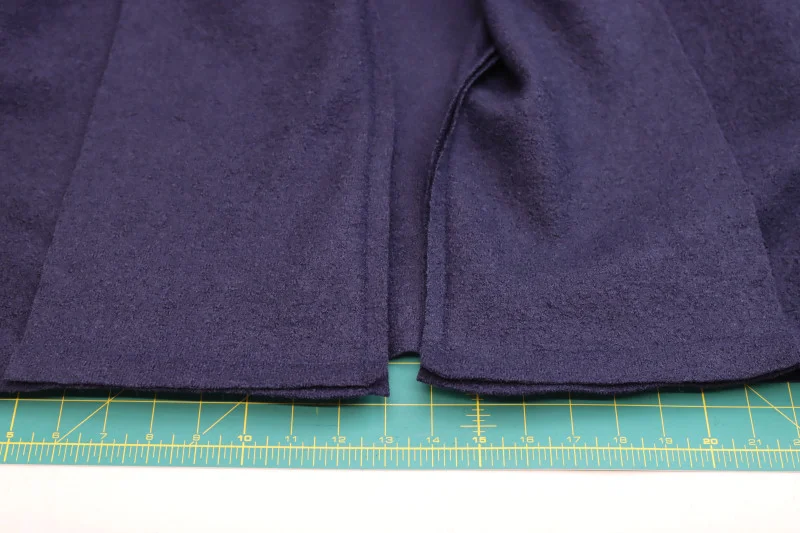
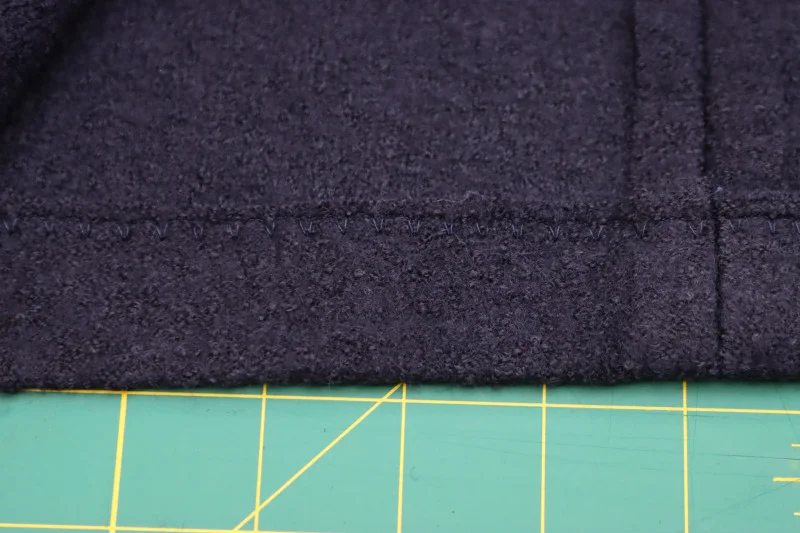
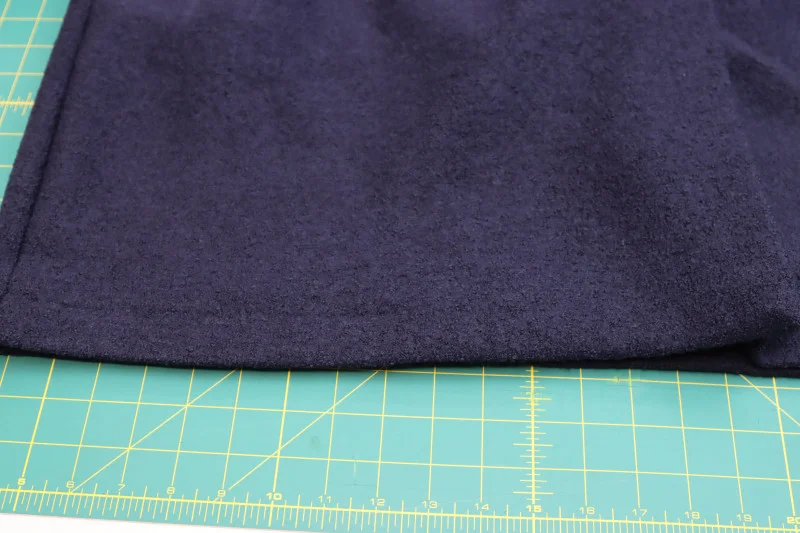
- Between the facing edges, press a 1-inch fold into the remaining coat hem. Sew a wide blind hem with a blind-hem foot or by hand. Press again and check the outside to confirm the stitches are hidden.
- Topstitch around the neckline and front opening with a 3/4-inch seam allowance, pivoting at the corners.
Place the buttons and buttonholes
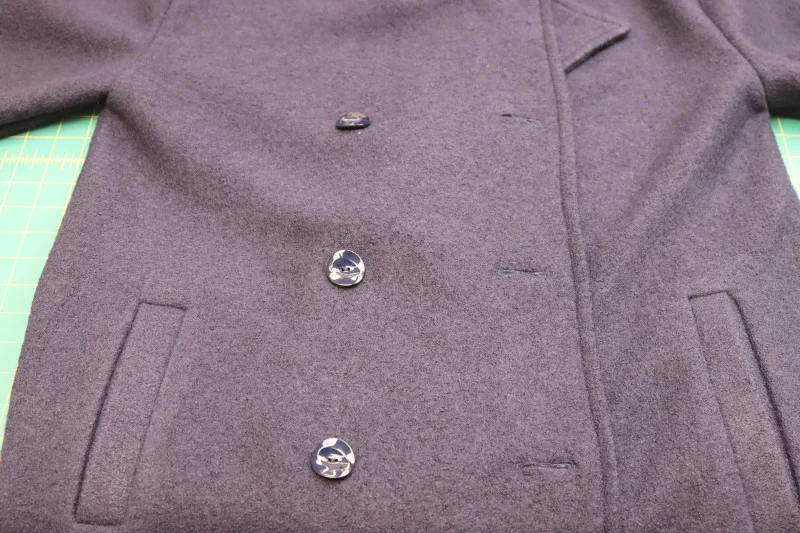
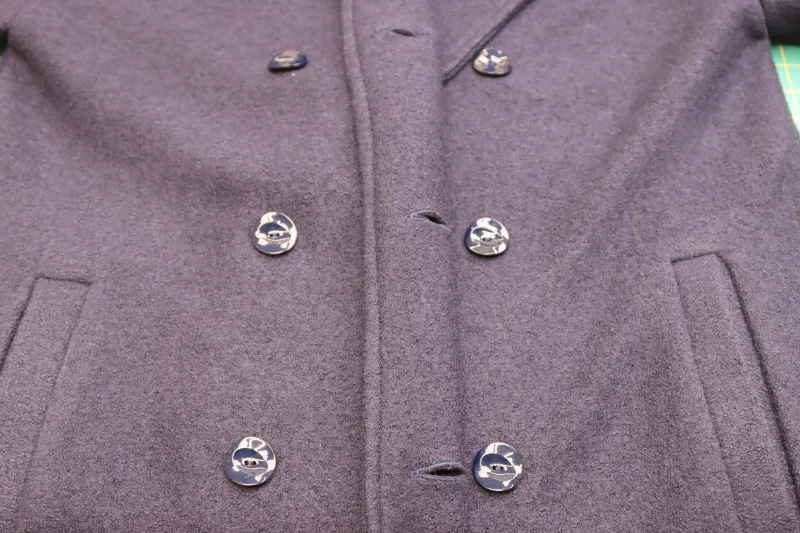
Overlap the front facings evenly to establish the coat’s closed position. Mark the button and buttonhole locations on the right front. In the sample, the center buttons sit 1 inch above the top of the welt pockets, with the other buttons 6 inches above and below the center button. The buttonholes are marked 1 inch from the coat edge, and the corresponding button position is 6 inches to the right.
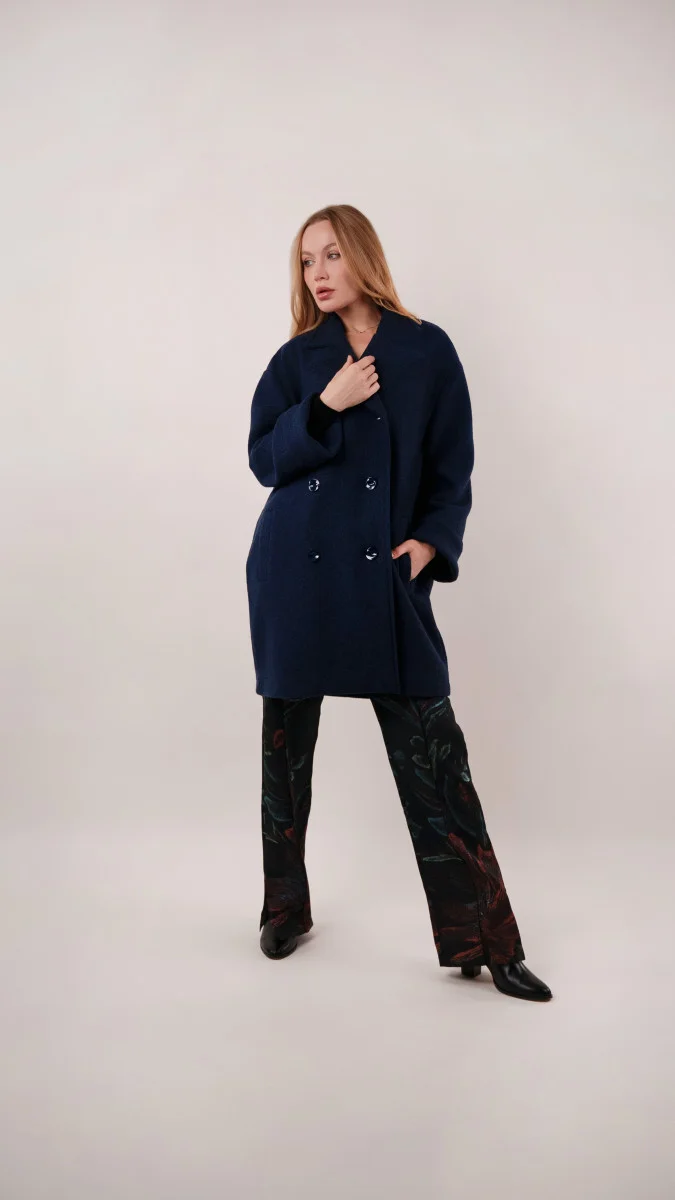
Sew the buttons to the center right front and the buttonholes to the center left front. Open the buttonholes with a seam ripper, then use chalk to mark where the buttons should sit on the left front behind them. Sew three more buttons to the right front, aligned with the buttonholes, to complete the double-breasted arrangement.
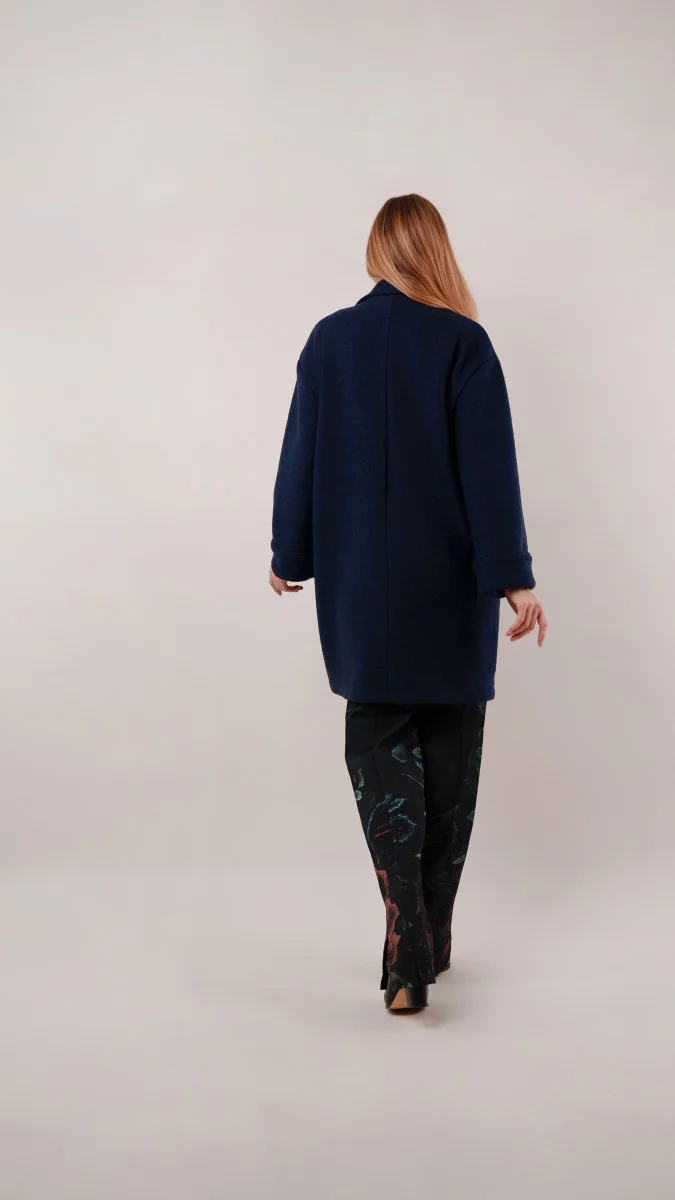
The free MDF572 pattern is delivered by email as a PDF for A4 and letter-size printing. Its construction builds from pocket accuracy to coat shaping, then finishes with crisp lapels and the buttoned front. Choose a heavyweight fabric that suits your wardrobe, check the fit before cutting, and take particular care when sewing and opening the welts.