Sample No. 0249
Make a Monster Windsock with Card Stock and Crepe Paper
Turn card stock, crepe paper streamers and simple paper details into a playful hanging monster. This kid friendly project takes about 10 minutes.
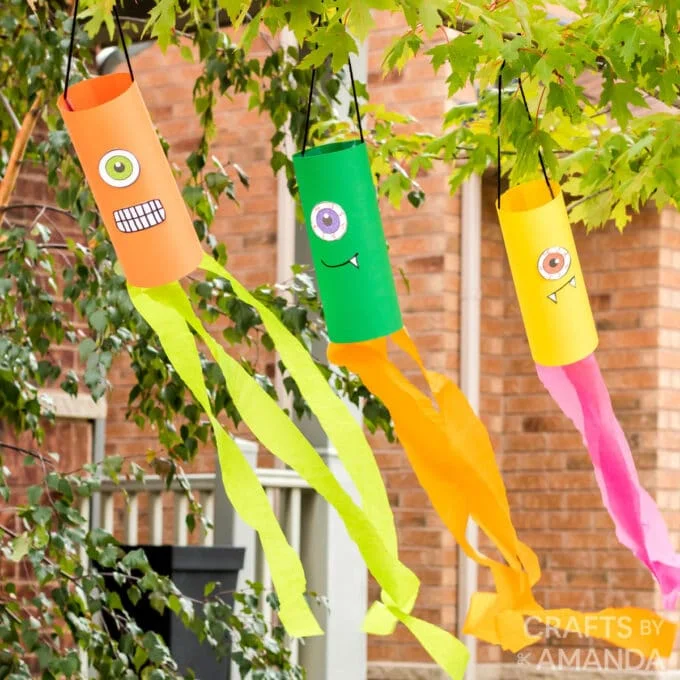
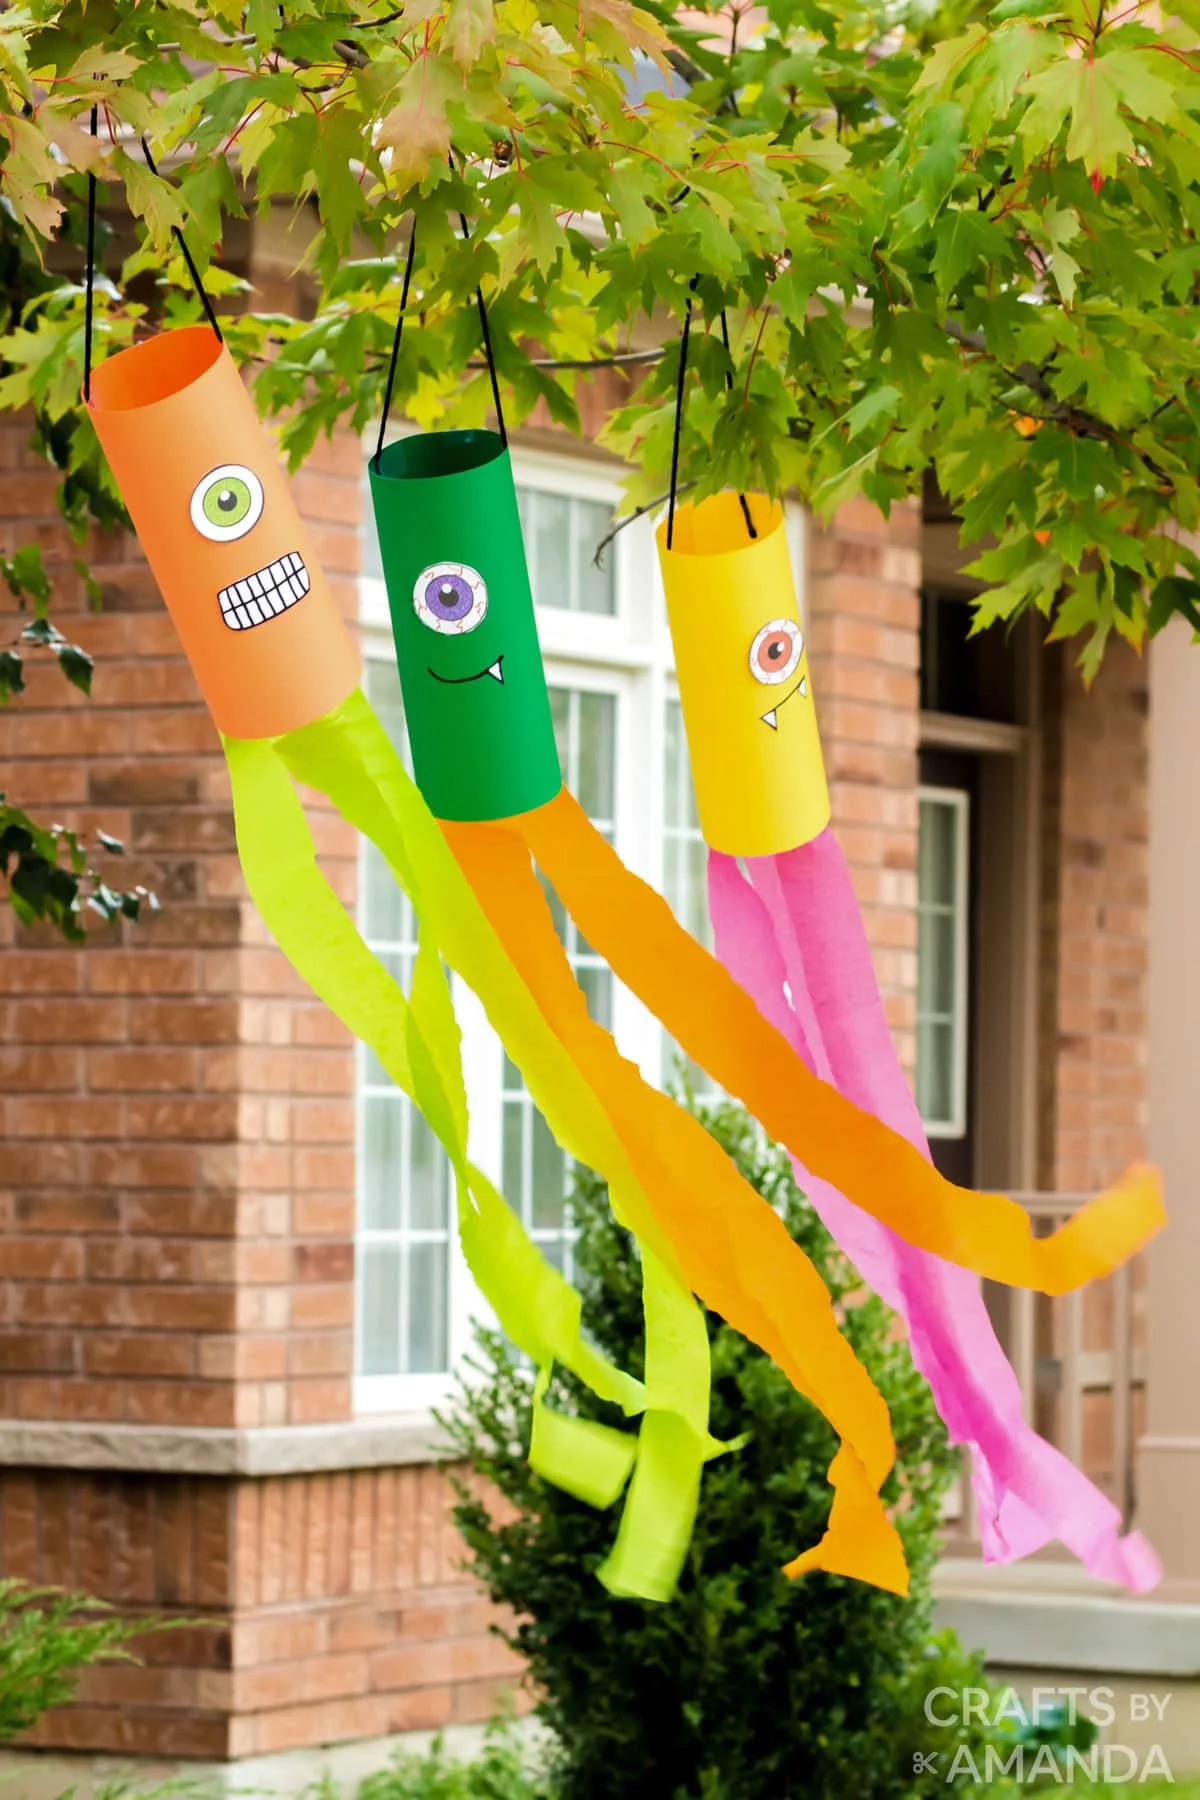
Give a sheet of card stock a monster face, add a fringe of crepe paper, and hang it where a breeze can set it swaying. These windsocks take about 10 minutes to make, and the design is easy to change with different eyes, mouths and fangs. That short build time makes the project well suited to a quick afternoon craft, though the finished result still depends on careful cutting and secure joins. The project is credited to Amanda Davis and was originally published on September 24, 2020.
Project details
The project is listed for ages 4 and up, with a medium difficulty level because it involves cutting and taping. The source estimates less than 10 minutes to complete and less than $0.50 per windsock. Those estimates make it an appealing choice when a group needs a low-cost activity with a visible result, but they leave little room for setup or for children who need help with scissors and assembly. Its supply list is short, making it a practical group craft. Monsters can suit a Halloween display, but the maker notes they work at any time of year.
Gather card stock, crepe paper streamers, white paper for the mouth, a black marker, yarn or string, a glue stick, tape and scissors. You’ll also need the printable eyeballs, available from 100 Directions. The project’s supply list doesn’t specify quantities beyond the streamer and hanger lengths, so prepare one sheet of card stock and enough paper details for each windsock you plan to make. If you’re working in this space with a group, laying out the shared tools and pre-cut lengths first can help everyone spend more time designing faces and less time waiting for supplies.


Make the face and streamers
- Print the eyeballs from the printable page and cut them out.
- Cut the crepe paper streamers into 3-foot lengths.
- Set the card stock horizontally in front of you. Glue an eyeball near the center, about an inch or two down from the top edge.
- Draw a mouth or fangs on white paper with the black marker, then cut out the shapes. Follow the outside edge of each drawn line so the black outline remains visible. Glue the mouth in place if you’re using one.
Choose the face details before forming the tube; it’s easier to place the eyes and mouth while the card stock lies flat. The source suggests one eyeball, but the face can be adapted with the printable shapes and hand drawn details. A single large eye gives the monster a clear focal point, while a mouth with teeth can change its expression without changing the construction. Keep the black outline on the paper features as you cut, since trimming it away changes the finished look.
That design freedom is the strongest part of the project. Kids can make each face distinct using the same basic materials, and the craft still works if the features are uneven. A little asymmetry reads as character here.
Form and hang the windsock
- Turn the decorated card stock over. Glue the crepe paper streamers along its bottom edge.
- Bring the two sides together and tape them to form a tube.
- Cut an 8–10-inch length of yarn or string. Tape both ends inside the tube to make a hanger, like a bag handle.
Attach the streamers before closing the card stock into a tube. Spacing them along the bottom edge helps distribute the fringe, and pressing each strip into the glue gives it a better chance of staying put as the windsock moves. Once the sides are taped together, add the hanger inside the top edge and check that both ends are held in place. Then hang the finished windsock somewhere it can catch a breeze.
The order matters because the open sheet gives you room to work along the full edge. The tube doesn’t need to be perfectly round, but the taped seam should hold its shape so the face remains visible and the streamers can move freely. Here's the thing: a secure hanger is what turns a paper decoration into a windsock.
Material swaps and finishing notes
Construction paper can stand in for card stock if that’s what you have. The source cautions that some construction paper tears more easily and may not roll as well; card stock also has more vibrant colors. Craft foam is another option, and is described as similarly sturdy. Tape may not adhere well to foam, so staple the tube closed and fasten the yarn handle with staples if needed. That said, the choice of material affects how easily the tube holds its shape, so it’s sensible to use the card stock option when available.
For a group session, prepare the 3-foot streamer lengths ahead of time and let each maker choose a face. The project’s listed challenge comes from cutting and taping, so younger children may need help with those parts. An adult can handle the more demanding cuts while children arrange the features and decide how their monster should look. The finished piece keeps the materials and steps simple: a paper tube, a face, trailing streamers and a small hanger. Twirling Paper Monsters, Popsicle Stick Monsters and Craft Stick Monsters are among Amanda Davis’s other monster craft ideas.
Why the simple format works
This is more significant than it looks: the project pairs a familiar paper craft with movement, giving children a reason to think about how the finished object will hang and respond to air. The steps also divide naturally into decorating, assembling and hanging, which makes the craft easy to explain without turning it into a long lesson. If you’re making several, the shared structure keeps preparation manageable while leaving room for individual choices.
The materials and construction set clear limits. Paper and tape are suited to a light decoration, and the source presents the windsock as something to hang where it can catch a breeze. It doesn’t offer guidance on exposure to weather or long-term durability, so treat it as a temporary craft display. A small project, with a clear payoff.


