Sample No. 0228
Sew a Paneled Midi Skirt with a Faux Leather Finish
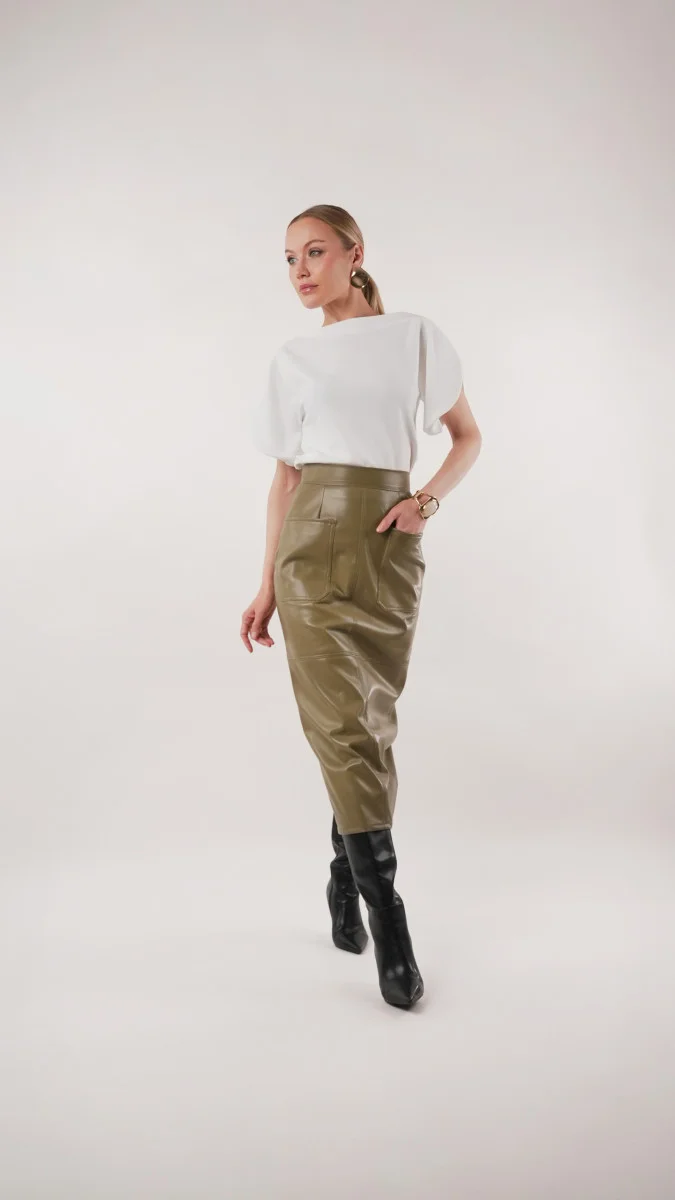
Make a polished paneled midi skirt with pockets, a lining, a back zipper and slit. The free MDF566 pattern works with faux leather and other medium weight fabrics.

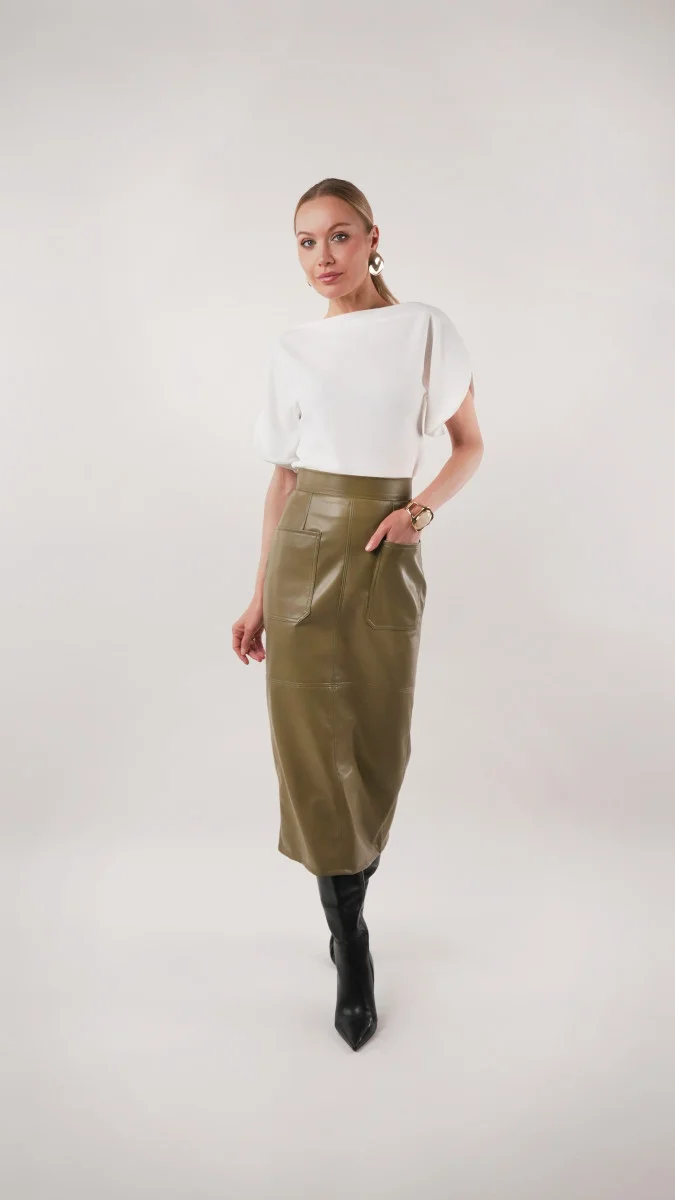
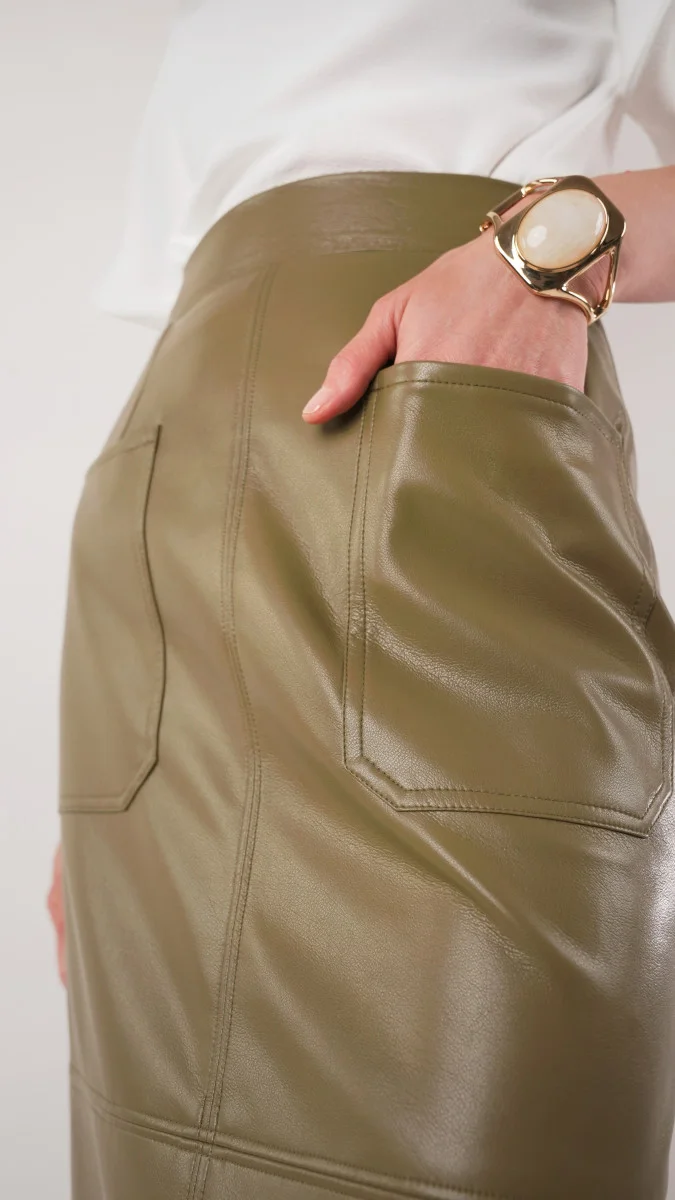
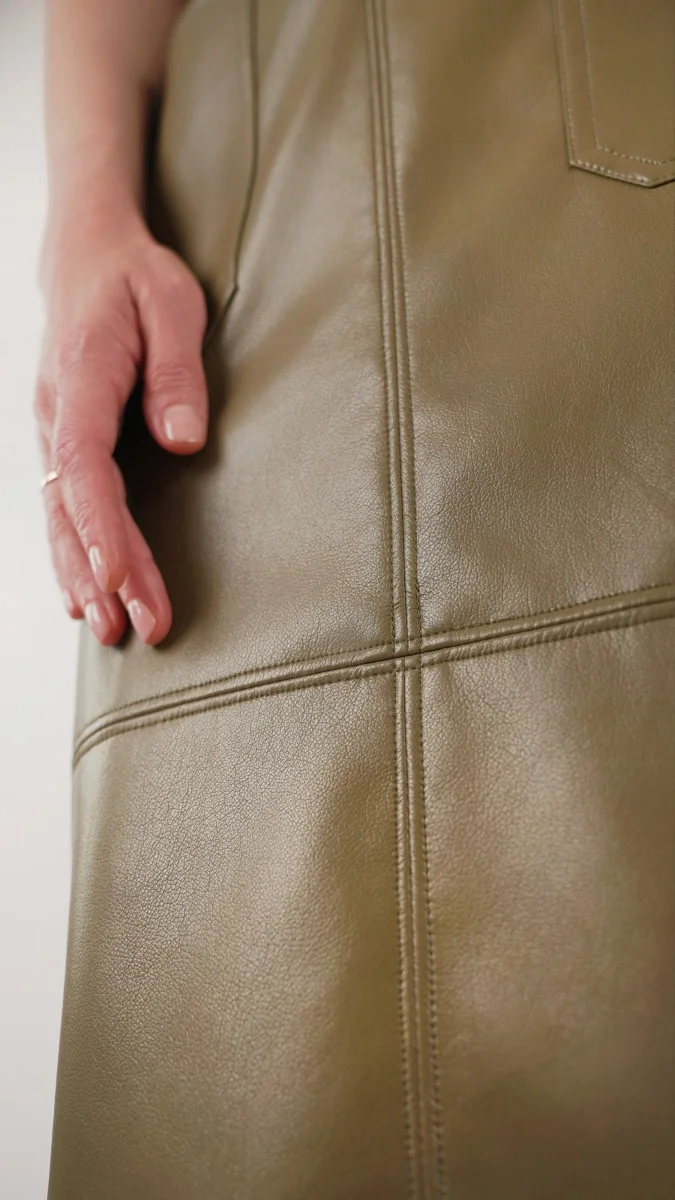
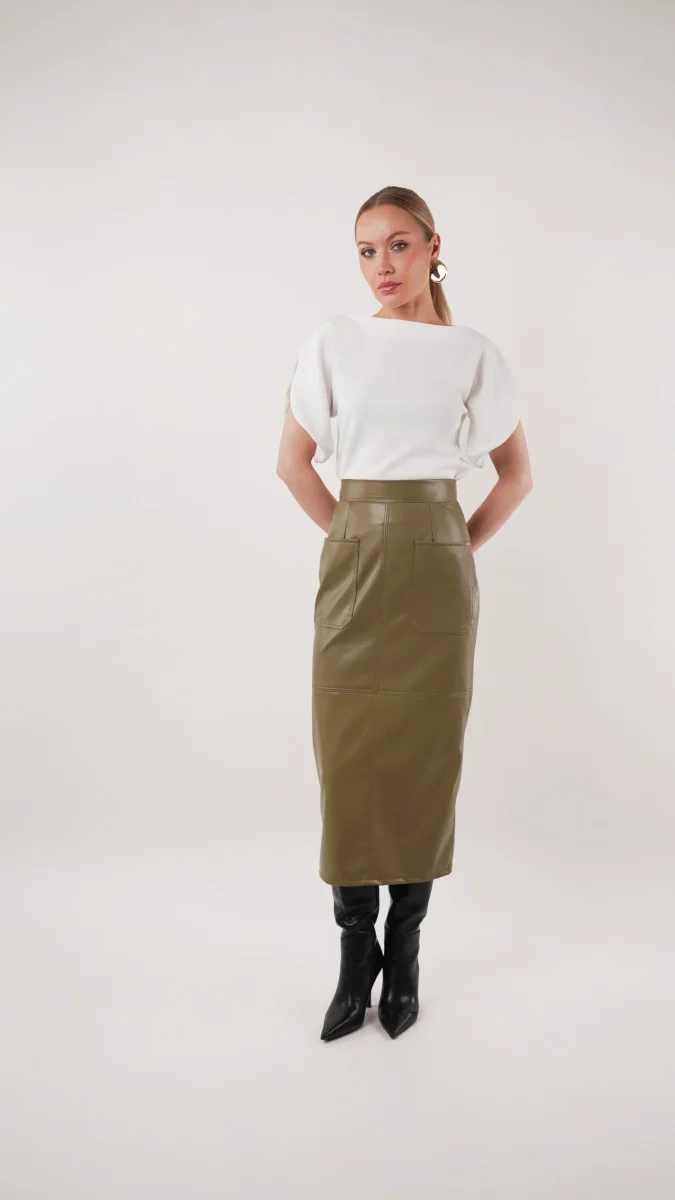
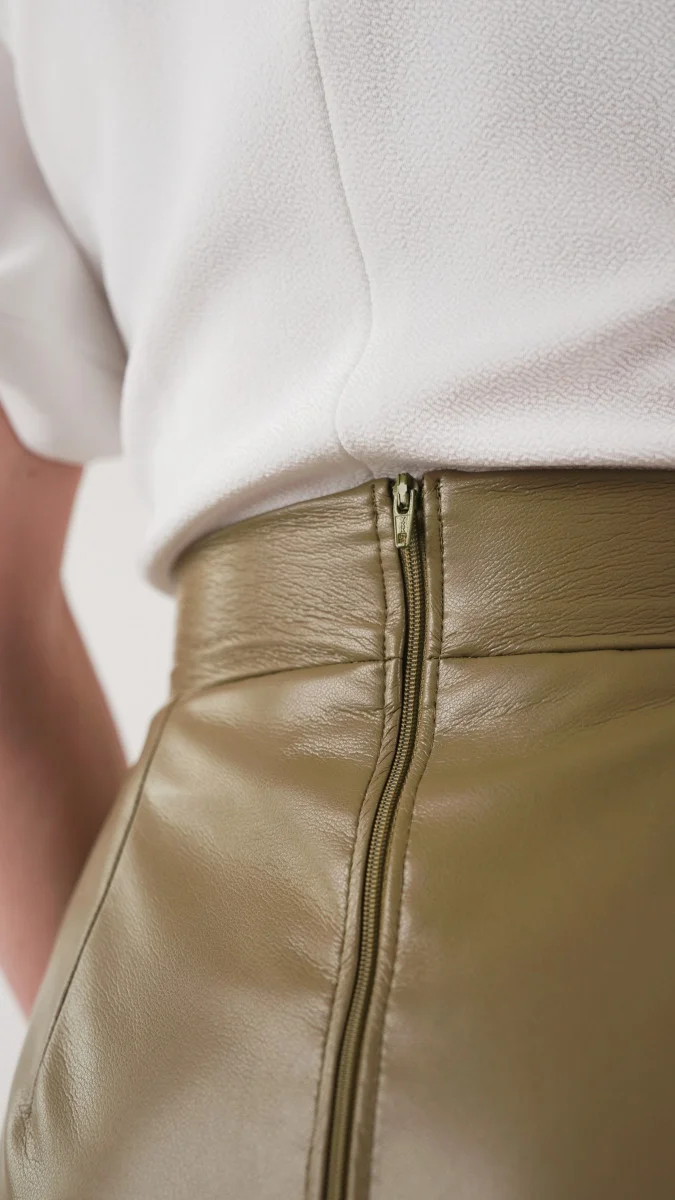
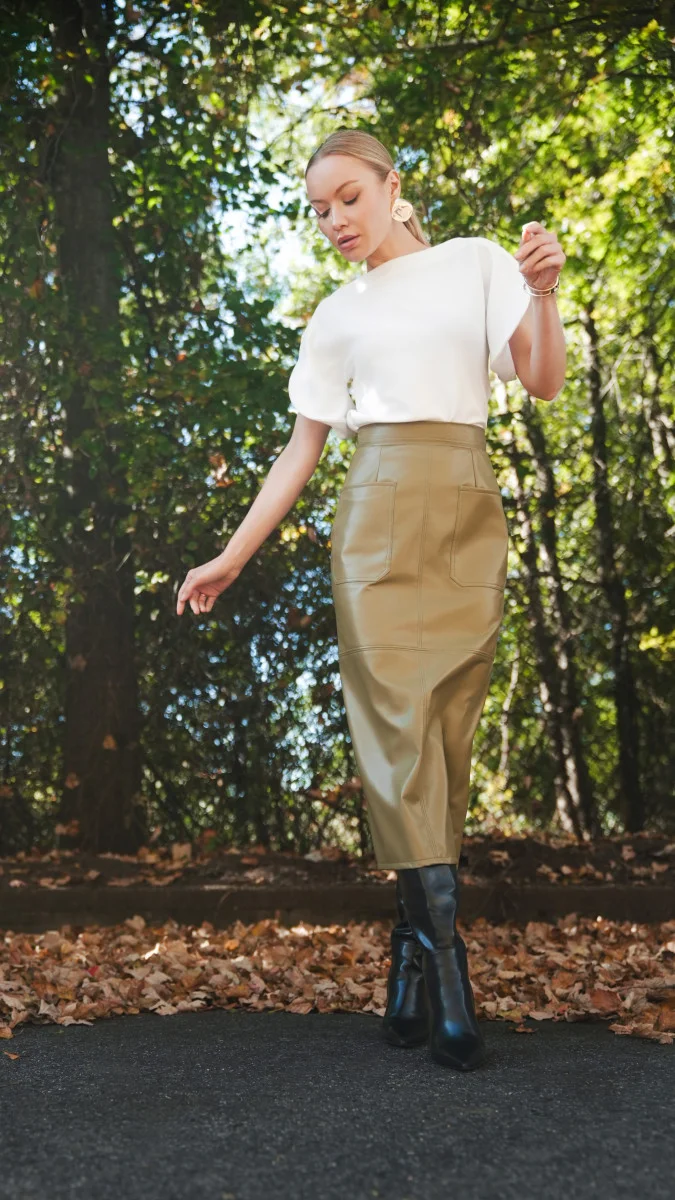
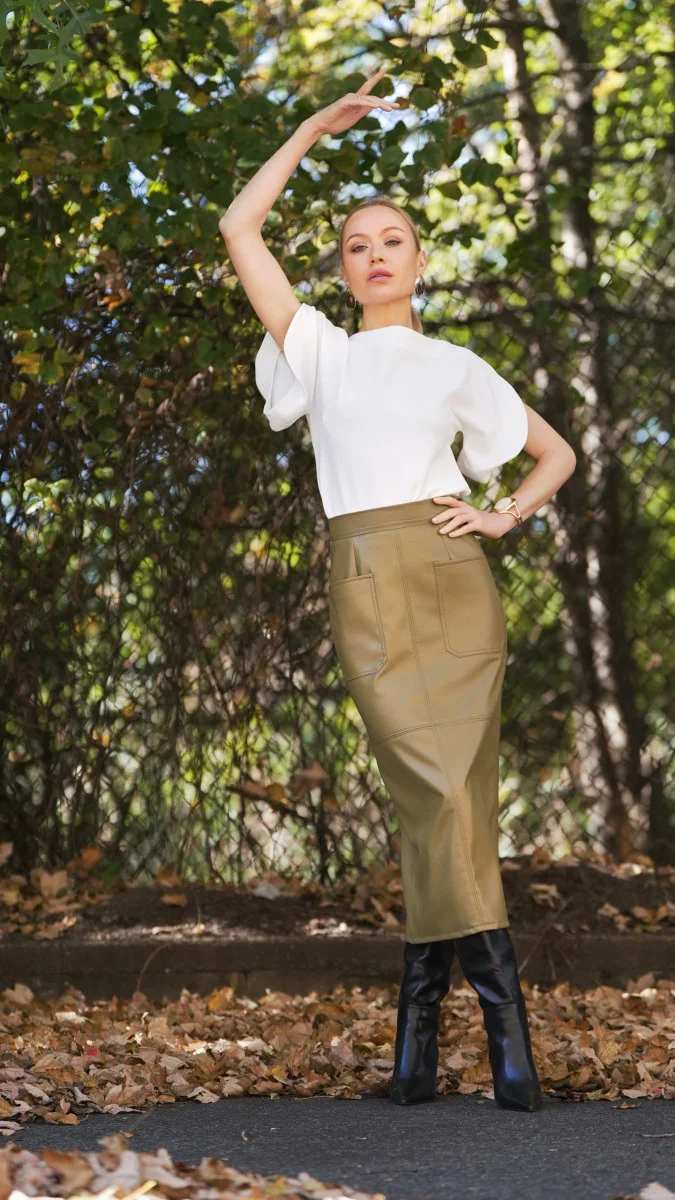
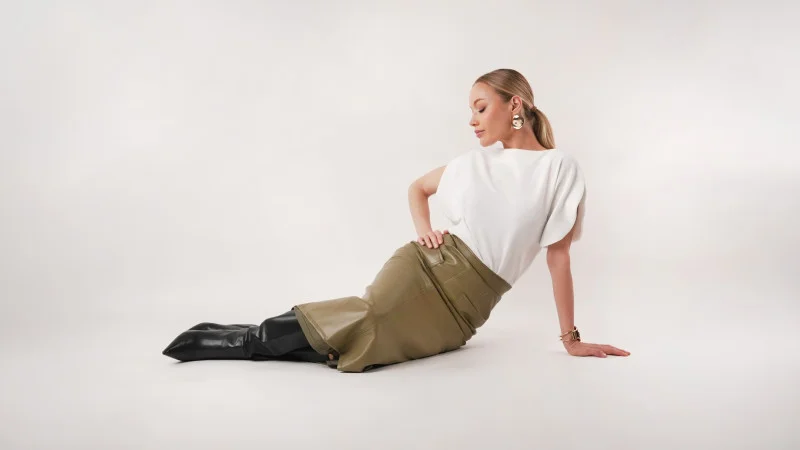
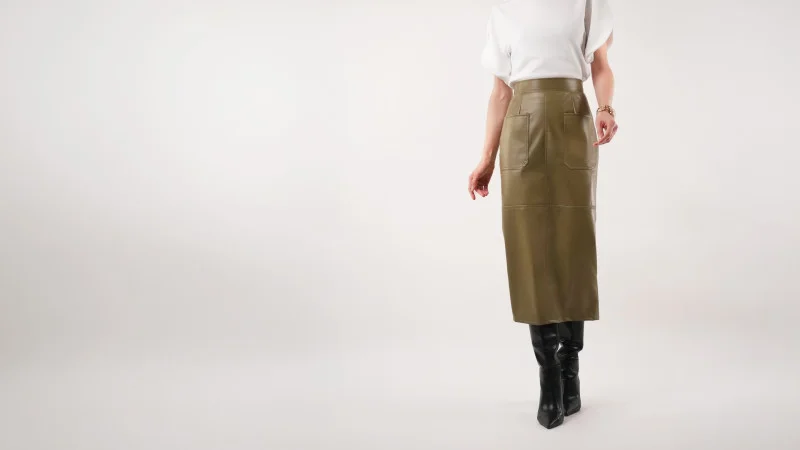
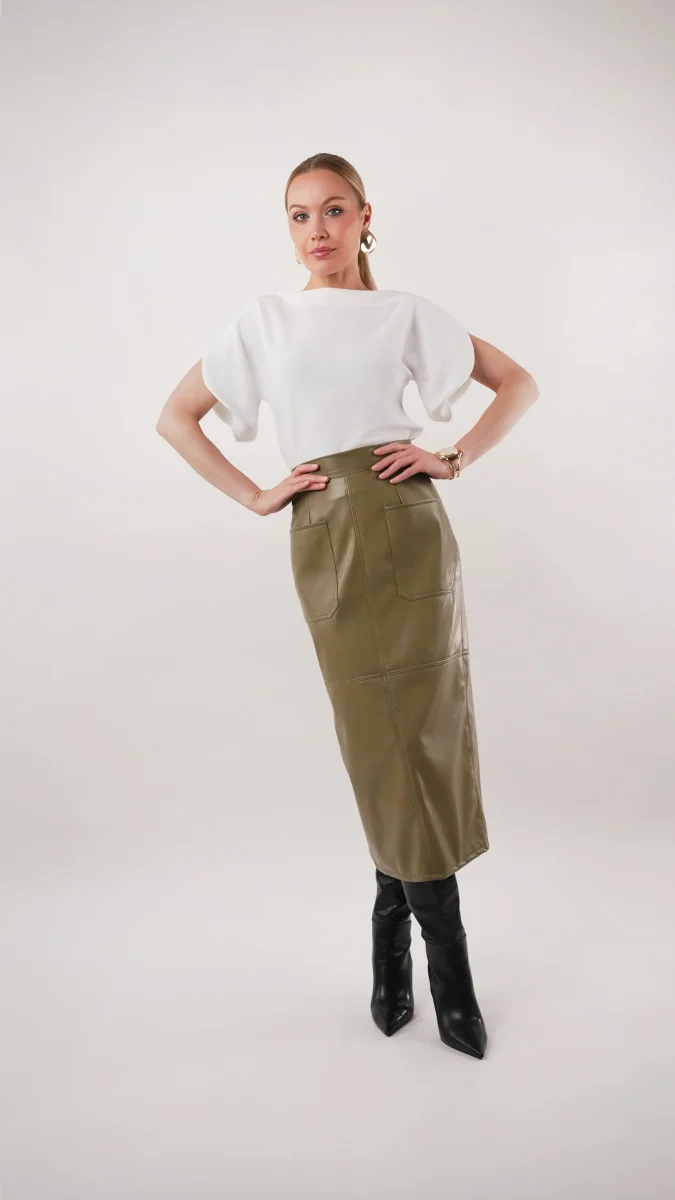
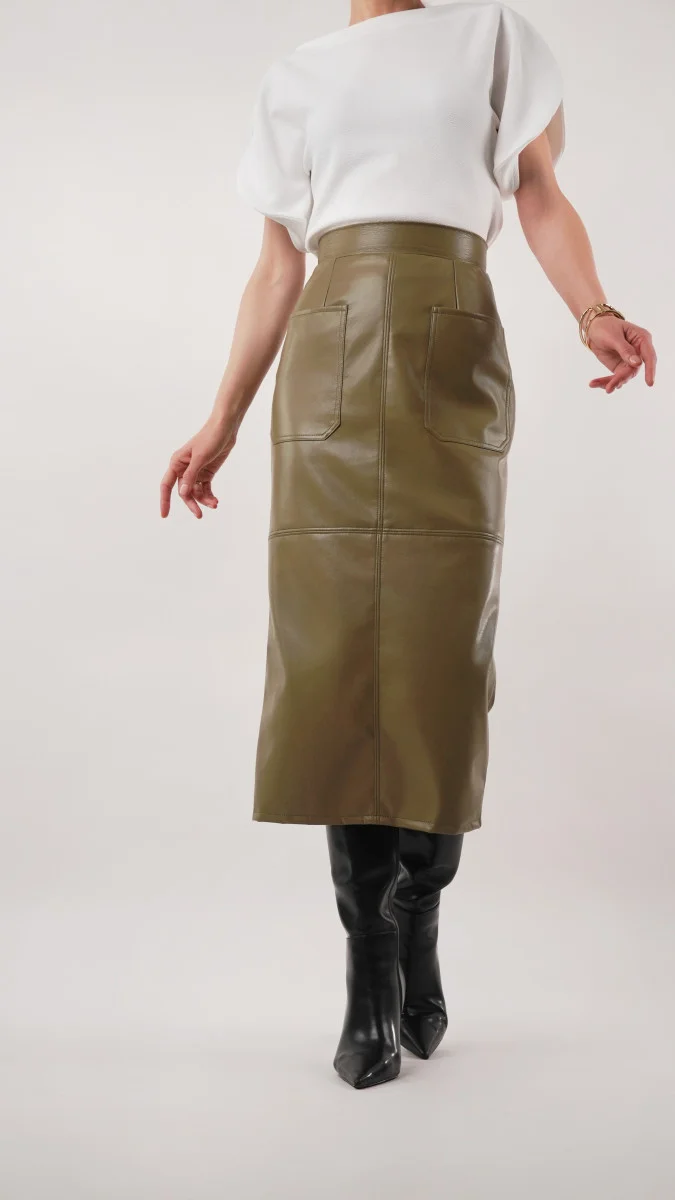
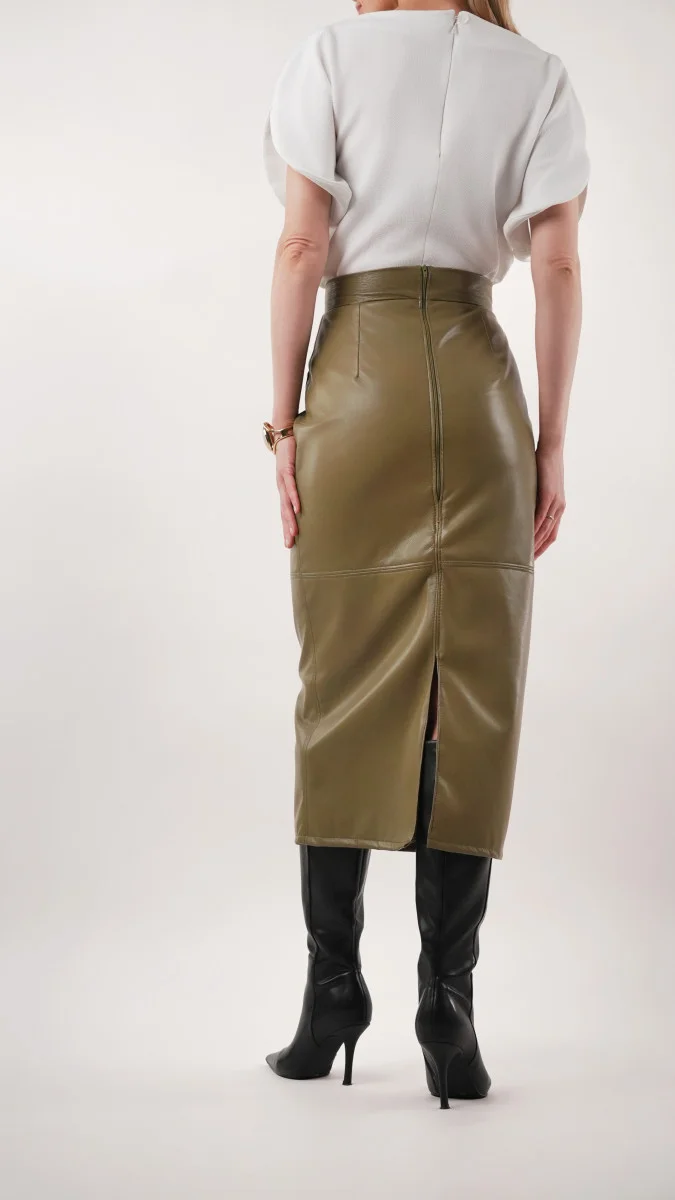
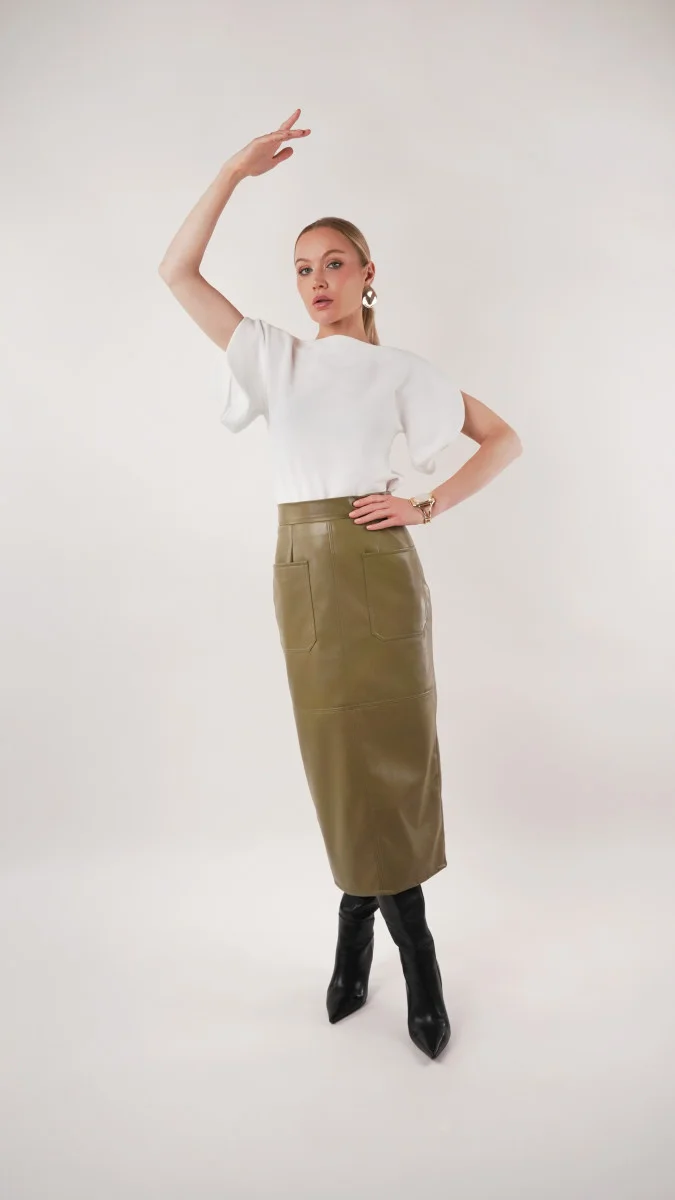
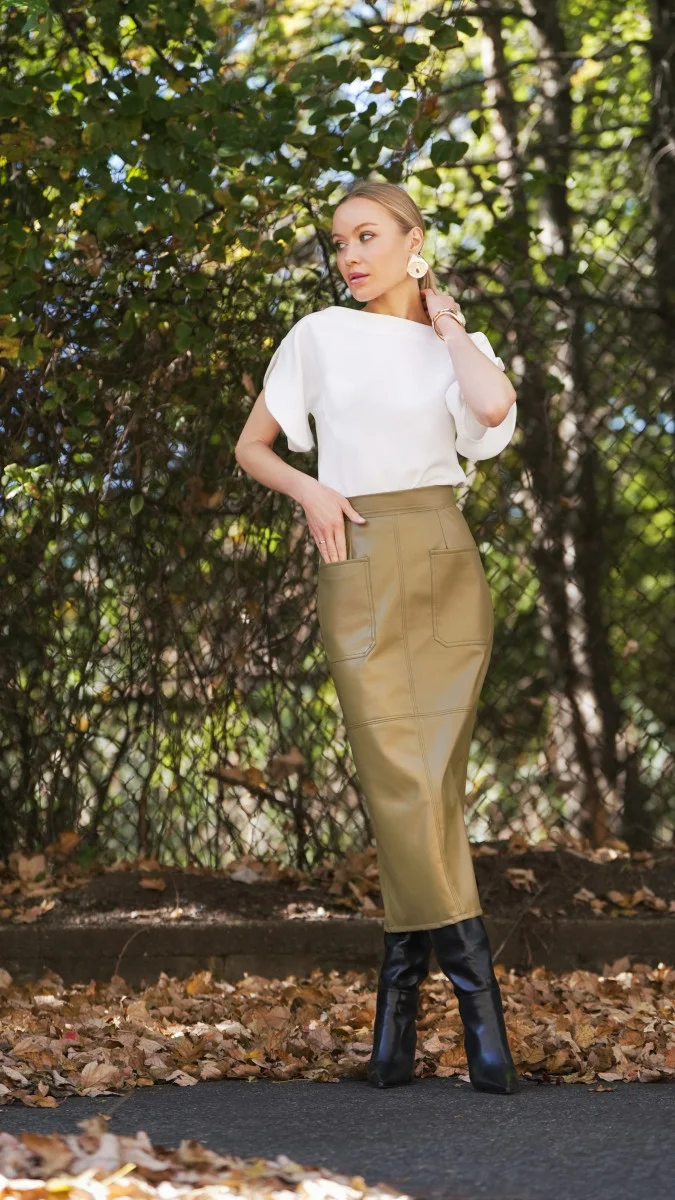
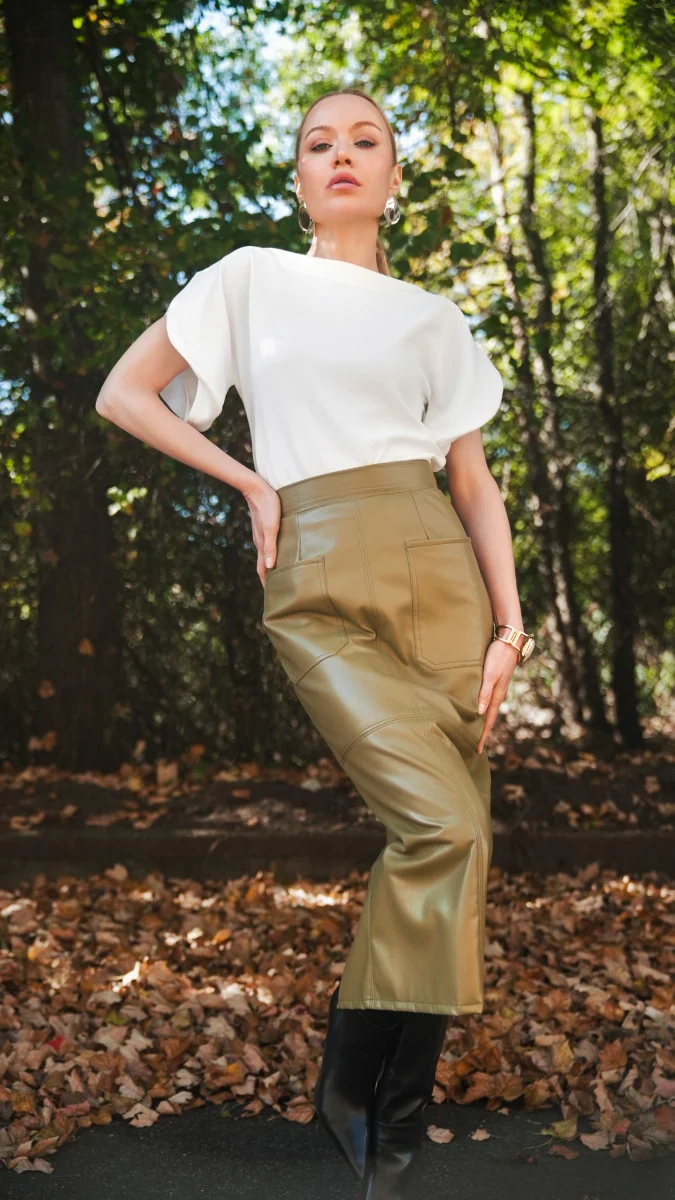
The Modena Paneled Midi Skirt combines a high waistband, tailored panels, front patch pockets and a center back slit in a sleek pencil silhouette. Its visible back zipper adds a hardware detail, while topstitching defines the seams. The sample uses buttery faux leather and a stretch twill lining, but the free MDF566 pattern is also suited to other medium weight fashion fabrics.

Materials, sizing and fabric choices
The quantities below make a size small. The pattern’s “SHOP THIS LOOK” box provides estimates for other sizes. It initially displays fabric in full-yard amounts; use the minus control to reduce quantities by half-yard increments.
- 1.5 yards of buttery faux leather with brushed suede-like backing.
- 1.5 yards of stretch polyester twill lining.
- One 24-inch regular YKK zipper.
- Two spools of 100m Gutermann Sew All Thread.
- Free MDF566 Modena Paneled Midi Skirt pattern.
- Additional tools shown: a seam roller and fabric marking pen.
The featured fabric is olive faux leather from the Veronica Collection, paired with olive lining from the Josephine Collection. The skirt can also be made in laminated or waxed fabric, faux suede, cotton twill, cotton denim or polyester jacquard. The original project description also suggests structured denim and plaid wool suiting as alternatives. Choose a medium weight fashion fabric that can hold the tailored shape.
The free pattern download includes technical drawings and a size chart. The download is delivered by email as a PDF for A4 or letter-size printing. Before cutting, read all the instructions, compare the printed pattern dimensions with the fit you want, and adjust if needed. The size guide is based on the design’s suggested wearing ease; you can blend between sizes. For a more reliable fit, sew a test garment in a similar fabric first.


Cutting plan and faux leather handling
The pattern has six pieces. Cut two mirrored pieces each for the back upper, back lower, front upper and front lower, in both the main fabric and lining. Cut one waistband from the main fabric and two pockets from the main fabric. Use a 1/2-inch seam allowance for all seams unless a step gives another measurement.
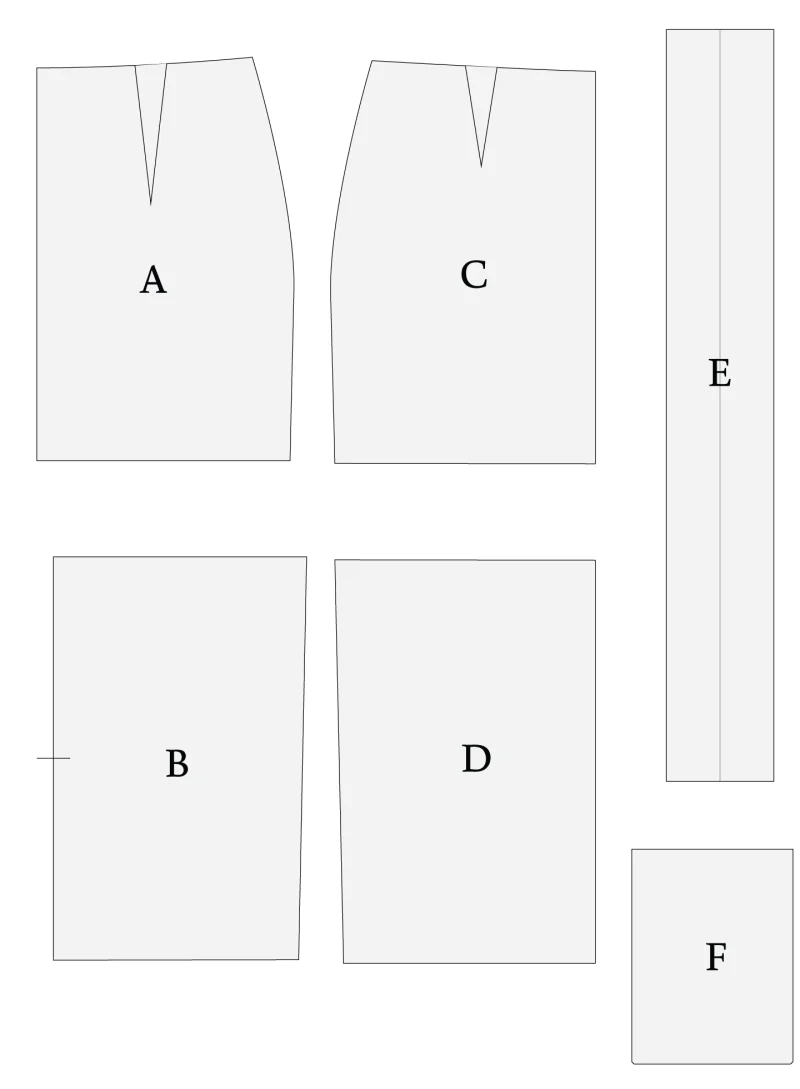
- A, back upper: main fabric, cut 2 mirrored; lining, cut 2 mirrored.
- B, back lower: main fabric, cut 2 mirrored; lining, cut 2 mirrored.
- C, front upper: main fabric, cut 2 mirrored; lining, cut 2 mirrored.
- D, front lower: main fabric, cut 2 mirrored; lining, cut 2 mirrored.
- E, waistband: main fabric, cut 1.
- F, pockets: main fabric, cut 2.
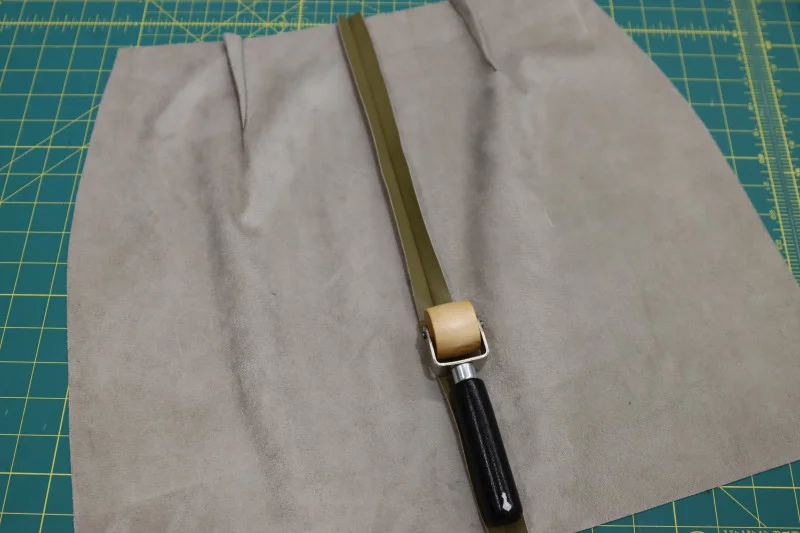
Faux leather needs different handling from the lining. Don’t press its seams with an iron: the material can melt. Roll seams open with a seam roller or seam creaser; if you don’t have one, press the seam with your fingers. Use a longer stitch length to reduce the risk of tiny needle holes weakening or distorting the material. A leather machine needle can help. Clips are useful where layers are thick or where pinholes would show. The lining seams can be pressed with an iron.


Build the front and back panels
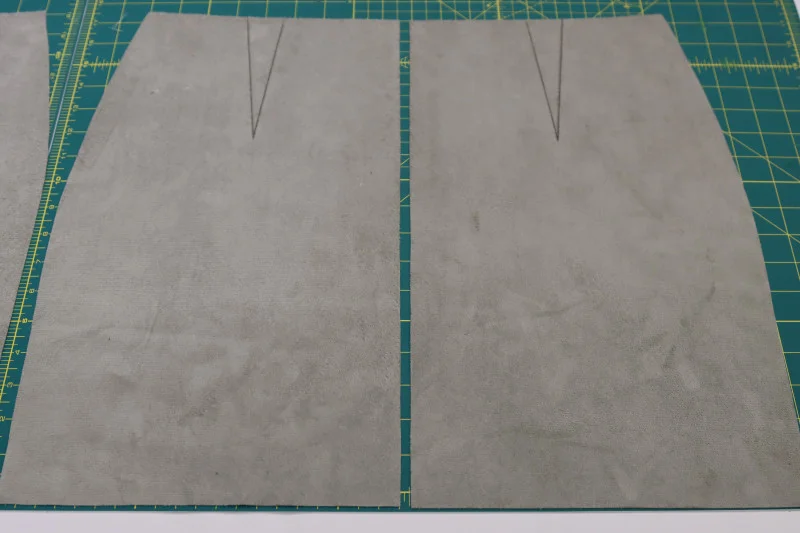
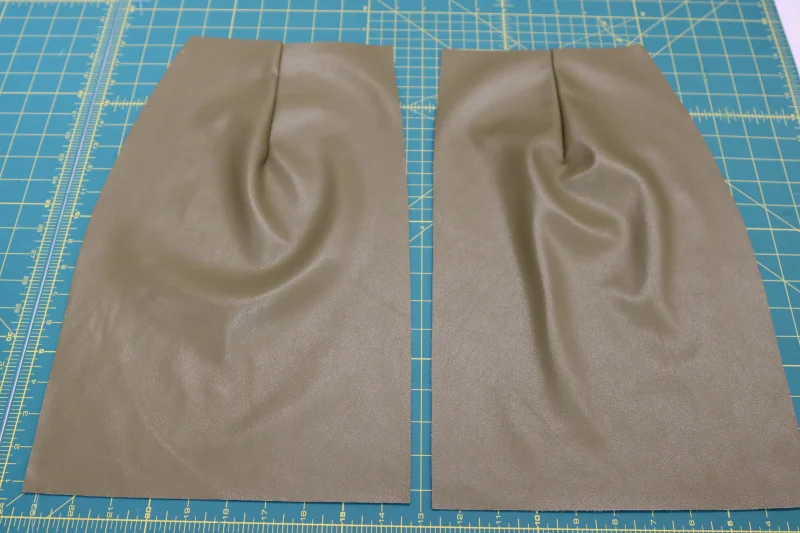
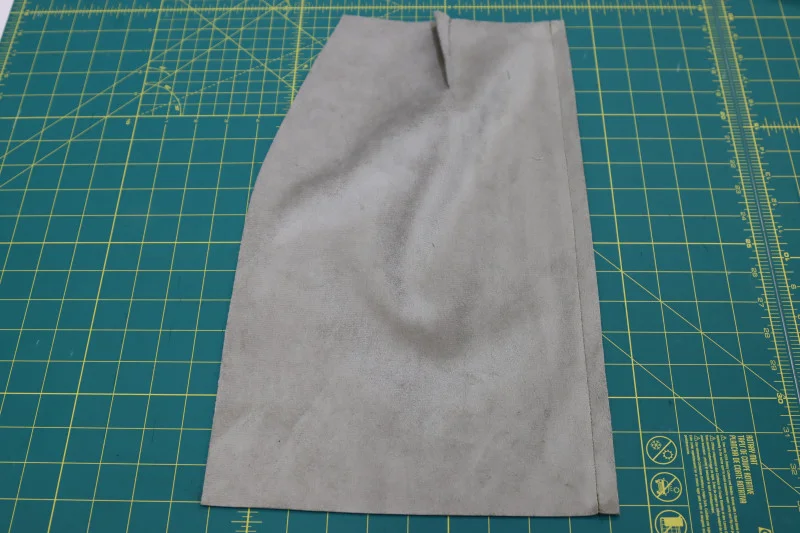
1. Sew the darts. Mark the darts on the wrong sides of the upper front and back skirt pieces. Fold each dart right sides together and pin it, then stitch with a long straight stitch of 3.5–4 millimeters. Fold the dart bulk toward the skirt sides. Don’t use an iron on the faux leather; roll the dart open or smooth it firmly with your fingers.

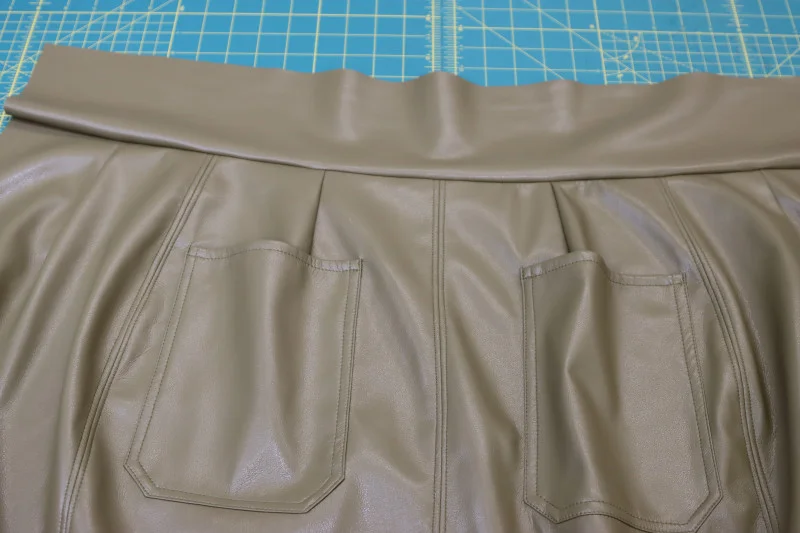
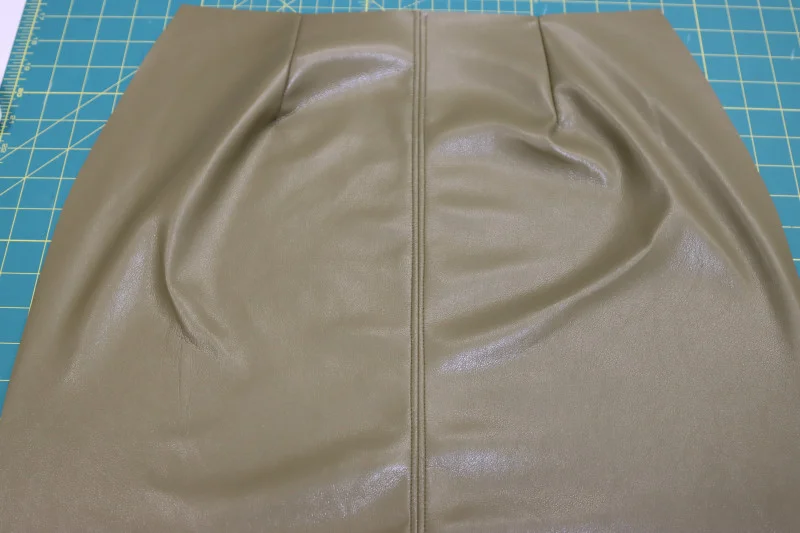
2. Join the upper front. Put the two upper front pieces right sides together and align their center edges. Pin and sew the center front seam. Roll it open, then topstitch on both sides, 1/4 inch from the seam.
3. Assemble the lower front and join the panels. Place the two lower front pieces right sides together, sew their center seam and roll it open. Topstitch along both sides of that seam. Join the upper front to the lower front, matching the lower edge of the upper section to the upper edge of the lower section. Clip or pin the layers, sew the horizontal seam and roll it open and flat.
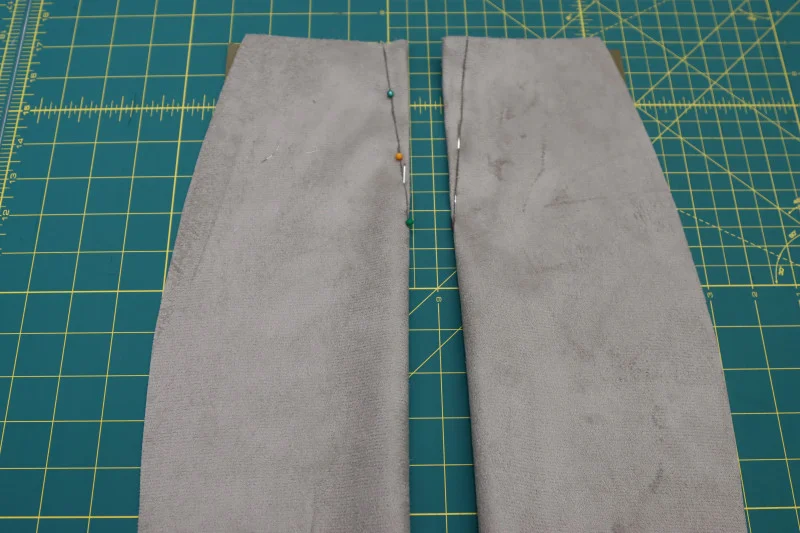
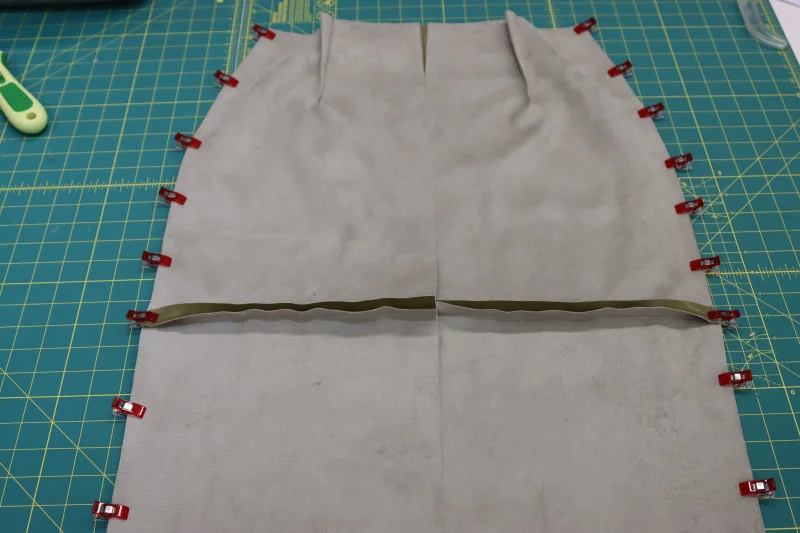
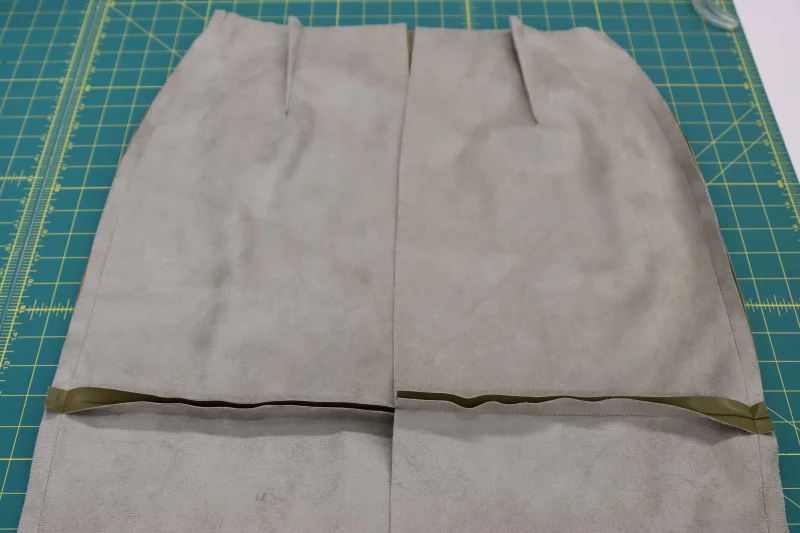
4. Assemble the back panels. Match the upper back skirt pieces to the lower back pieces, right sides together, and clip the panel edges. Sew the back panel seam and roll it open and flat.


Pockets, side seams and lining
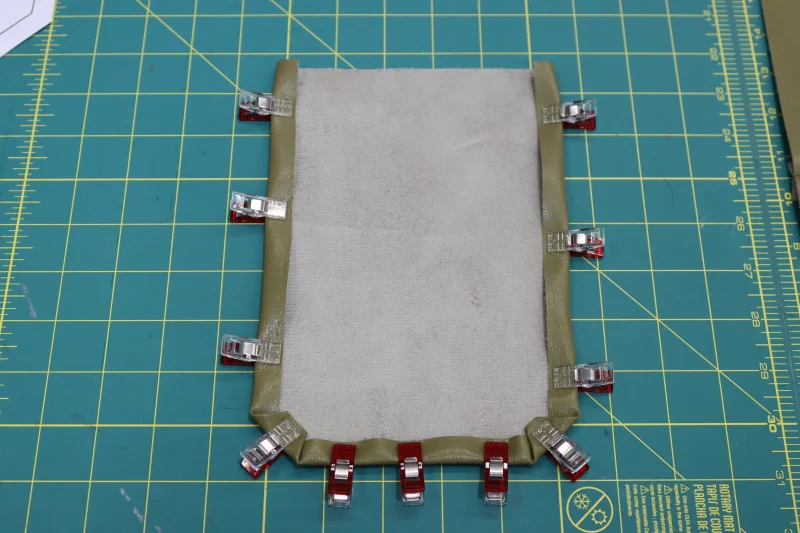
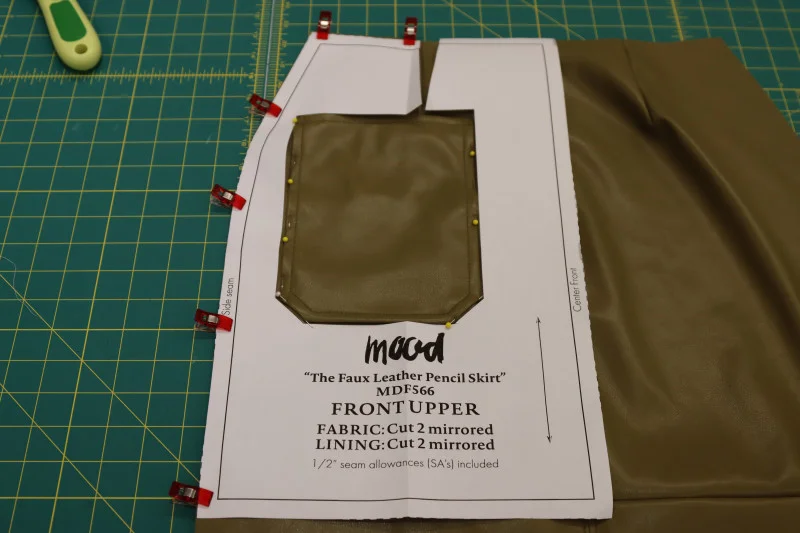
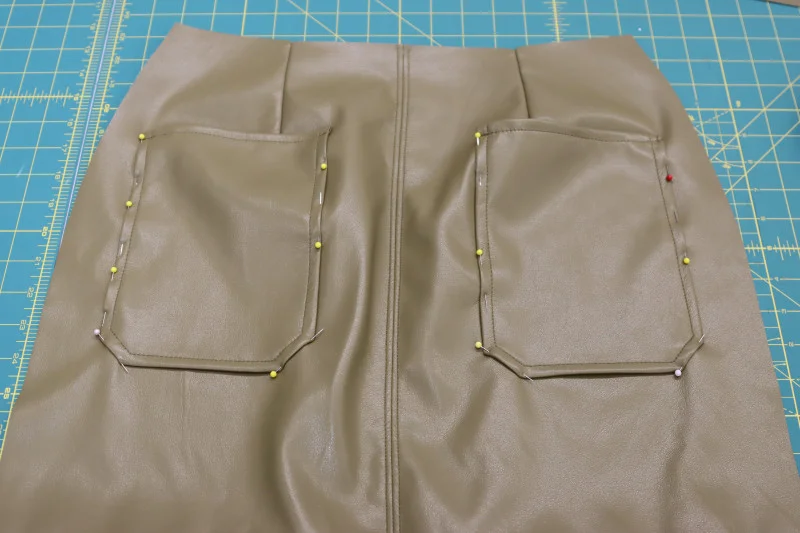
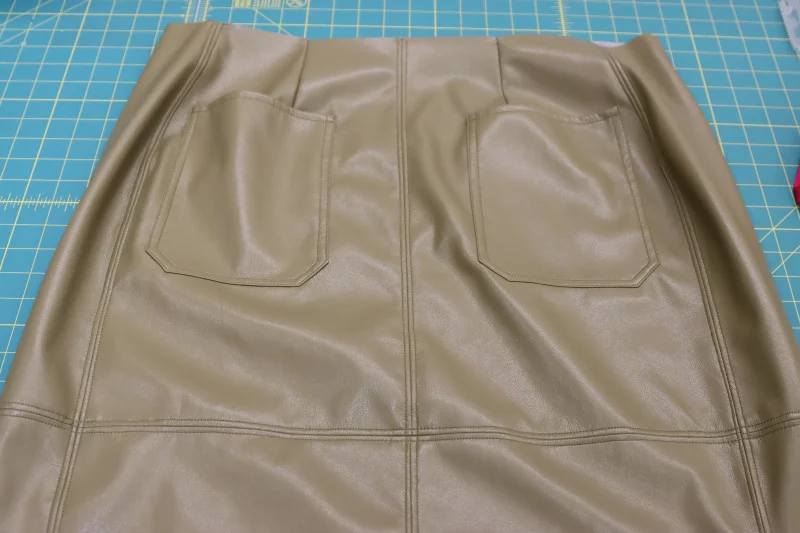
5. Finish and attach the pockets. Fold each pocket edge over by 1/2 inch, including the top edge, and hold the folds with clips or pins. Topstitch around the pocket edges 1/4 inch from the fold. Use the front skirt pattern piece to mark the pocket positions, then place and secure the pockets. Stitch along each pocket’s sides and bottom, 1/8 inch from the edge.
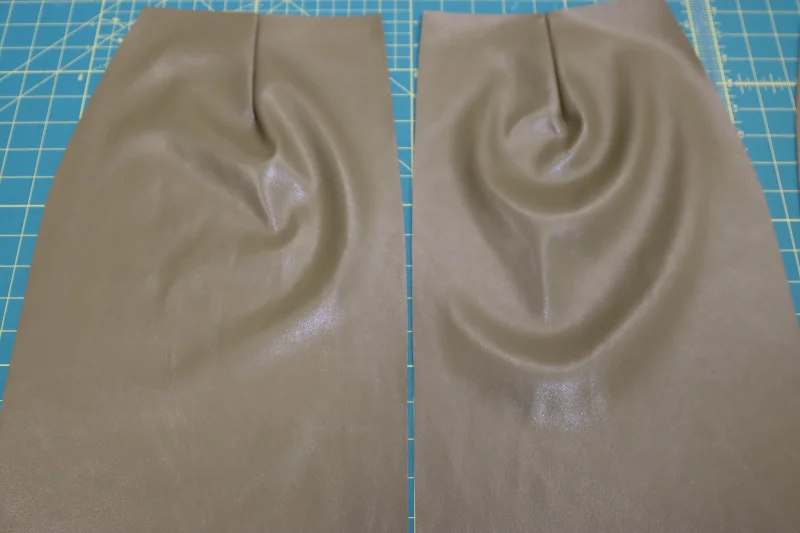
6. Sew the side seams. Place the back skirt over the front, right sides together, and align the side seams. Pin and sew them, then roll the seam allowances open and flat. Topstitch 1/4 inch from both sides of each side seam. Also topstitch both sides of the horizontal seam joining the upper and lower skirt panels, using the same 1/4-inch spacing.
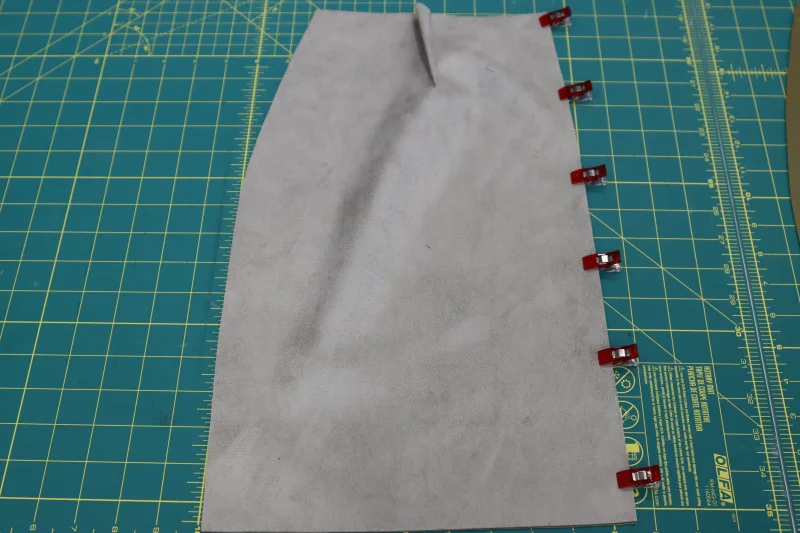
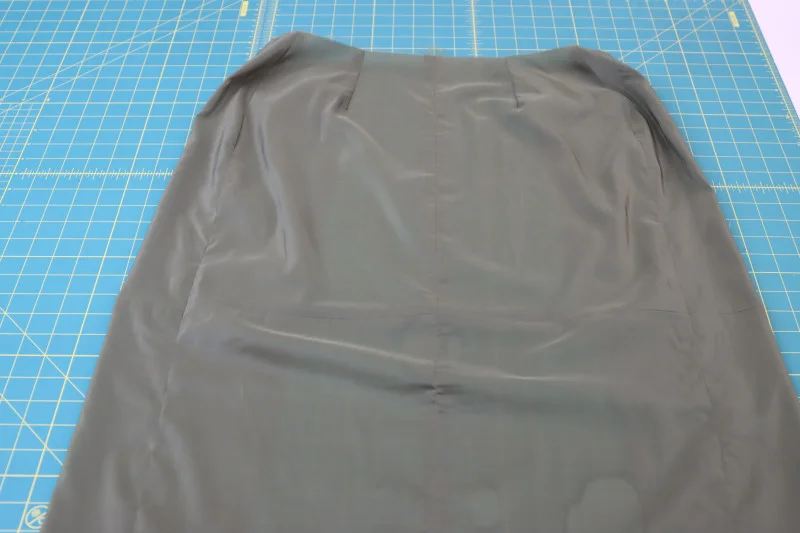
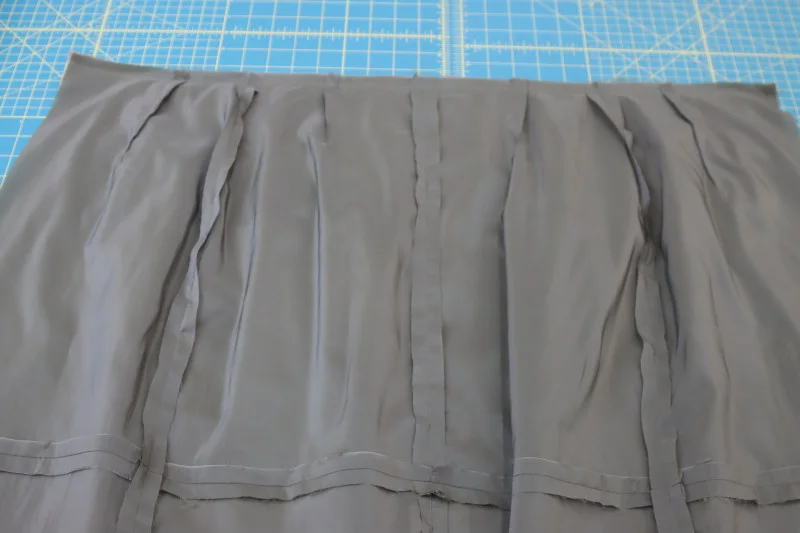
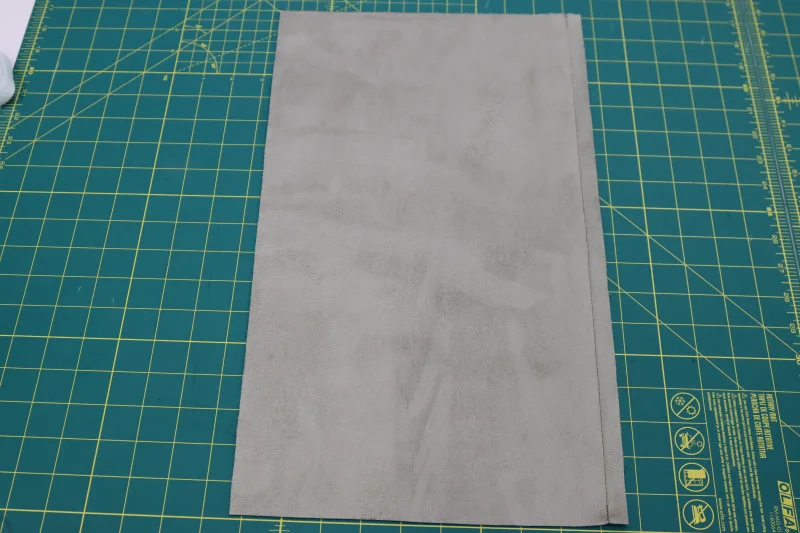
7. Make the lining. Construct the lining using the same process as the main skirt, leaving off the pockets. The lower panels of the lining are optional: you can make the full-length lining or sew only the upper sections to create a shorter lining. Whichever version you choose, it must finish shorter than the main skirt once hemmed.
Waistband, zipper and finishing
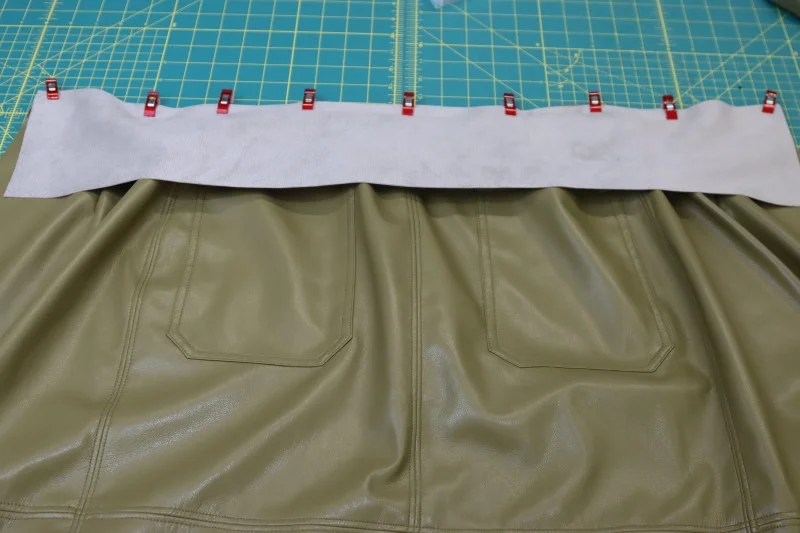
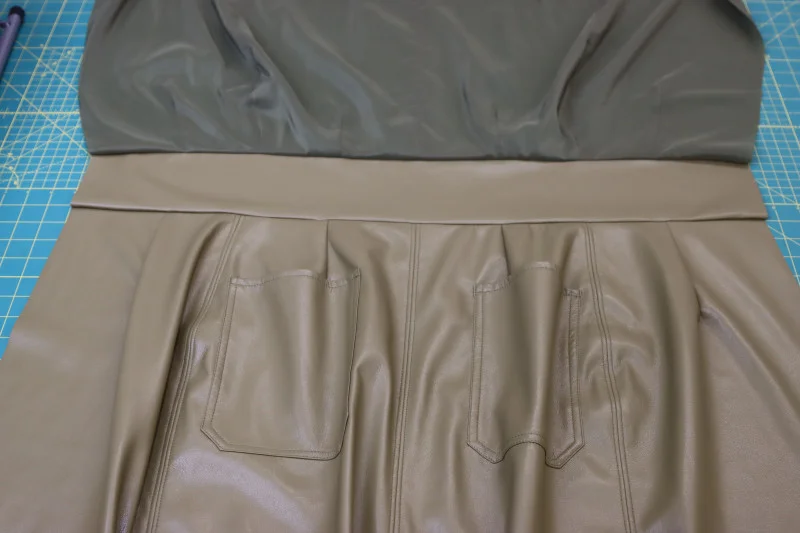
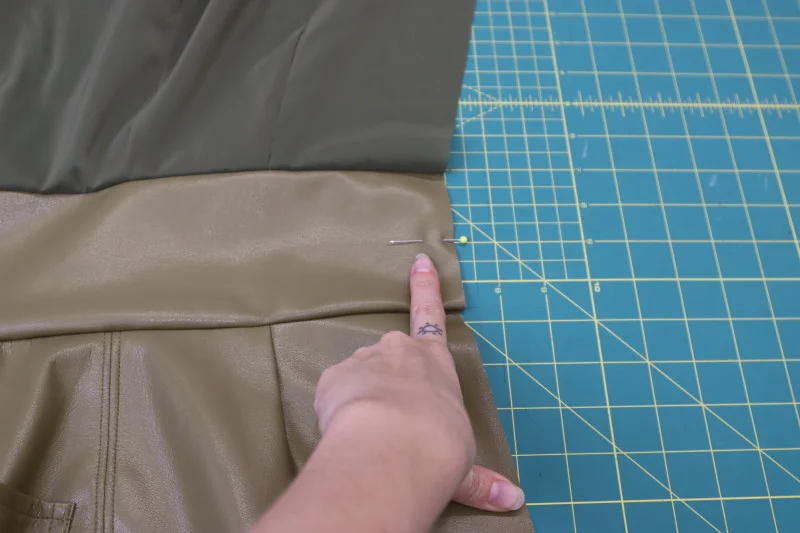
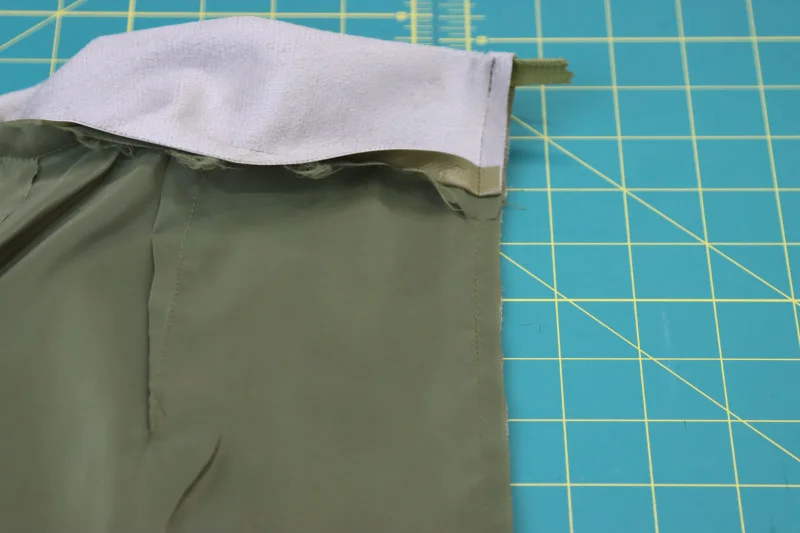
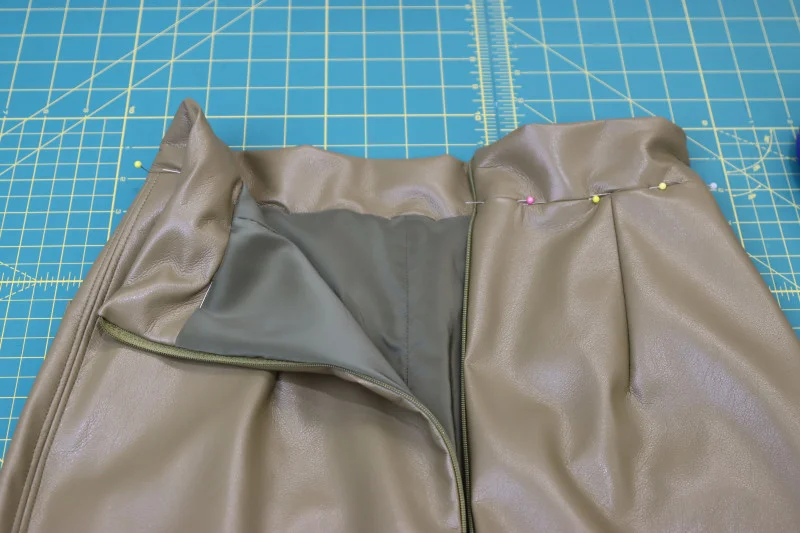
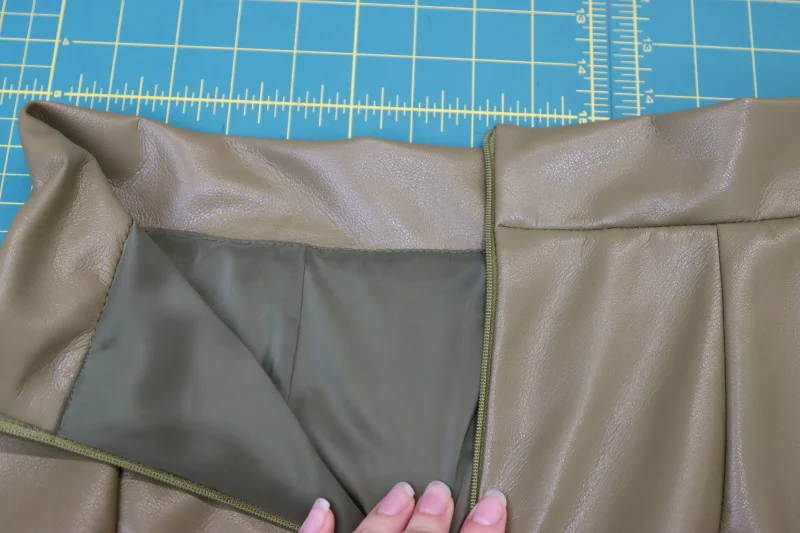
8. Attach the waistband. Place the waistband against the main skirt waistline, right sides together. Match the darts, folding them toward the side seams, and keep the other seam allowances open. Sew the waistband to the skirt, then roll the seam allowance open. With right sides together, sew the lining waist edge to the waistband’s other edge. Mark the waistband midpoint at the center back; this fold mark indicates where the zipper begins.
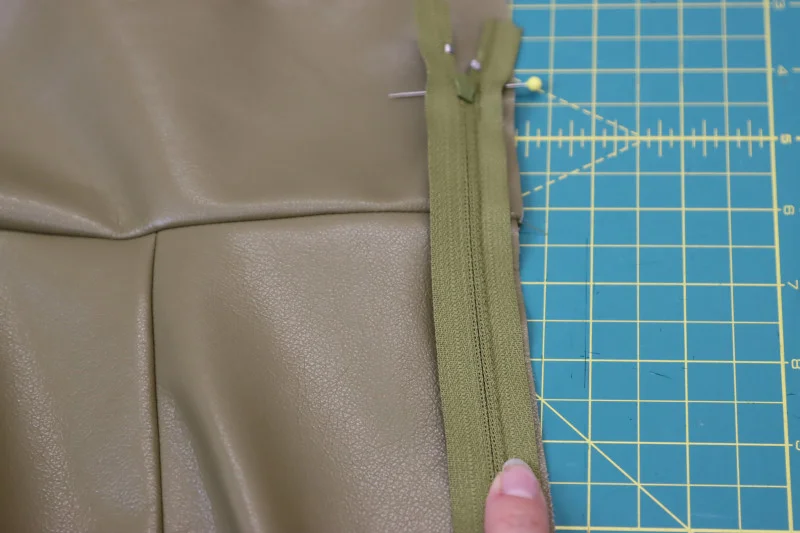
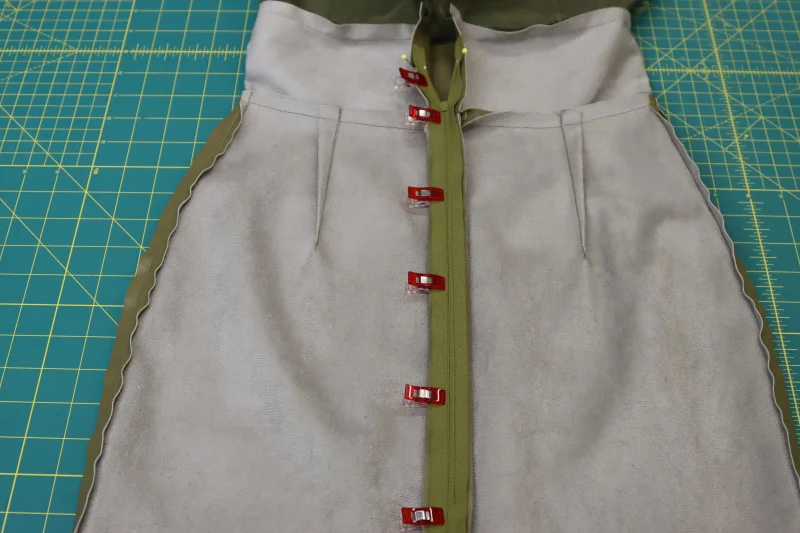
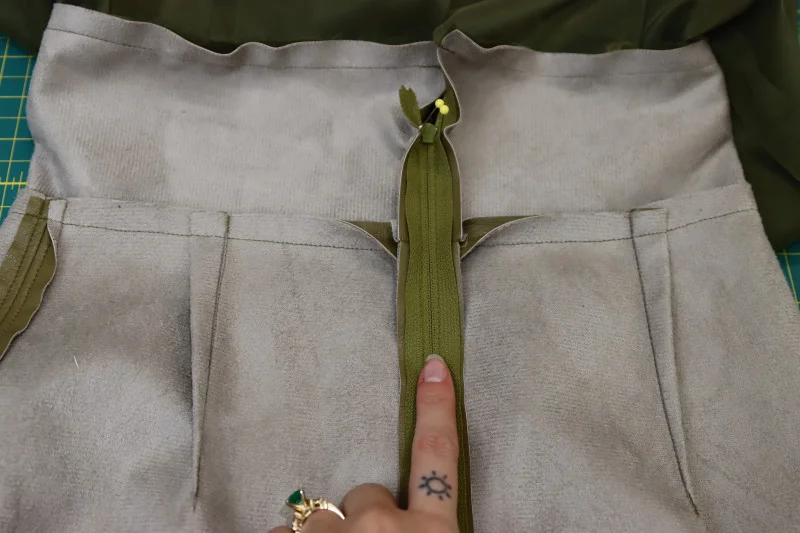
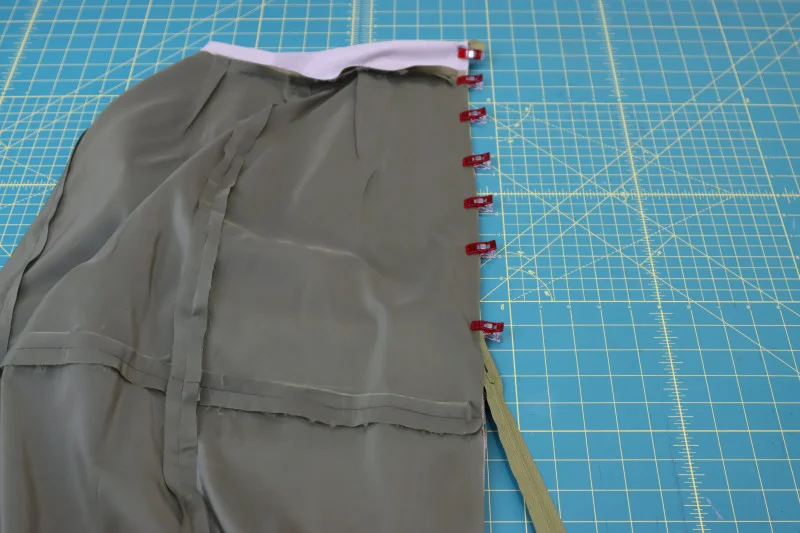
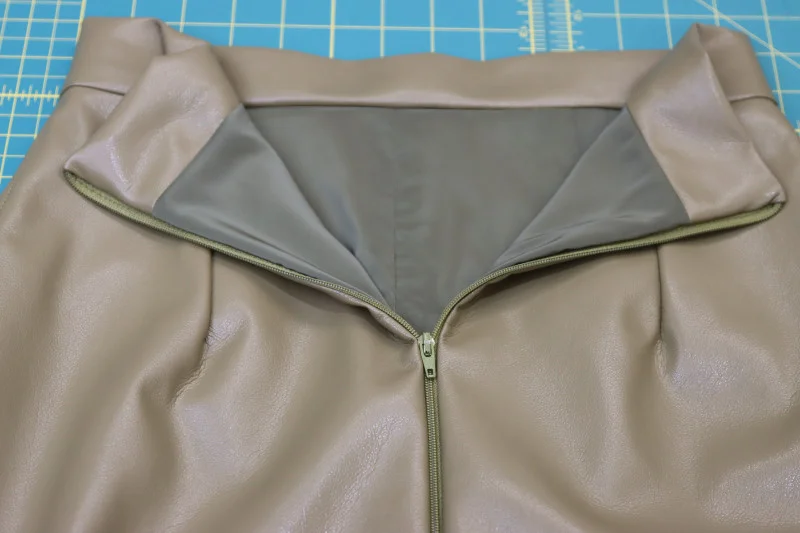
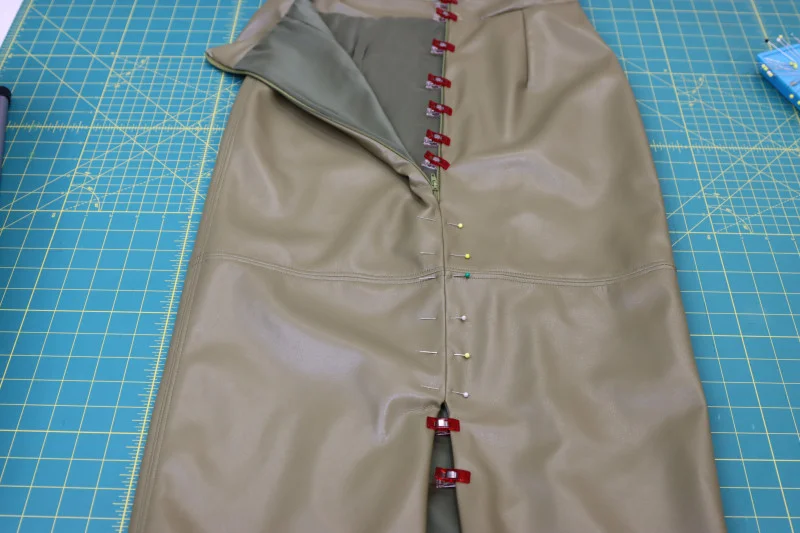
9. Install the zipper and close the back seam. Pin one side of the zipper tape right sides together with one edge of the main skirt’s center back opening. Position the zipper’s metal stops just above the waistband midpoint mark, then sew close to the raw edge of the center back. Turn the skirt inside out. Pin and stitch the other zipper tape edge to the opposite side of the opening, aligning the waist seams across the zipper.
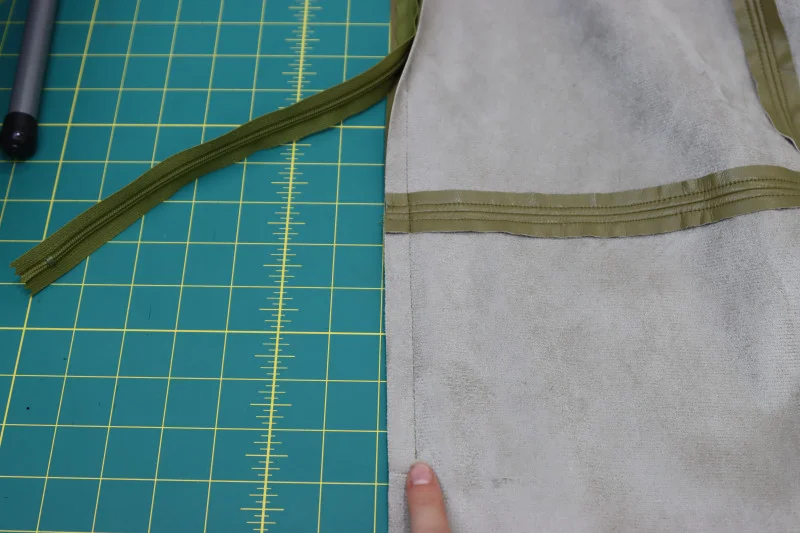
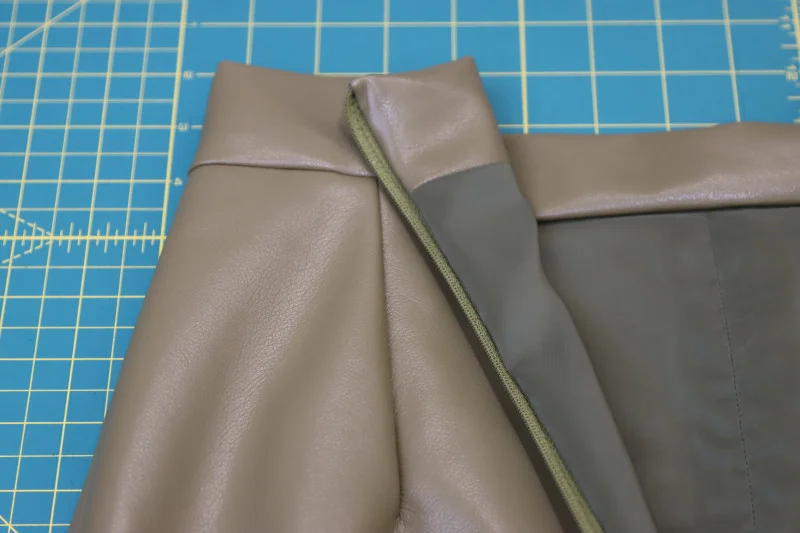
Fold the skirt right sides together so the center back edges meet. Sew the remaining back seam below the zipper, stopping at the slit notch. Turn the garment so the main skirt and lining are right sides together. Work one zipper side at a time: sandwich the zipper tape between the main fabric and lining, pin, and sew. Turn the skirt right side out.
10. Secure the waistband lining. Pin the outer skirt to the lining along the waist seam. Stitch in the ditch—the seam line where the waistband joins the skirt—to hold the lining and waistband in place.
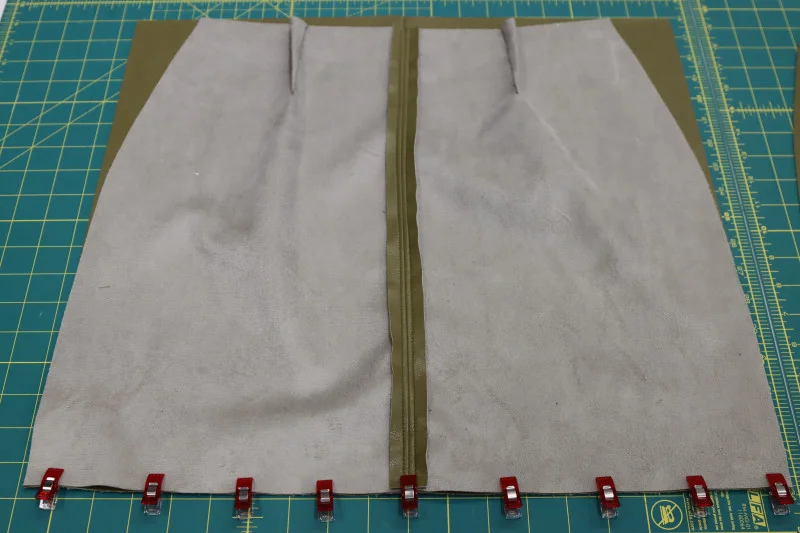
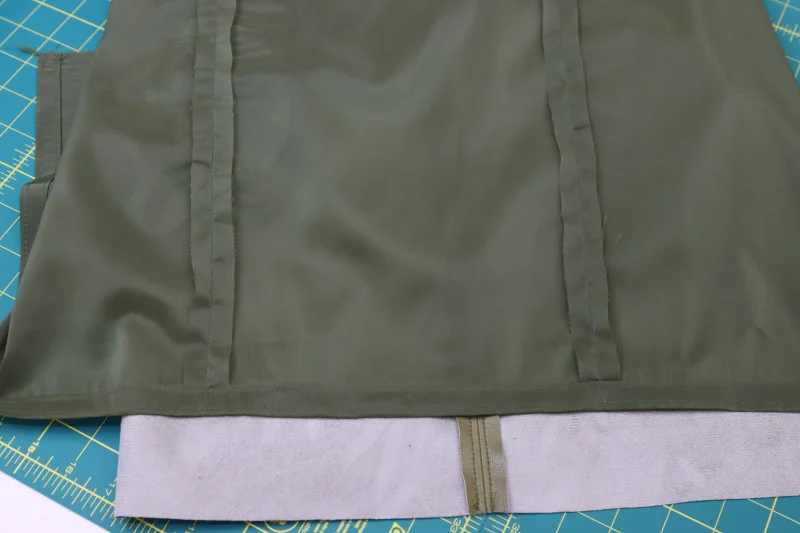
11. Hem the lining. Sew a double-rolled 1/2-inch hem in the lining. Keep the lining shorter than the main skirt.
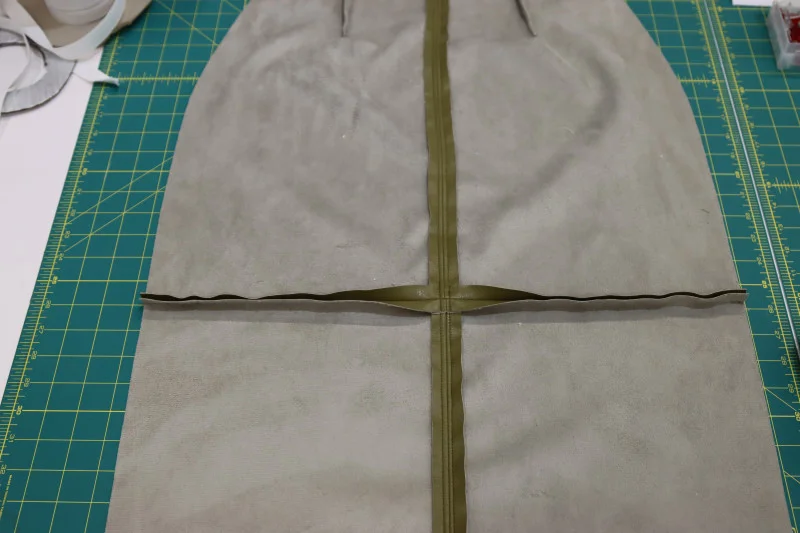
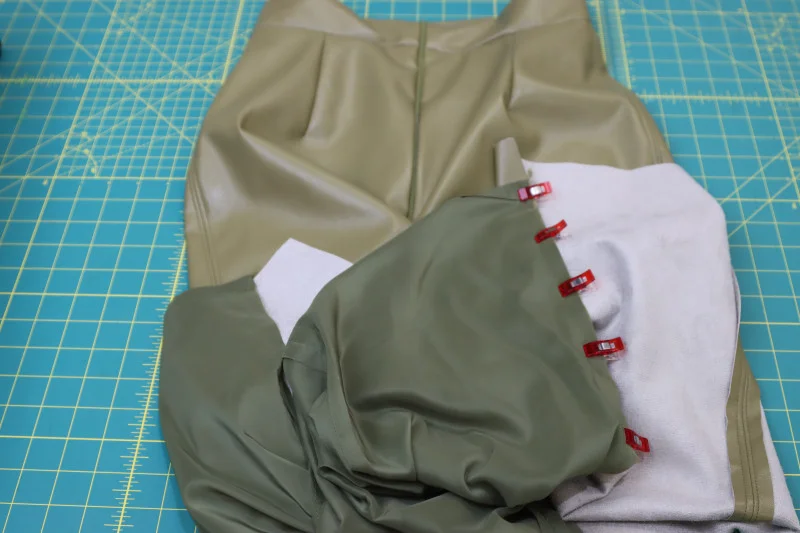
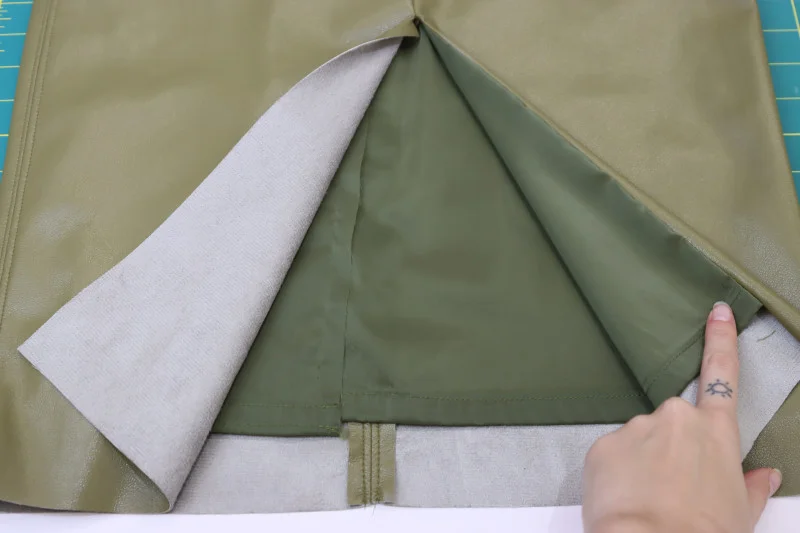
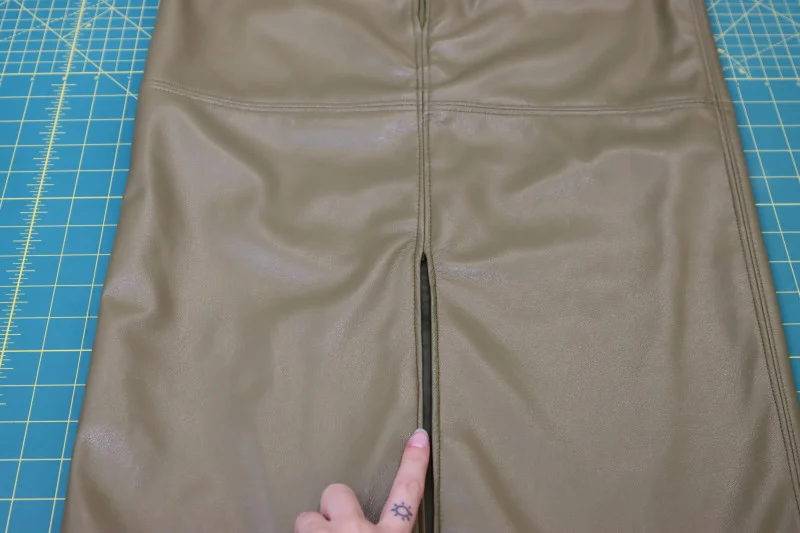
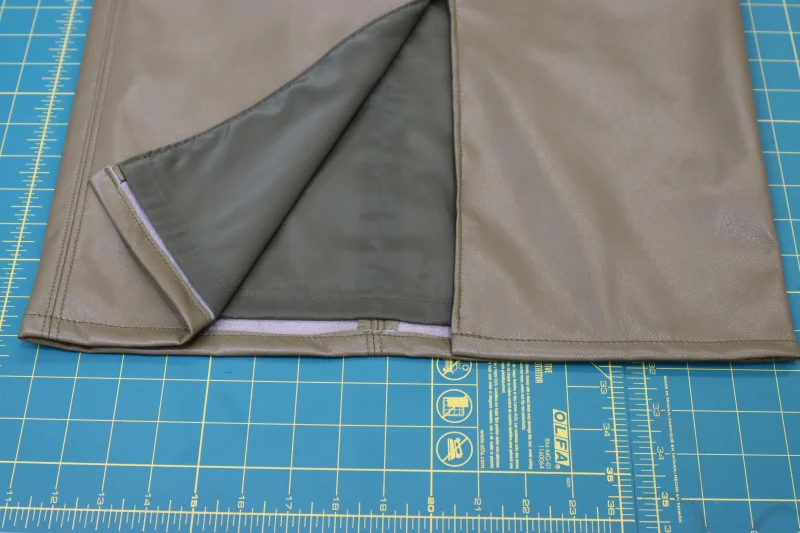
12. Finish the center back slit. Reach between the lining and main fabric at the skirt hem and take hold of both layers at the slit. Bring the layers together right sides facing, pull them out through the hem and clip or pin them. Sew one side from the slit notch to the lining hem. Repeat for the other side.
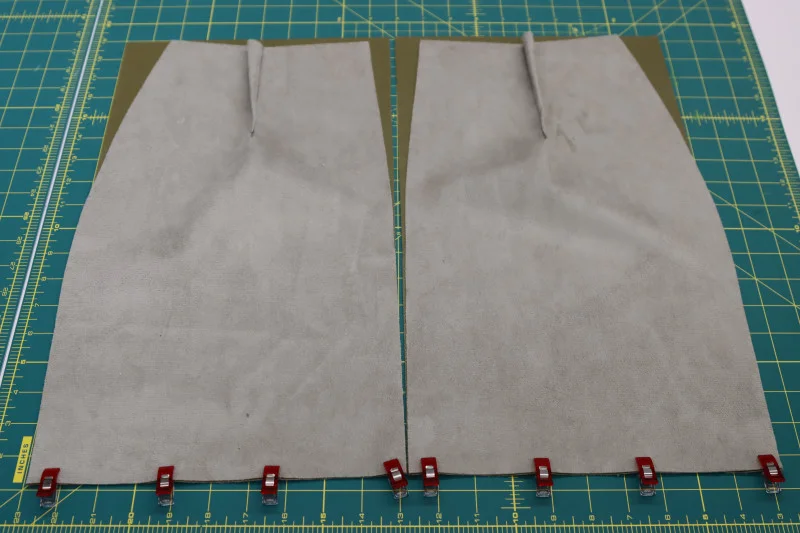
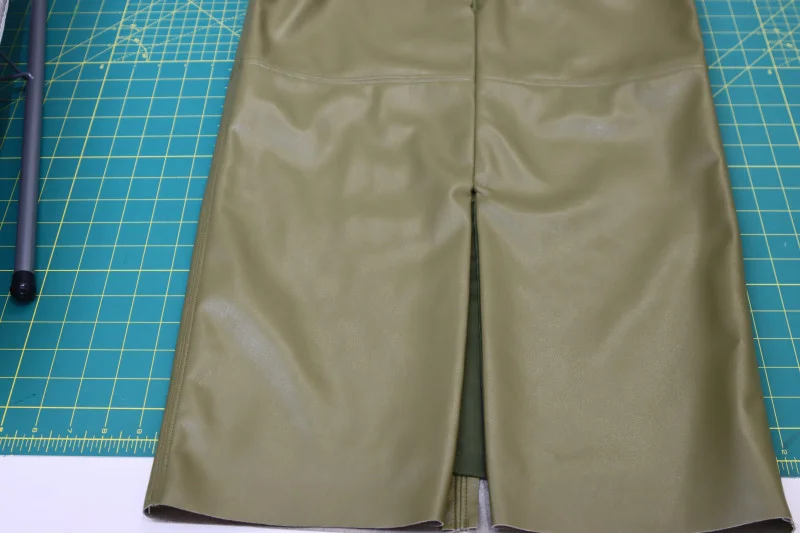
13. Topstitch the back. Pin along the center back from the waistband to the hem so both layers lie flat and the fabric is directed away from the seam. Topstitch 1/4 inch from each side of the center back seam.
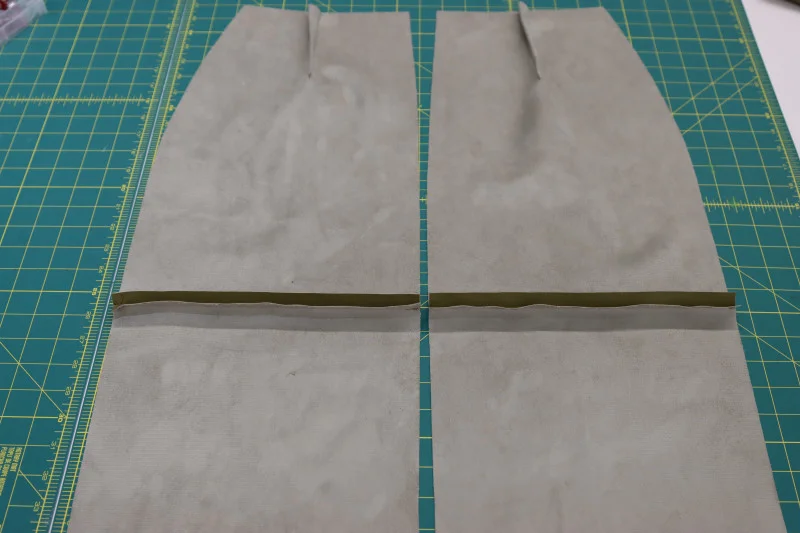
14. Hem the main skirt. Fold the main skirt hem by 1/2 inch and topstitch 3/8 inch from the folded edge.
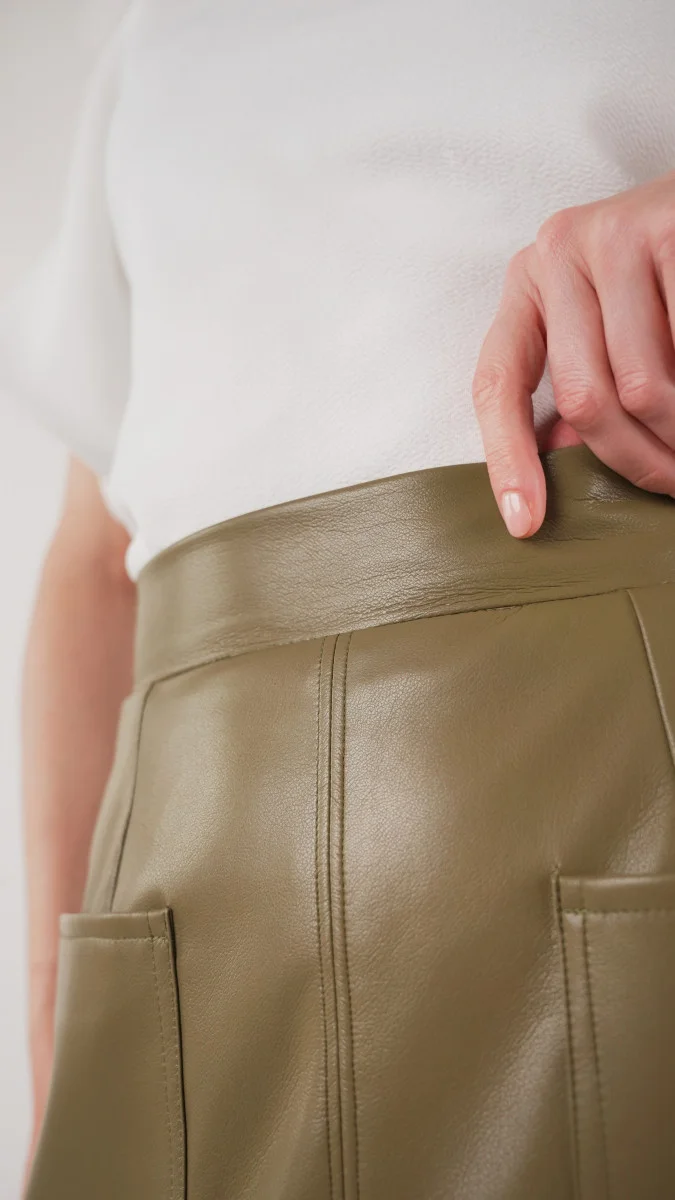
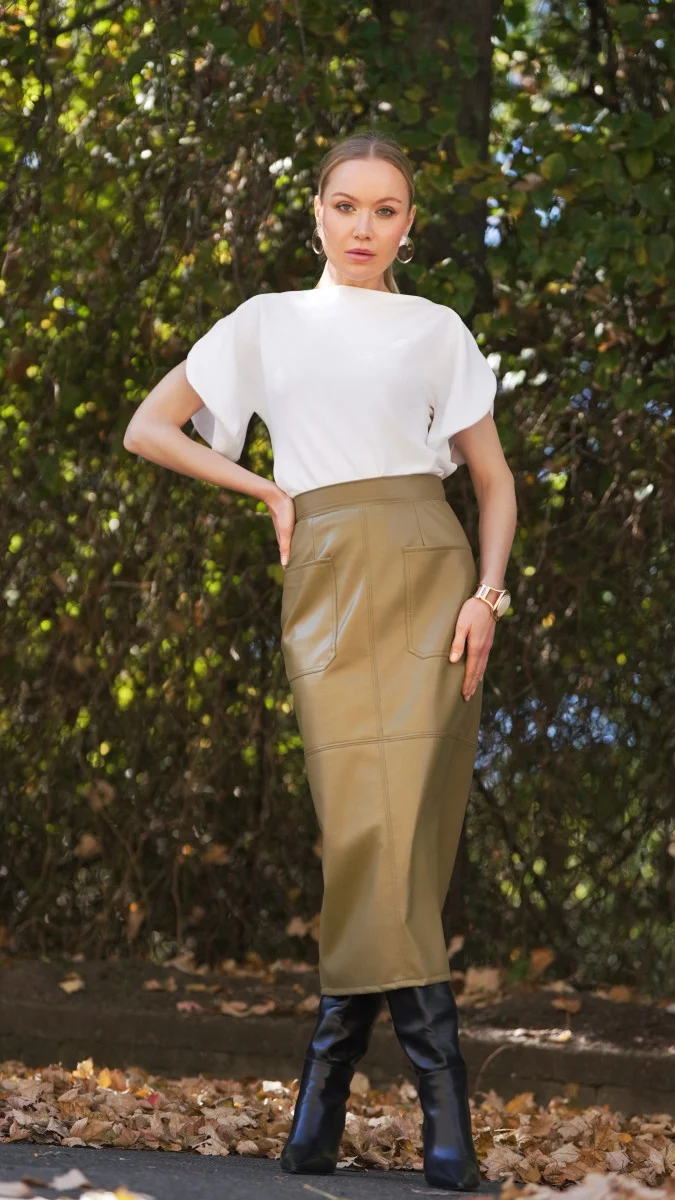
The finished skirt pairs a clean pencil shape with defined panel seams, pockets and a back slit. Wear the faux leather version with a polished daytime outfit, or change the styling for evening. With denim, twill, jacquard or another suitable fabric, the same pattern offers room to make the silhouette your own.