Sample No. 0226
Sodalite Peplum Midi Dress: Free Stretch Knit Sewing Pattern
Sew a polished midi dress with a turtleneck, cap sleeves and flared peplum. Get fabric guidance, fit notes and the full sewing sequence.

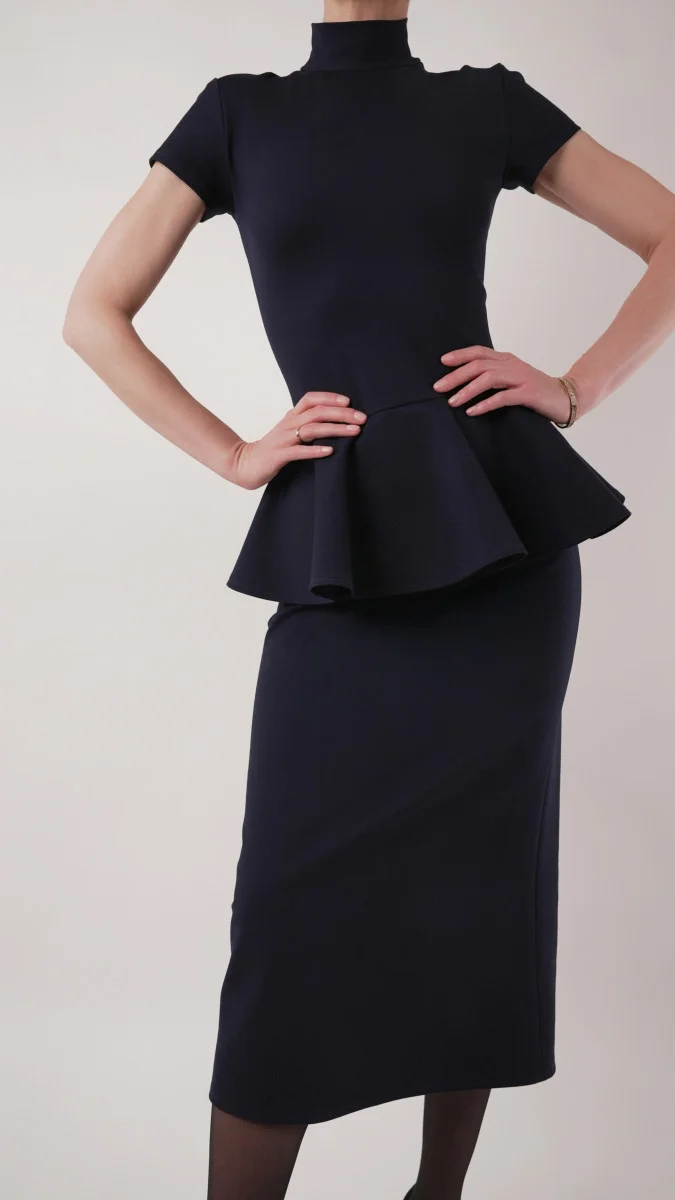
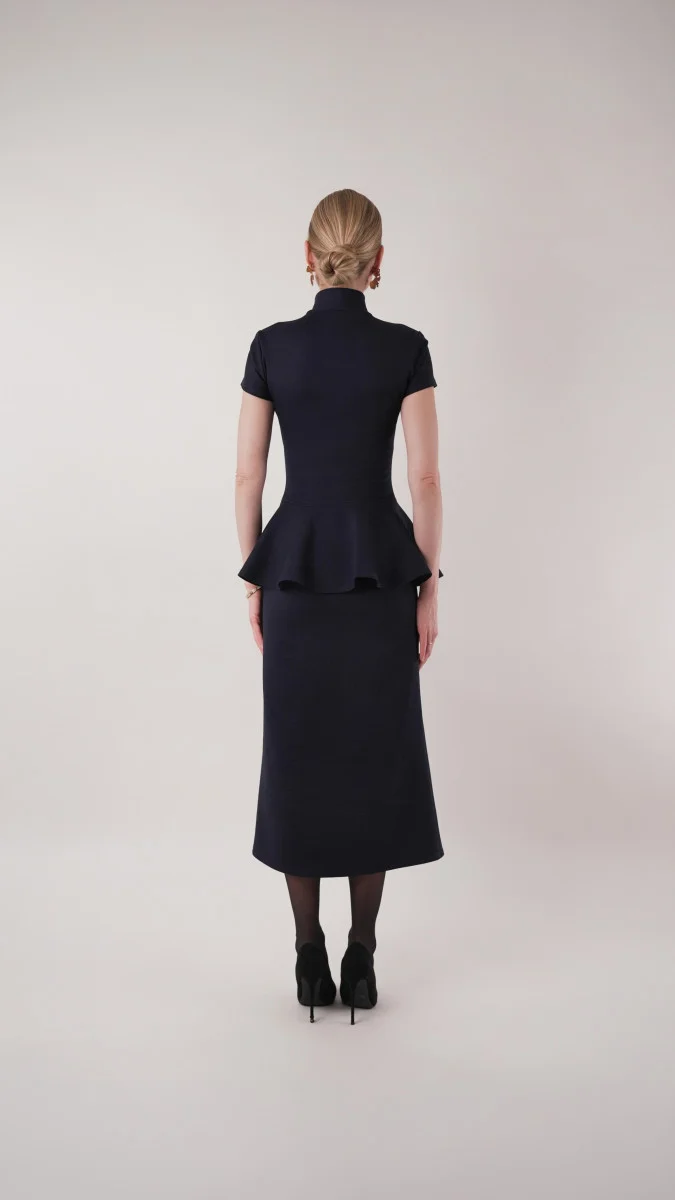
The Sodalite Peplum Midi Dress pairs a fitted bodice and below-the-knee skirt with a flared peplum, cap sleeves and a turtleneck collar. Mood Sewciety’s MDF568 pattern is designed for four-way stretch fabrics, making the ponte version a comfortable project with a tailored look. The instructions below follow the construction order and include the measurements and fit notes supplied with the pattern.


Fabric, supplies and fit
The sample uses 2.5 yards of midnight blue stretch ponte knit for a size small, plus one 250-meter spool of Gutermann Sew All Thread in 272 Navy. The free MDF568 Sodalite Peplum Midi Dress pattern is available as a PDF for A4 and letter-size printing. An invisible zipper is optional.

The pattern is intended for medium-weight fashion fabrics and four-way stretch with at least 50% stretch in both directions. Suggested alternatives include scuba, Liverpool, crepe, spandex, velour, stretch lace and rib knits. Mood’s sample fabric is from the Papilio Collection. If you choose a non-stretch fabric, the source recommends adding a side seam or center-back zipper and selecting a larger size to allow for the lack of stretch.
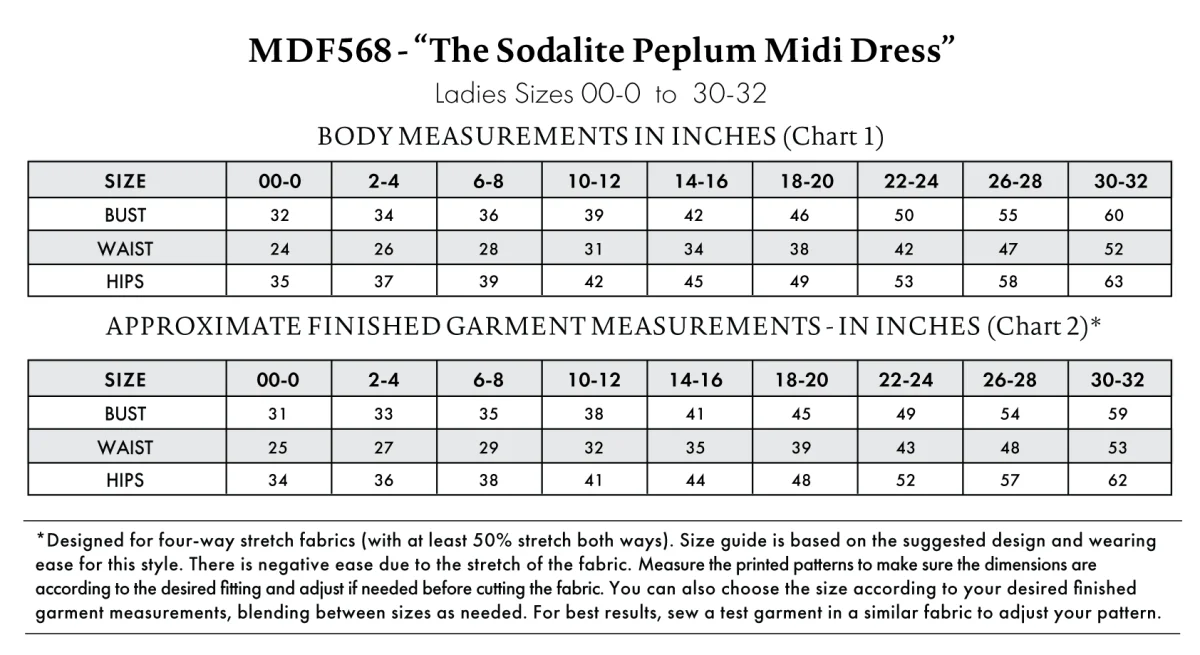
Use the included size chart and finished garment measurements to choose your size. The chart reflects the suggested wearing ease for this design; you can blend sizes if needed. Measure the printed pattern pieces and check that their dimensions suit your intended fit before cutting. Sewing a test garment in a similar fabric can help you assess adjustments. Read all pattern instructions before cutting.

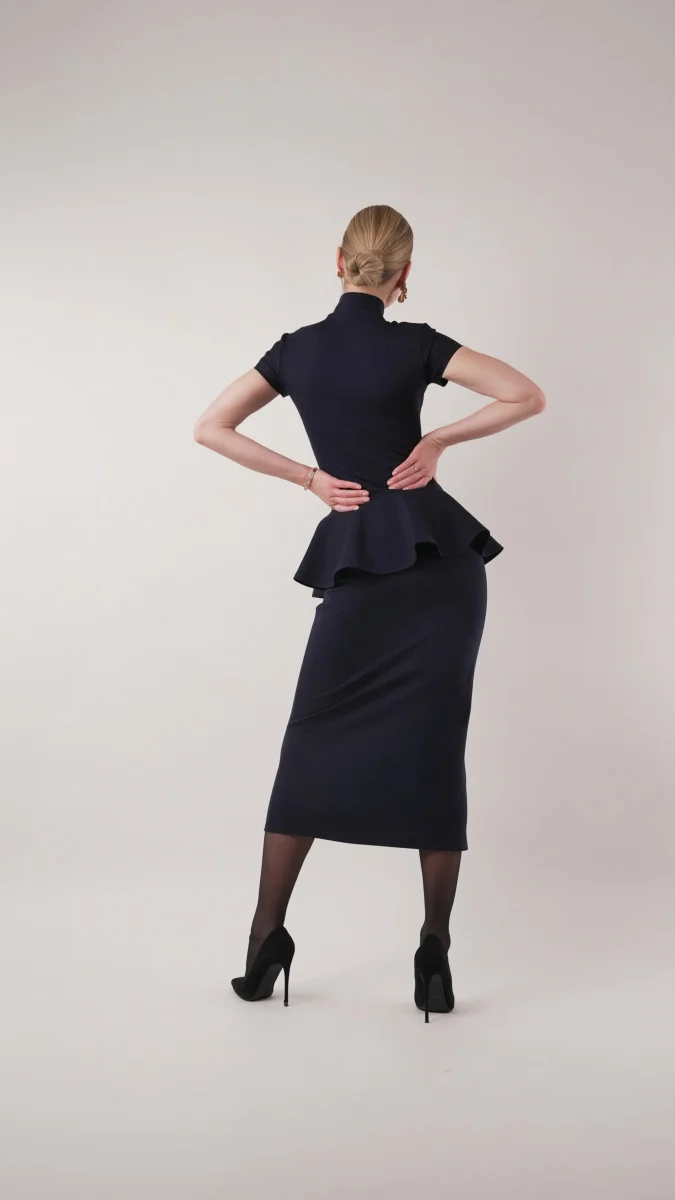
The design can be adapted with longer sleeves, a shorter skirt hem or side slits. The bodice and skirt can also be made as separate pieces for a coordinated set. The pattern’s technical drawings show the garment’s seams and silhouette.

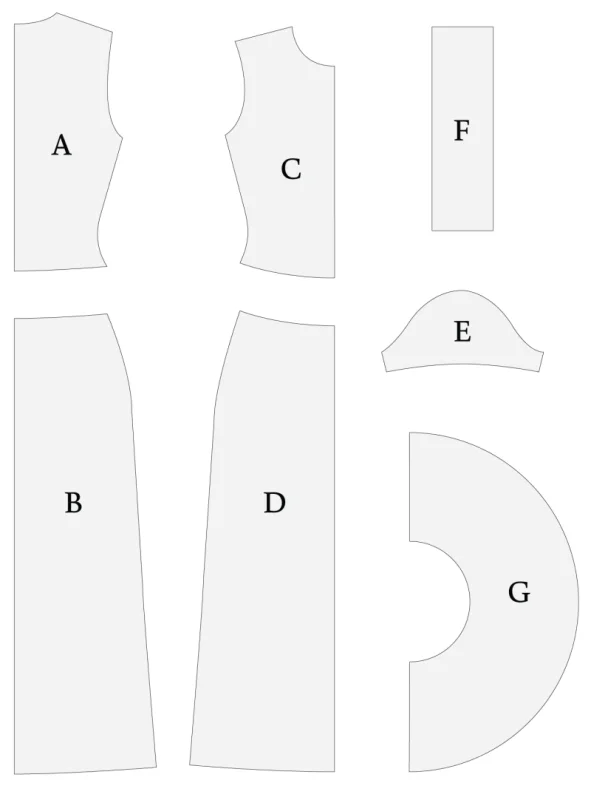
Cutting plan
- A, back top: cut 1 on the fold.
- B, back skirt: cut 1 on the fold.
- C, front top: cut 1 on the fold.
- D, front skirt: cut 1 on the fold.
- E, sleeves: cut 2 mirrored.
- F, collar: cut 1.
- G, peplum: cut 1 on the fold.
Unless a step specifies otherwise, sew seams with a ½-inch seam allowance. For ponte, use a stretch stitch to preserve the fabric’s give and a ballpoint or stretch needle to help prevent pulls and skipped stitches. Press seams open and flat as you work, using medium heat and high steam.

Construction
1. Sew the bodice
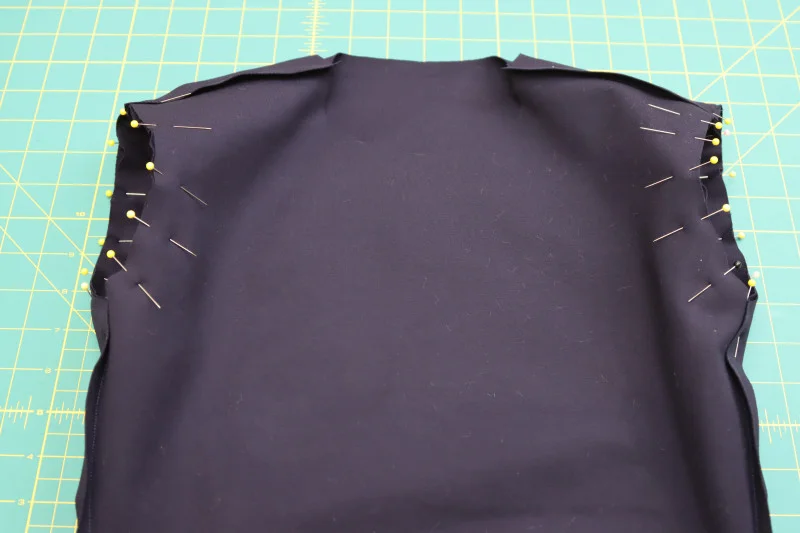
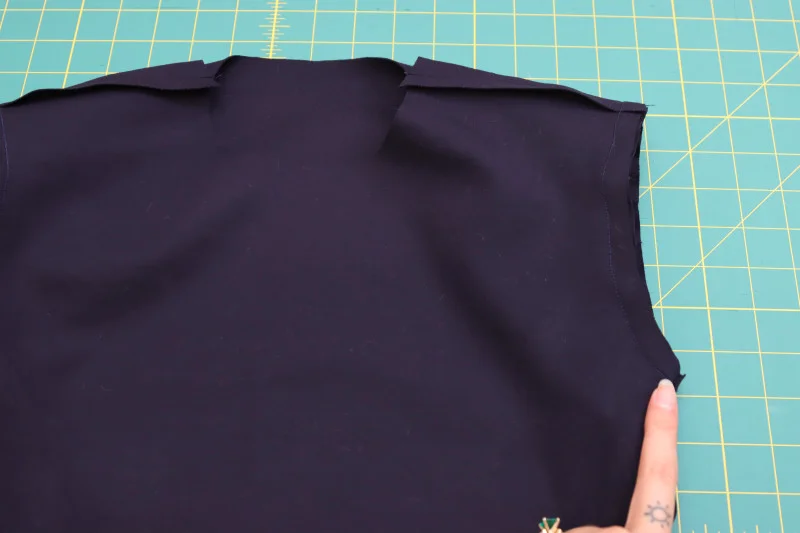
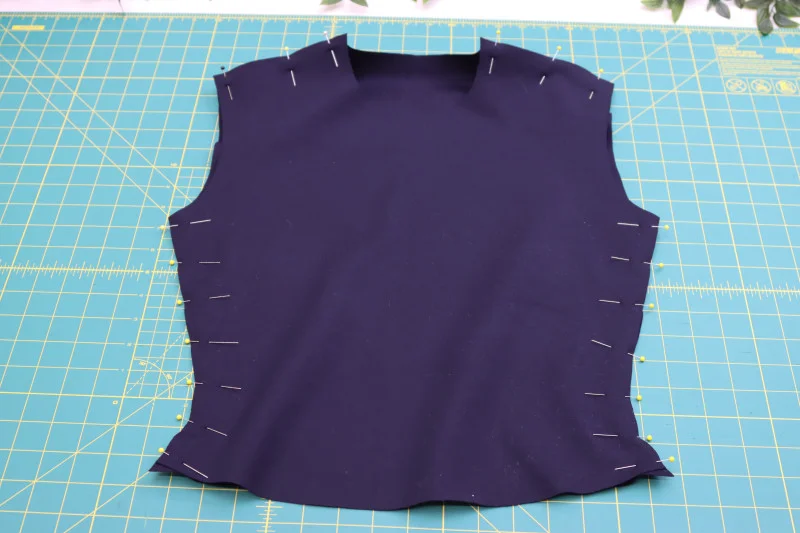
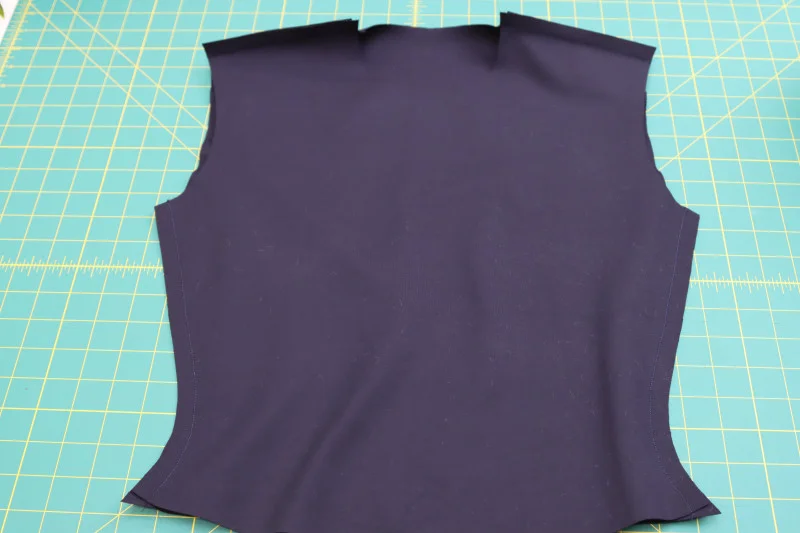
Place the front bodice over the back with right sides together, matching the shoulders and sides. Pin and sew both shoulder seams and side seams, then press them open and flat. If you plan to install a side seam zipper, leave one bodice side seam open instead of sewing it closed.
2. Sew and hem the sleeves
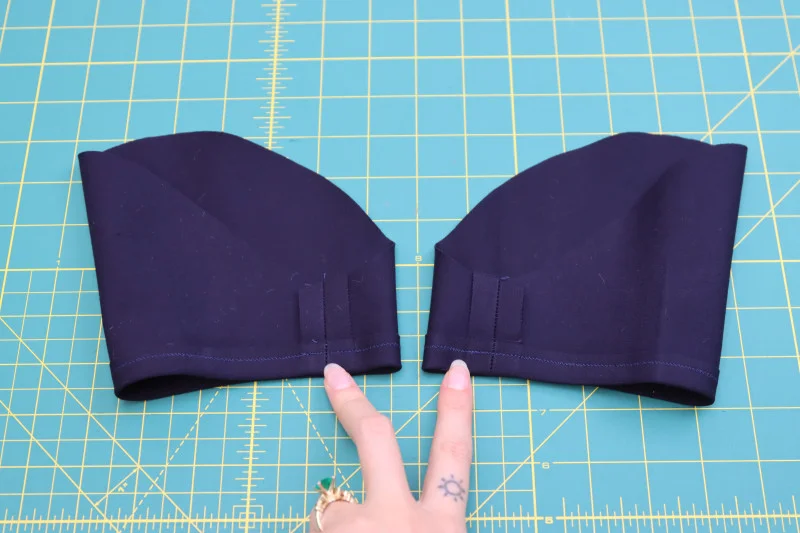
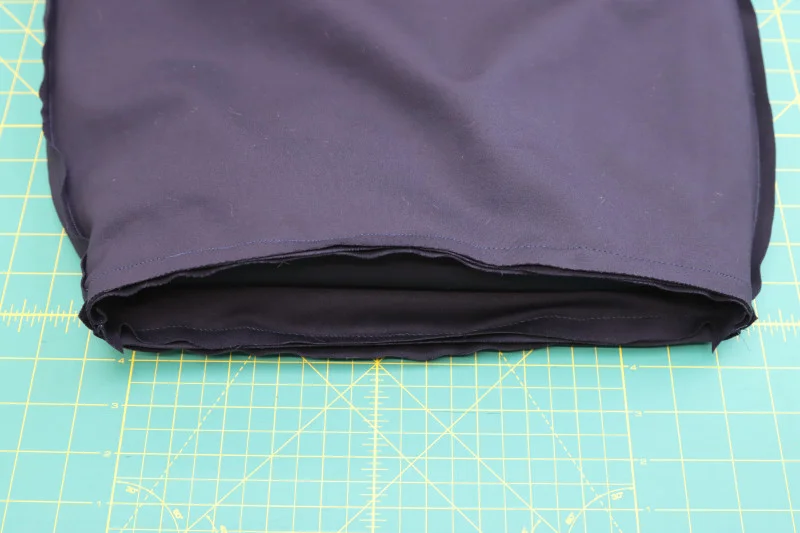
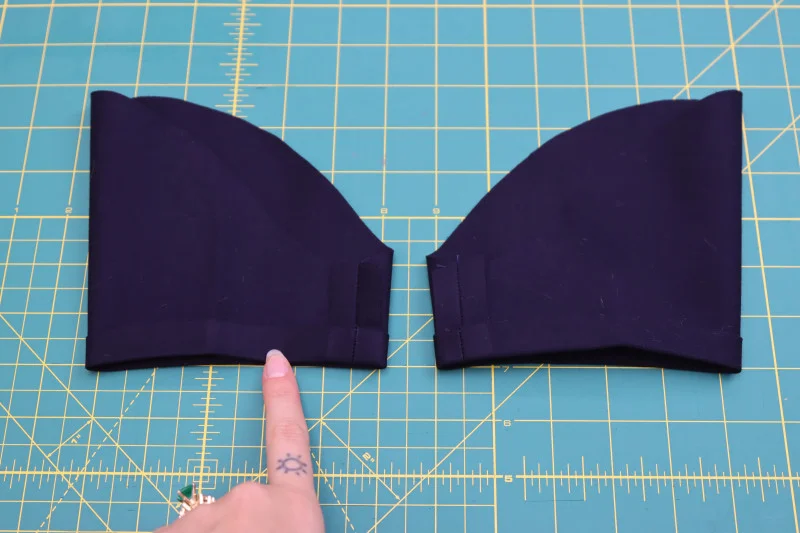
Fold each sleeve in half lengthwise, right sides together, matching the sleeve inseam edges. Pin and sew each inseam, then press the seam allowance open and flat. Press a ½-inch fold into each sleeve hem and topstitch ⅜ inch from the fold.

3. Set in the sleeves
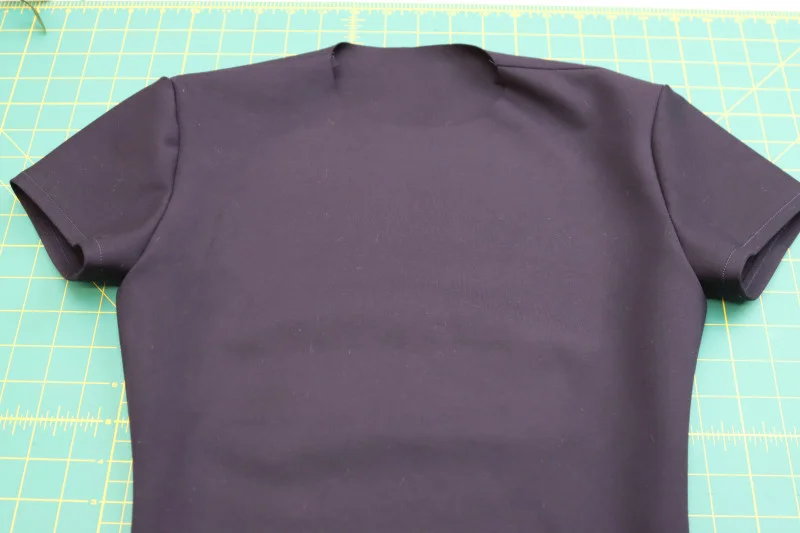
Turn the sleeves right side out and the bodice inside out. Insert each sleeve into its armscye, matching the front curve of the sleeve cap to the front curve of the armscye. Pin in place and sew the sleeves to the bodice. Turn the bodice right side out.

4. Prepare the collar
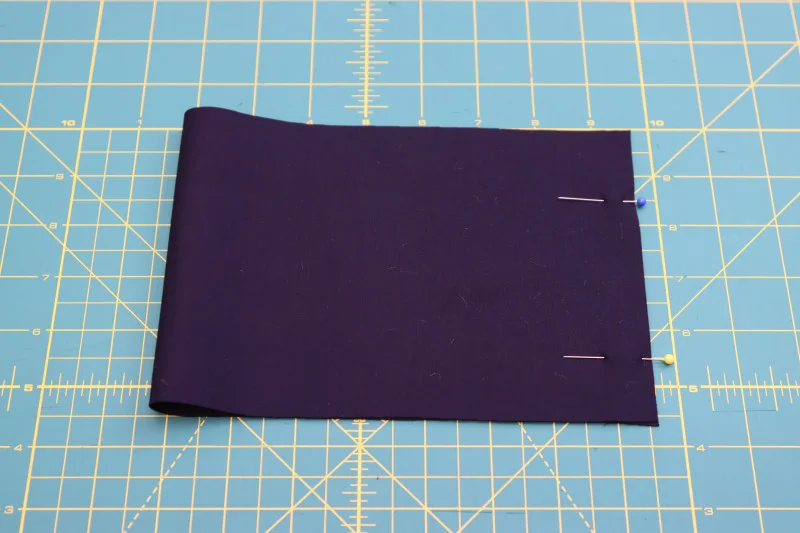
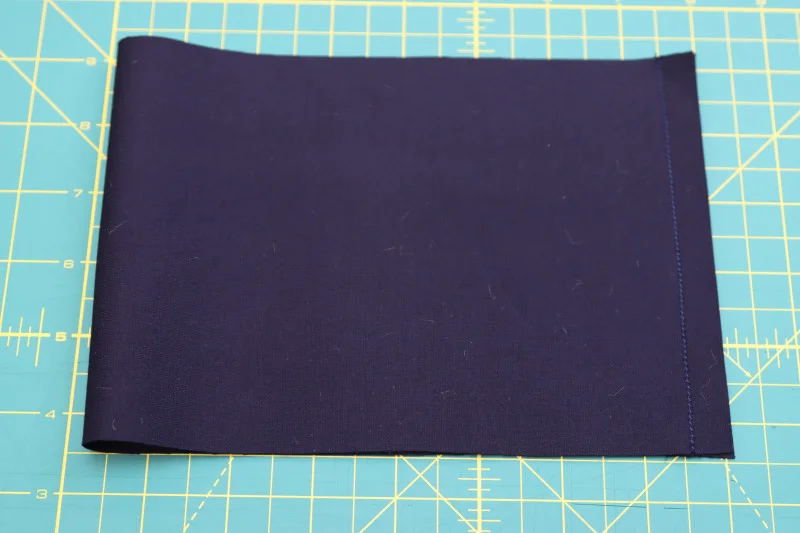
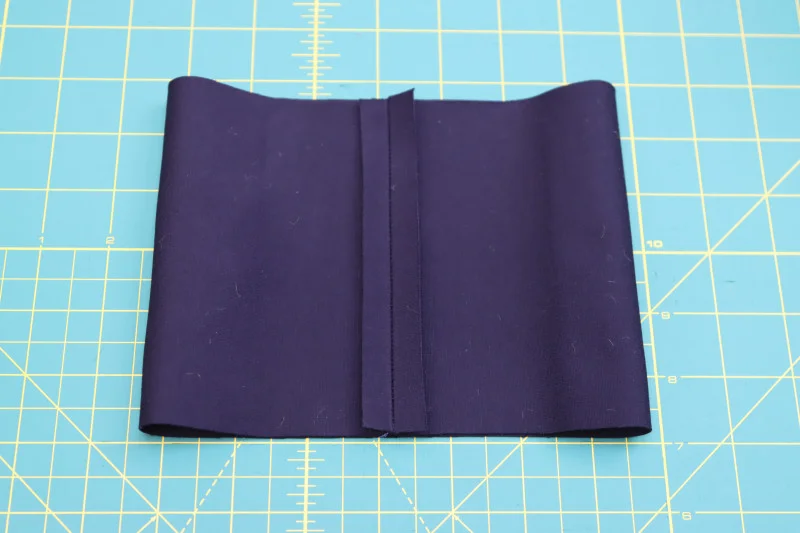
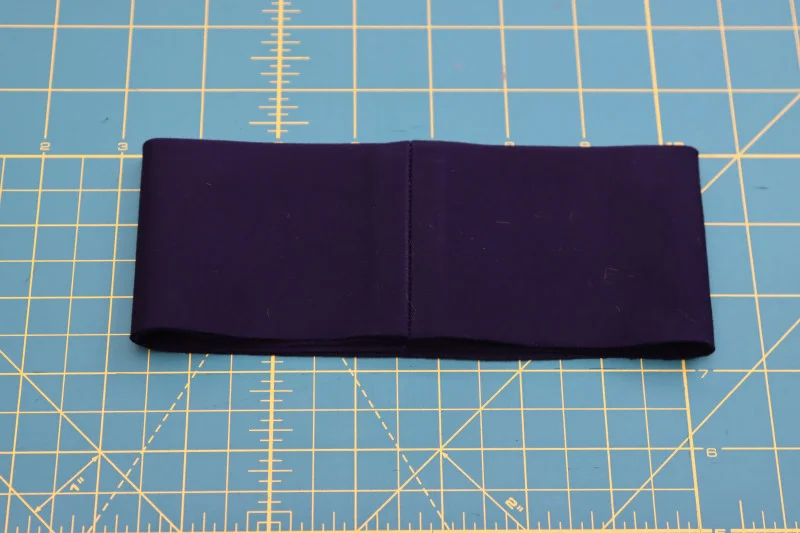
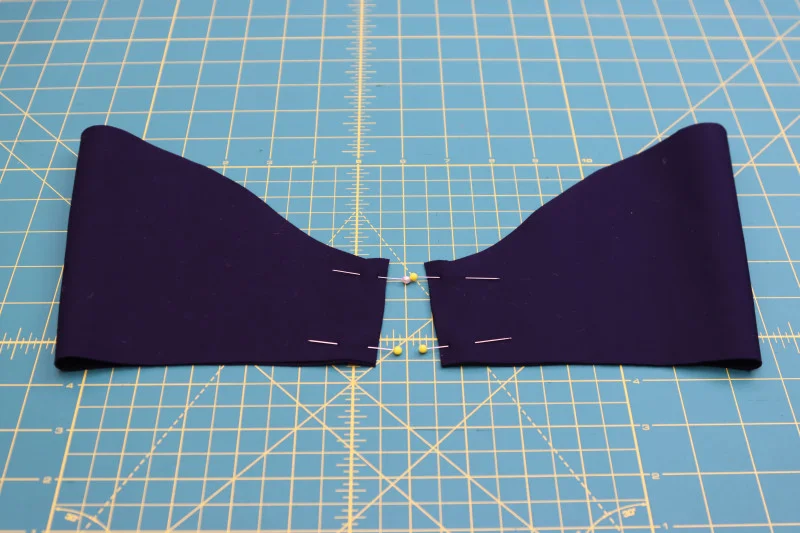
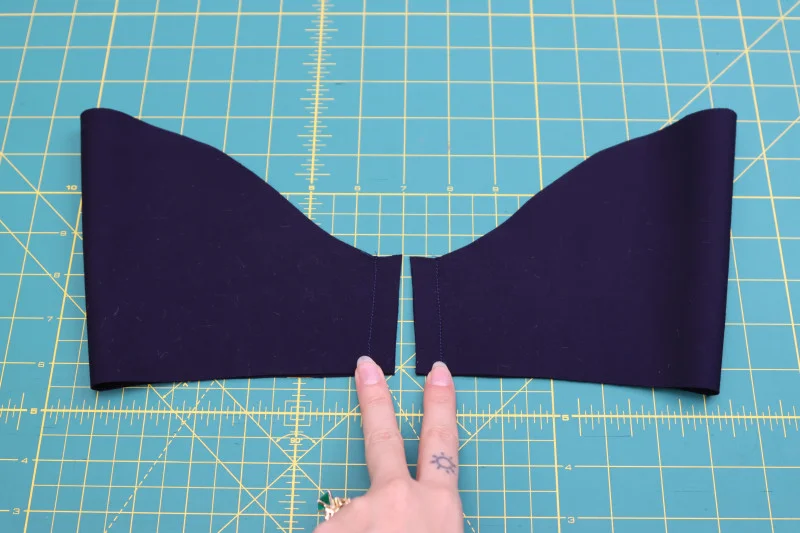
Fold the collar piece with right sides together, bringing its short edges together. Pin and sew those edges to form a loop, then press the seam open and flat. Fold the collar in half lengthwise with wrong sides together and press the folded edge.
5. Attach the collar
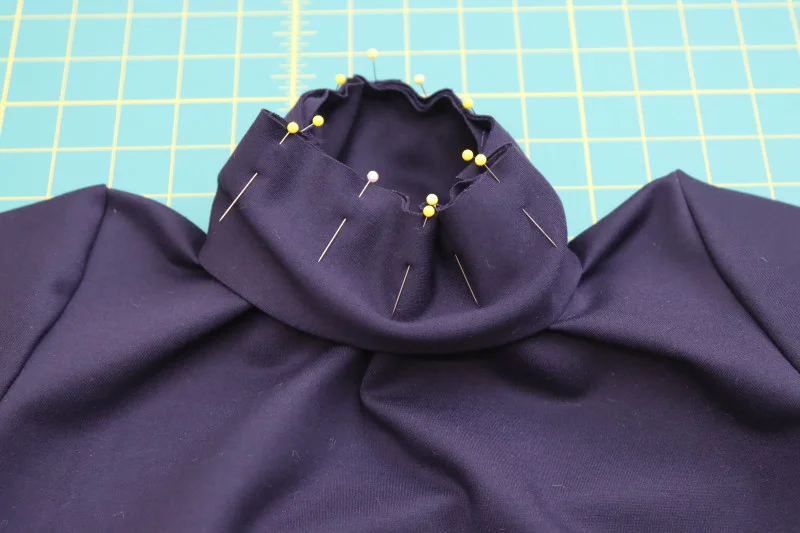
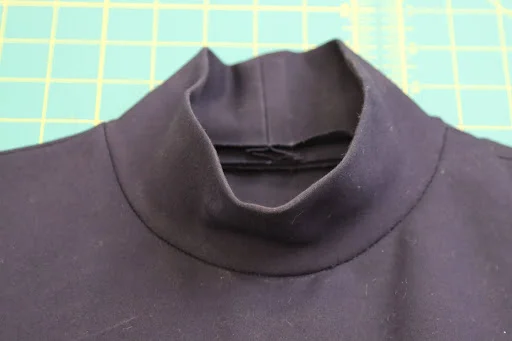
Match the collar’s raw edges to the bodice neckline, right sides together. Distribute the collar evenly around the neckline; stretch it slightly where needed to fit. Sew the collar to the neckline, then flip it upward so it covers the seam allowance.
6. Sew the skirt side seams
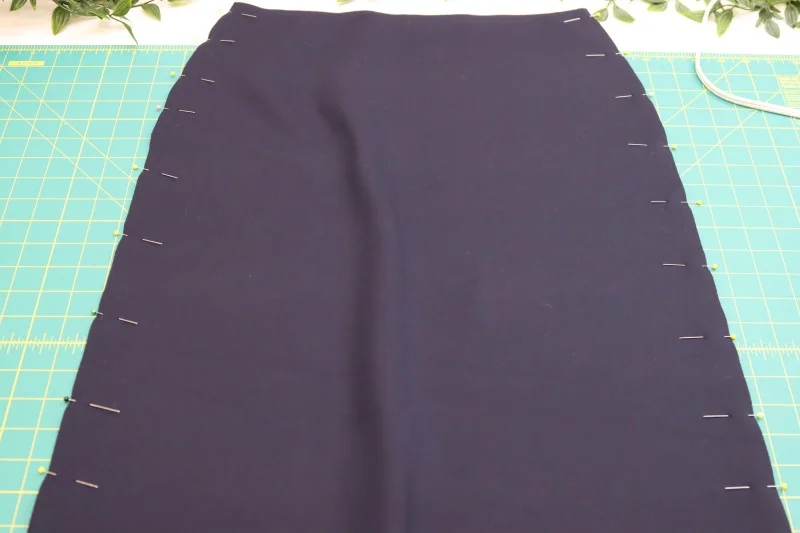
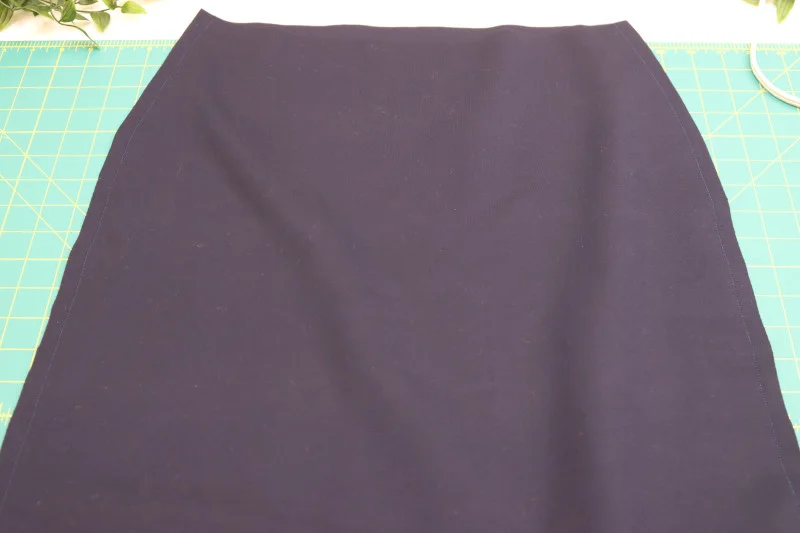
Place the front skirt and back skirt right sides together. Pin and sew the side seams, then press them open and flat. For a side seam zipper, leave one side open. To add slits, stop pinning and sewing at the desired slit height. After pressing the seam open, finish the exposed raw edges of each slit.
7. Hem the peplum
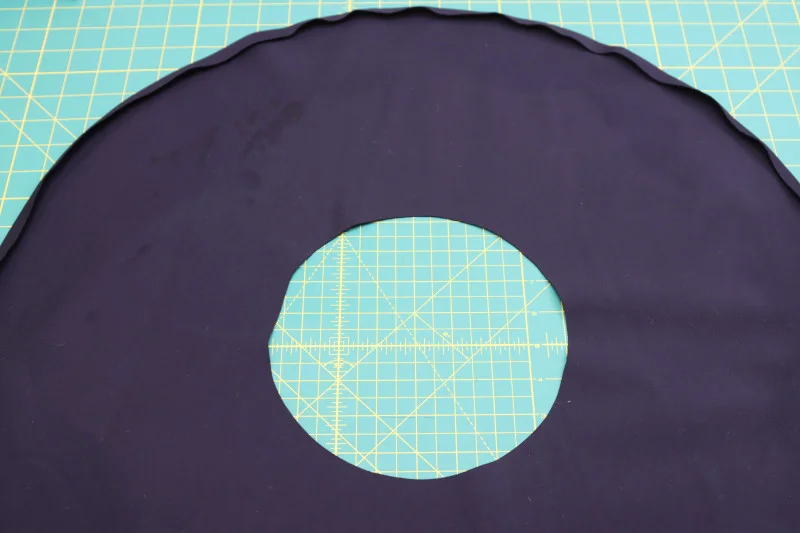
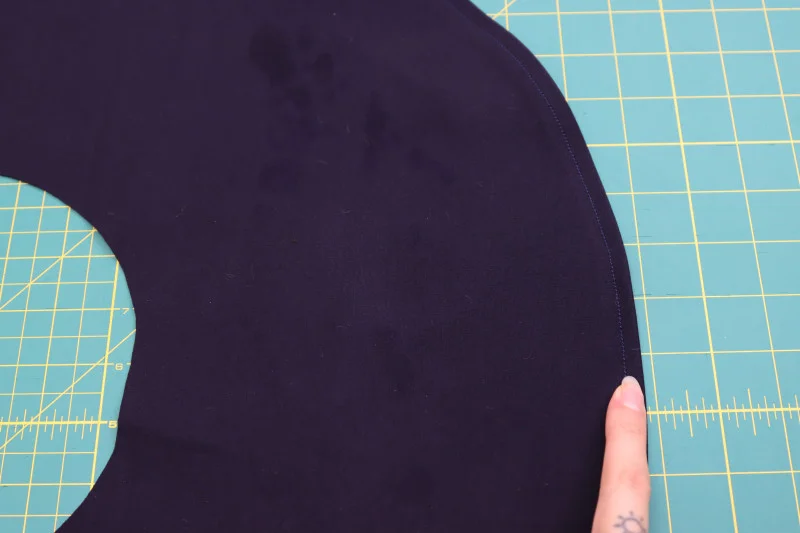
Press a ½-inch fold around the outer edge of the peplum and topstitch ⅜ inch from the folded edge. If you’re adding a side seam zipper, cut a straight slit through the peplum’s radius. This opening will align with the open side seams of the bodice and skirt.
8. Join the bodice, peplum and skirt
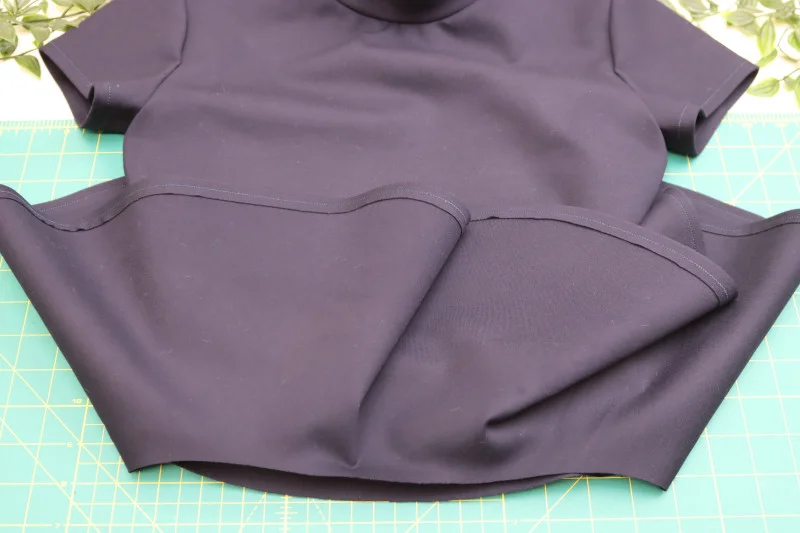
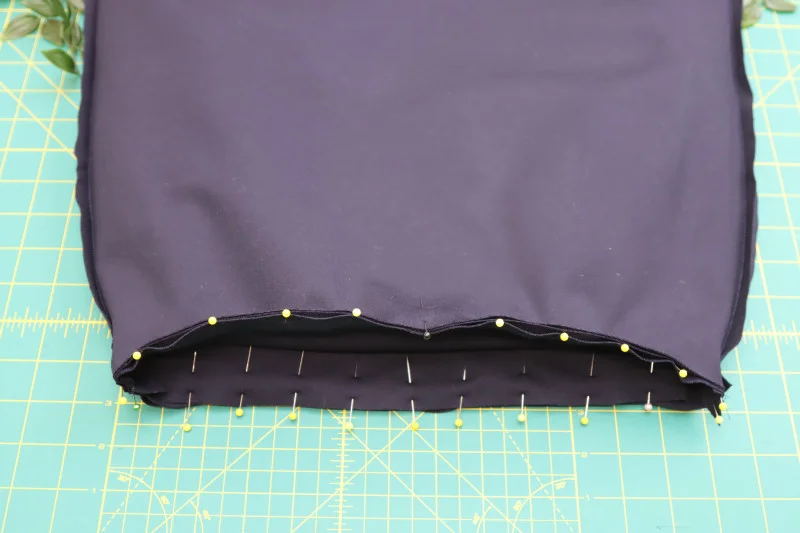
Lay the bodice right side out. Place the peplum’s inner edge around the bodice hem, right sides together. Turn the skirt inside out and position its waistline at the same join, with the skirt’s right side against the peplum’s wrong side. The peplum should sit between the bodice and skirt. Match the side seams, pin the layers together and sew around the waistline. Turn the dress right side out.
If you left openings for a zipper, check that the bodice, peplum and skirt openings align on the same side. Insert the optional invisible zipper from the armpit to the low hip.
9. Hem the skirt
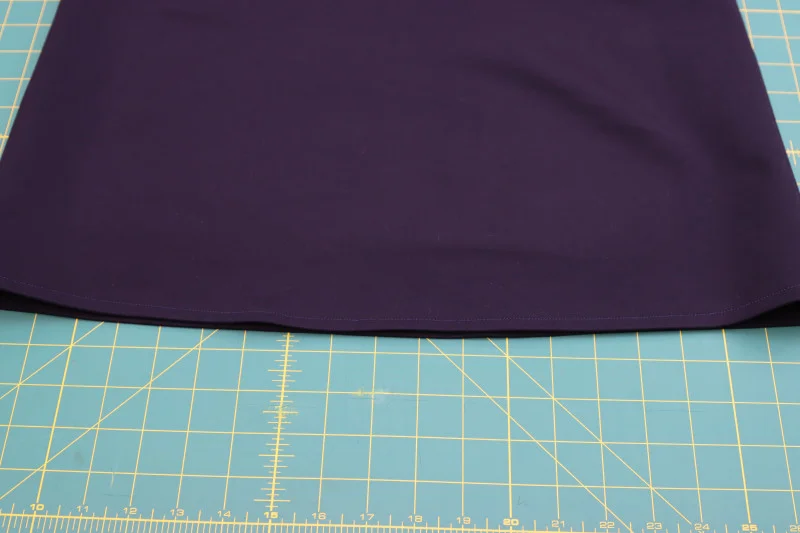
Press a ½-inch fold into the skirt hem and topstitch ⅜ inch from the folded edge. The dress is ready to wear; a change of shoes or accessories can carry its fitted midi silhouette from workday plans to an evening outing.