Sample No. 0225
Sew Sanibel Seamed Trouser Jeans with a Free Sewing Pattern
Make tailored trouser jeans with front seams and patch pockets using the free Sanibel pattern. Explore denim, twill, corduroy, or suiting for different looks.
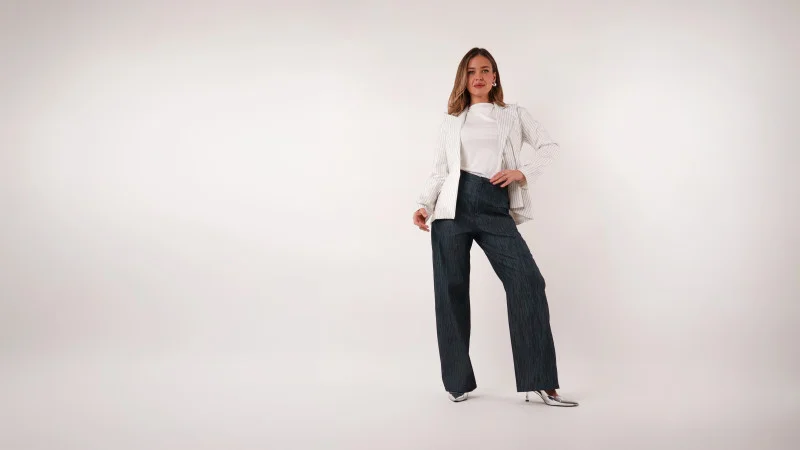
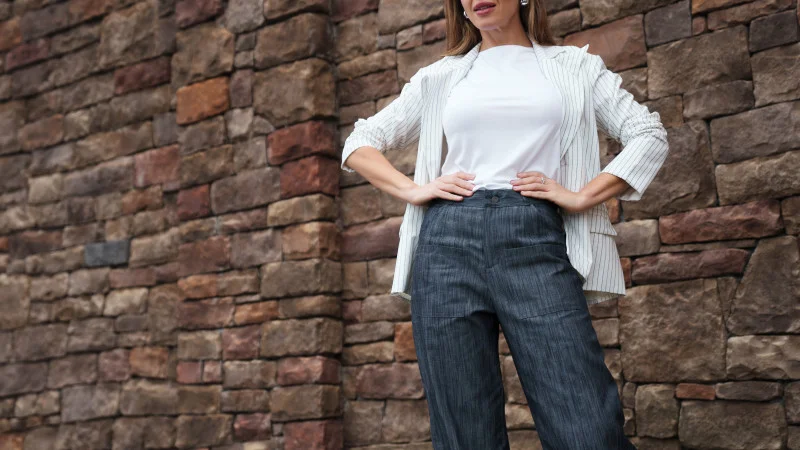
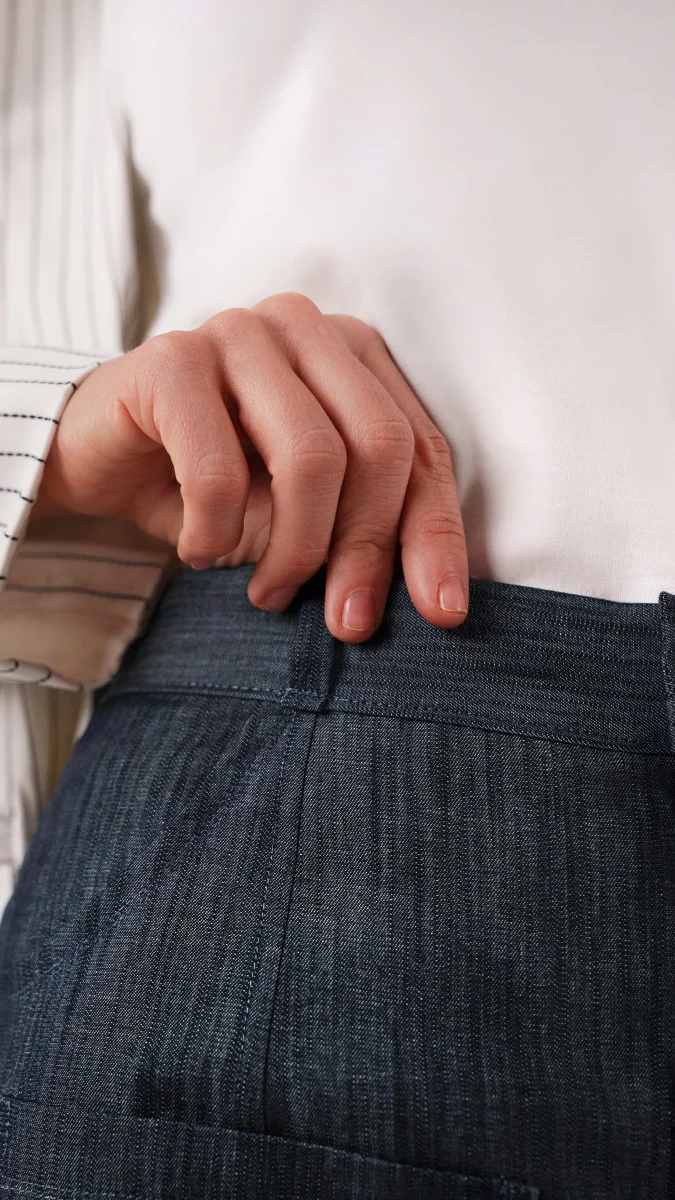
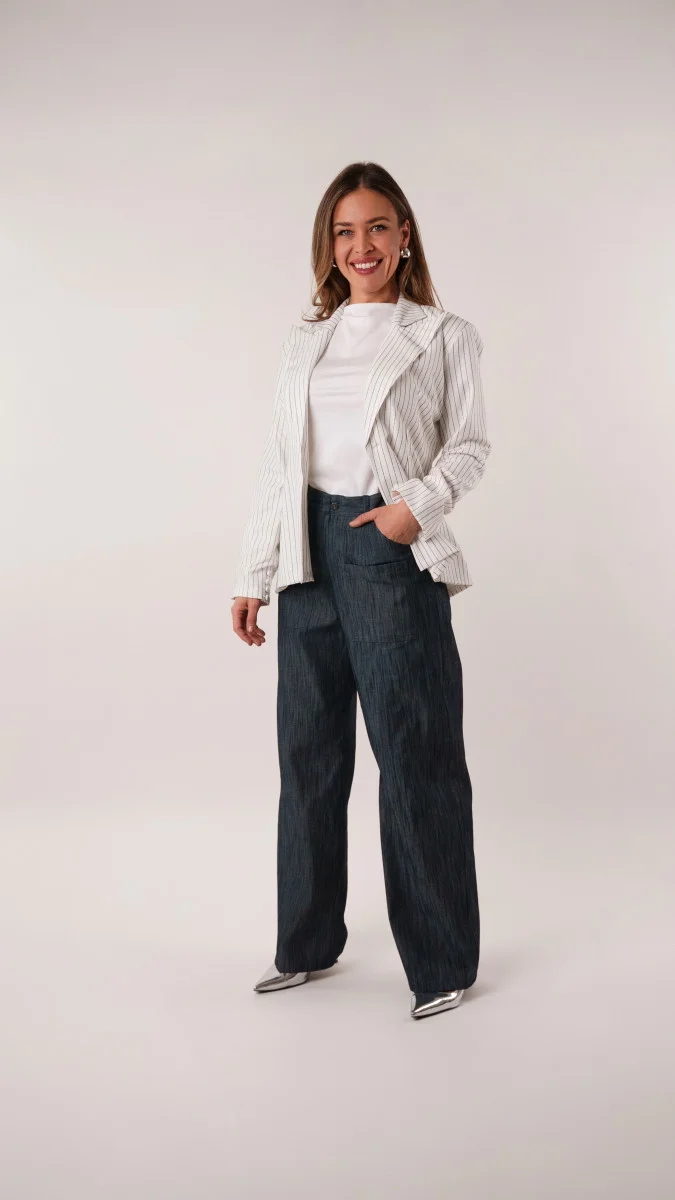
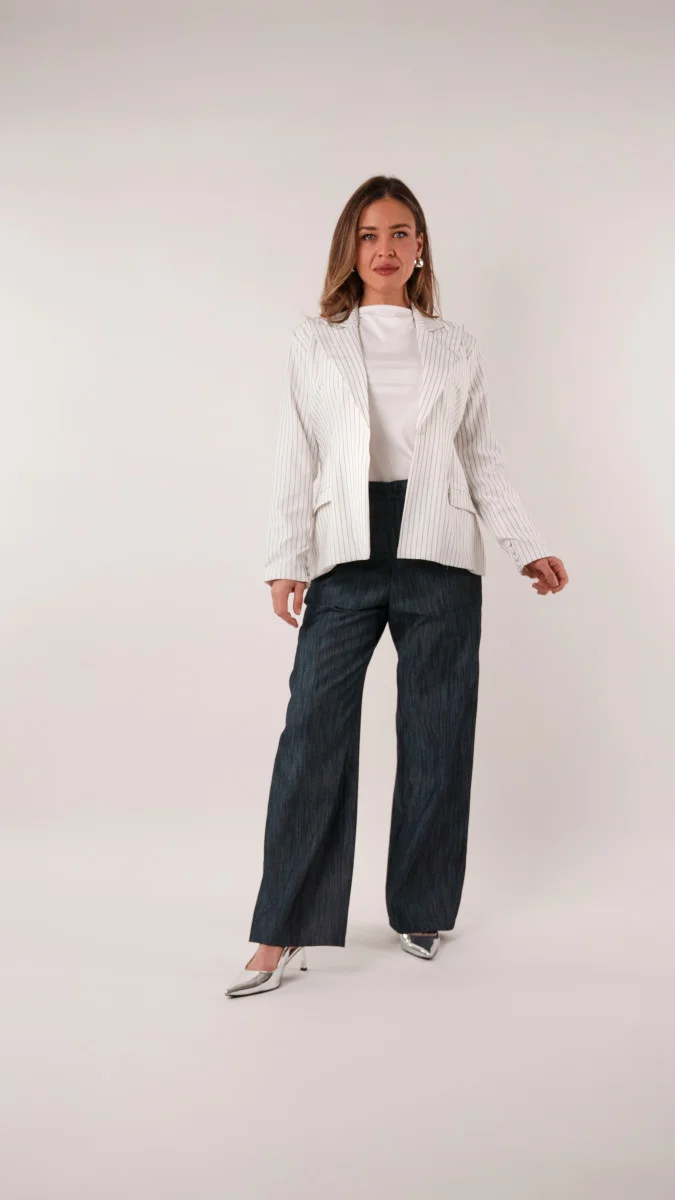
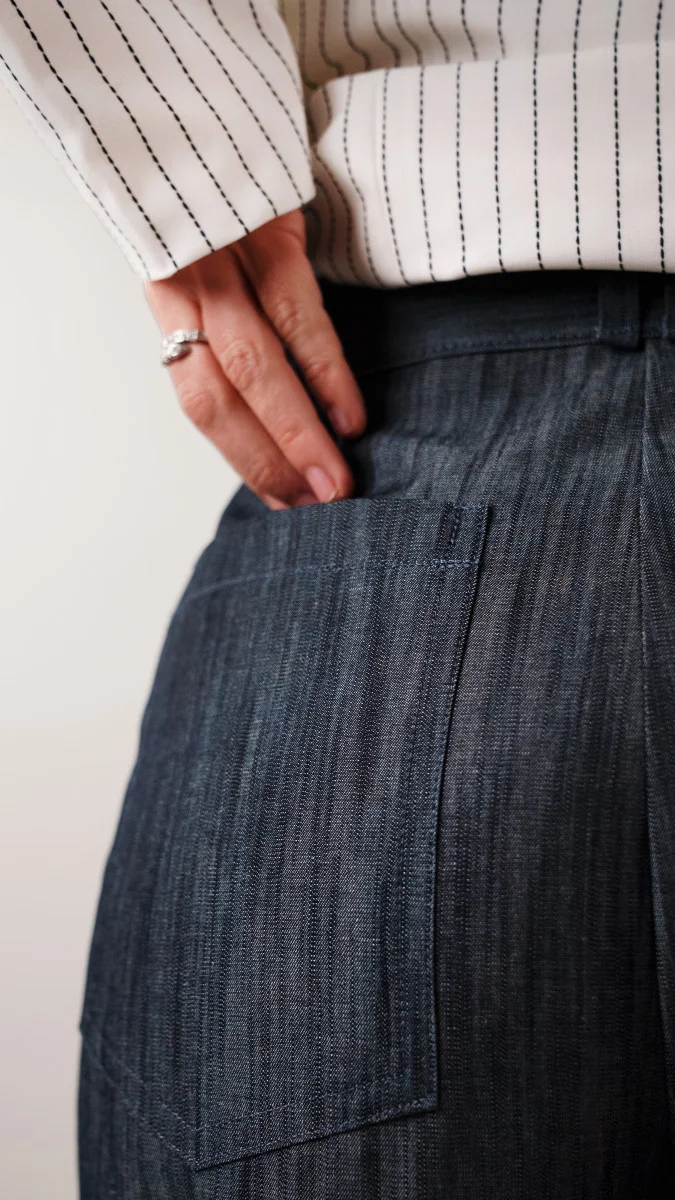
The Sanibel Seamed Trouser Jeans pattern gives denim a more tailored shape: front seams, patch pockets and a trouser-style leg make for a pair that can work at the office or on an ordinary day. The sample uses lightweight cotton denim, which keeps the denim look while offering a softer hand and comfortable drape. It’s meant to hold its shape for a neat finish.

What makes this pattern useful is how easily the same silhouette can shift with fabric and styling. Twill keeps it classic; corduroy adds texture; suiting fabric pushes the trousers further toward tailored. The sample is styled with a blazer and heels, though a tee and sneakers would make the same pair feel more relaxed. You’ll also get practice constructing patch pockets.


Materials, fabric choices and sizing
The free MDF569 pattern includes technical drawings that clarify the seam placement and silhouette, along with a size chart. Before cutting, use the guide below to plan materials and check the fit you want. The listed quantities are for a size medium; the “SHOP THIS LOOK” box provides estimates for other sizes.


Materials for a size medium
- 2.5 yards of Italian Muted Indigo Striated Lightweight Cotton Denim
- 1 set of Dritz 4ct Copper Dungaree Buttons – 5/8″
- 0.5 yards of Stretch Polyester Twill Lining – White – Josephine Collection for the pocket bags
- 1 pack of Schmetz Denim/Jeans Machine Needles – 90/14 – 5 ct
- 1 Regular Zipper 9″ by YKK – 196 Navy
- 1 spool of Gutermann Jeans Thread 200m – 4888 Indigo
- MDF569, the Sanibel Seamed Trousers sewing pattern, available as a free download below
Other tools used
Ordering tip: The “SHOP THIS LOOK” box starts by showing full-yard quantities. To order a half yard, use the minus button to reduce the fabric quantity by half a yard, then select “ADD TO CART.” The store initially displays whole-yard quantities.
Choose a different fabric
The pattern is intended for light- or medium-weight fashion fabrics. Corduroy, suiting and twill are all options if you’d like a different color or finish:
Get the free pattern
Enter your name and email in the form below to receive the Sanibel Seamed Trouser Jeans pattern link by email. Look for the subject line “Your Free Download from Mood Sewciety – The Sanibel Seamed Trouser Jeans.” The PDF is formatted for both A4 and letter-size printing.
© MoodFabrics.com / MoodSewciety.com – Mass production, resale, or distribution of this pattern in any form is strictly prohibited.
Check the fit before cutting
The sizing guide reflects the pattern’s suggested design and wearing ease. You can also select a size using the finished garment measurements, blending between sizes where needed. Measure the printed pattern pieces to confirm they’ll produce the fit you want, and make adjustments before cutting. For the most reliable fitting check, sew a test garment in a fabric with a similar feel.
Listed length excludes the waistband and applies to regular sizes. Adjust length to suit your preference: shorten by 2 inches for petite sizing, or add 3 to 5 inches for tall sizing. Those changes may affect the measurements. If your fabric has no stretch, use the approximate finished garment measurements chart to choose a size.
Read all the instructions before cutting your fabric.

Sewing the Sanibel Seamed Trouser Jeans
The steps below take you through construction from the first front seam onward.
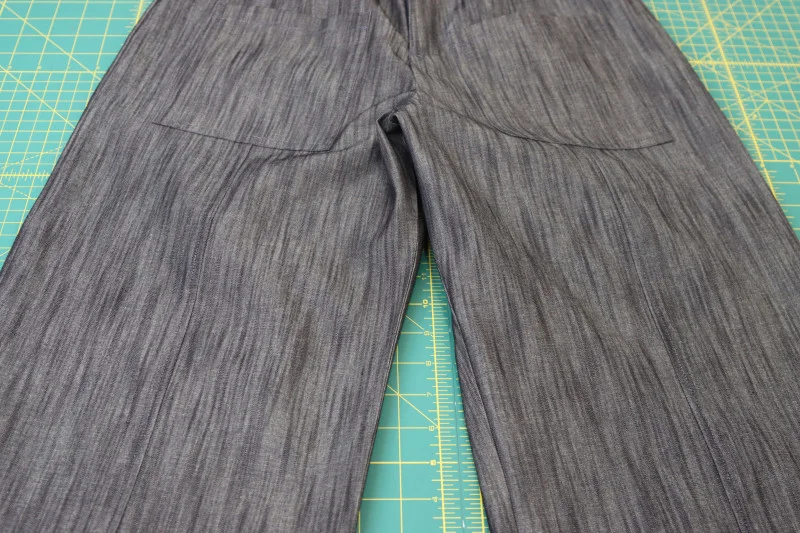


Three tips for lightweight cotton denim
- Choose a denim needle.
- Prewash the fabric to limit shrinkage.
- Keep every pattern grainline pointing in the same direction so the denim’s striated pattern aligns consistently.


Pattern pieces and cutting list
- (A) Front side: cut 2 mirrored from fabric.
- (B) Front center: cut 2 mirrored from fabric.
- (C) Back: cut 2 mirrored from fabric.
- (D) Waistband: cut 1 from fabric.
- (E) Side pockets (A): cut 2 mirrored from lining.
- (F) Side pockets (B): cut 2 mirrored from lining.
- (G) Side pockets (B) facing: cut 2 mirrored from fabric.
- (H) Fly: cut 2 from fabric.
- (I) Fly shield: cut 1 from fabric.
- (J) Back pockets: cut 2 from fabric.
- (K) Front patch pockets: cut 2 from fabric.
- (L) Belt loops: cut 1 from fabric, then divide into 6.


Use a 1/2″ seam allowance throughout unless a step says otherwise.
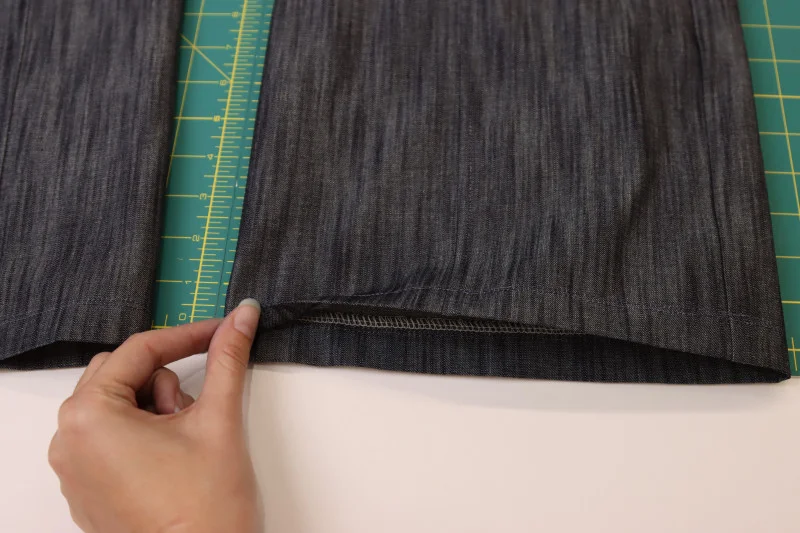
Step 1: Join the front panels
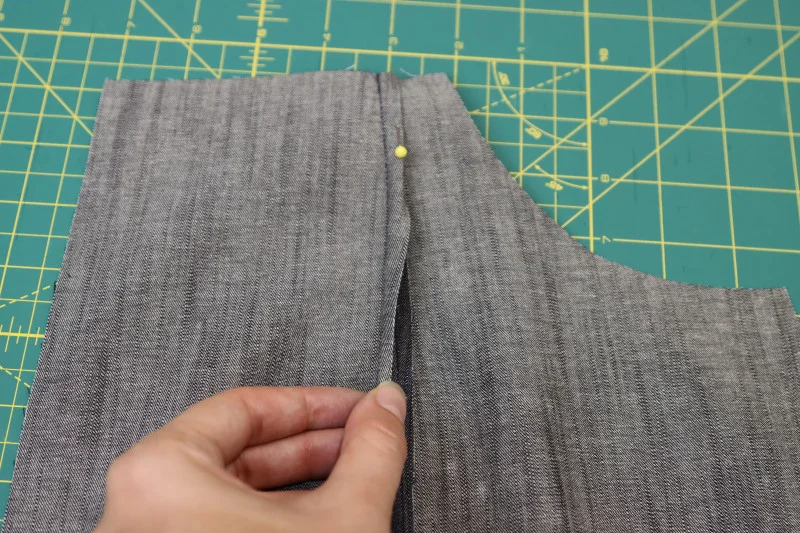
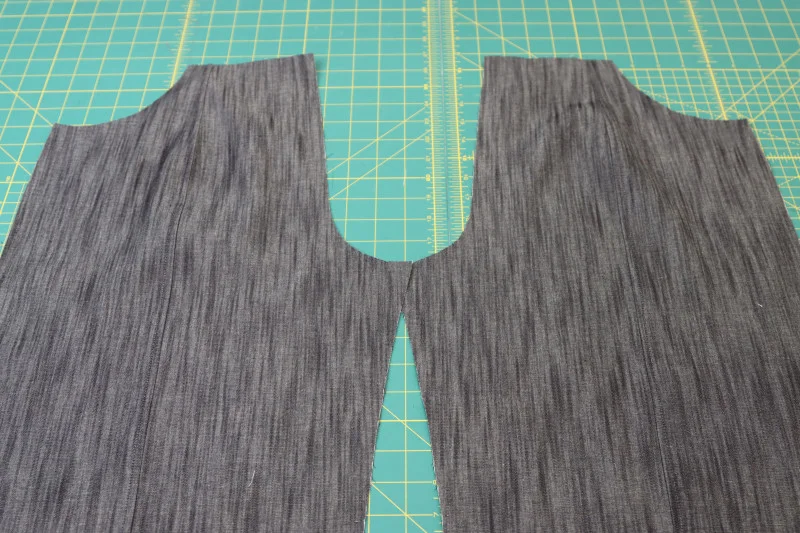
- Set the front side and front center pieces beside one another, as shown.
- With right sides together, pin and stitch the pieces along the center-front seam.
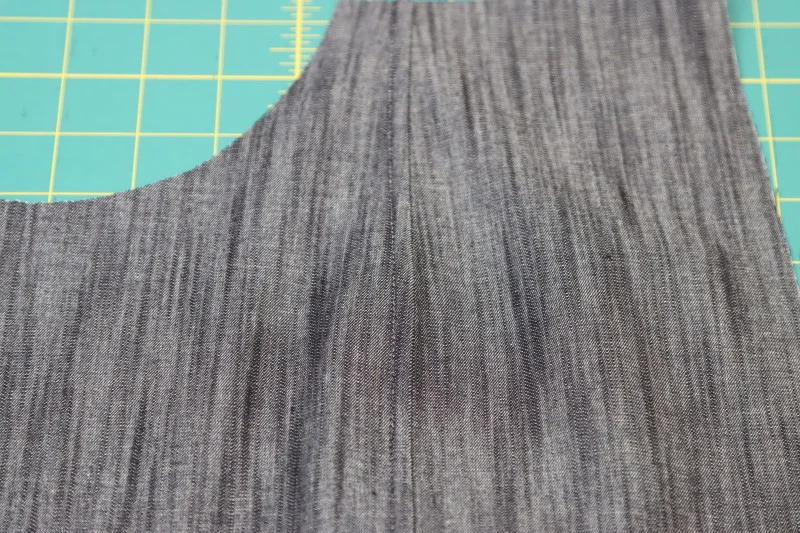
- Press the seam allowances open and flat.


Step 2: Make the flat-felled seam
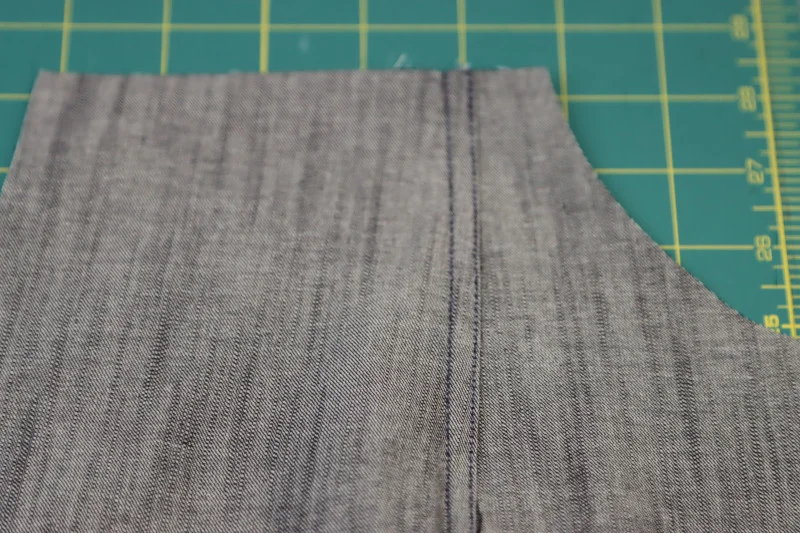
- On each seam, trim the allowance nearest the trouser side seam to ⅛ inch.
- Fold the untrimmed allowance over itself with right sides together, then wrap it around the trimmed allowance so the raw edges are enclosed.
- Stitch along the folded edge.
- Repeat on both center-front seams.

Build the front pockets
The pocket details do a lot of the work in making these trousers feel like jeans. Careful pressing and parallel topstitching give the pockets their shape, so take time to keep the folds even.Step 3: Finish the front patch pockets
Press the sides and bottoms of both pockets inward by ½ inch, then fold the top edges down by 1 inch. Stitch the sides and bottoms ¼ inch from the folded edges. Across each top, sew two parallel lines: one ¾ inch from the edge and another ⅝ inch from it.


Step 4: Position and sew the patch pockets
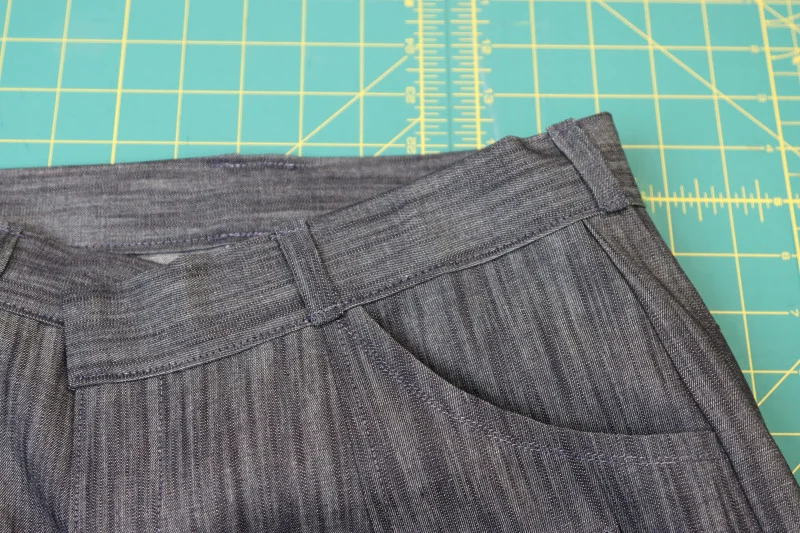
Use the front side paper pattern piece as a placement guide. Set it over the trouser fronts, mark where each patch pocket belongs, then pin the pockets in place. Stitch around the sides and bottoms with a ⅛ inch seam allowance. Add a bartack across each top corner, perpendicular to the pocket side seam, to reinforce the stress points.


Shape the curved jeans pockets
Here’s the thing: a smooth curved opening depends on clipping the seam allowance before turning the pocket bag. Skip that, and the curve can pull or sit unevenly when pressed.Step 5: Finish the pocket facings
Finish the rounded edges of the pocket facings with a serger or zigzag stitch. Lay the facings over the pocket B bags, pin, and stitch them together ¼ inch from the edge.


Step 6: Sew the rounded pocket openings
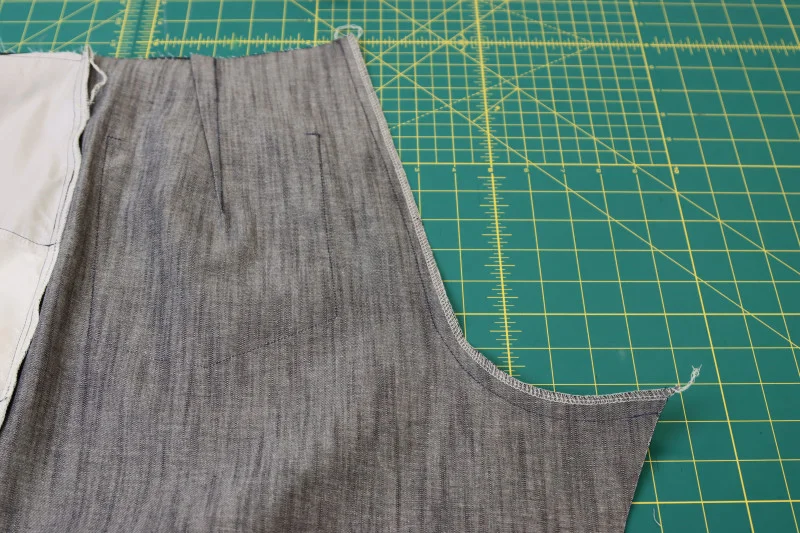
With right sides together, place each pocket A bag against a front trouser piece, matching the curves. Sew along the curved opening, then clip the seam allowance so it can spread around the bend. Turn the A bag to the wrong side and press until the lining is hidden. Finish the opening with two parallel rows of stitching, ¼ inch and ⅜ inch from the edge.


Step 7: Join and secure the pocket bags
From inside the trousers, place the pocket B backs over the A bags. Orient them so the right side of each facing points the same way as the right side of the trouser front. Pin A and B together around the perimeter and sew the bags closed. Then pin the bag tops and sides to the front pieces’ waistline and side seams. Stitch those edges in place with a ¼ inch seam allowance.


Shape the back, then assemble the fly
The back darts and pockets give these trousers much of their fit and finish. Take time to match the pocket placement to the paper pattern; small placement differences are easy to see once the jeans are on.Step 8: Sew the back darts
Transfer the dart markings to the back waistlines. Fold each waistline right sides together so the fold is centered on its dart, then stitch along the marked lines. Press the darts open and flat toward the side seams.


Step 9: Attach the back patch pockets
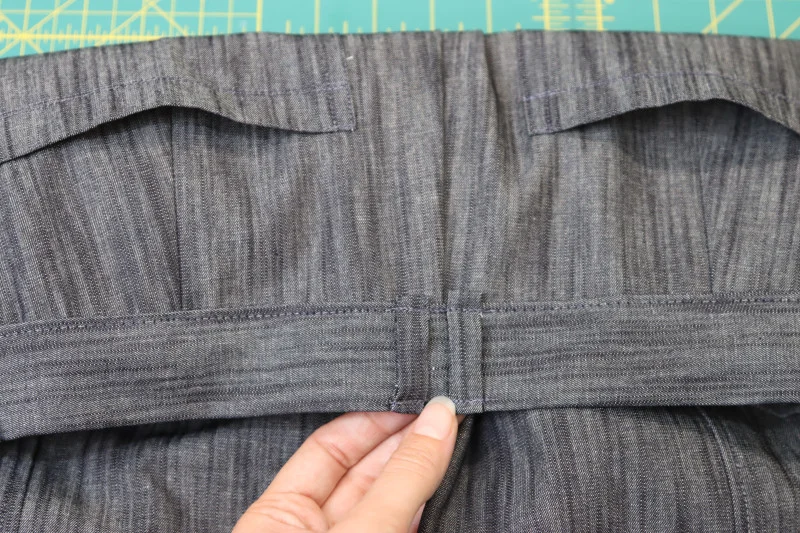
Prepare the back pockets just as you did the front ones: press in the edges and topstitch them. Use the pocket guide printed on the pattern piece to position each pocket on a back trouser piece. Stitch them down with a ⅛-inch seam allowance, matching the front pocket construction.


Step 10: Join the side seams
Place each front piece against its matching back piece, right sides facing, and align the side edges. Pin and sew the seams. Finish the raw allowances with a serger or zigzag stitch, then press them toward the back.


Step 11: Prepare the fly pieces
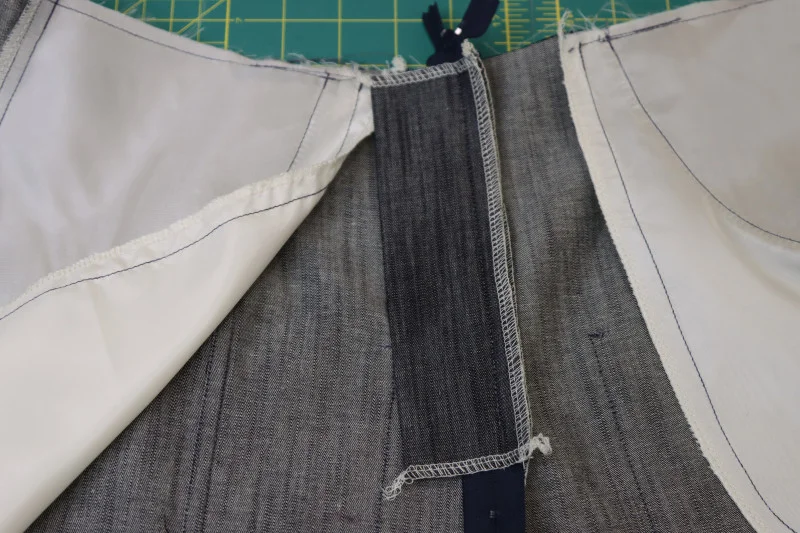
Fold the fly shield lengthwise with its wrong sides together. Stack the two fly facings with their wrong sides together as well. Finish the raw edges of both pieces with a serger or zigzag stitch.
Step 12: Attach the fly facing and zipper
Match the flat edge of the facing to the wearer’s left front crotch edge, right sides together, and sew. Turn the facing away from the crotch seam and press. Lay the zipper face down on the facing, aligning its tape edge with the seam joining the facing to the pants. Pin and stitch the zipper tape along the side farthest from that seam. Finally, fold the facing to the wrong side of the left front and press.


Step 13: Attach the fly shield
Bring the front trouser pieces together with right sides facing and crotch edges aligned. Move the zipper away from the facing, then pin its free tape edge to the wearer’s right front crotch edge, right sides together. Stitch the zipper tape to the pants. Sew the fly facing over that zipper seam on the right front.


Step 14: Close the front crotch seam
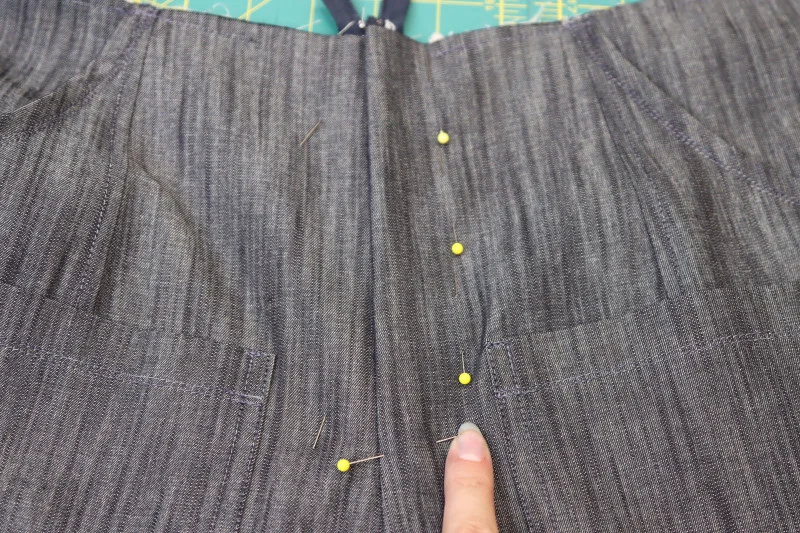
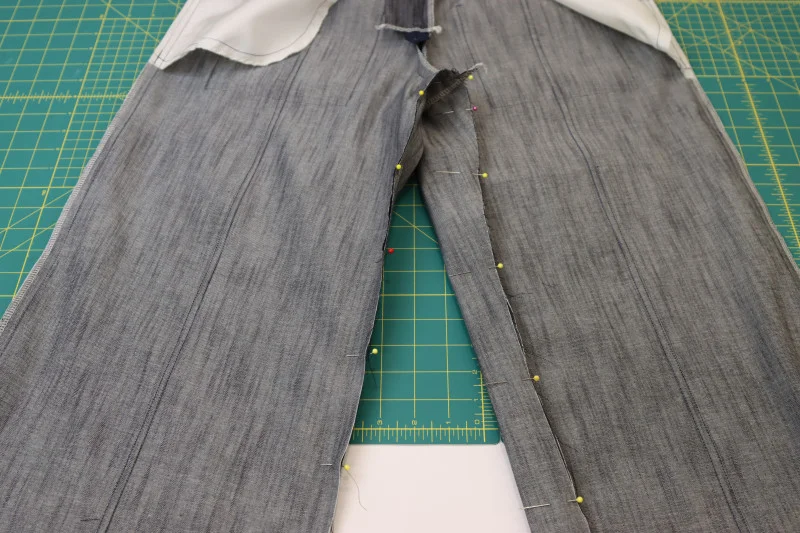
Fold the front in half with wrong sides together and align the crotch edges. Pin and sew the remaining seam beneath the zipper fly.
Step 15: Topstitch and secure the fly
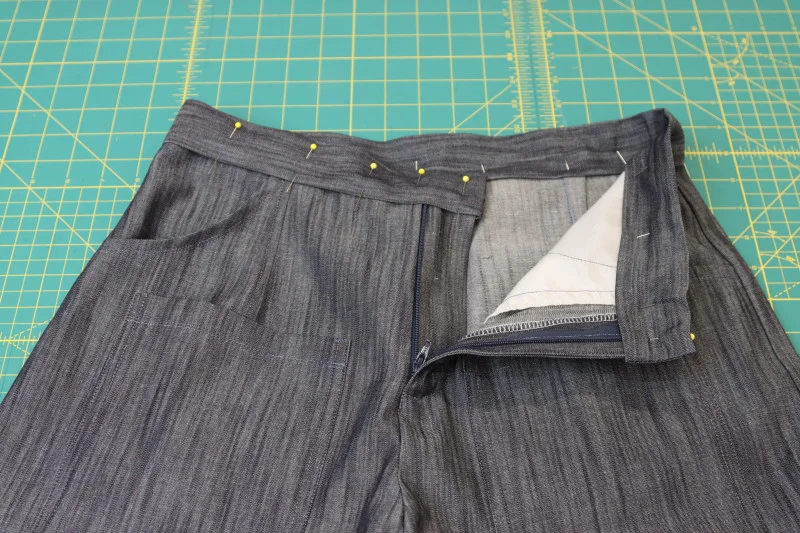
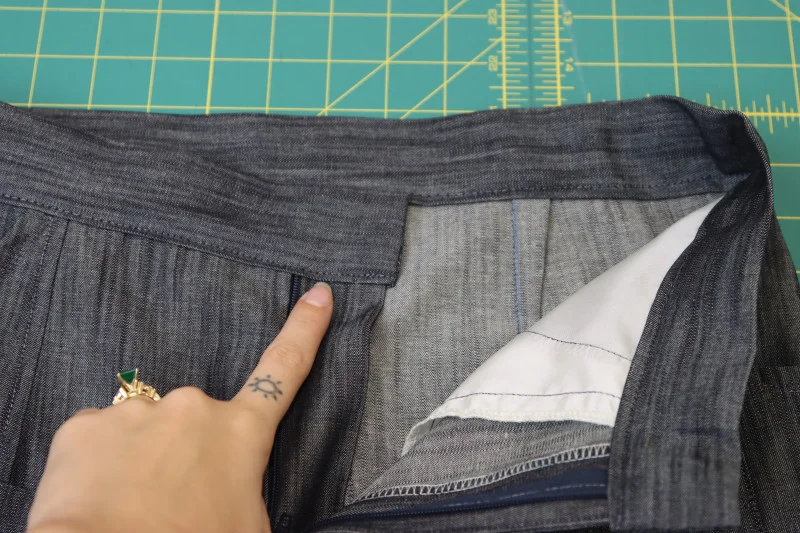
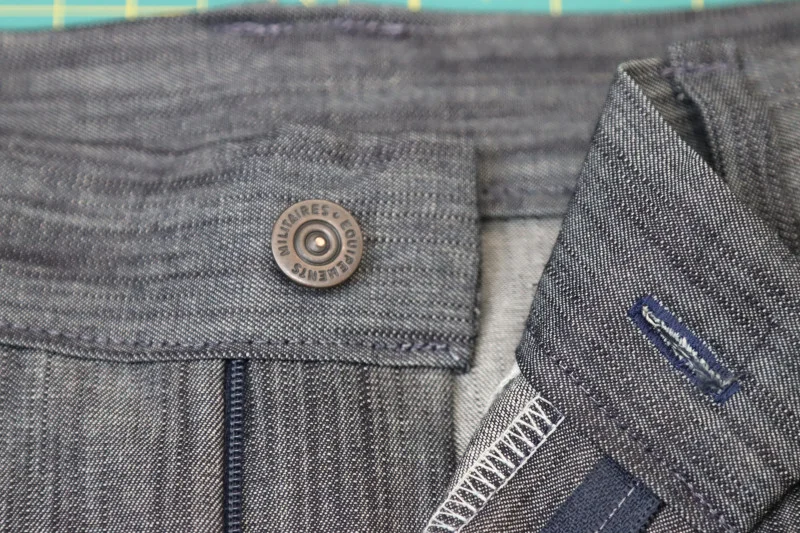
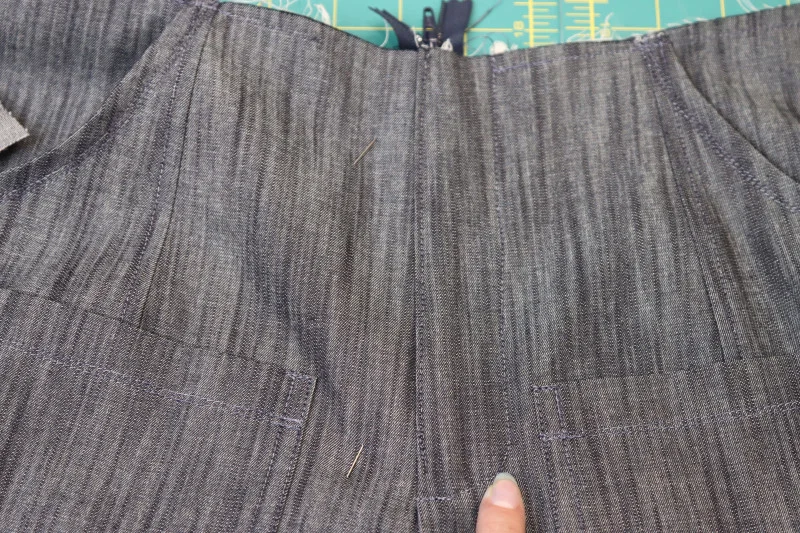
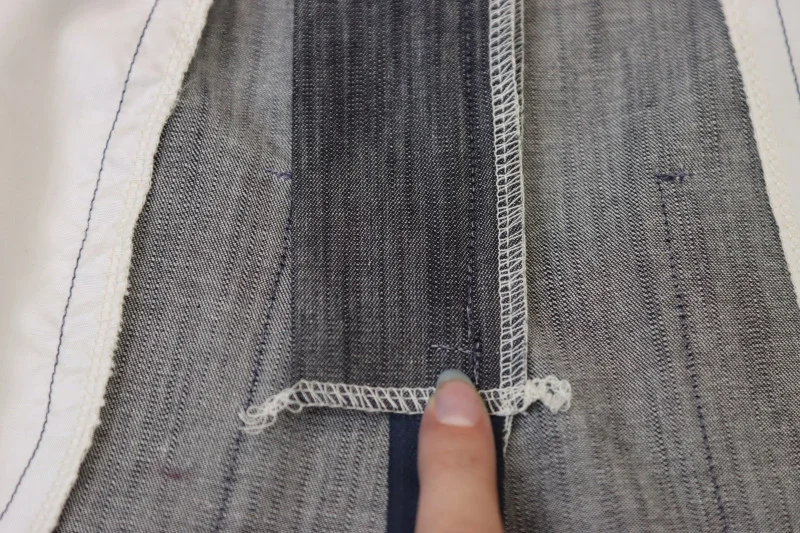
From inside the jeans, fold the shield away from the zipper and pin it to the right front. On the outside, pin the facing flat against the left front. Topstitch around the facing, stopping at the crotch seam. Unpin the shield and lay it back over the zipper. Finish with a bartack at the base of the fly topstitching to anchor the shield and keep the zipper from opening past the facing. That last reinforcement is small, but it does useful work: it keeps the fly layers in place where the zipper ends.