Sample No. 0079
Create an Adorable DIY Craft Stick Scarecrow for Fall Decor
Transform simple craft sticks into a charming scarecrow with this easy guide, perfect for autumn decor and personalizing for your space.
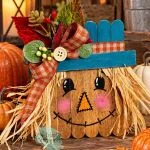
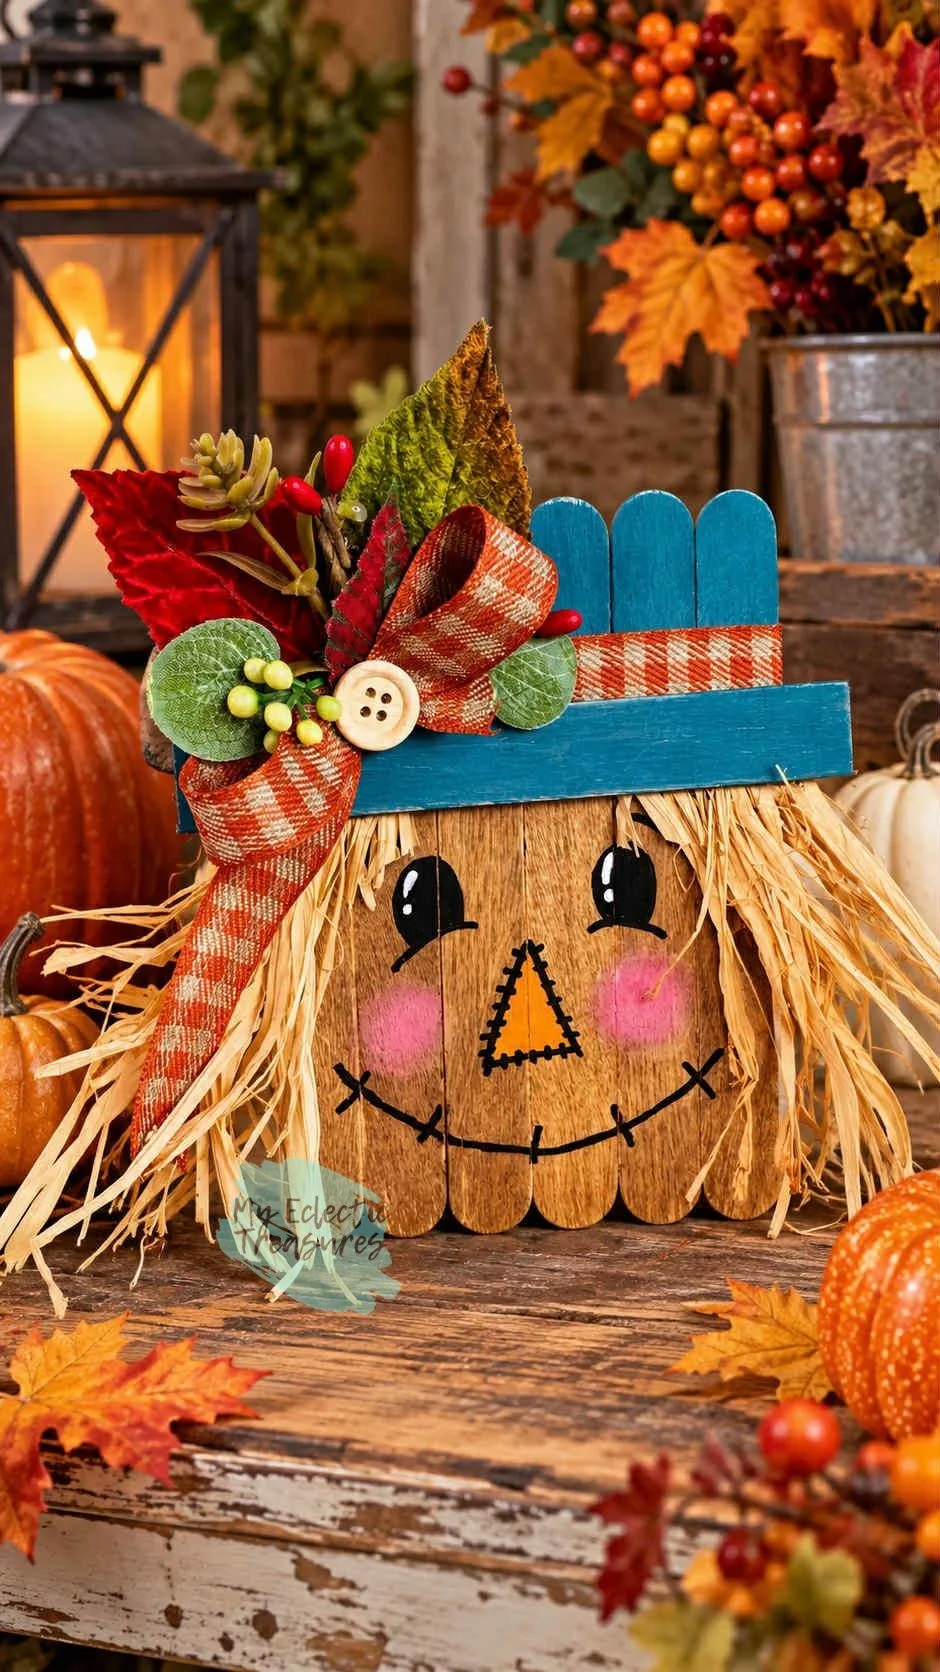
Embrace the spirit of fall with a delightful DIY craft stick scarecrow that adds a rustic touch to your seasonal decorations. This project is simple enough for crafters of all levels and can be customized to fit your style.
What You'll Need
- 9 large wooden craft sticks
- Hot glue gun and glue sticks
- Wire cutters
- Pencil
- Waverly Antique Wax
- Cloth or rag for applying the antique wax
- Apple Barrel Tuscan Teal acrylic paint
- Orange craft paint
- Pink craft paint
- White puff paint
- Black Sharpie
- Paintbrushes
- Raffia
- Muted orange gingham ribbon
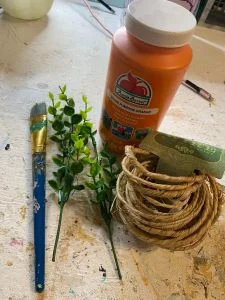
- Faux fall leaves and berries
- Button
- Scissors
This list includes all the essentials, but feel free to adjust colors and embellishments based on what you have at home. Creativity is key in projects like this!

Step-by-Step Instructions
Step 1: Assemble the Base
Begin by aligning six craft sticks vertically side by side. They don’t need to be perfectly straight, as this will enhance the rustic charm of your scarecrow. To stabilize this structure, lay two additional craft sticks horizontally across the back, one at the top and one at the bottom. Use wire cutters to trim any excess length, then secure them with hot glue.


Step 2: Craft the Hat
Next, take the ninth craft stick to create the scarecrow's hat brim. Trim it to your desired length with wire cutters, then position it across the top of the six craft sticks. Use a pencil to trace the outline, marking the separation between the hat and the face for later steps before setting it aside.


Step 3: Apply Antique Wax
Use the Waverly Antique Wax on the section below your pencil line. Apply with a cloth and wipe back to achieve a warm, aged look that highlights the wood grain, adding to your scarecrow's rustic feel.


Step 4: Paint the Hat
Once the wax is dry, paint the top section and hat brim with Apple Barrel Tuscan Teal. Allow everything to dry before proceeding. Feel free to experiment with your favorite shades, such as mustard or navy.


Step 5: Add Facial Features
It’s time for some personality! Lightly sketch the scarecrow’s face on with a pencil. Once satisfied with the positioning, go over the lines with a black Sharpie. Draw large eyes, eyebrows, a triangle nose, and a cheerful smile.


Step 6: Paint Facial Details
Fill in the nose with orange craft paint and let that dry before adding highlights to the eyes with white puff paint. It’s these small touches that bring your scarecrow to life! Outline the nose with the black Sharpie and add little stitch marks for charm.


Step 7: Create Hair with Raffia
Gather strands of raffia for straw-like hair and hot glue them to the back of the hat brim. Ensure they cascade out to give a wild and natural look before gluing the brim into place across the front of the scarecrow.


Step 8: Embellish the Hat
Add detail to the scarecrow's hat with a strip of muted orange gingham ribbon and layer in faux fall leaves and berries. Complete the look with a bow made from the same ribbon and a button in the center.

Personalize Your Scarecrow
Feel free to mix and match colors and decorations to suit your style. Different fabrics, colors, and personal touches can create unique characters. Why not create a whole family of scarecrows with varying expressions and outfits?


Final Thoughts
This craft stick scarecrow is an enchanting addition to your fall decor. Whether on a shelf, a vignette, or displayed among pumpkins, this little creation embodies the warmth and joy of autumn. I love how it transforms simple materials into a charming finish, making it a rewarding project for every crafter.

If you’re looking for more creative DIY ideas, consider subscribing to my updates for a trove of crafting inspiration right in your inbox!


