Sample No. 0245
Sew Easy Fabric Pumpkins in Any Size or Color
Turn fabric rectangles, Polyfil and simple hand stitching into fall pumpkins, then finish them with felt leaves, stems and curled wire tendrils.
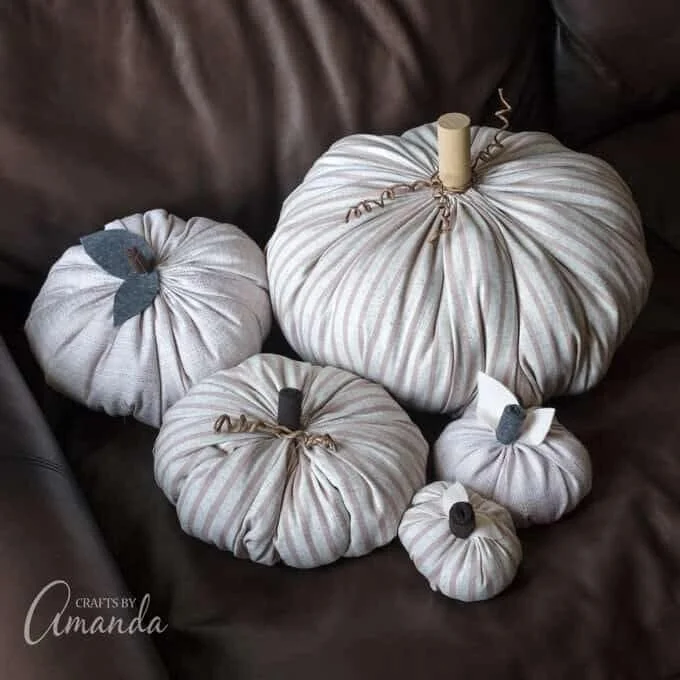
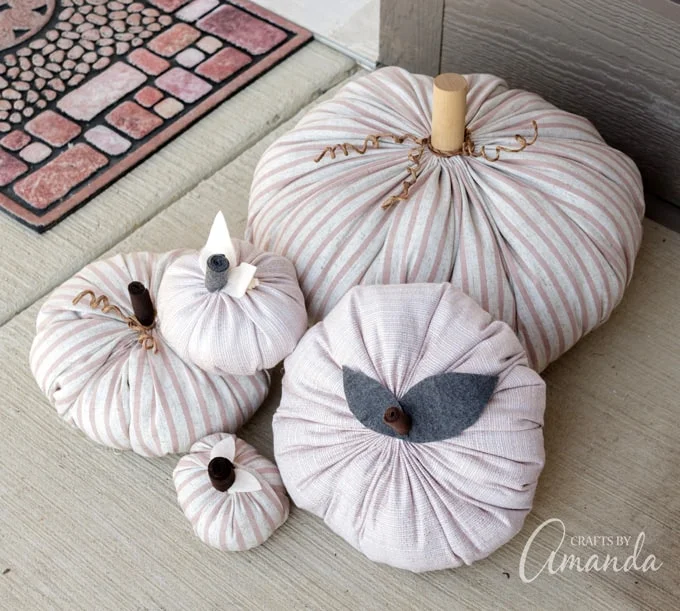
Fabric choice gives these sewn pumpkins their look, while a simple gathered construction makes it easy to create a mix of sizes. Use a soft rose solid, stripes, or another fabric you enjoy; the pumpkins don’t have to be orange. Small versions can sit on a table, mantel or shelf, while larger ones can decorate a porch, bed or coffee table.
Amanda Davis shares this project at Crafts by Amanda. Each pumpkin begins with two matching rectangles cut in a 2:1 ratio. The largest example uses rectangles measuring 11″ x 22″; a smaller example starts with 4″ x 8″ pieces. The method works with other sizes as long as each rectangle is twice as wide as it is tall.
Materials and tools
- Fabric of your choice
- Polyfil
- Embroidery floss
- Felt
- Vine wrapped craft wire
- Sewing machine
- Hot glue gun
- Scissors
- Tapestry needle
The fabric and stuffing form the body; embroidery floss draws the openings closed. Felt and craft wire make the decorative details. The sewing machine joins the fabric panels, while the tapestry needle is used for the hand-sewn running stitches.
Make the pumpkin body
Cut two fabric rectangles for each pumpkin. Keep the width twice the height: for example, cut two 11″ x 22″ pieces for a large pumpkin, or two 4″ x 8″ pieces for a small one. These are examples, so you can choose another size while keeping the same proportion.

Place the rectangles together with their right sides facing each other. If your fabric is double sided, check how you want its pattern to appear before sewing.
Sew the two short edges together to form a tube. Backstitch at both ends of each seam to help keep the stitches from coming undone.
Tip: Leave a 12-inch thread tail instead of tying a knot at the end. The tail gives you a firm end to hold when gathering, which is especially useful with high-thread-count fabric.
Thread the tapestry needle with embroidery floss and sew a running stitch around one long edge. Keep the two long edges separate; the stitch should travel around the opening, not join the edges together.
Pull gently on the needle end and the thread tail to draw the fabric into a circle. Once the opening is snug, tie the two ends together. Sew back and forth through the gathered center to close any remaining gaps.
Turn the fabric right side out, with the gathered circle at the bottom. Sew another running stitch around the top opening, leaving a thread tail. Leave the opening loose for now so you can add stuffing.
Fill the pumpkin about two-thirds full with Polyfil. Start pulling both ends of the floss to gather the top, stopping about halfway so you can add more stuffing. Push the additional Polyfil carefully down into the body.
Tip: Ask someone to help with this stage. One person can hold the floss ends while the other adds stuffing, or one can hold the fabric center as the other tightens the threads.
Continue stuffing and gathering until the top opening is tight. If working with a helper, have one person bring the fabric toward the center while the other tightens the threads. This helps control the tension as the opening closes.

Add stems, leaves and tendrils
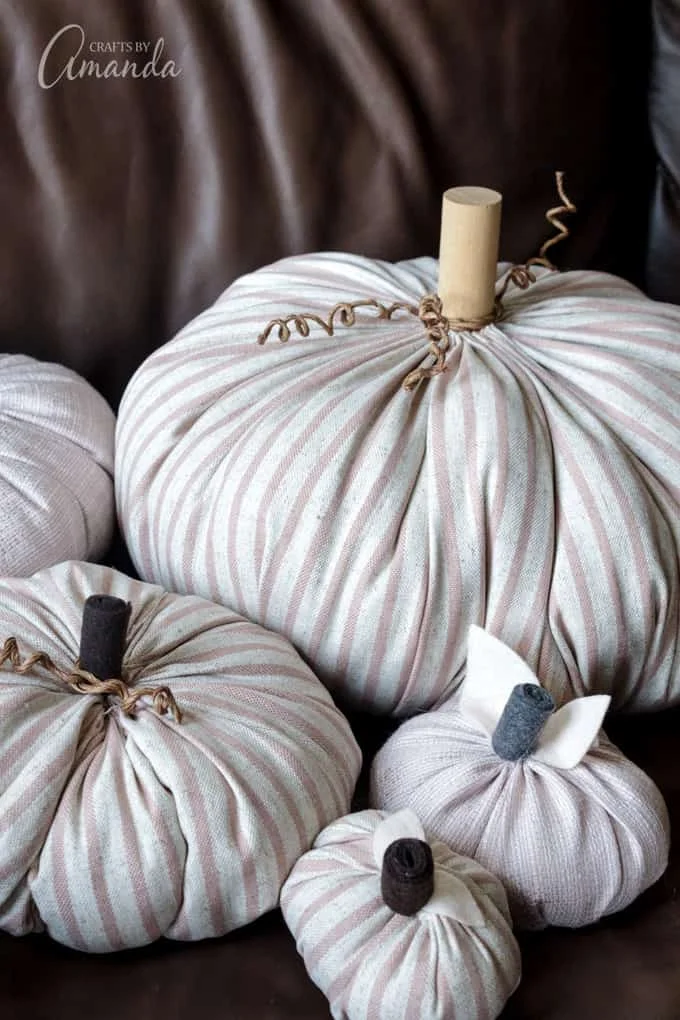
For most pumpkins, roll felt into a stem shape and secure it with hot glue. Cut simple felt leaves and glue them in place. The largest pumpkin in the example uses a thick wooden dowel fitted into the center opening as its stem.
To make curled tendrils, wrap vine craft wire around a paintbrush handle or pencil. Arrange the stem, leaves and wire at the top of each pumpkin. Fabric patterns and colors can vary across the group, giving the finished display a coordinated look without making every piece identical.

More pumpkin projects
Mix sizes and fabric choices to build a small pumpkin display for a room or outdoor entry. For another handmade fall accent, see the DIY Succulent Pumpkin Decor, Decomesh Pumpkin Wreath, Burlap Pumpkin Wreath, Mason Jar Lid Pumpkins and Wood Slice Pumpkin Chalkboard.
The key is to keep the fabric ratio consistent, leave enough thread to gather each opening, and add stuffing gradually as the top closes. Those steps let you make pumpkins in a range of sizes, ready to finish with the felt and wire details you like.


