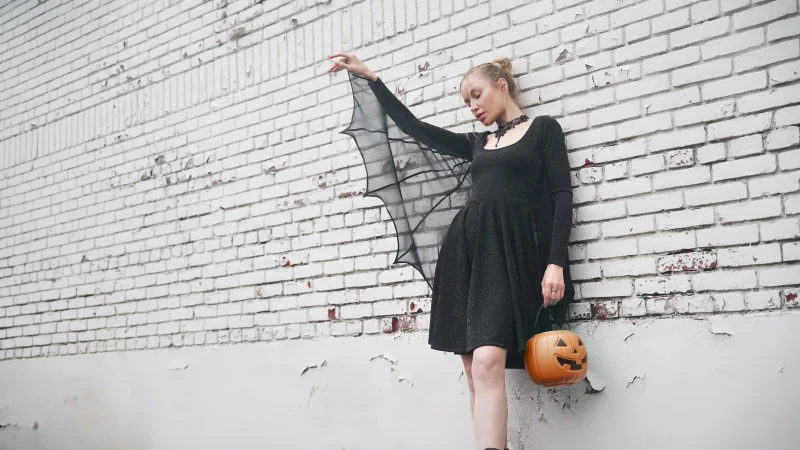
Sample No. 0238
Sew the Vesper Winged Costume Dress with This Free Pattern
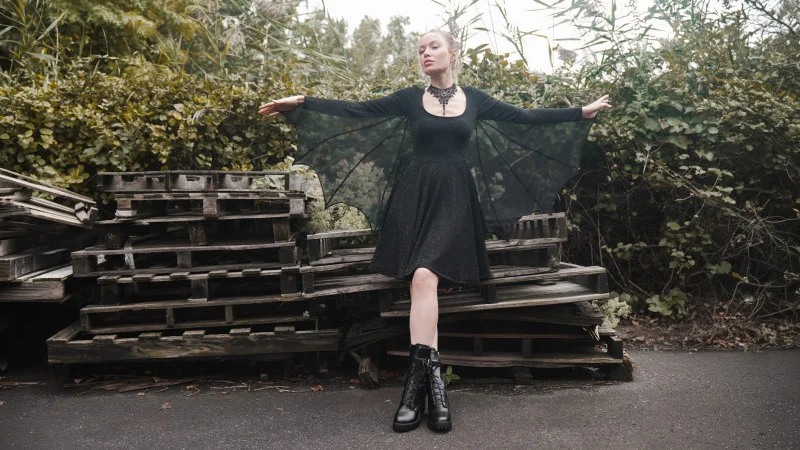
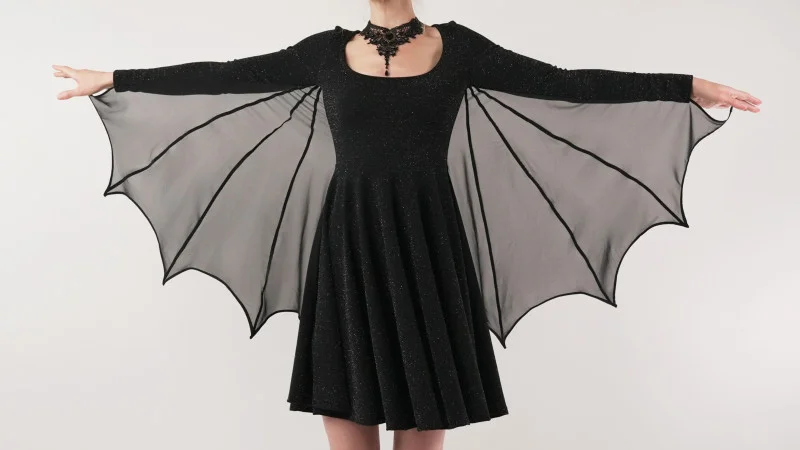
Make a simple stretch knit dress with sheer bat wings, then wear it again in a new fabric or style. The free pattern includes sizing and technical drawings.
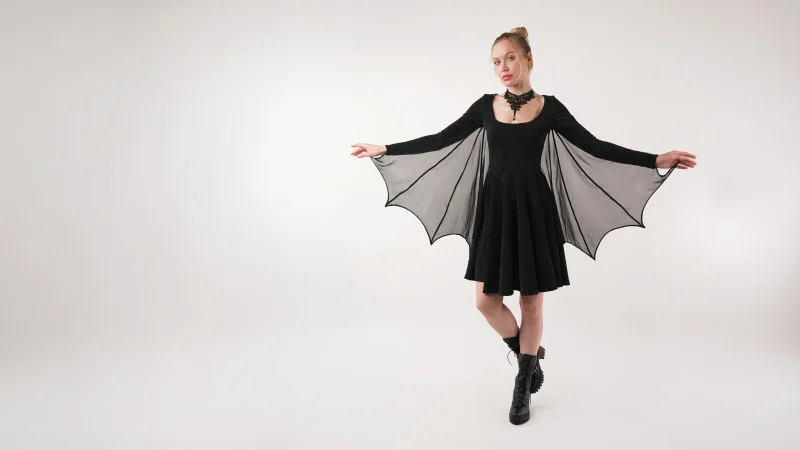
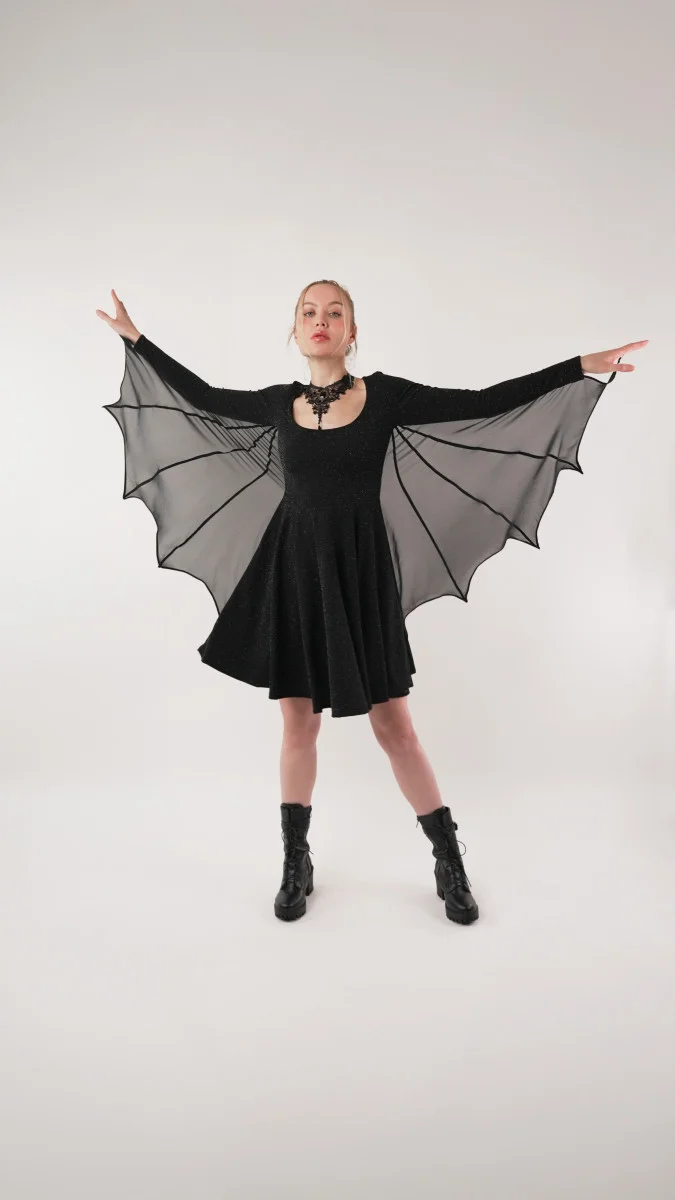
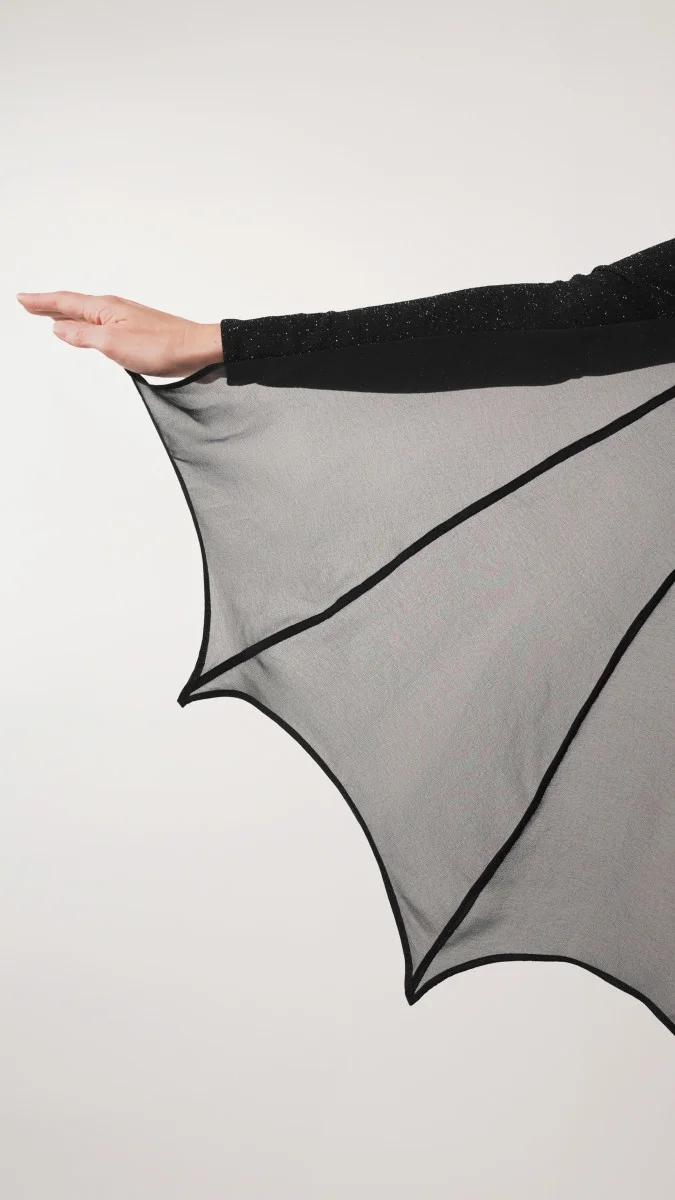
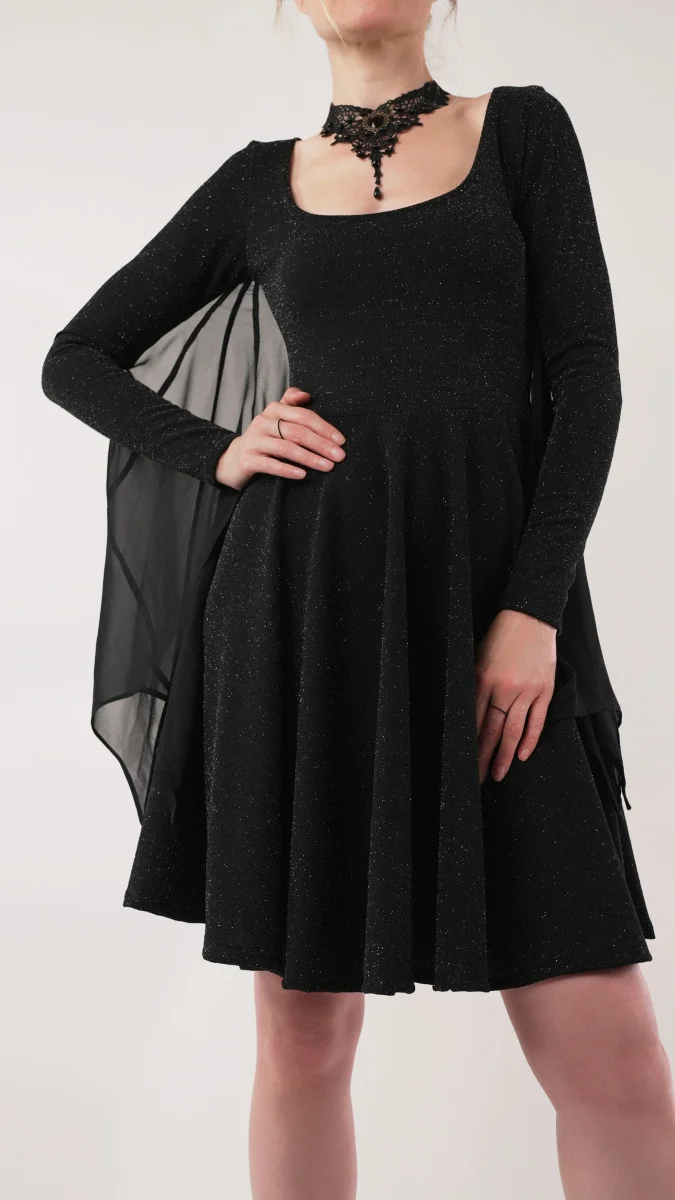
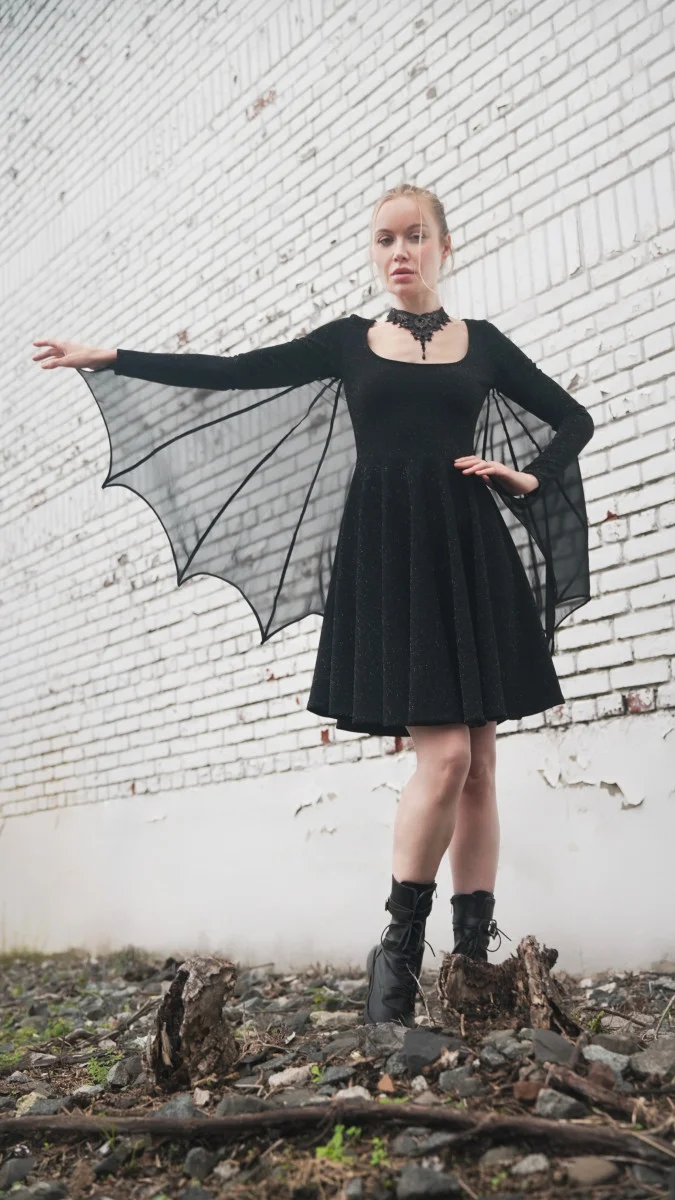
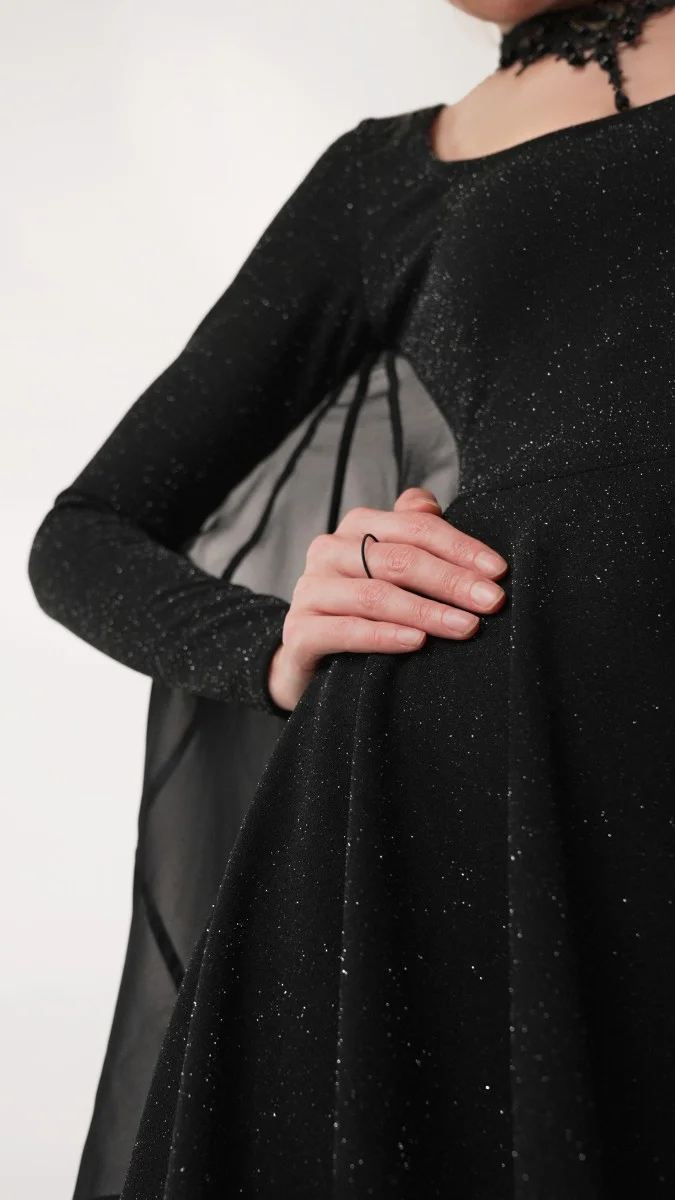
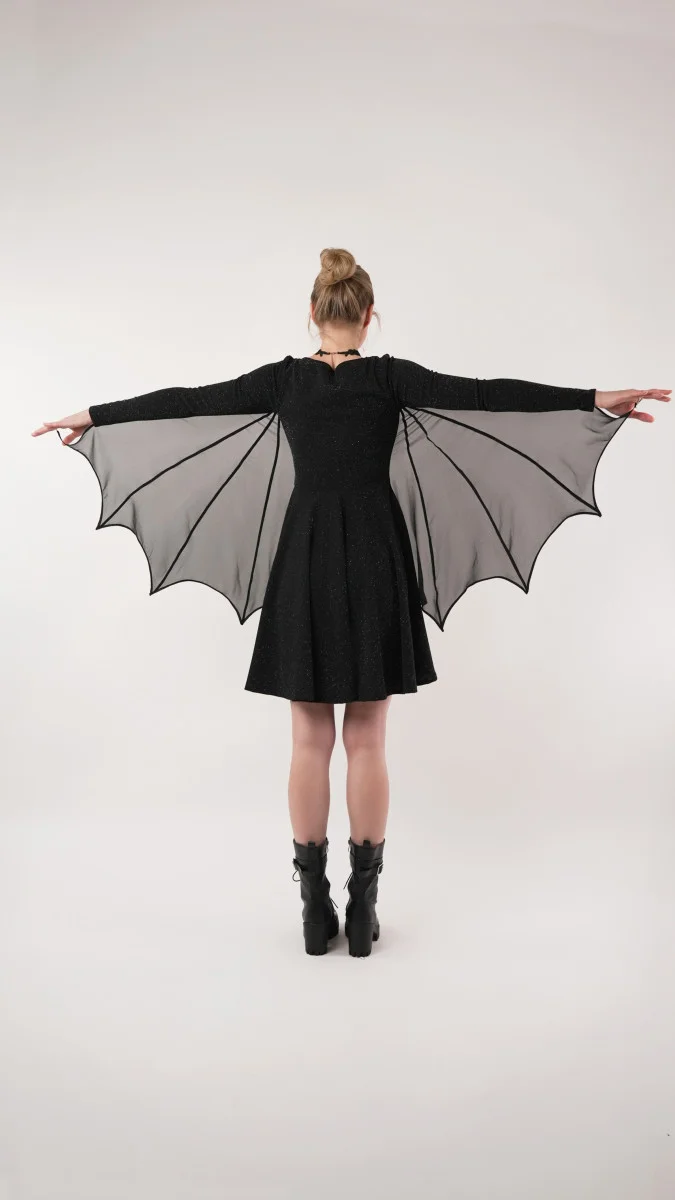
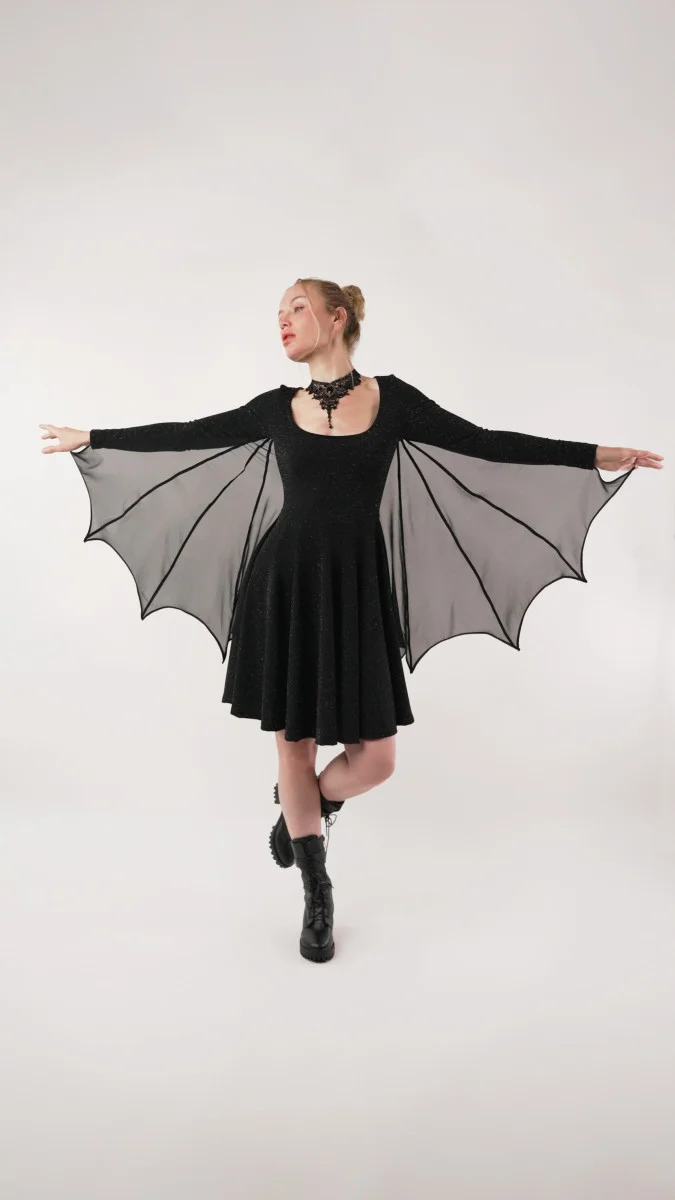
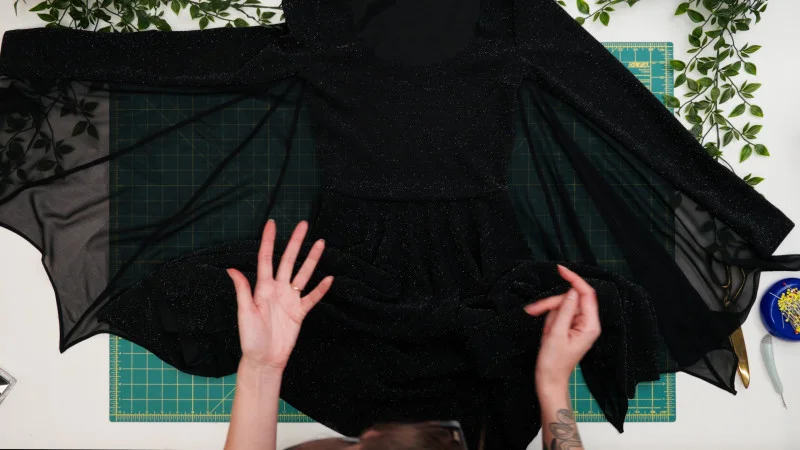
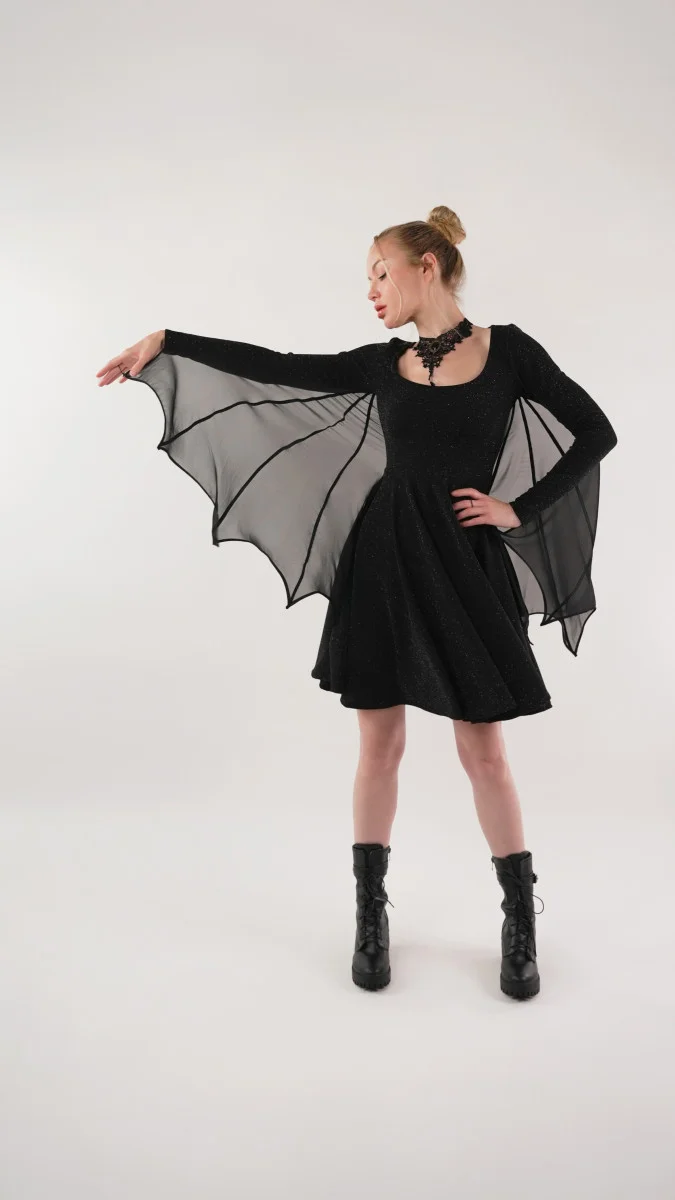
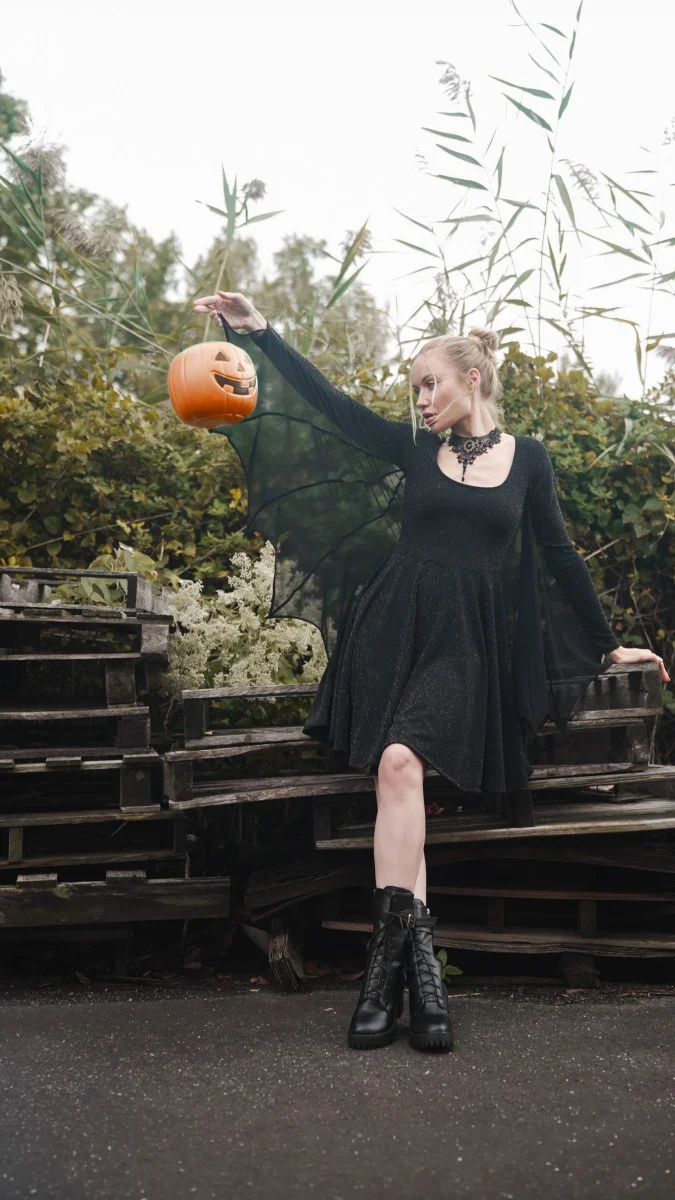
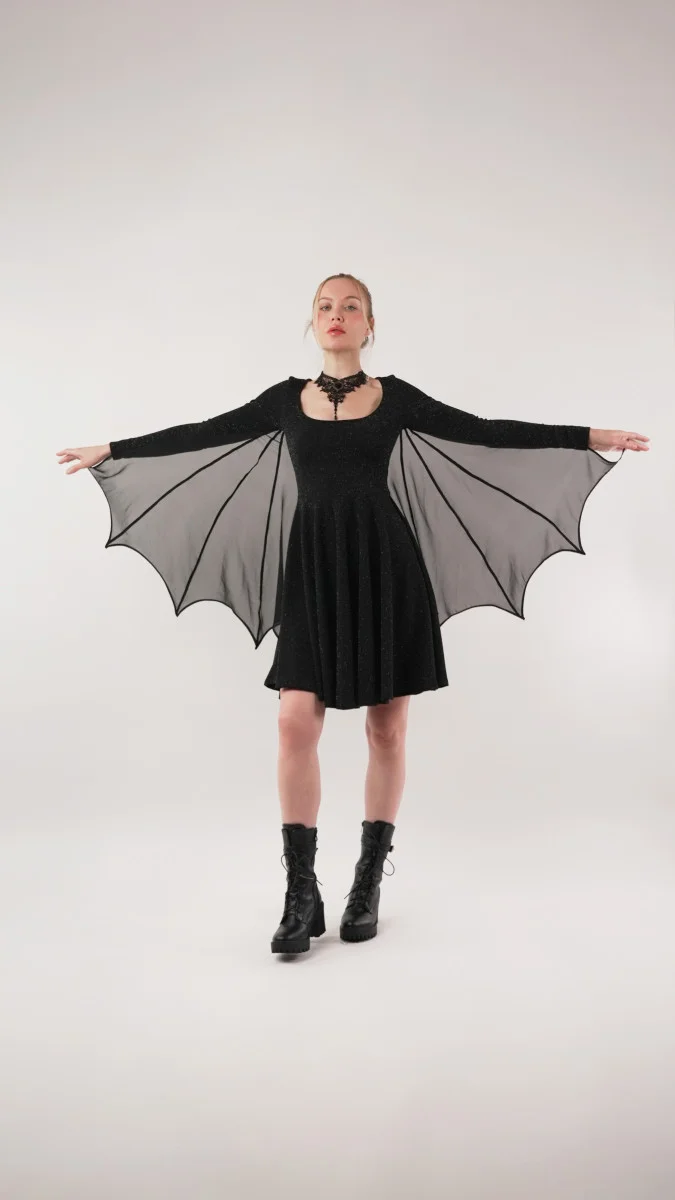
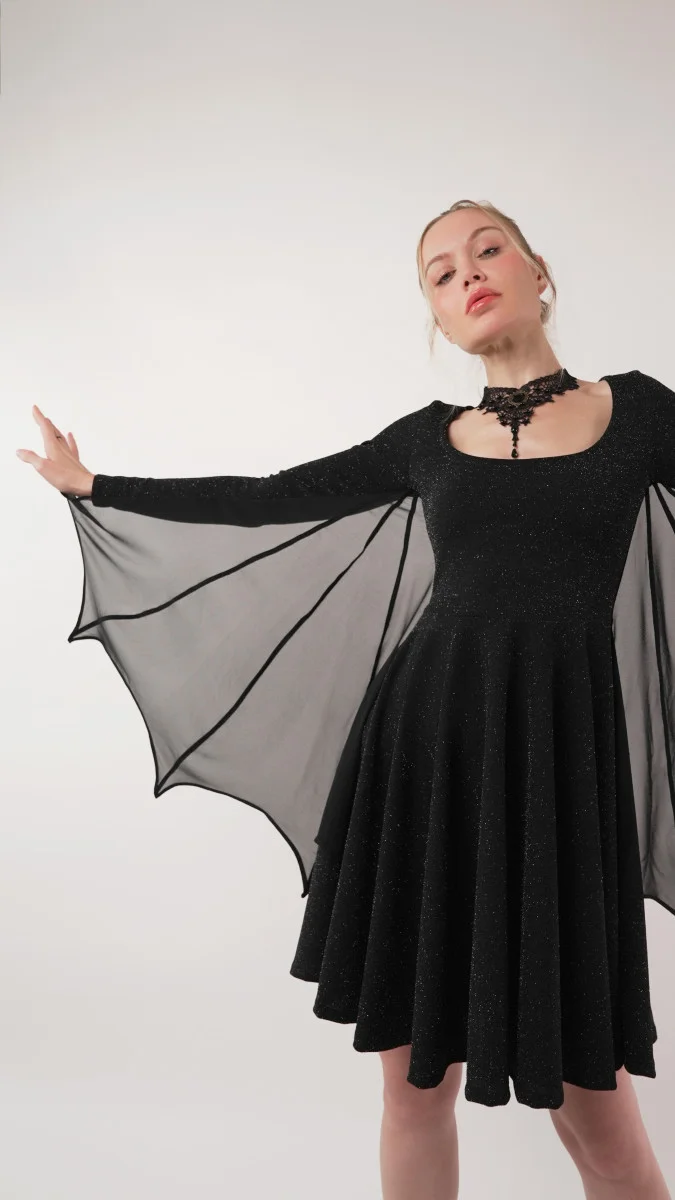
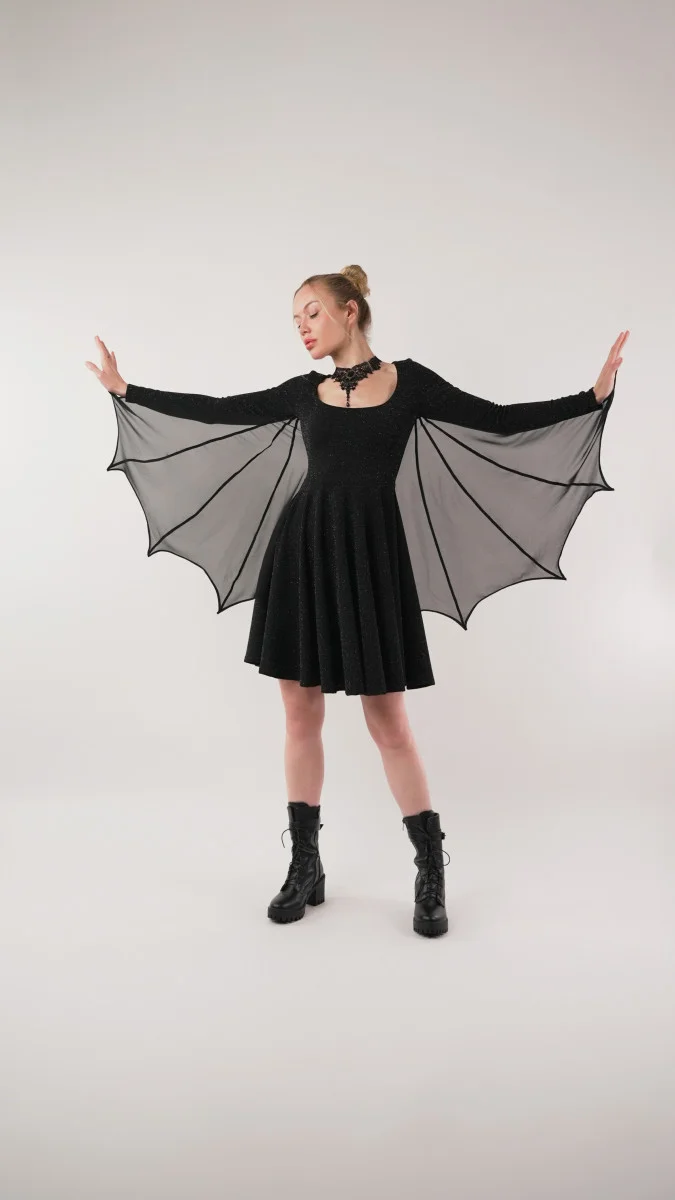
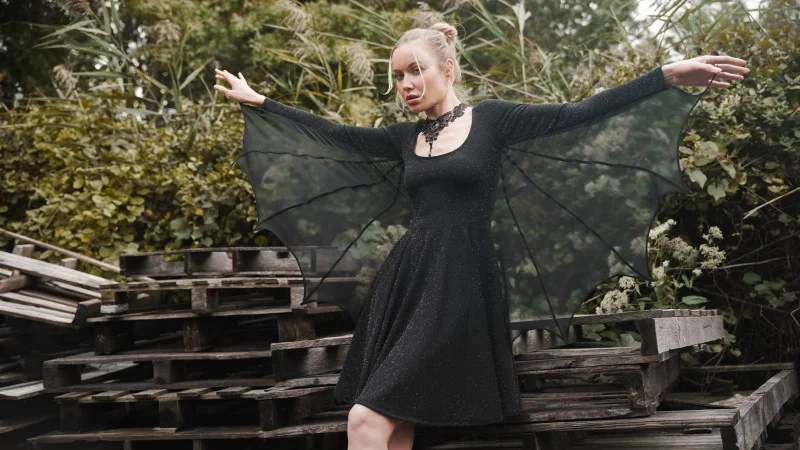
The Vesper Winged Costume Dress pairs an easy, wearable knit dress with sheer bat wings for a Halloween look you can personalize. The dress has no zippers, lining, darts or pleats; the wings take the most careful sewing, with curved hems and attachment points at the sleeves and side seams. Remove the wings or change the fabric and the same pattern can work beyond costume season.
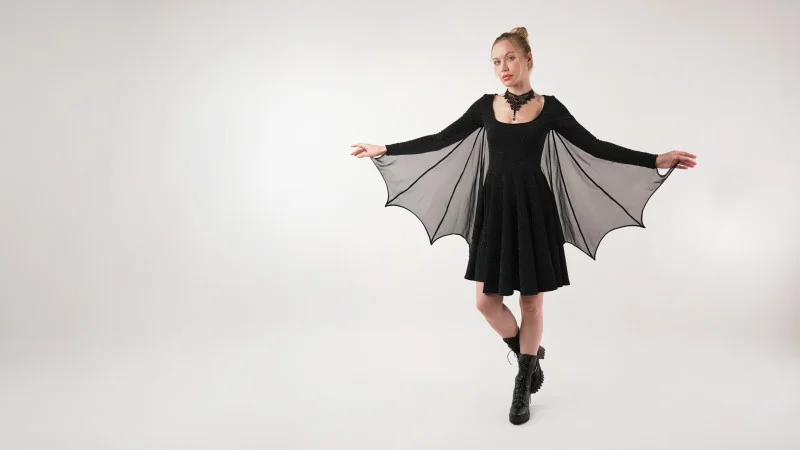
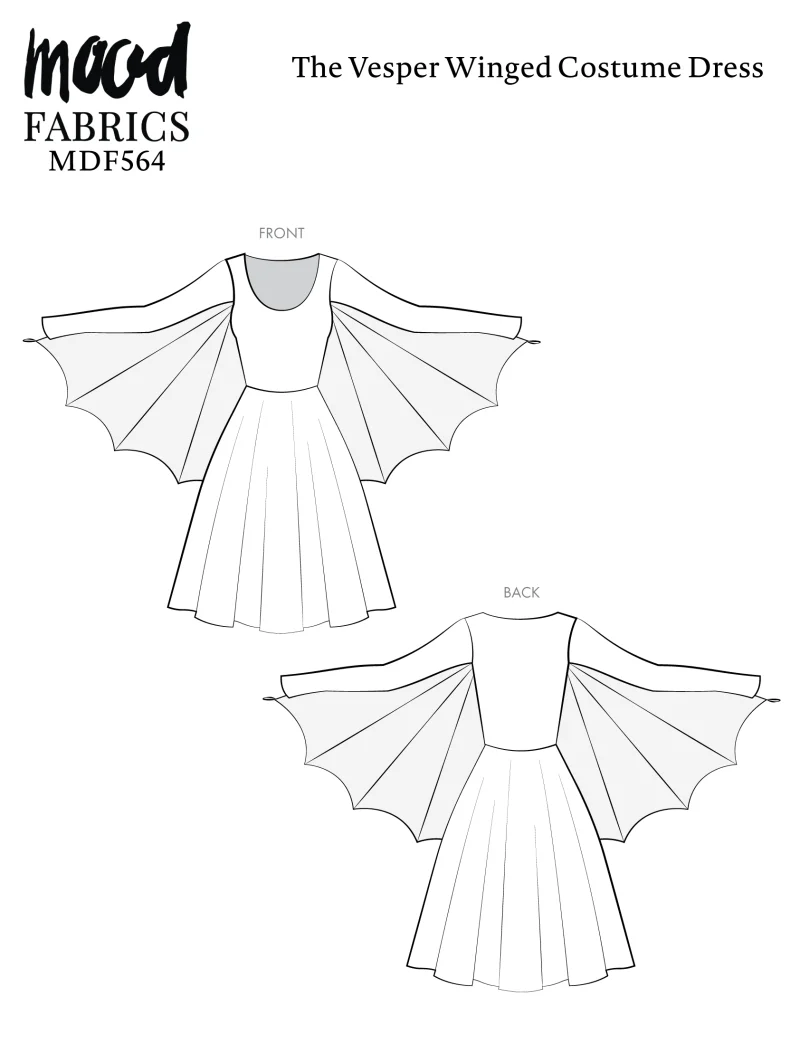
Mood Sewciety’s free MDF564 pattern includes technical drawings and a size chart. The instructions below follow the construction sequence, from assembling the wing panels to adding finger loops. Read the full pattern instructions before cutting, and check the pattern pieces against your intended fit.
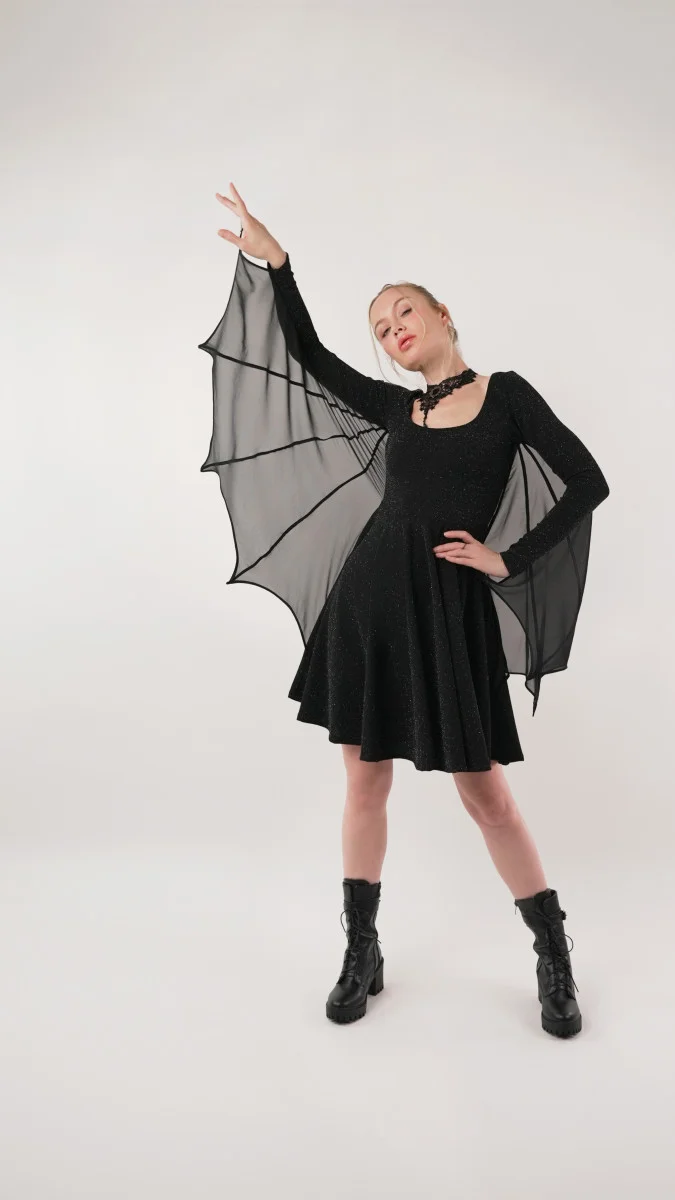
Materials and pattern pieces
The listed quantities are for a size small. The source says to check the “SHOP THIS LOOK” box for estimates in other sizes. It lists:
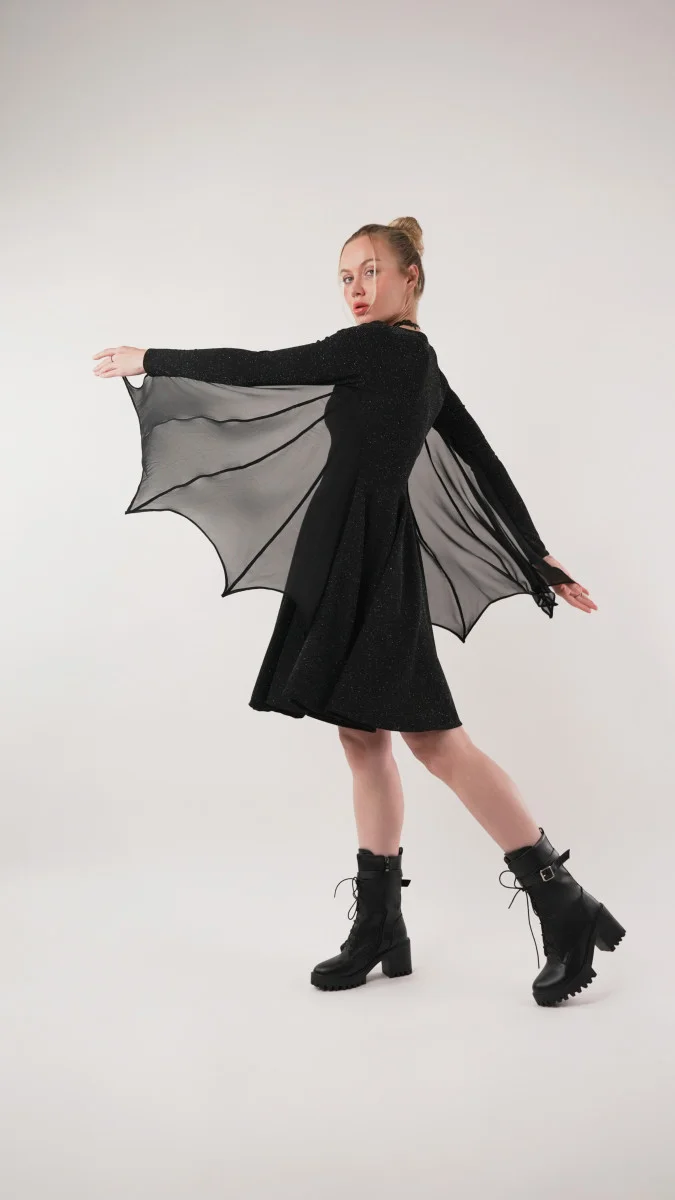
- 3 yards of metallic stretch polyester crepe knit, black and silver
- 3 yards of black polyester high-multi chiffon from the Netta Collection
- 1 spool of Gutermann Sew All Thread, 1000m, color 10 Black
- 1 package of Dritz black beading cord elastic, 5 yd
- MDF564, the Vesper Winged Costume Dress sewing pattern
The pattern is intended for light or medium weight stretch knit fashion fabrics. Jersey knits, velour and spandex are listed as alternatives for the dress. The wings use chiffon in the sample, and the Netta Collection is credited as the featured fabric collection.
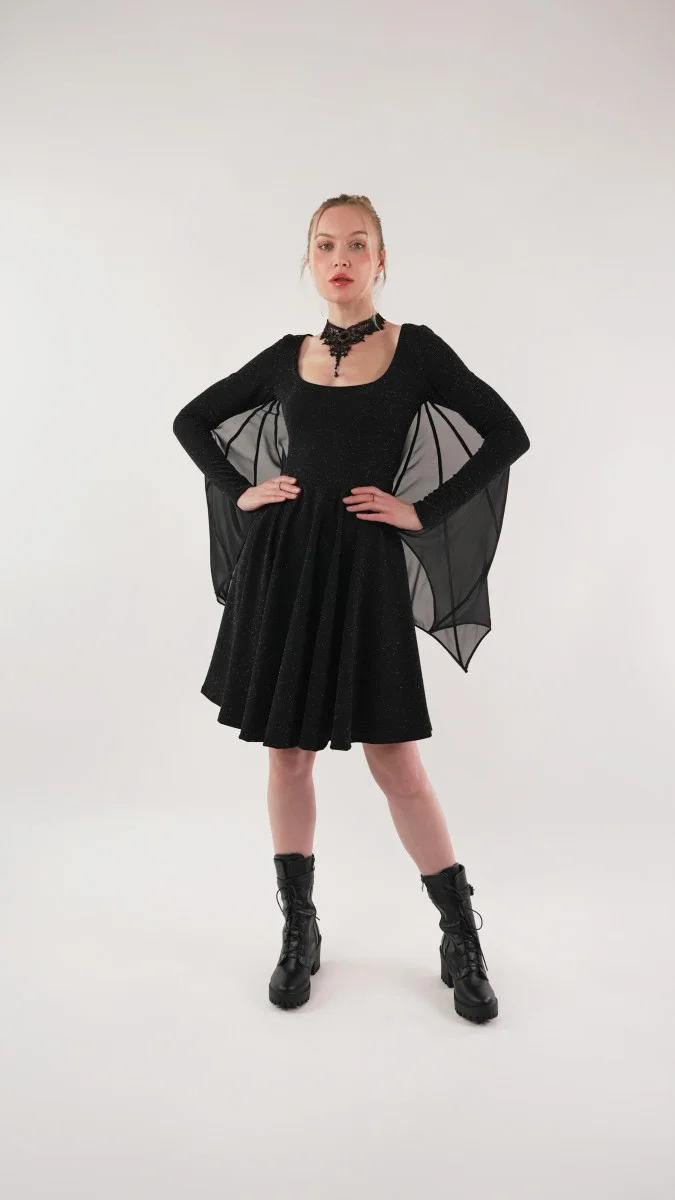
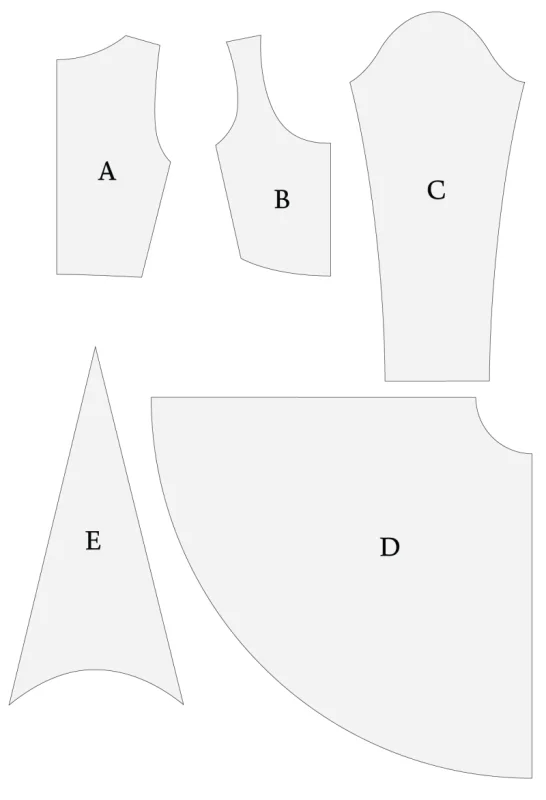
For the pattern pieces, cut one top back on the fold, one top front on the fold, two mirrored sleeves, two skirt pieces on the fold and eight wing panels. The general seam allowance is 1/2 inch unless a step specifies otherwise.
The pattern download is offered as a PDF formatted for both A4 and letter-size printing. The source says to submit a name and email through its form to receive the download link. It also states that mass production, resale and distribution of the pattern are prohibited.
Check the fit before cutting
The sizing guide reflects the suggested design and wearing ease, but you can choose a size based on the finished garment measurements and blend between sizes if needed. Measure the printed pattern pieces to confirm their dimensions match your fit preference, and make any adjustments before cutting fabric. The source recommends sewing a test garment in a similar fabric.
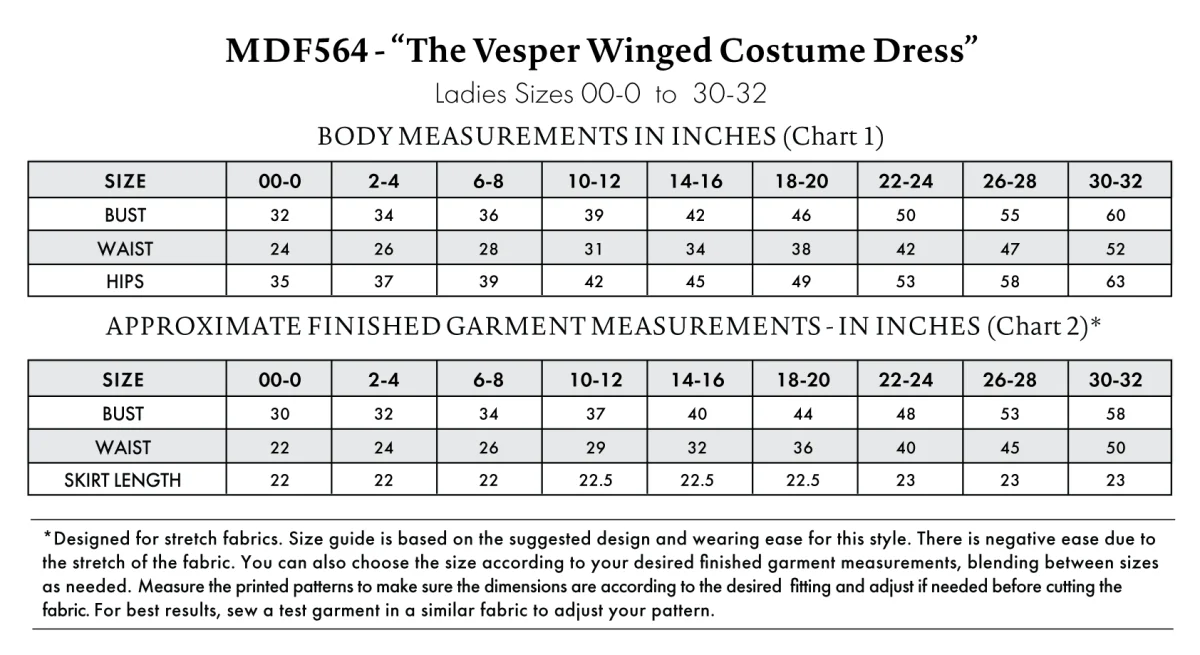
Measurements may change after adjustments. If you plan to use a non-stretch fabric, use the approximate finished garment measurements chart to select a size. Read all the instructions before cutting; the pattern’s size chart and technical drawings help you review fit and construction details.
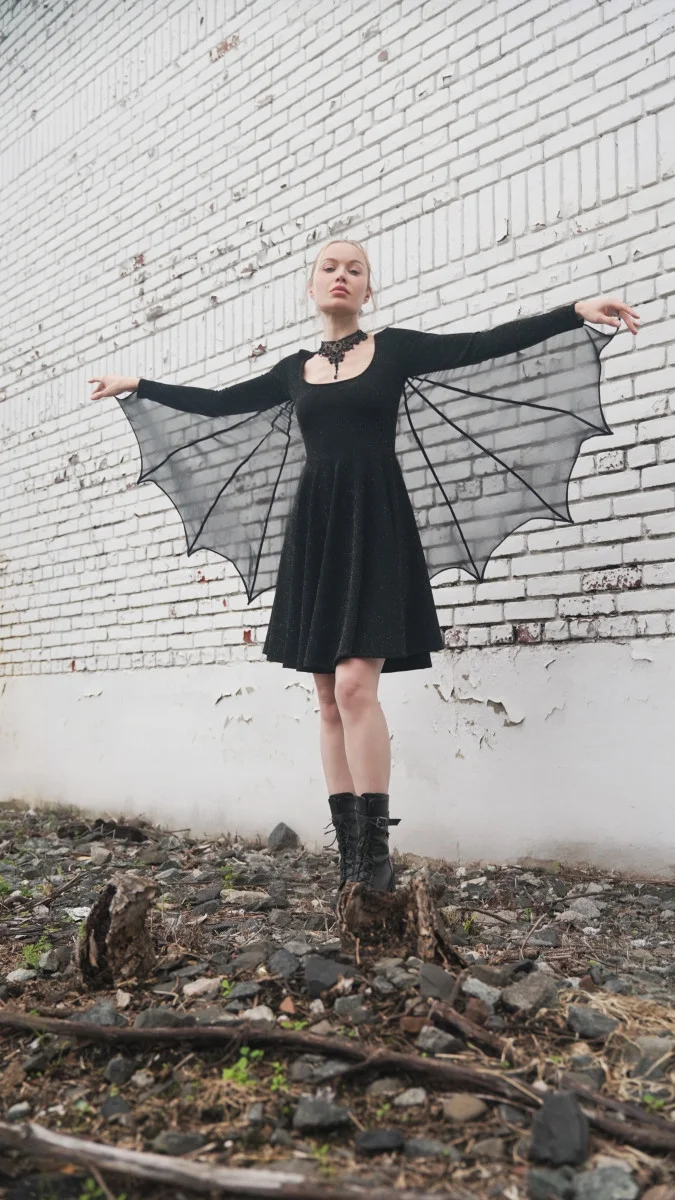
Prepare for sewing stretch crepe
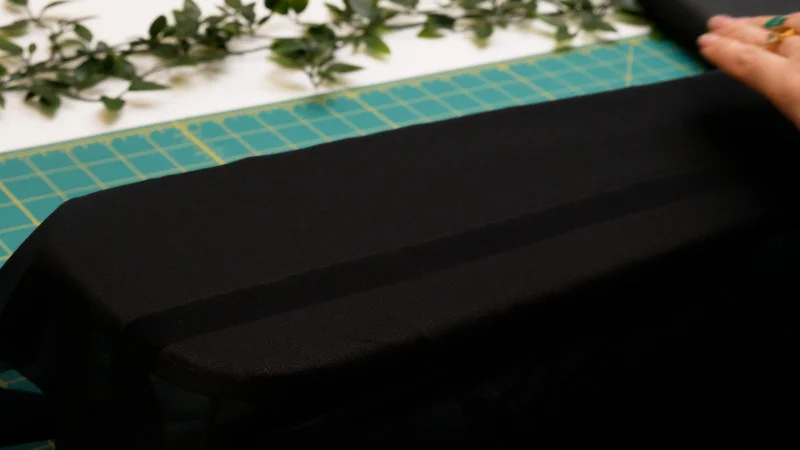
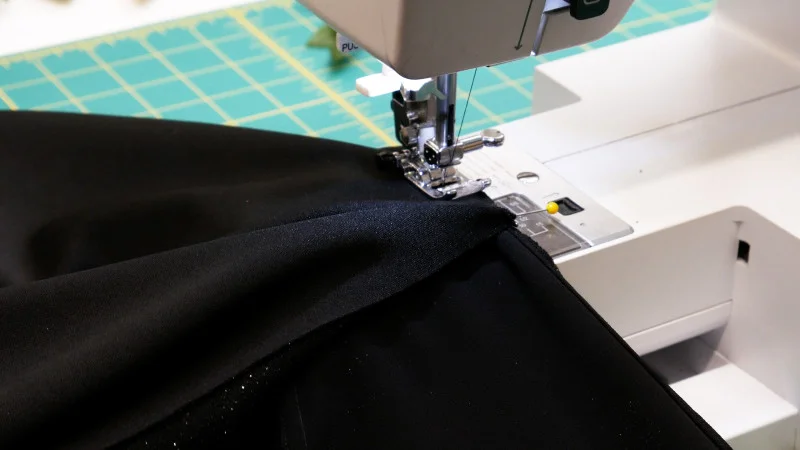
Use a ball point needle for the stretch knit. Unless a step specifies another method, sew seams with a zigzag, lightning or straight stretch stitch. Keep the fabric steady as it passes under the presser foot: hold it taut, but don’t pull or force it through the machine.
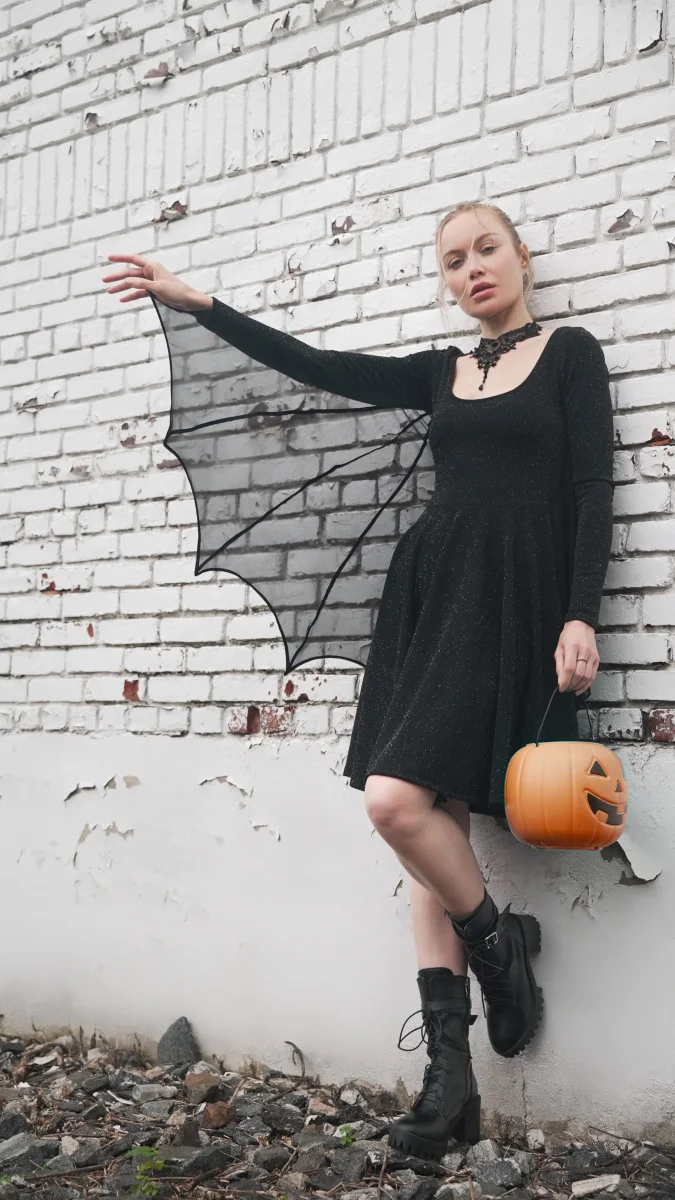
Step 1: Assemble the wings
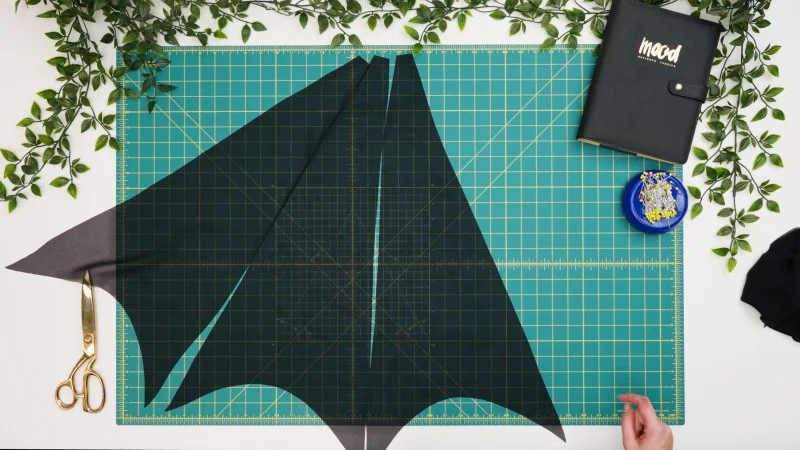
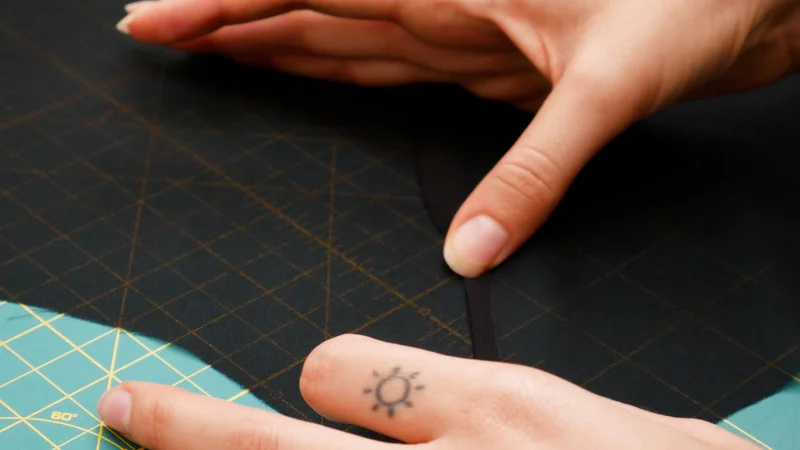
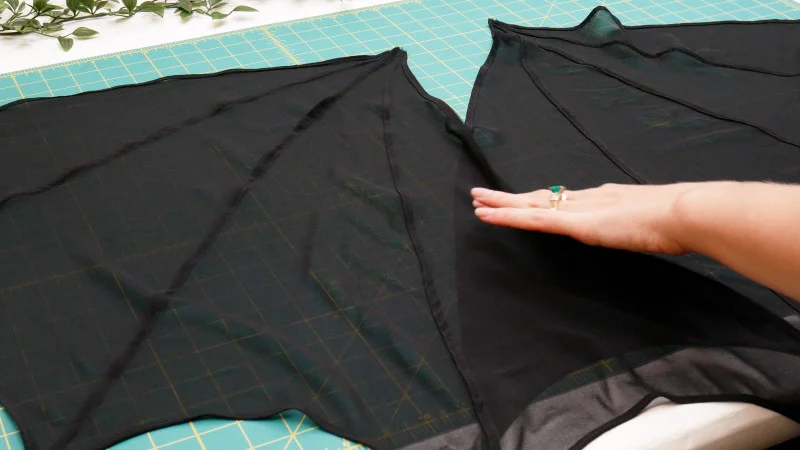
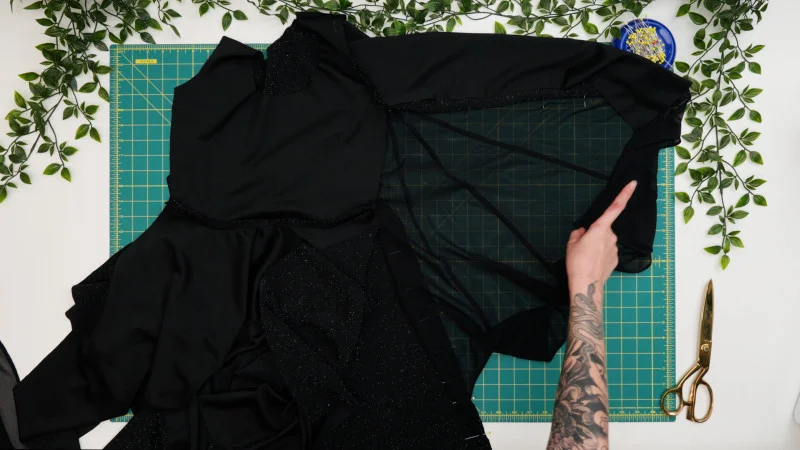
- Arrange the triangular chiffon sections as shown in the pattern photos, lining up their sides to form the wing shape.
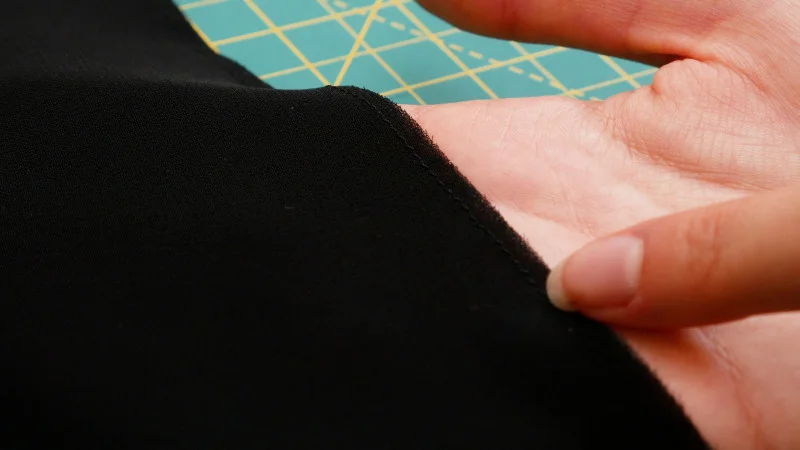
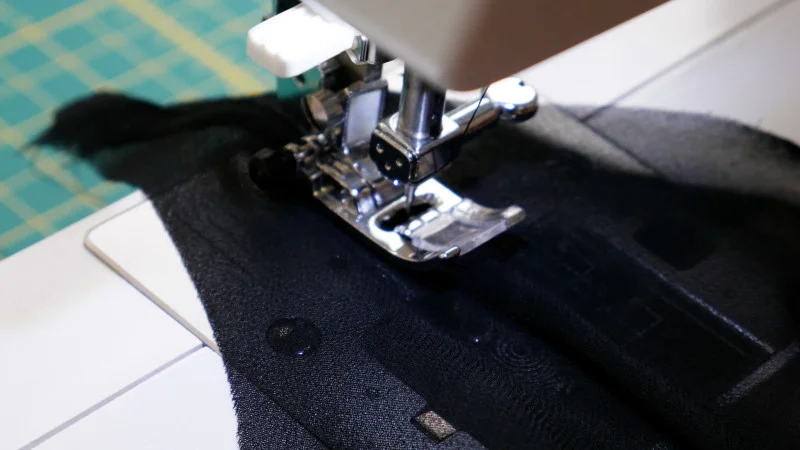
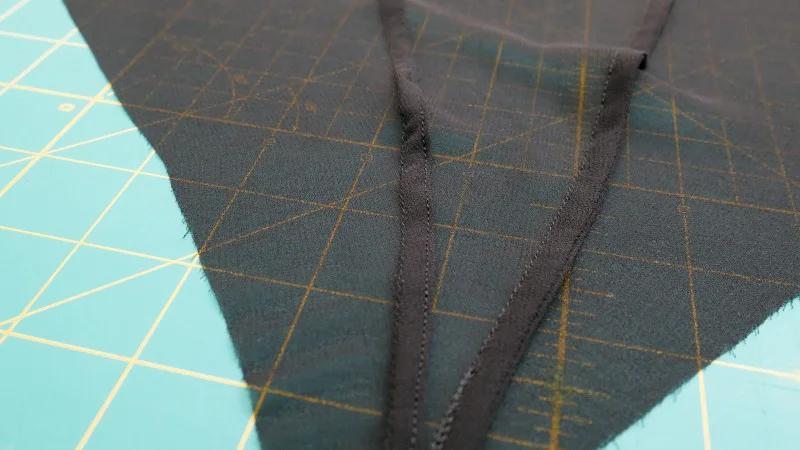
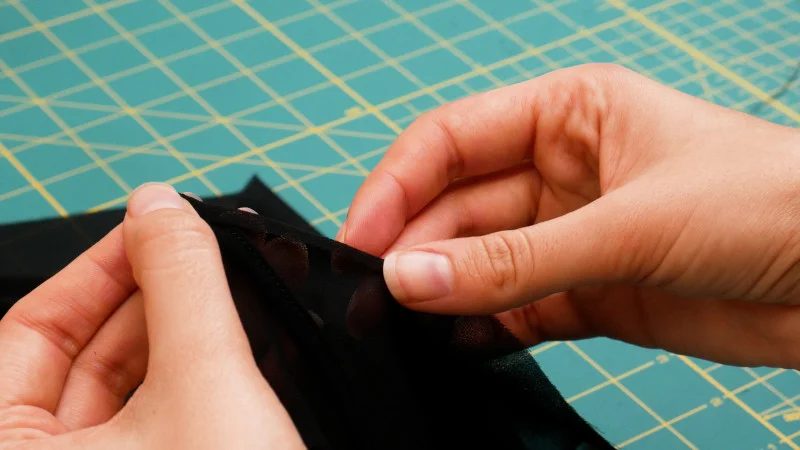
- Choose either French seams or flat-felled seams to join the sections. For French seams, pin the side edges with wrong sides together and sew at 1/8 inch. Press the seam open and flat, fold the pieces right sides together over the seam, then stitch along the folded edge at 3/8 inch.
- For flat-felled seams, pin the wing sections right sides together and sew at 1/2 inch. Fold the raw edge of the seam allowance under itself, pin it, then topstitch over the fold to enclose the raw edges.
- Repeat until you have two wings, each made from four sections.
Use the same seam finish consistently as you join the remaining sections. The finished seams will be visible in the sheer fabric, so take care to keep the panel edges aligned.
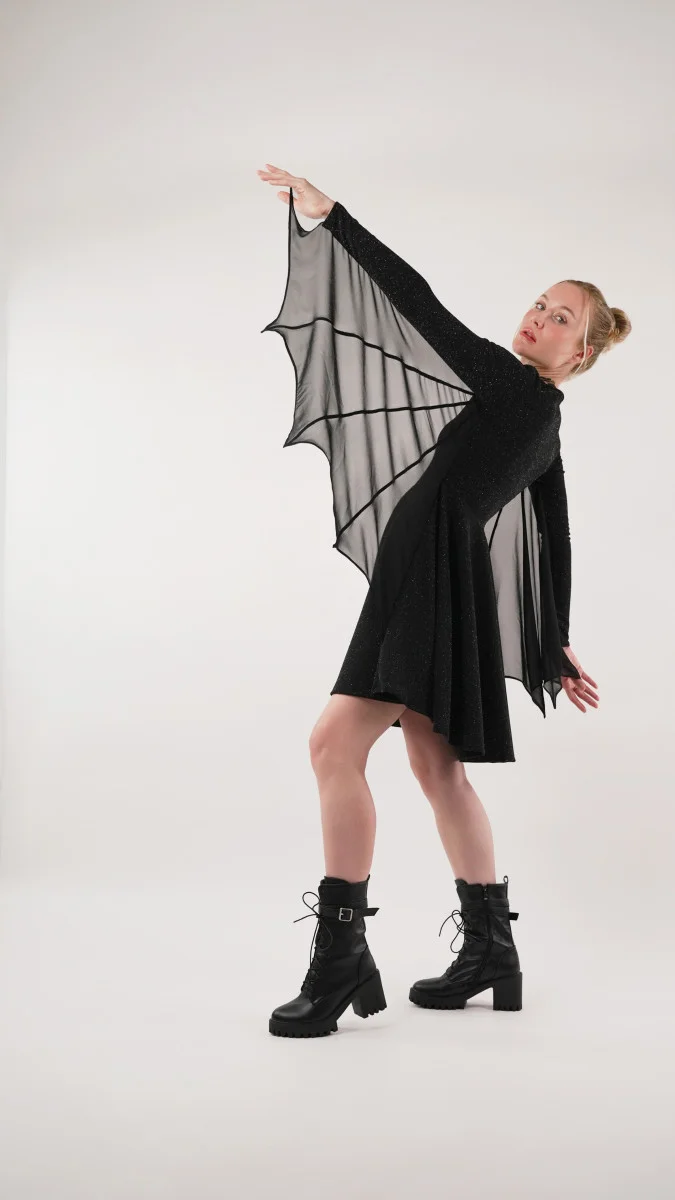
Step 2: Hem the wings
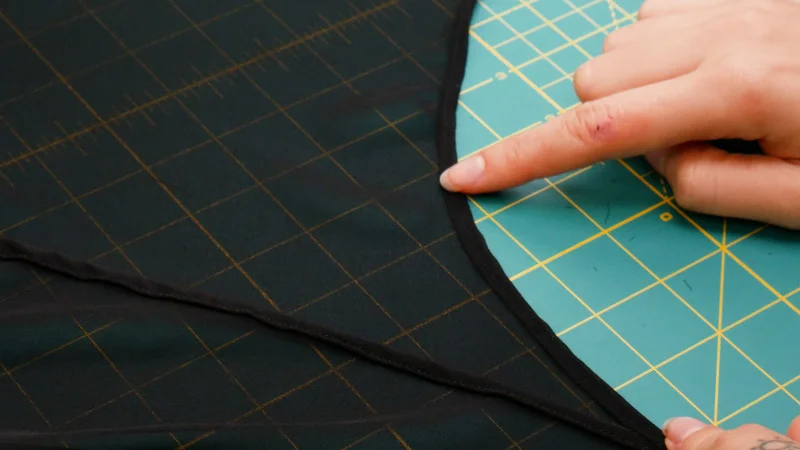
- Along the crescent-shaped lower edges of each wing, sew a 1/4-inch single-fold hem. Stop at each corner and restart after it to keep the pointed sections neat.
- Press the folded edges.
- Fold each edge over by another 1/4 inch and stitch again to make a double-rolled 1/4-inch hem. Tuck the raw edges at each corner inside the fold as you sew.
- Use this same baby-hem method on the long side edges. These finished edges will later be sewn into the sleeve inseams and dress side seams.
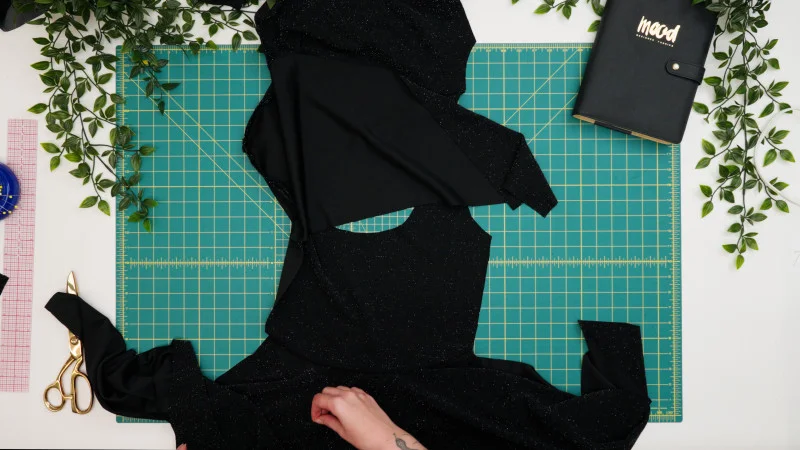
Step 3: Join the bodice and skirt
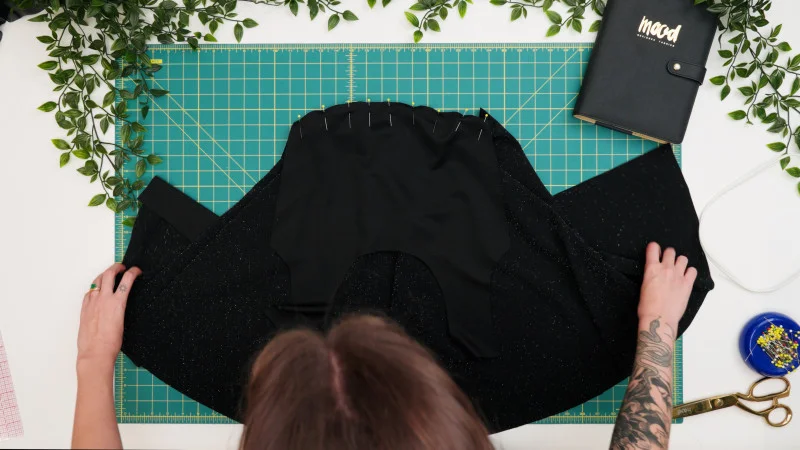
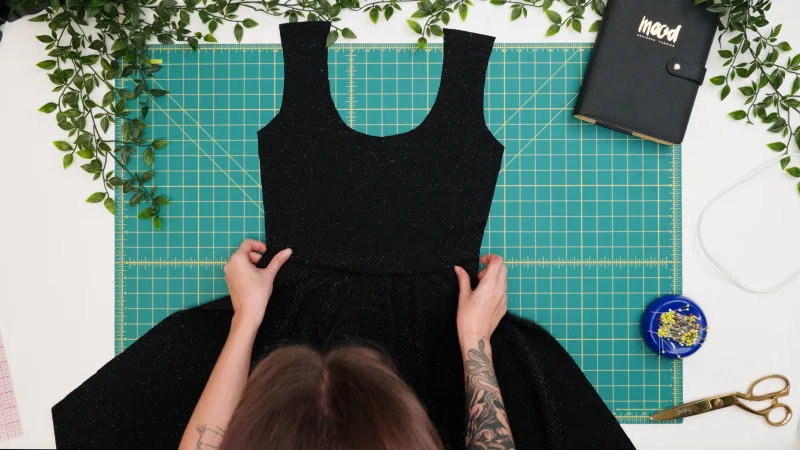
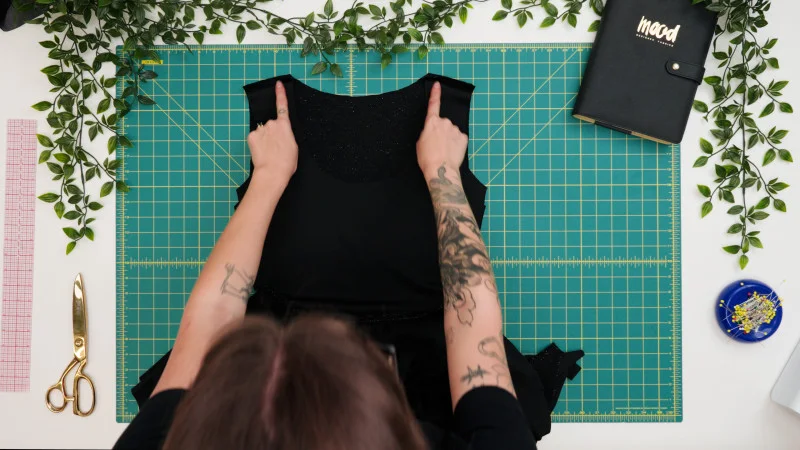
- Place the front top and front skirt right sides together, matching their waistlines.
- Pin and sew the front waist seam.
- Repeat with the back top and back skirt to form the back of the dress.
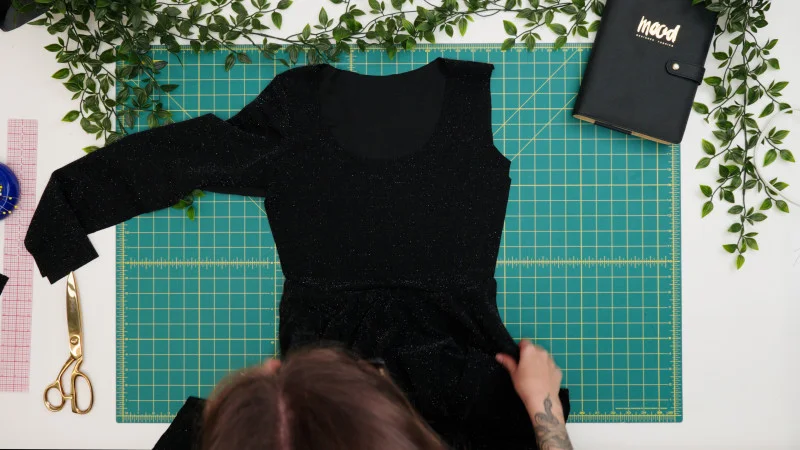
Step 4: Sew the shoulder seams
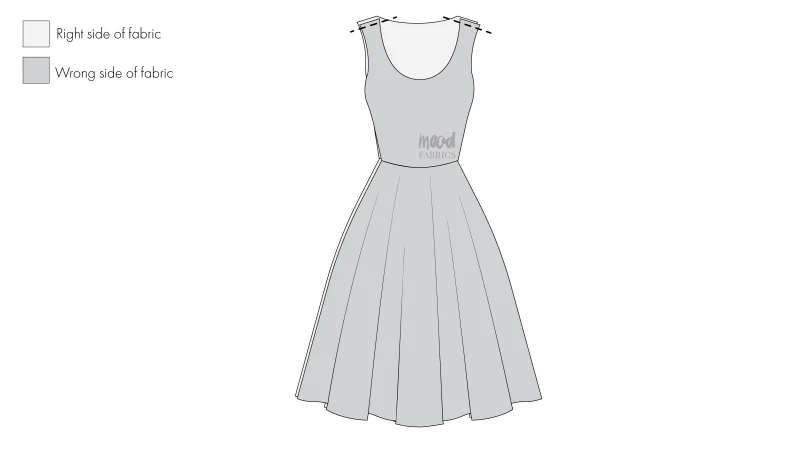
- Place the front and back dress pieces right sides together, aligning the shoulders.
- Pin and sew both shoulder seams.
- Press the shoulder seams open and flat.
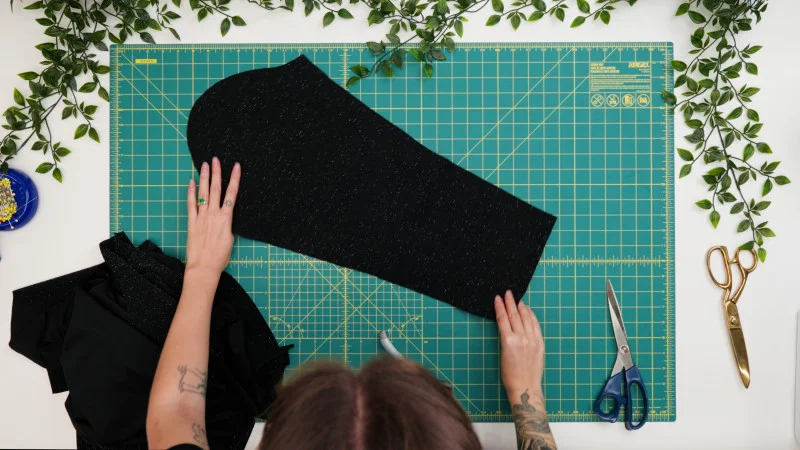
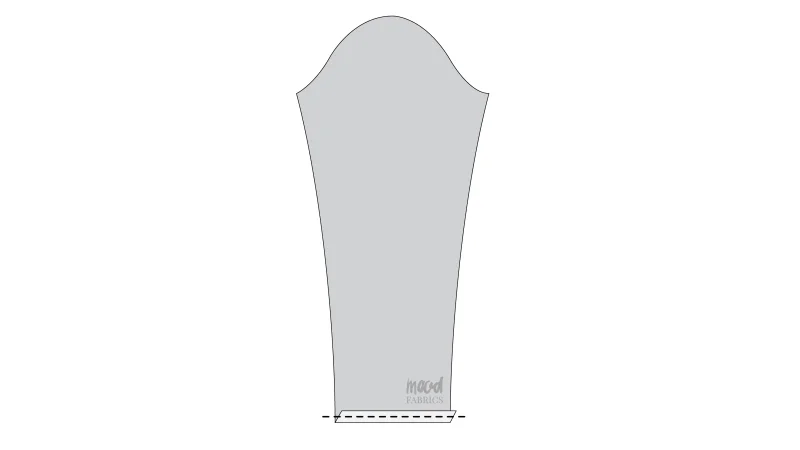
Step 5: Hem the sleeves
- Press a 1/2-inch fold into each sleeve hem.
- Sew the folded edge with a 1/4-inch seam allowance.
Step 6: Set the sleeves
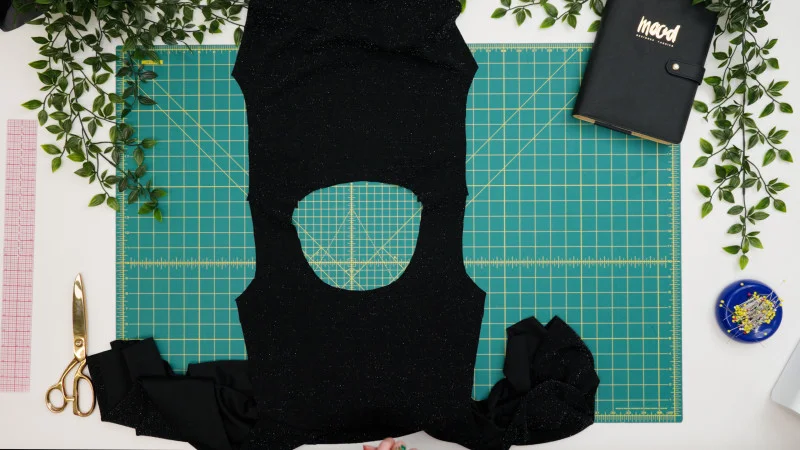
- Open out the front and back dress at the shoulder seams, then lay the dress right side up.
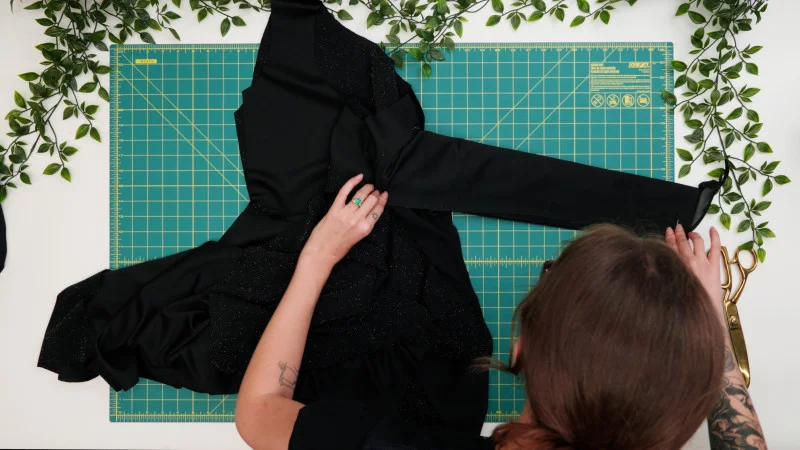
- Pin each sleeve cap to an armscye with right sides together. Match the front curve of the sleeve cap to the front curve of the armscye. The wing edges will extend beyond the sleeve hems; this is intended.
- Sew the sleeves into the armscyes.
- Open the sleeves away from the dress at the armscyes, then fold the dress in half at the shoulders with right sides together.
Step 7: Attach the wings
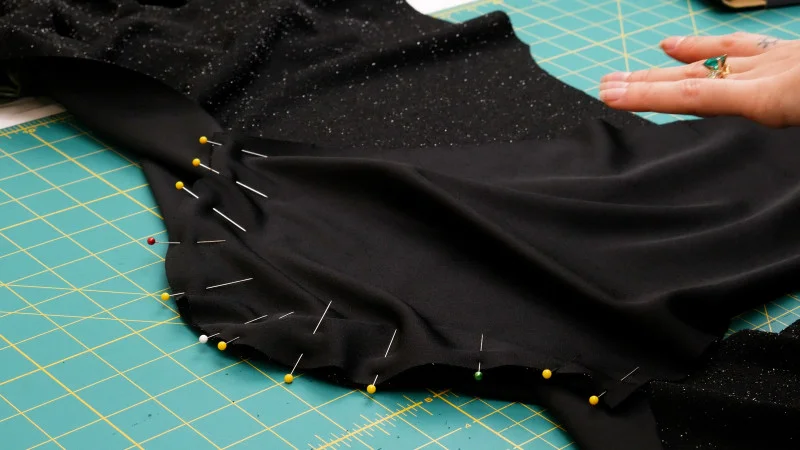
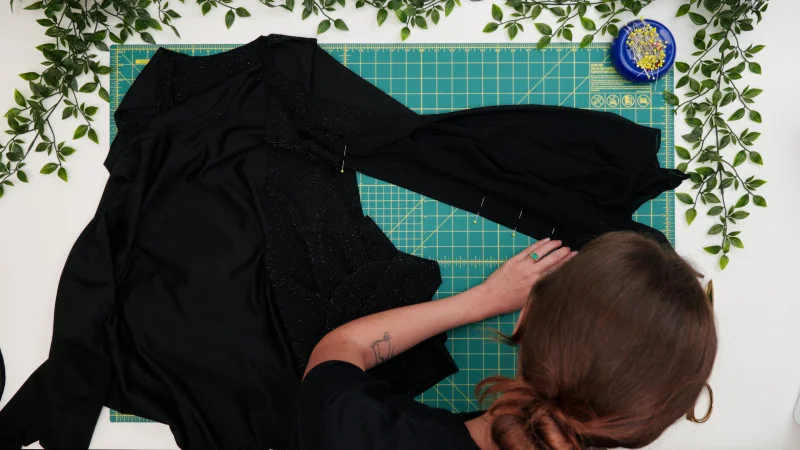
- With the dress folded at the shoulders, right sides together, keep the sleeve inseams open and apart. Pin one finished long edge of a wing to one side of the dress. At this stage, attach the wing before sewing the sleeve inseam closed.
- Pin the wing edge to the raw sleeve edge, from wrist to armpit.
- Sew along the pinned edge from wrist to armpit. At the armpit, pivot the dress and wing so the other finished wing edge aligns with the dress side seam. Continue stitching down that seam to the end of the wing.
Step 8: Close the sleeves and dress sides
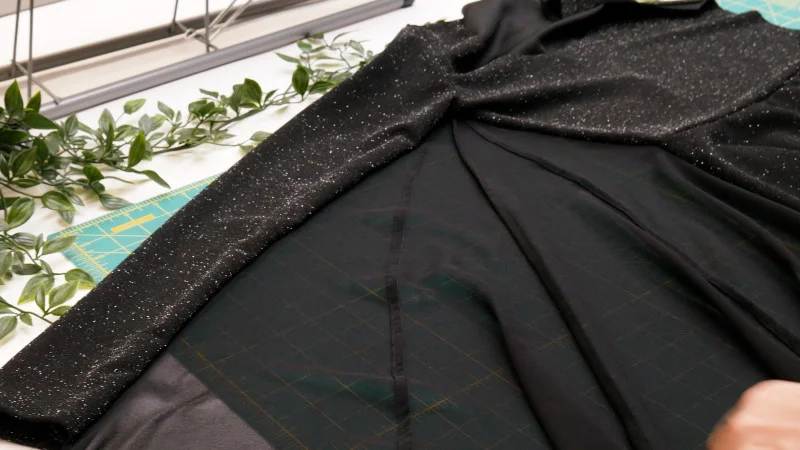
- Tuck the bulk of the attached wing into the sleeve.
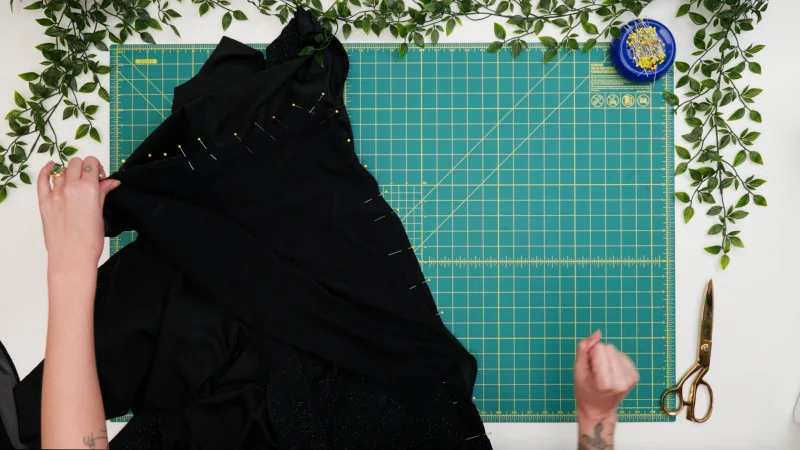
- Fold the sleeve in half with right sides together and align the raw inseam edges.
- Pin from wrist to armpit, keeping the wing fabric clear of the seam.
- Sew the sleeve inseam from wrist to armpit. At the armpit, pull the wing out of the sleeve to ease tension on the chiffon and leave it accessible for the side seam.
- Without lifting the needle at the armpit, pivot the fabric and pin the front and back waist seams together.
- Sew down the dress side seam, matching the waist seams and hems.
- Repeat on the other side of the dress to attach the second wing and close the remaining inseam and side seam.
Keeping the chiffon clear while stitching the sleeve inseam helps prevent it from being caught where it shouldn’t be. At the armpit, pivot into the side seam and bring the wing back into position for the next section.
Step 9: Finish the neckline and skirt
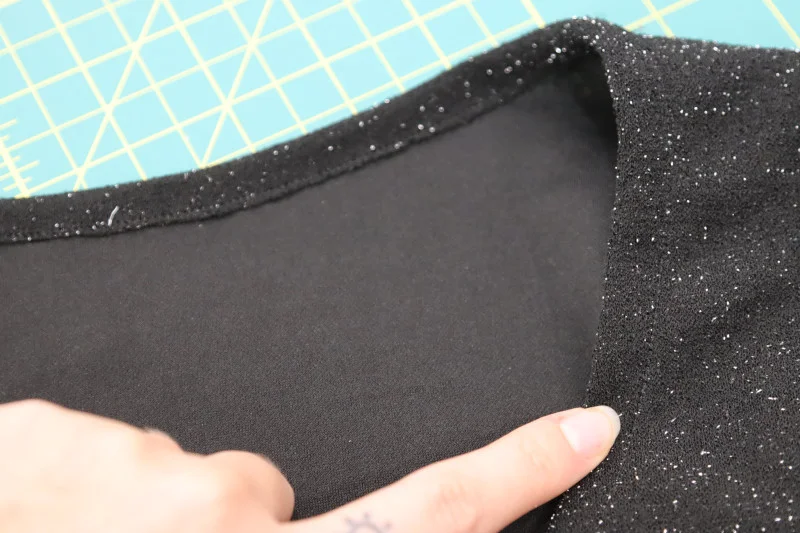
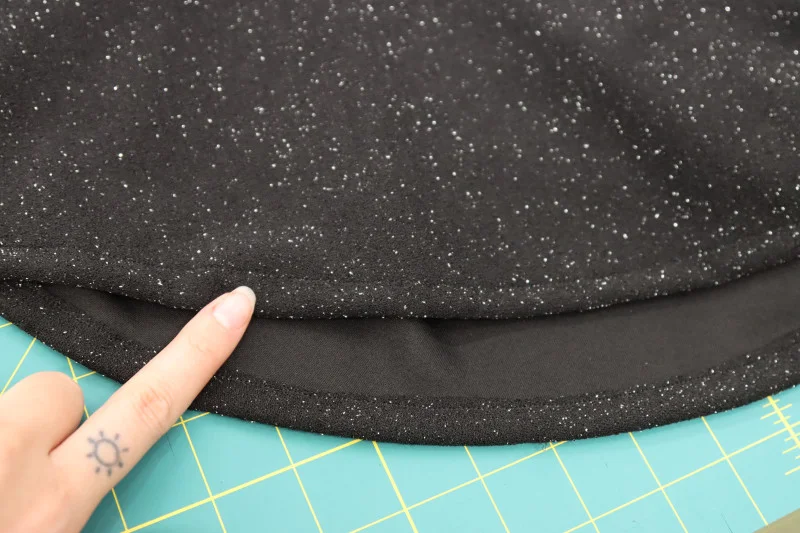
- Press a 1/2-inch fold into the raw neckline and skirt hem edges.
- Sew both folded edges with a 1/4-inch seam allowance.
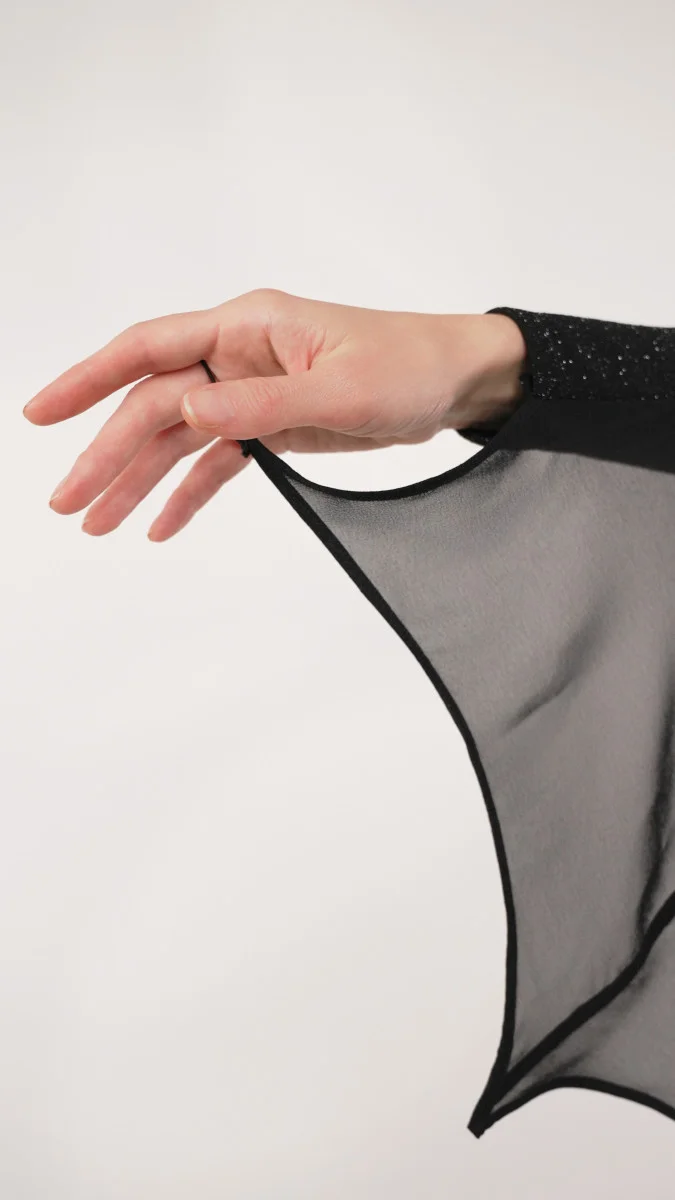
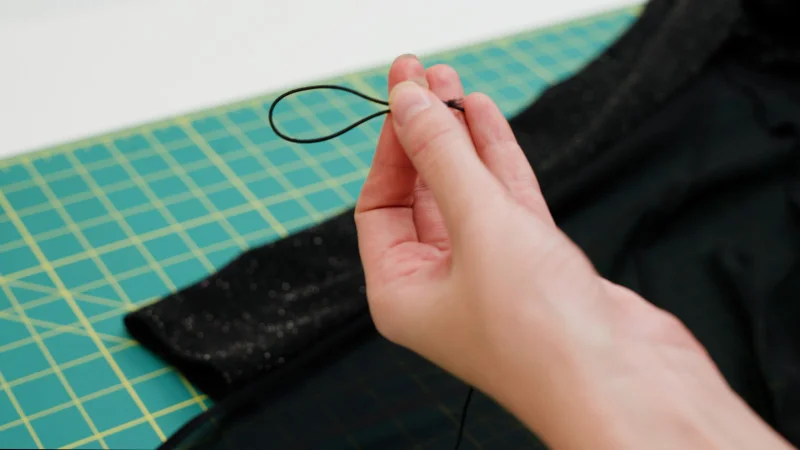
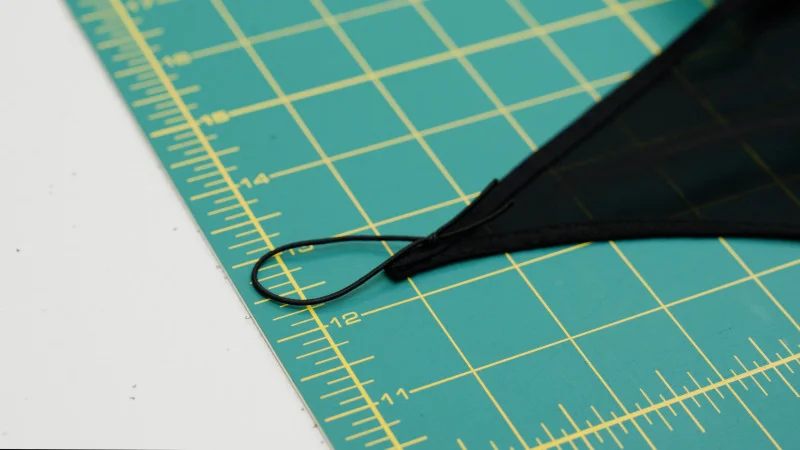
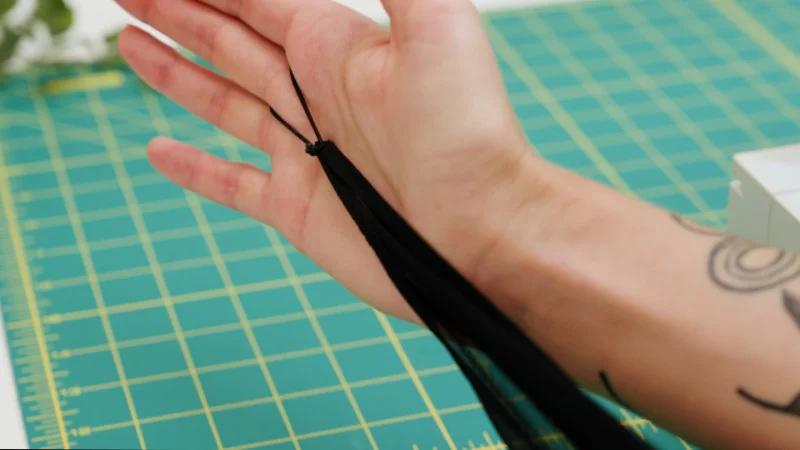
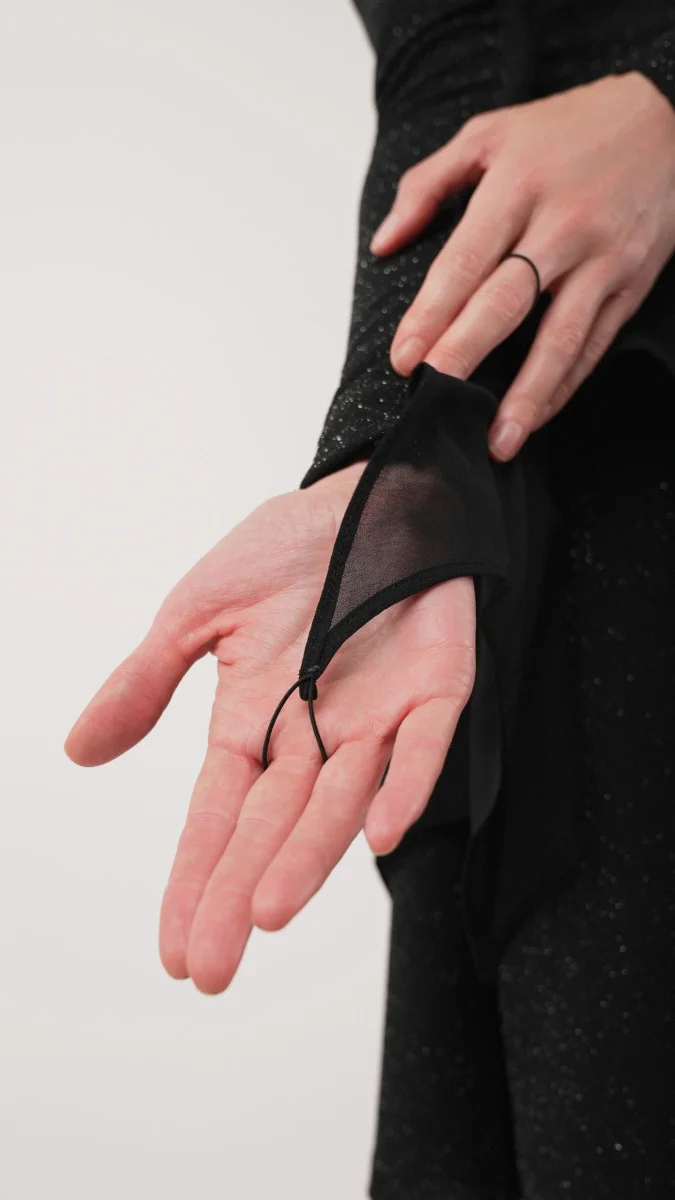
Step 10: Add finger loops
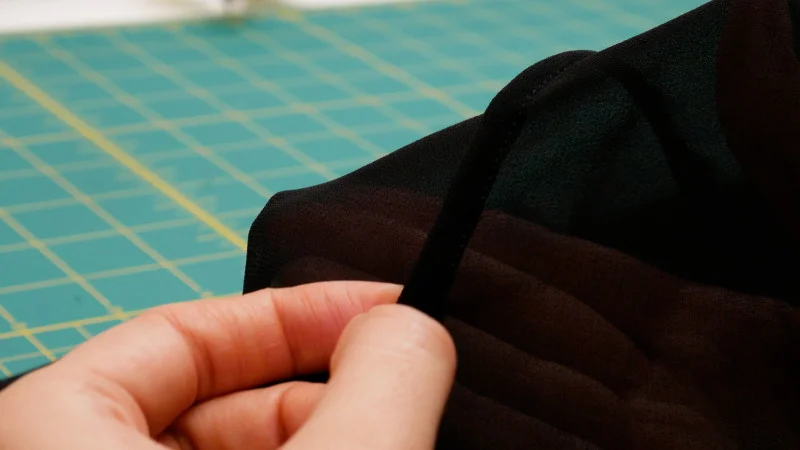
- Cut a length of elastic cord long enough to fit around a finger when its ends are tied in a knot.
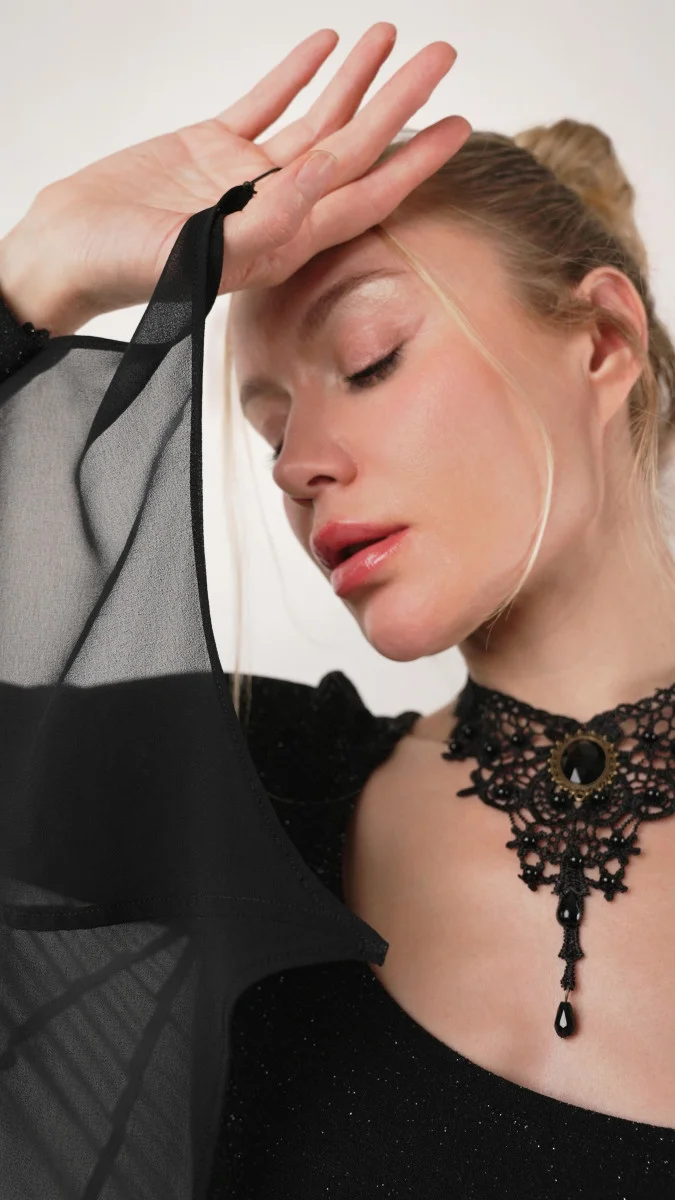
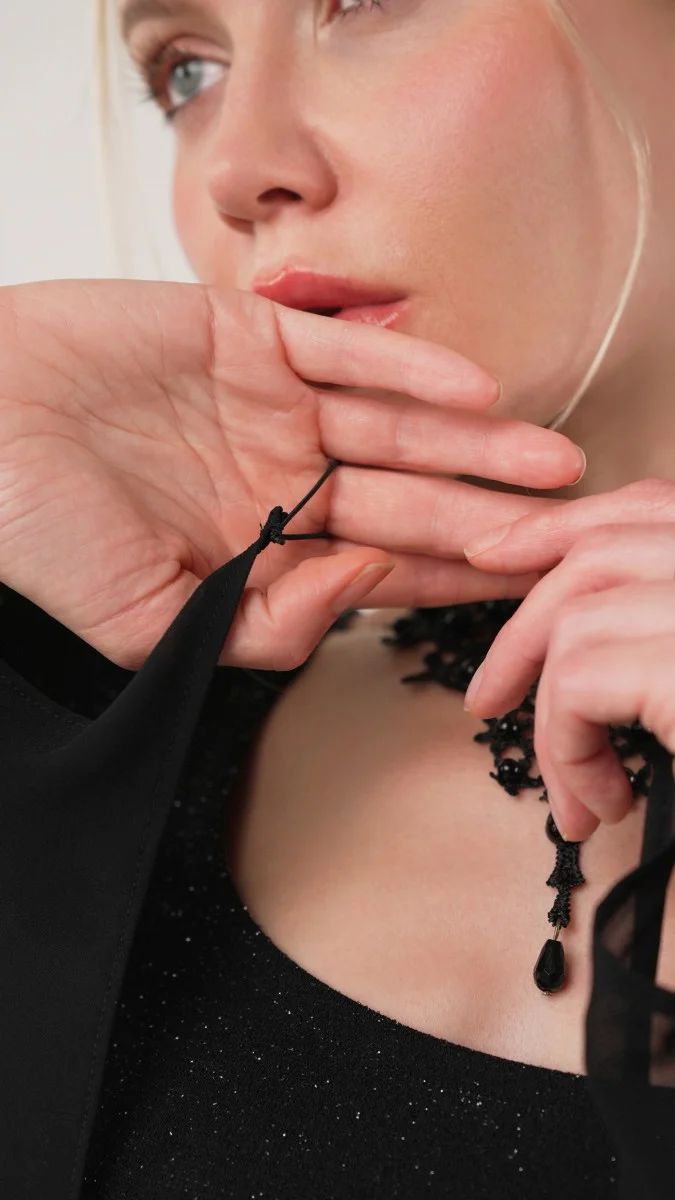
- Pin and sew the loop to the pointed end of the wing that extends past the sleeve hem. Trim the knot tails if needed.
The finger loops let the wing tips move with your hands. Try the loops for comfort and placement before stitching them down securely.
Make the pattern your own
The winged version works for Halloween events, costume parties or trick-or-treating, while the simple dress can take on other looks. Make the dress in red fabric with white polka dots and omit the wings for a playful mushroom costume. Thin horizontal stripes paired with a beret and white gloves suggest a mime. Or leave off the costume details and choose a fabric you’ll wear throughout the year.
The Vesper pattern’s straightforward dress construction makes those changes practical: the silhouette doesn’t depend on a closure or complicated shaping, while fabric and accessories do much of the styling work. Start with the fit and fabric you want, follow the wing attachment steps in order, and you’ll have a dress that can shift with your next idea.