Sample No. 0231
Make a Scrappy Hocus Pocus Sweatshirt with Raw Edge Appliqué
Use ten quilt fabric scraps and simple raw edge appliqué to add colorful Hocus Pocus lettering to a sweatshirt. The project takes about two and a half hours.
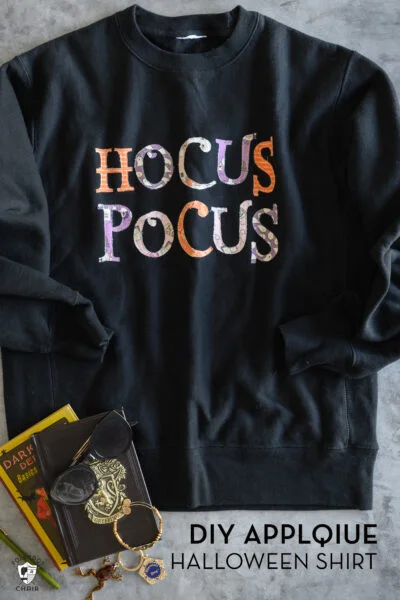
Turn leftover quilt fabric into a colorful Hocus Pocus sweatshirt with raw edge appliqué. The lettering is made from separate fabric pieces fused to the shirt, then secured with machine stitching. The design suits a range of Halloween prints, and its exposed edges give the finished words a relaxed, handmade look.

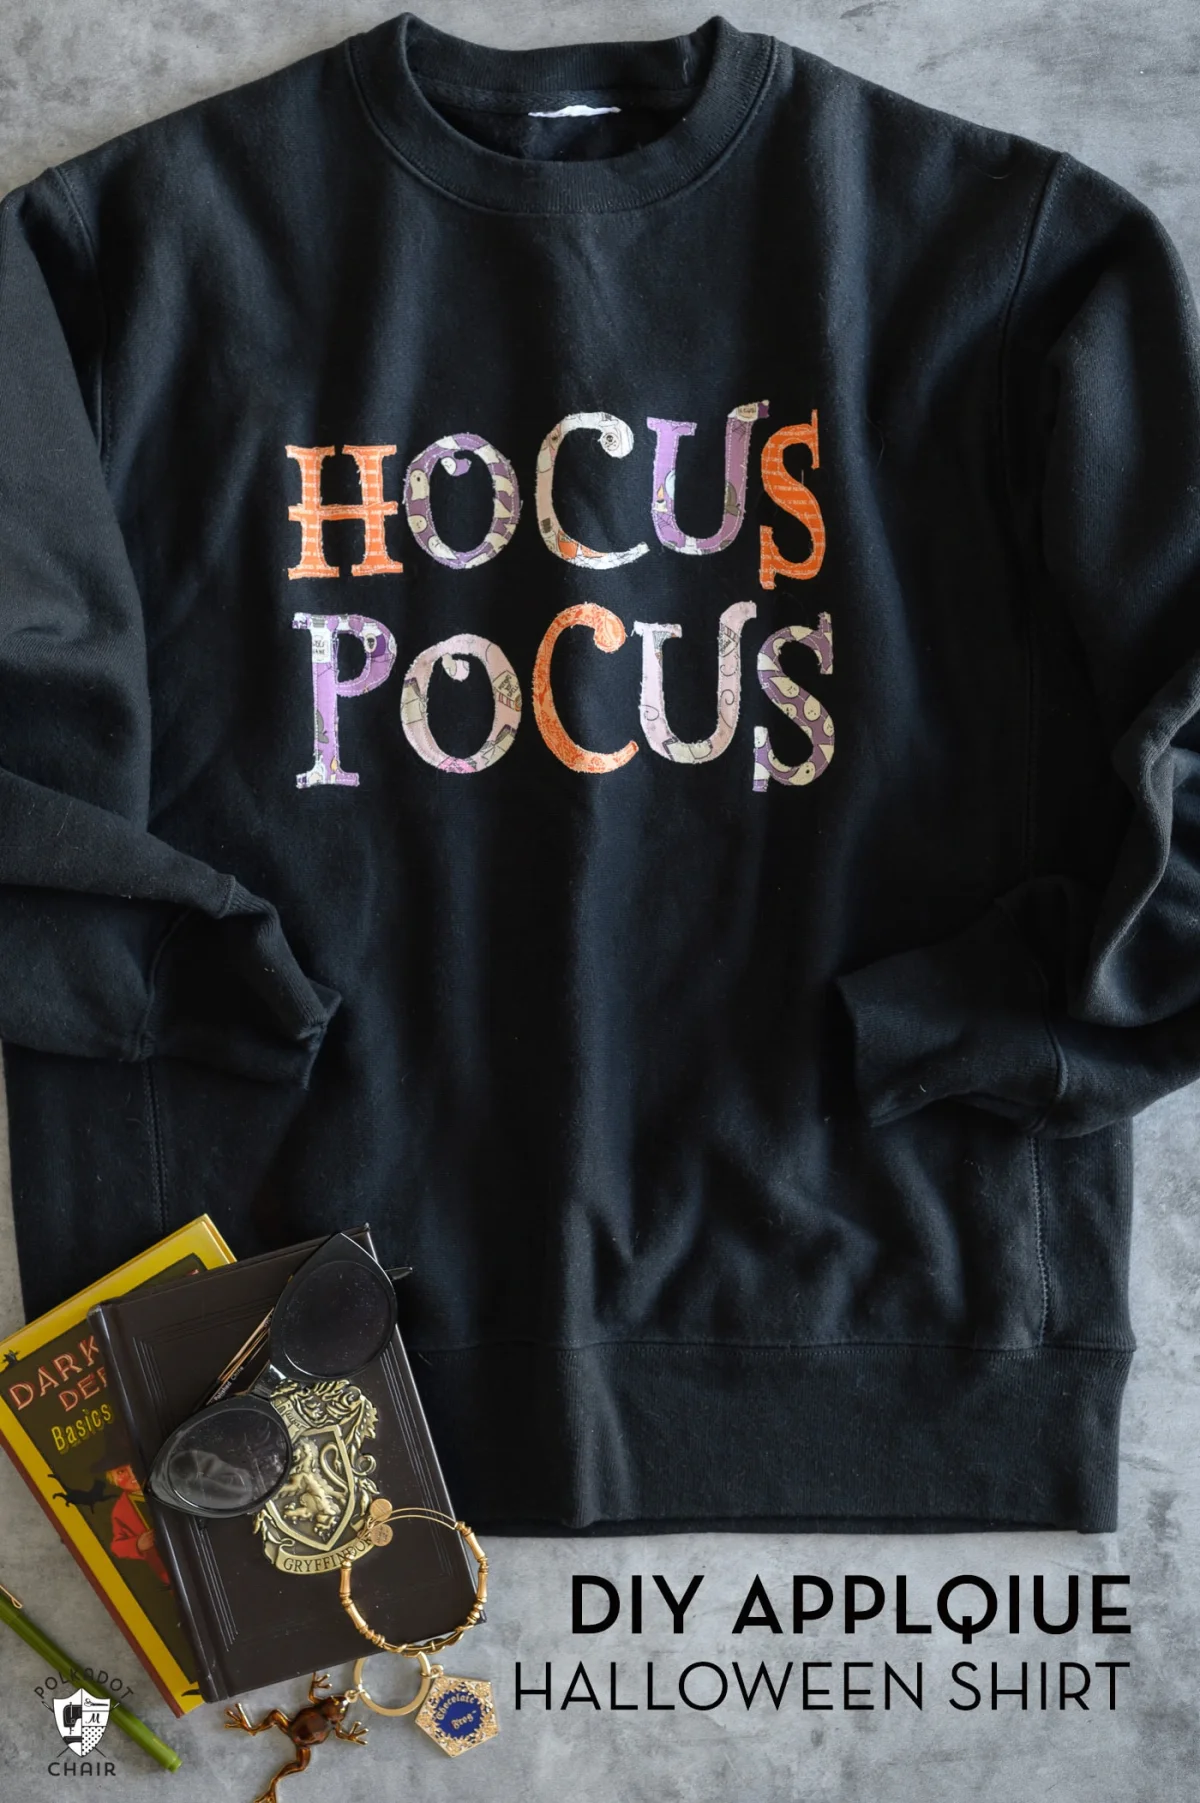
This is a straightforward sewing project, though stitching around letters calls for a patient pace. A short straight stitch helps with curves, and careful pivots keep the stitching on track at corners. The edges are meant to remain exposed, so a little fraying with wear and washing is part of the result. If you’d like more guidance on the appliqué method, see this raw edge appliqué tutorial.

Project details and materials
Allow 30 minutes for preparation and about two hours of active work, for a listed total of two hours and 30 minutes. The instructions don’t specify a skill level or a particular sweatshirt size, so choose a shirt that gives you enough room for the two lines of lettering.
- One T-shirt or sweatshirt
- Ten quilt fabric scraps large enough for the letters
- One package of lightweight paper backed fusible web suitable for sewing; the maker prefers Heat N Bond Lite
- The “Hocus Pocus” lettering template, available as a PDF through the form on the project page
Gather thread, small sharp scissors, a fabric pencil or pen, an iron, and a sewing machine. The equipment list names BERNINA or Bernette as the maker’s recommendations for a machine, but the instructions call simply for a sewing machine. A removable marker or chalk is useful for marking the shirt’s center. The project uses fabric scraps, so the amounts and prints can vary; choose colors that stand out clearly against the shirt.
Prepare and trace the letters
Prewash both the shirt and the fabric scraps, then dry them without fabric softener. Press out wrinkles if needed. Before tracing, lay the scraps side by side and consider how their colors and patterns will read together. Contrasting fabric helps the lettering remain easy to see.
Print the provided lettering or draw “Hocus Pocus” at the size you want for your shirt. Thicker, bold letter shapes are easier to cut out and sew around. On the paper side of the fusible web, trace each letter with a little room between shapes. Reverse the letters as you trace them: the pieces will be turned over when fused, so reversing now makes them face the right way on the finished garment.

Fuse and arrange the appliqué
Cut roughly around the traced letters, leaving the final trimming for later. Put each fusible web piece adhesive side down against the wrong side of its chosen fabric. Press according to the package directions. Let the pieces cool, then cut each letter along its traced outline. Cut out the enclosed spaces inside letters as well, so their shapes stay clear.

Lay the shirt flat and smooth the front. Fold it lengthwise to locate the center, then mark that line with a removable fabric marker or chalk. This gives you a reference point while arranging the lettering. Peel the paper backing from the appliqué pieces and place “Hocus” above “Pocus.” Adjust the spacing and position while the letters are still movable. Take a moment to check the full arrangement before pressing it in place.
Press, stitch, and finish
Follow the fusible web package for the recommended iron temperature and pressing time. Lift and lower the iron over the letters instead of sliding it, which could shift them. Let the shirt cool before moving it.

Using a short straight stitch, sew just inside the edge of each letter. Work slowly around curves; the shorter stitch length makes those turns easier to manage. Pivot at corners, and remember to stitch around the inner openings in letters as well. Keeping a steady pace and checking the fabric as you sew can help the appliqué stay flat.
Trim loose threads and carefully remove any stabilizer. Give the design a final press, following the fusible web instructions. Because this raw edge method leaves the fabric edges uncovered, some fraying is expected after the sweatshirt is worn and washed. That softening is part of the look, while the stitching holds the letters in place.
The project and tutorial are credited to Melissa Mortenson. To request the lettering PDF, fill out the form on the original project page. You can also open the printable tutorial.
Related sewing projects from the same maker include a padded laptop sleeve, a quilted Christmas stocking, a double sided changing mat, a self binding sweatshirt blanket, and Valentine’s Day sweatshirts. For a behind the scenes look at the maker’s work, visit Polka Dot Chair on Instagram.


