Sample No. 0232
Rustic Craft Stick Candy Corn for Fall: Materials, Steps and Display Ideas
Turn 11 wooden craft sticks into a freestanding candy corn decoration with a printable template, layered paint and your choice of fall embellishments.
Eleven wooden craft sticks become a roughly 6-inch-tall candy corn decoration in this budget-friendly fall project. A printable template guides the shape, while two extra sticks reinforce the back. Paint, optional distressing and a simple stand turn the joined pieces into a display for a shelf or tiered tray.
This is the third project in My Eclectic Treasures’ fall craft stick challenge, which uses one $1.25 package of craft sticks for several decorations. The maker is JRandLBriska. The project uses wire cutters and hot glue, so an adult should handle those steps if children are helping; younger crafters can join in with painting and decorating.
Materials and tools
- 11 wooden craft sticks: 9 for the front and 2 for the back
- Painter’s tape
- Ruler
- Self-healing cutting mat (optional)
- Printable candy corn template
- Pencil
- Wire cutters
- Sanding stick or sandpaper
- Hot glue gun and glue sticks
- Off-white, pumpkin orange, mustard yellow and burnt umber craft paint
- Paintbrushes
- Matte Mod Podge (optional)
- Decorative fall leaves, red berries and paper-covered floral wire
- Black-and-white buffalo plaid ribbon and a decorative button
- Candy corn printable tag (optional)
- One tumbling tower block
The maker also finishes the back with black felt, although felt isn’t listed in the original supply list. It’s optional: it covers the supports and glue for a tidier back. The embellishments are flexible, so use what you have on hand or leave the decoration simpler.
Prepare the template and stick panel
Print the template at its actual size using regular print settings. It should measure approximately 6 inches tall by 6 inches wide at its widest point, and is sized to fit nine craft sticks. Cut out the paper shape before you begin. Enlarging or shrinking the print may change how it fits the sticks.
Set nine sticks horizontally in a column, one above another, and line up their left edges. A ruler helps keep the edge straight; a self-healing cutting mat can provide a convenient work surface. Place a strip of painter’s tape vertically down the center of the sticks to hold them together temporarily.
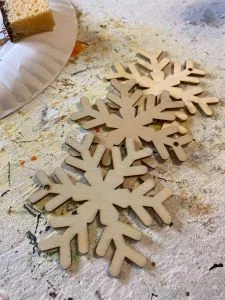


Flip the taped panel so the tape rests underneath. Center the paper template over the sticks; its top should come close to the upper edge of the top stick. Trace around it with a pencil. Use the ruler to clarify the straight sections of the outline, which makes those cuts easier to follow.

Cut, smooth and join the pieces
Remove one stick at a time from the tape and cut along its pencil marks with wire cutters. Work slowly: craft sticks can split during cutting. If a stick breaks, replace it and try again. After each cut, return the piece to its place on the tape so the pieces stay in their original order. Continue until all nine sticks form the candy corn outline.


With the sticks still arranged, lightly sand the cut edges to remove splinters and tidy the shape. A sanding stick is easy to maneuver in the small spaces, but sandpaper works too. The maker recommends only enough sanding to smooth the cuts.

Keep the tape in place and turn the panel over so the back faces up. Hot-glue two additional craft sticks vertically across the horizontal pieces, positioning one near each side. These supports hold the nine shaped sticks together. Wait for the glue to cool and set, then carefully peel away the painter’s tape.

Paint and age the candy corn
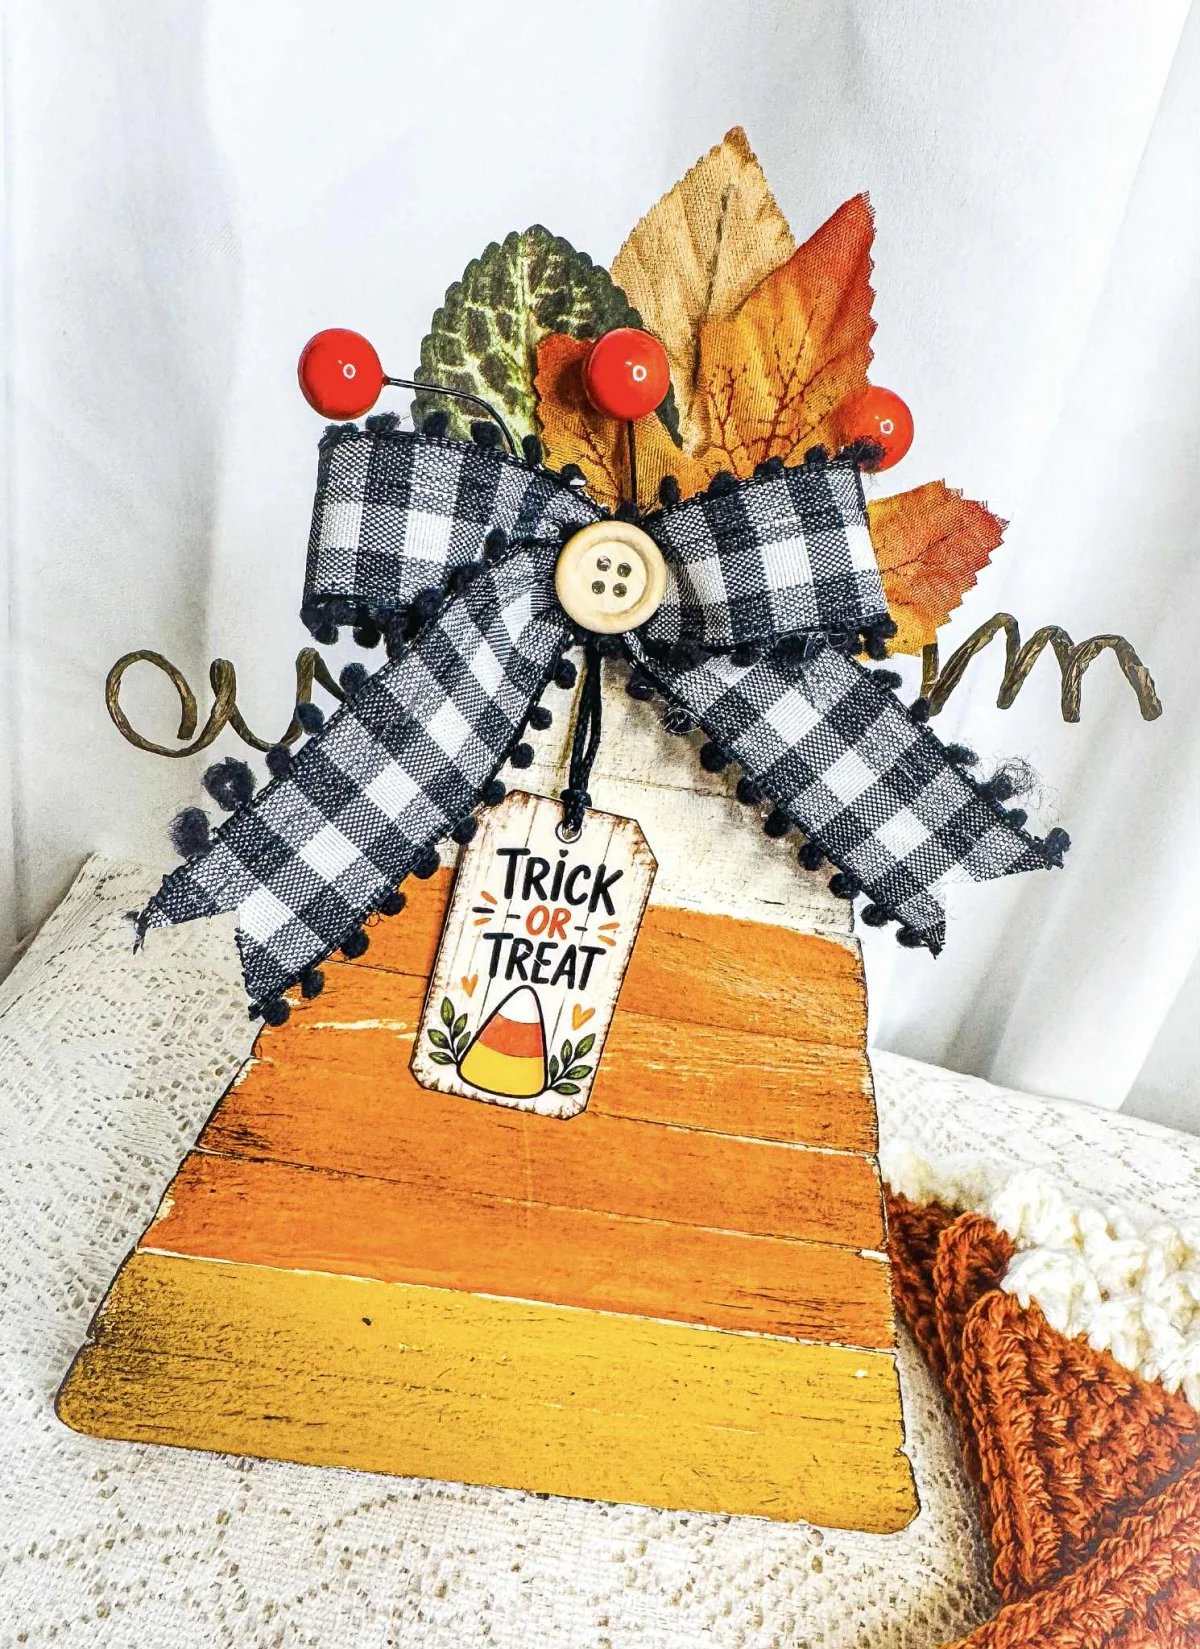
Brush off-white paint over the entire front and let it dry. Then divide the face into three color bands: paint the bottom two sticks mustard yellow, the middle four pumpkin orange, and leave the top three off-white. The maker chose softer shades for a primitive fall look; brighter orange and yellow are an option if you prefer a more traditional candy corn palette.


When the paint is dry, lightly sand the outer edges and a few spots across the front to create a worn finish. For more depth, mix a little burnt umber paint with water to make a wash, then brush it lightly over the surface. Adjust the amount to suit your preferred level of aging.


A coat of matte Mod Podge is optional. The maker applied it after distressing, finding that it brightened the colors and gave the front a more finished appearance. Skip it if you’d rather keep the painted wood as it is.
Finish the back and add a stand
For a cleaner back, trace the template onto black felt and cut just inside the pencil line so the felt piece is slightly smaller than the wooden shape. Hot-glue it over the back to conceal the support sticks and glue. This finish is optional.

To make the decoration stand upright, attach a tumbling tower block horizontally along the bottom edge of the back with hot glue. The small block acts as a base for a shelf or tiered tray display.

Decorate and display
For the maker’s embellishment, shape paper-covered floral wire into small curls. Arrange the curls at the top with fall leaves and red berries, then secure them with hot glue. Make a bow from black-and-white buffalo plaid ribbon with pom-pom trim, add a decorative button at its center, and glue the bow over the greenery. A “Trick or Treat” tag provides the final detail; printable tags are available from My Eclectic Treasures’ Etsy shop. The tag and the rest of the trim are optional.

Set the finished piece on a shelf, tuck it into a tiered tray, or lean it against a small stack of books. It can also join a fall wreath or centerpiece. The maker suggests adding a hanger to the back if you’d rather display it on a wall, or making several in different sizes and grouping them together.


This candy corn is the third project in the maker’s fall craft stick series. The first two projects were a scarecrow and a freestanding, two-sided pumpkin, also made with sticks from the same $1.25 package.


The maker has one more project planned for the craft stick challenge. For this candy corn, the printable template takes the guesswork out of shaping the front; careful cutting, light sanding and flexible finishing choices make it easy to adapt the decoration to your own fall display.