Sample No. 0270
Craft Stick Turkey with Free Printable Watercolor Feathers
Turn one package of jumbo craft sticks into a freestanding fall turkey with a printable watercolor tail. The feathers are free, and the build takes an afternoon.
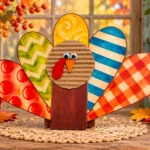
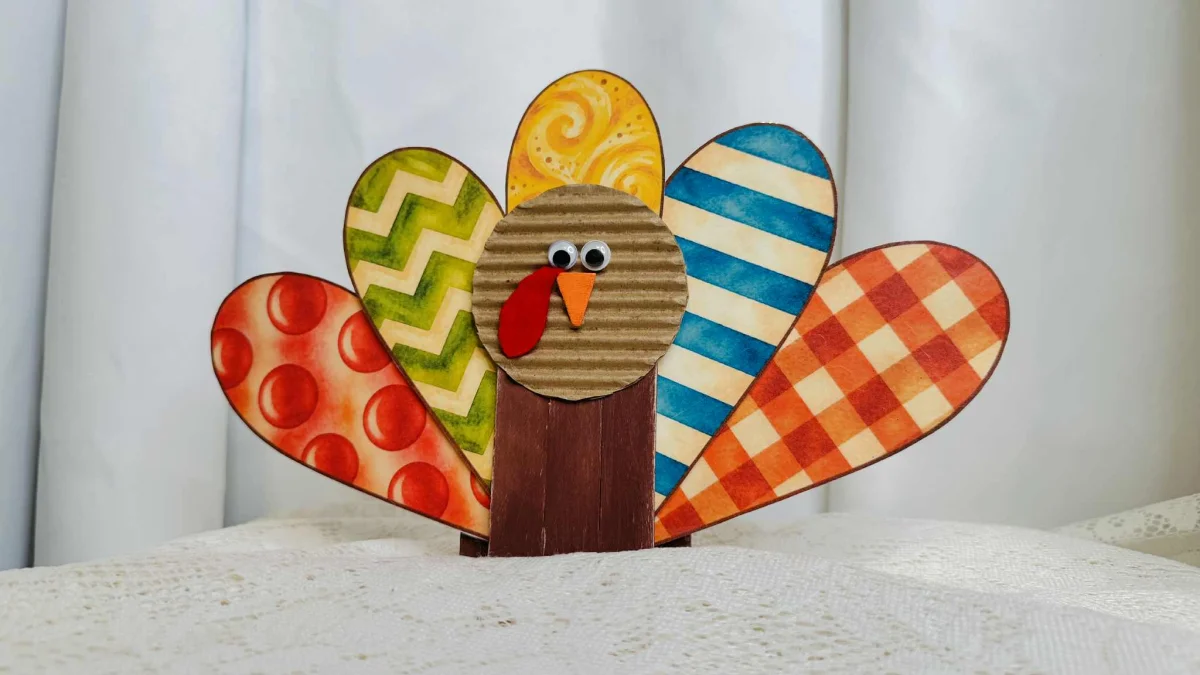
Here's the thing about jumbo craft sticks: one inexpensive package can go a long way. This turkey is the last of four fall decorations made from a single $1.25 package of Dollar Tree jumbo craft sticks, and it might be the most charming of the set. It has a rustic brown body, a cardboard head with googly eyes, and a fan of colorful watercolor feathers you can print at home. The printable is free, with no email signup required.

If you're new to craft sticks, this is a friendly project to start with. Most of the work is cutting, gluing and painting, and nothing needs advanced skills. Plan on an afternoon, and give the glue and paint time to dry between steps.
What You'll Need
You won't need much, and you may already have a lot of it in your craft stash. The materials list includes:
- 9 jumbo craft sticks
- 1 wooden tumbling tower block
- Free watercolor feathers printable
- White cardstock for printing the feathers
- Scissors and a pencil
- Wire cutters
- Brown and orange craft paint
- Red felt fabric
- Sanding file
- 2 googly eyes
- Hot glue gun and glue sticks (the author uses a Ryobi glue gun, but any hot glue gun you own will do)
- Corrugated cardboard
Hold on to your scrap craft stick pieces. You'll use a couple for the body's crossbar and another for the beak, so don't toss them when you trim the sticks.
Printing the Watercolor Feathers
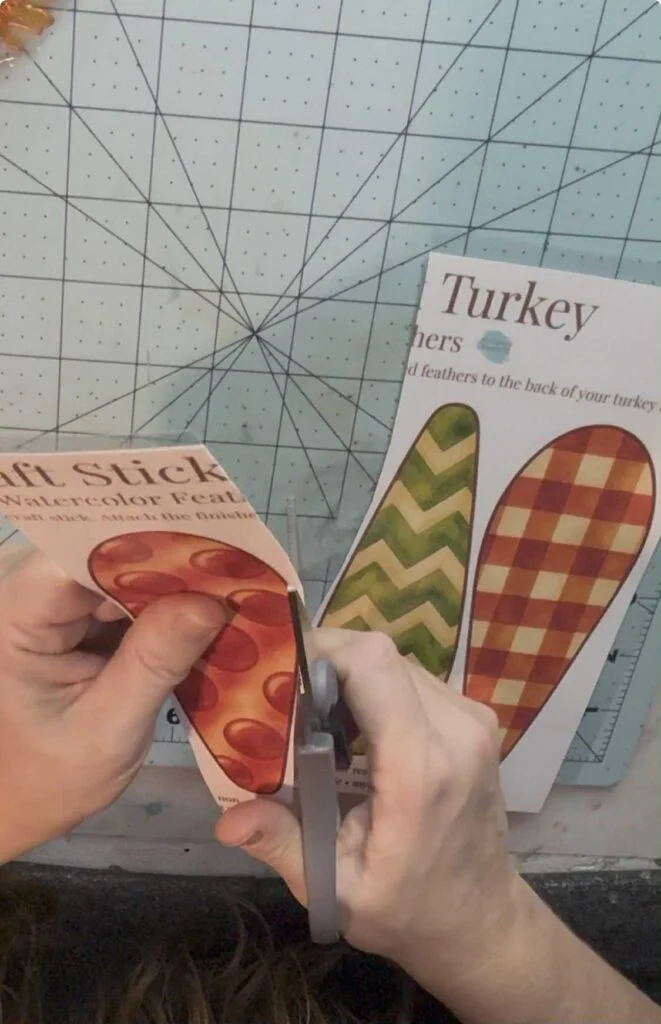
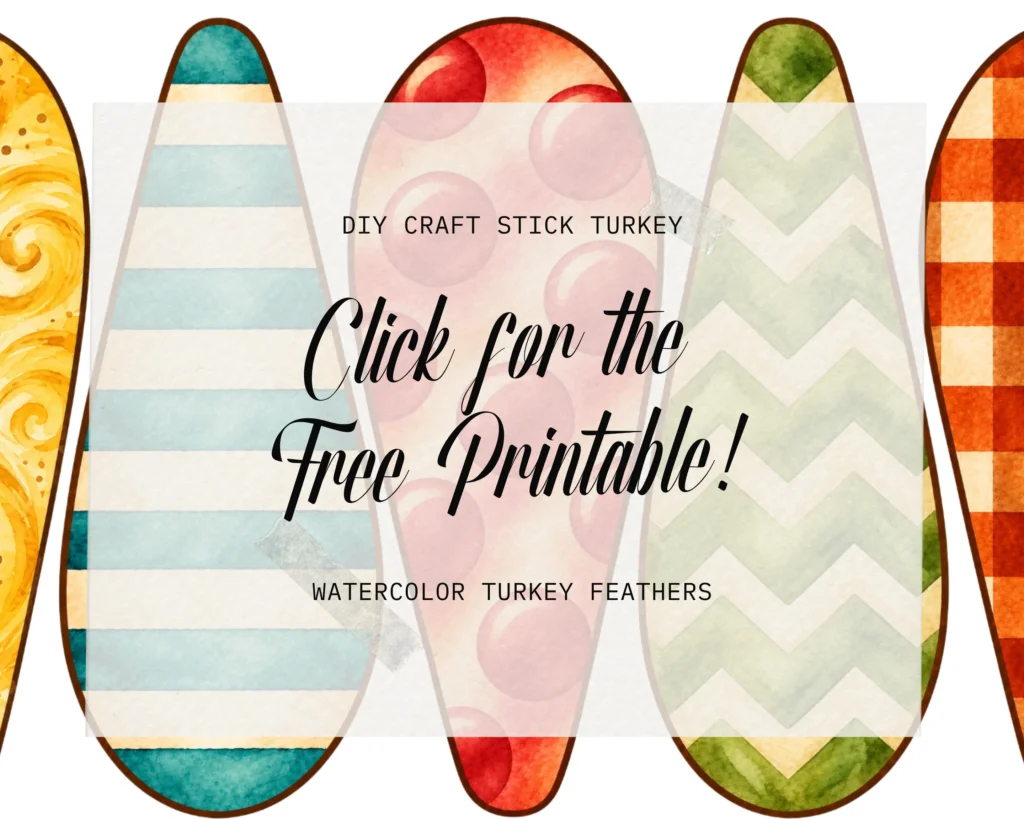
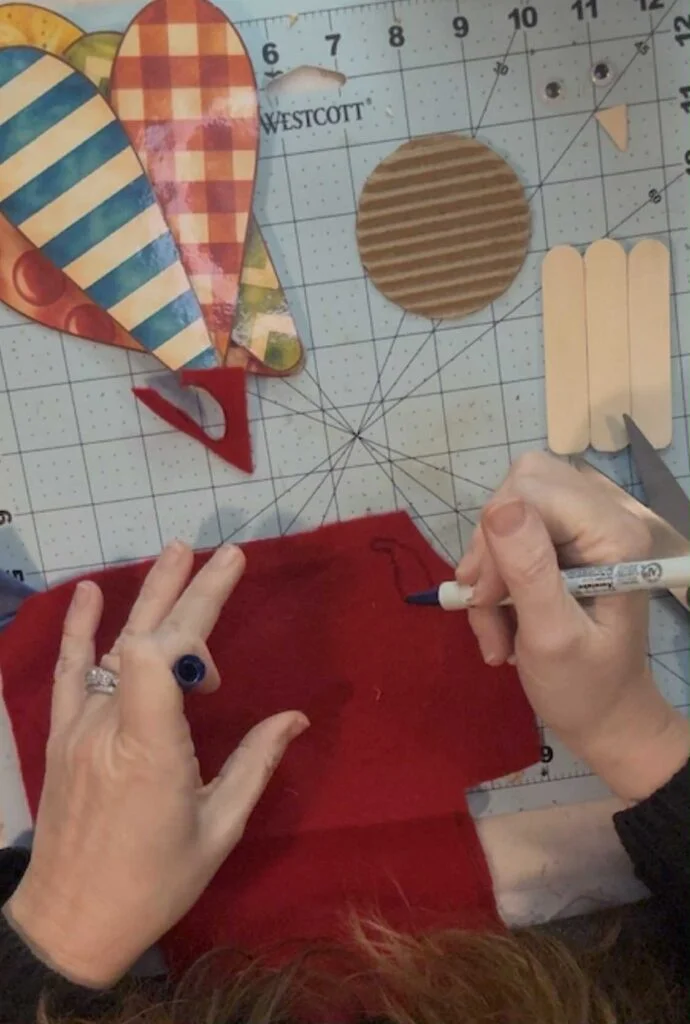
The printable includes five feather designs: polka dots, chevron, swirls, stripes and an orange plaid. Those patterns look great together, and they give the tail its cheerful, cozy-fall feel.
Print them on white cardstock rather than regular printer paper. Cardstock holds its shape better, so the feathers stand up more confidently against the body. If you have a laminator, running the cut feathers through it will help them last longer. Once they're printed, cut out all five.
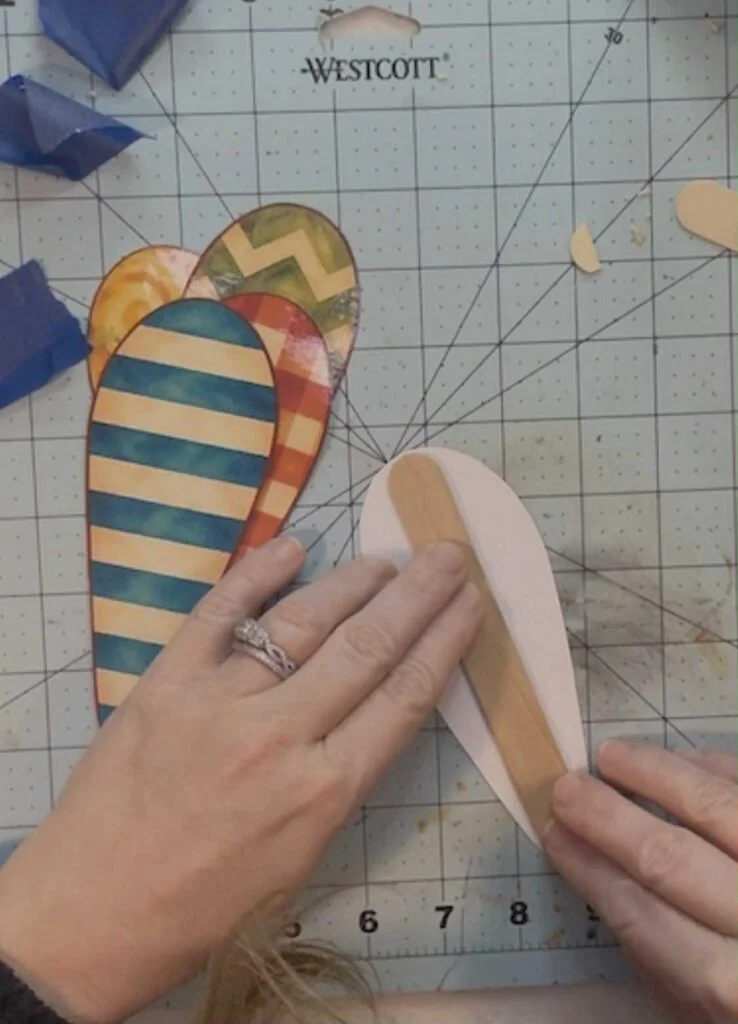
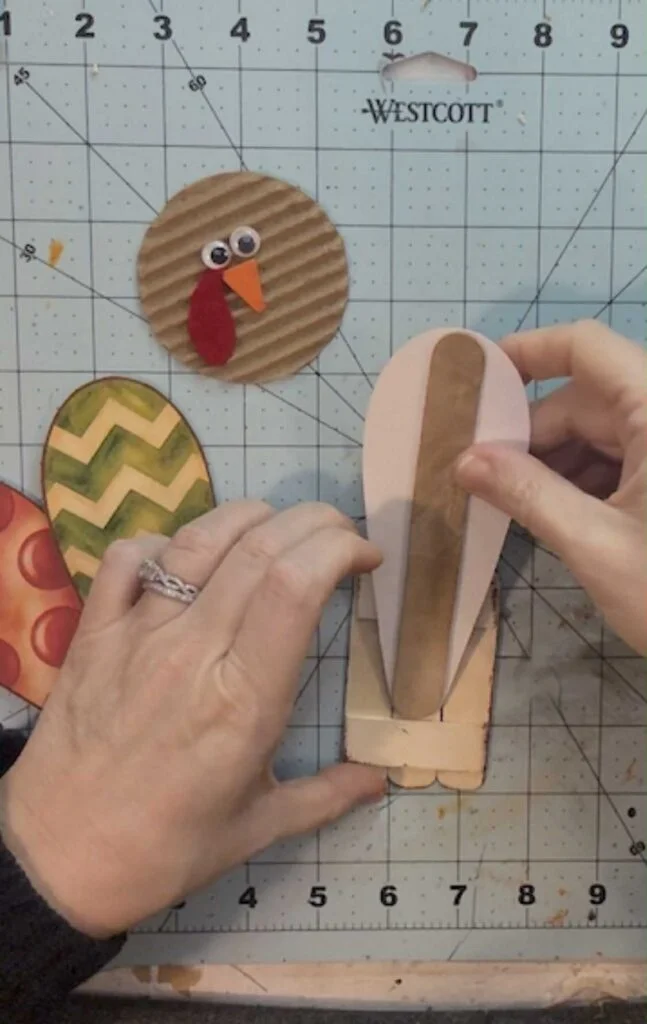
Then flip each feather over and hot glue a jumbo craft stick to the back. Position the stick so it supports the feather without showing from the front. These sticks give you something sturdy to attach to the body later.
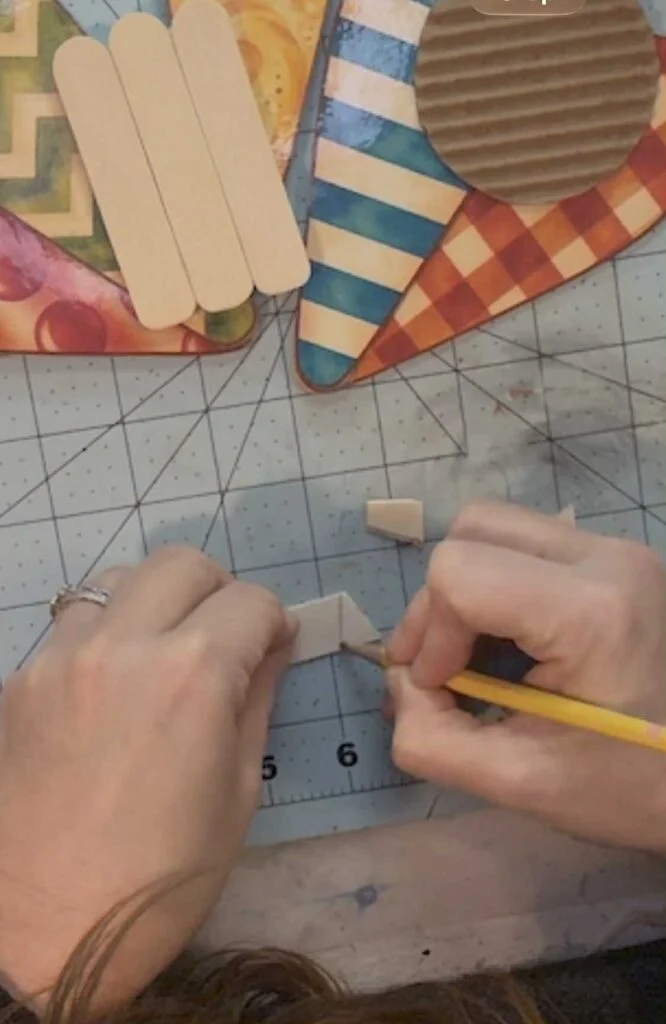
Building the Body
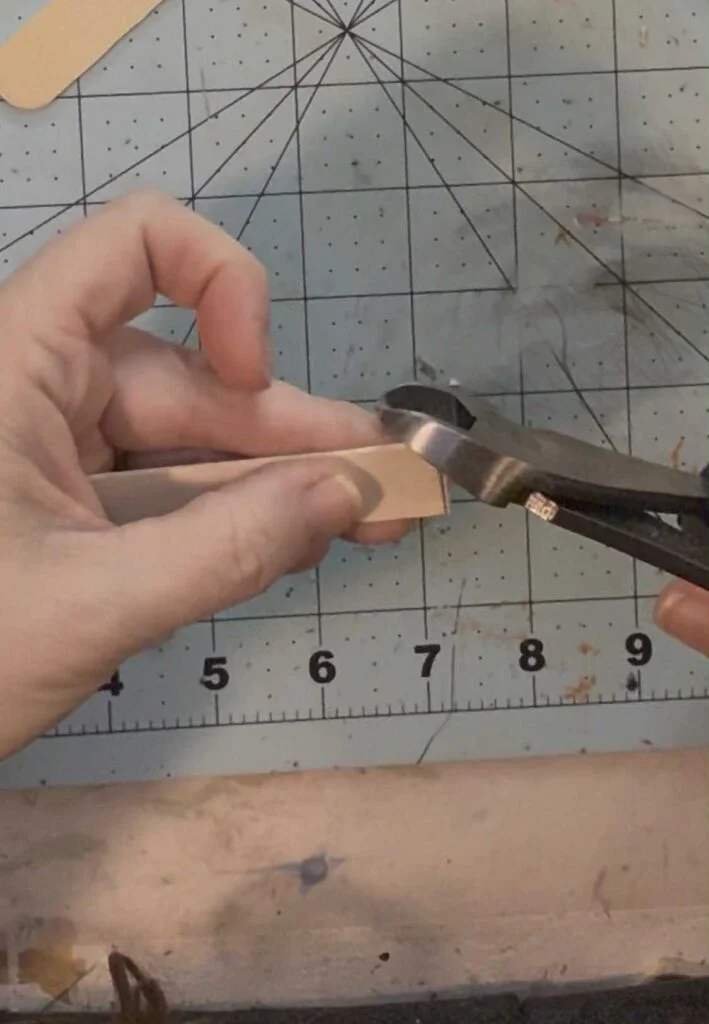
Start with three jumbo craft sticks. Using wire cutters, cut each one to about 3¼ inches long.
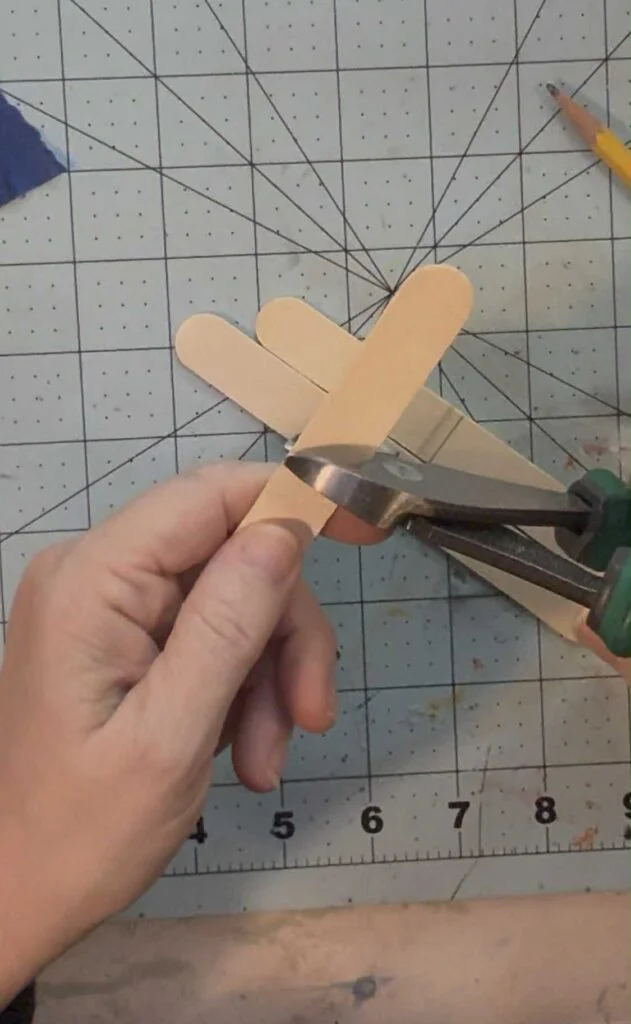
Trim the corners off one end of each stick and round them off slightly. Leave the opposite ends flat. The flat ends will be the bottom of the body, and the flat bottom is what lets him sit upright later.
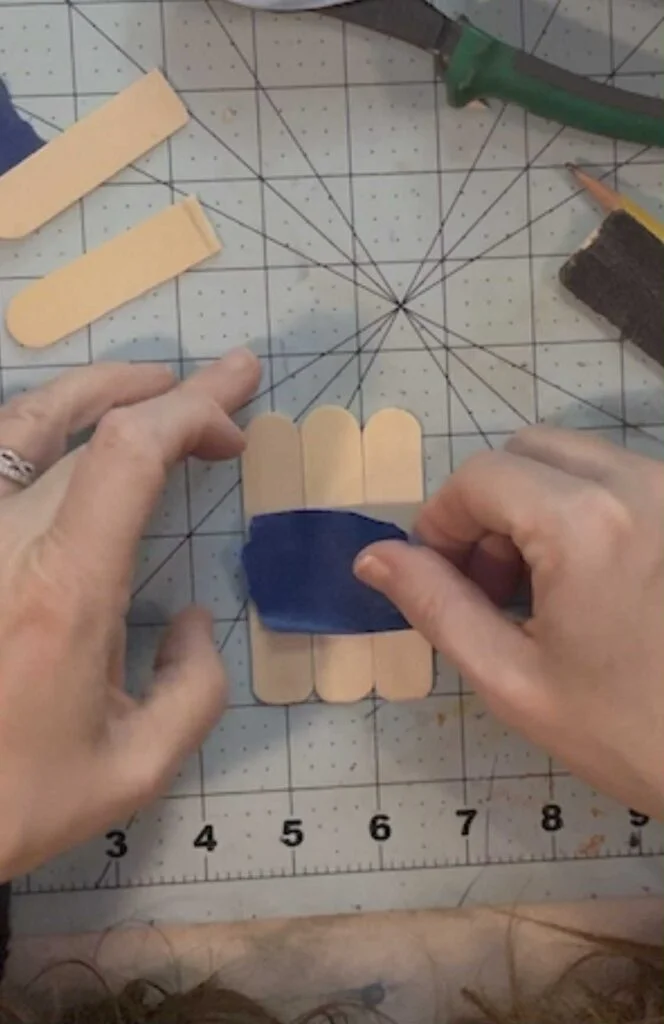
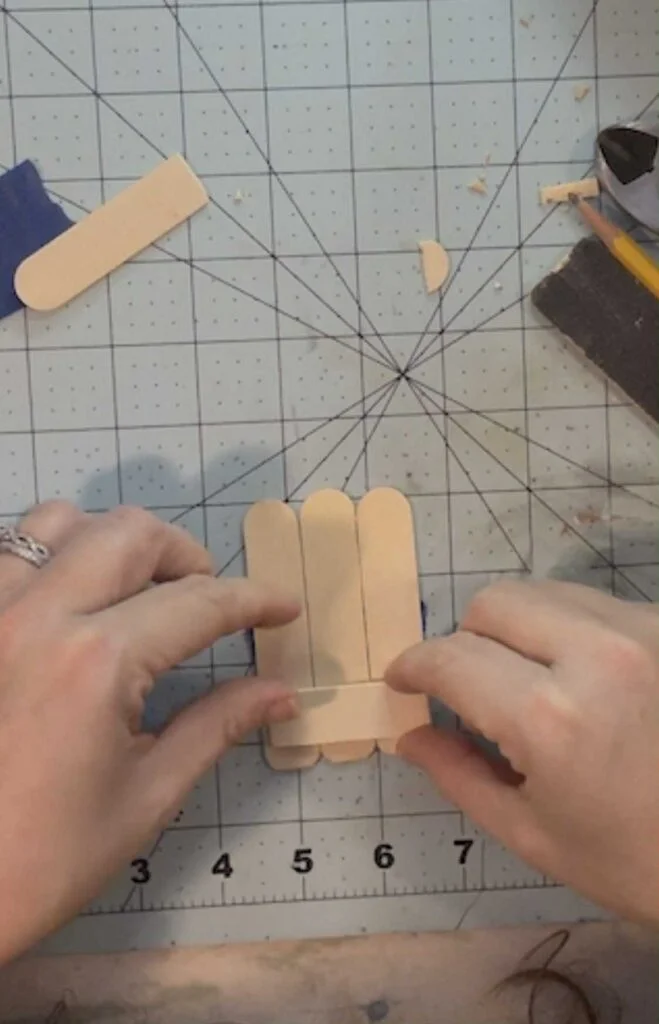
Line the three pieces up side by side and secure them with a little tape. Flip the assembly over, then hot glue two of your leftover scraps horizontally across the back to hold everything together. Let the glue cool before you pull off the tape. Once it's set, you have the turkey's body.
Painting and Distressing the Body
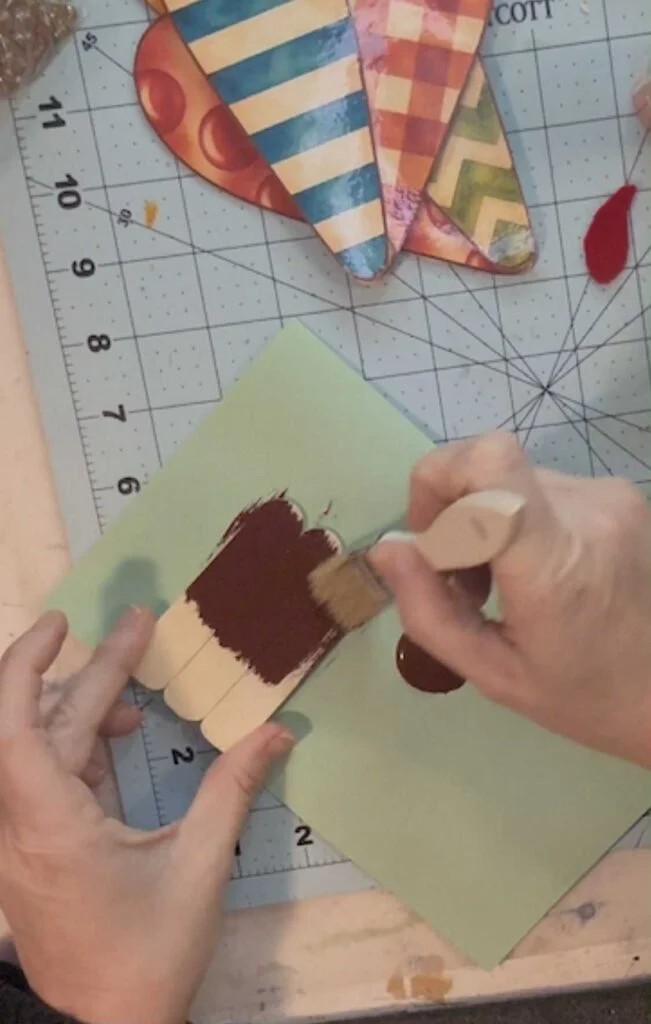
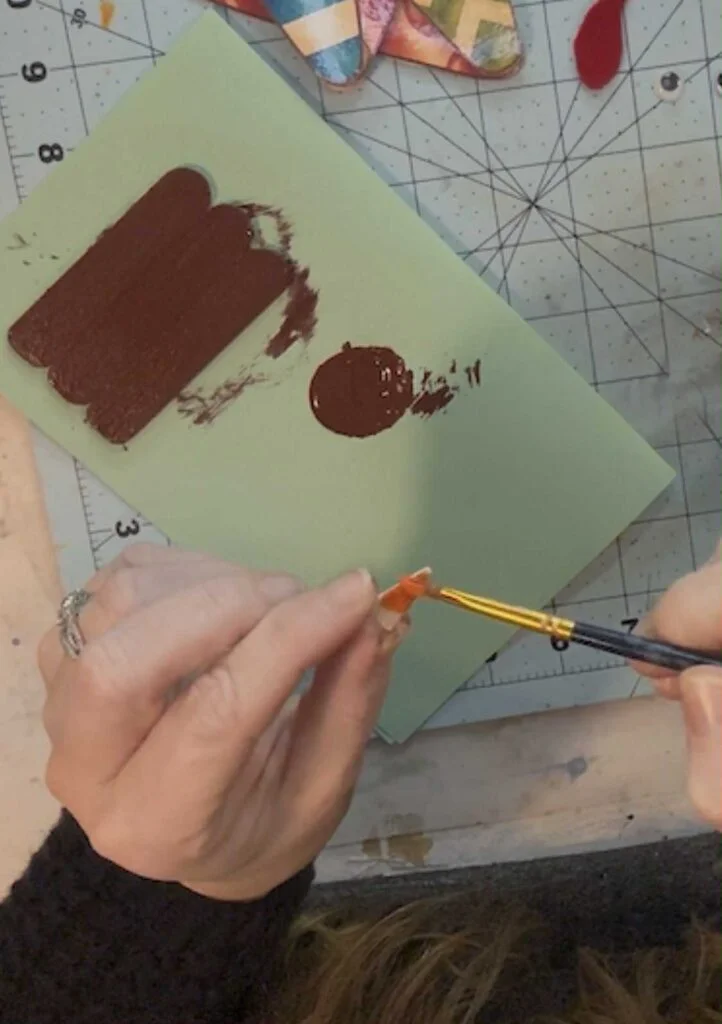
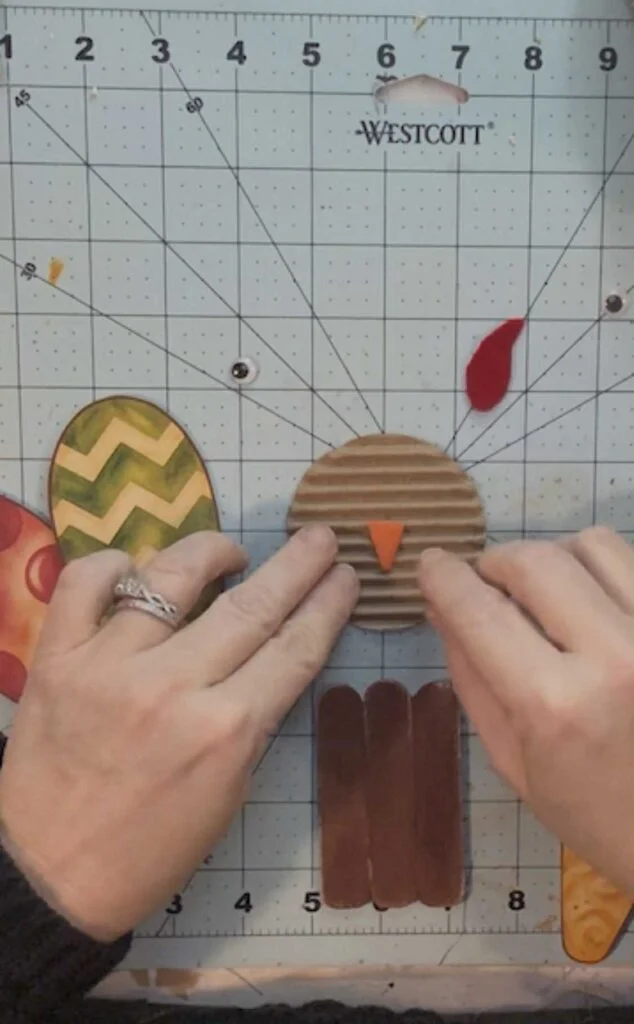
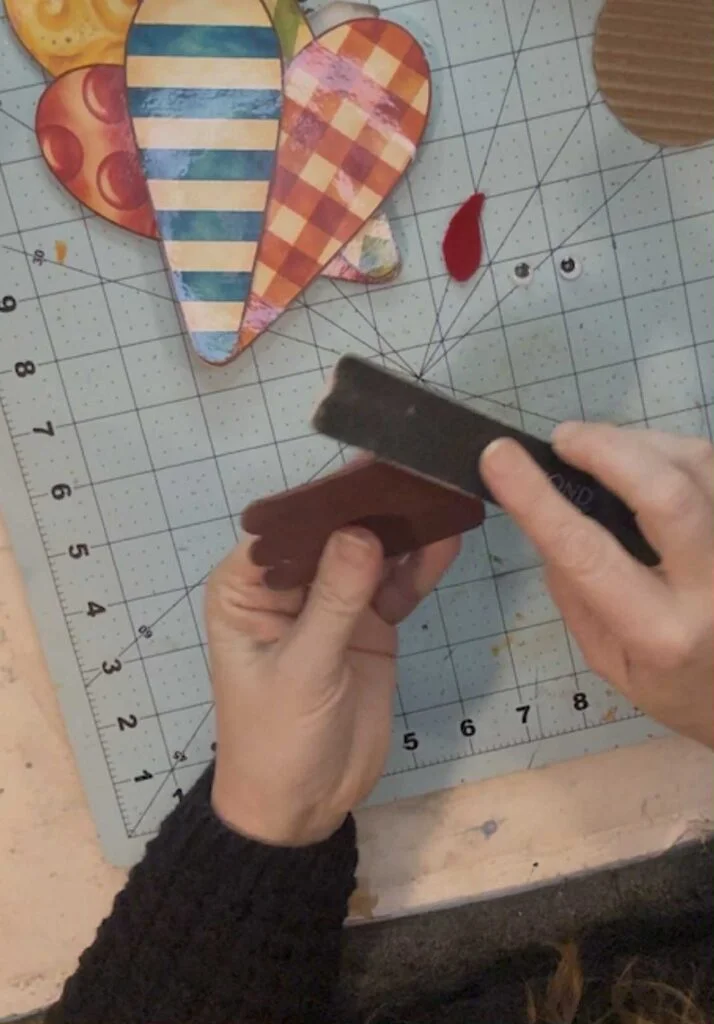
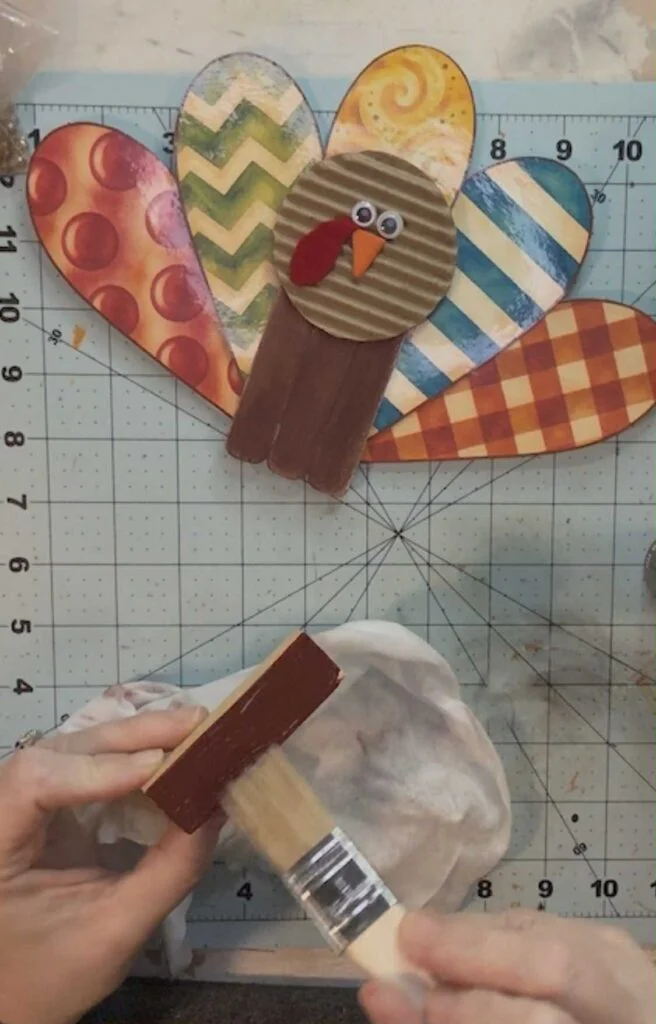
Paint the assembled body brown and let it dry fully. Then lightly sand the surface and edges with your sanding file. The goal is a weathered, rustic look, so you're not trying to strip the paint. Sand just enough to let a little natural wood show through. If you sand too hard, you can always add a touch more paint and try again.
Making the Head
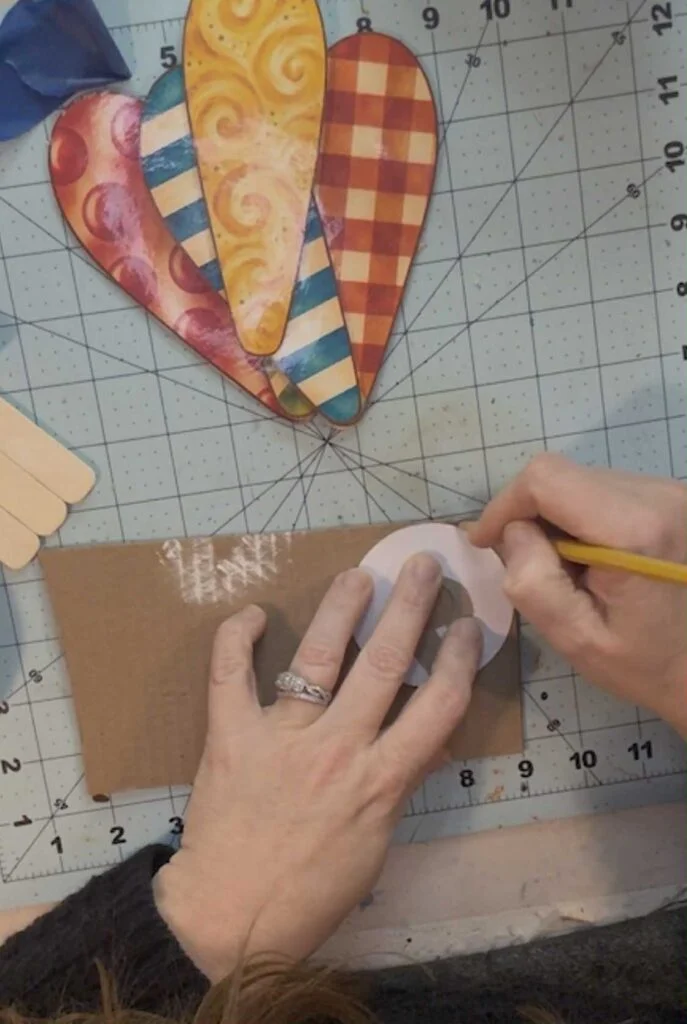
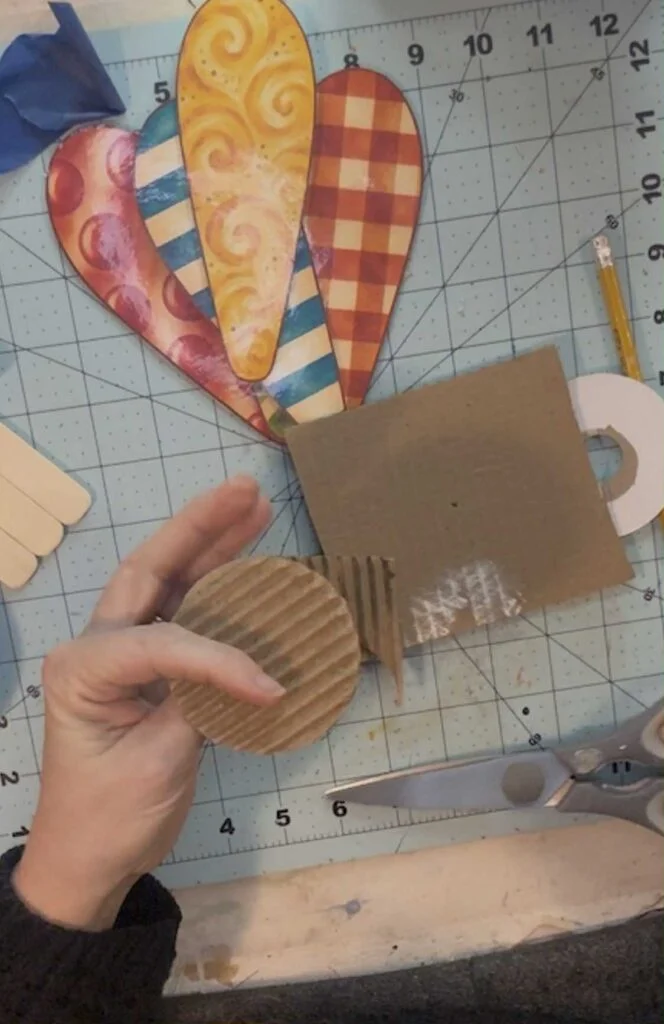
The head is a circle of corrugated cardboard. Its texture pairs nicely with the wood body. Trace a circle onto the cardboard with your pencil, then cut it out.
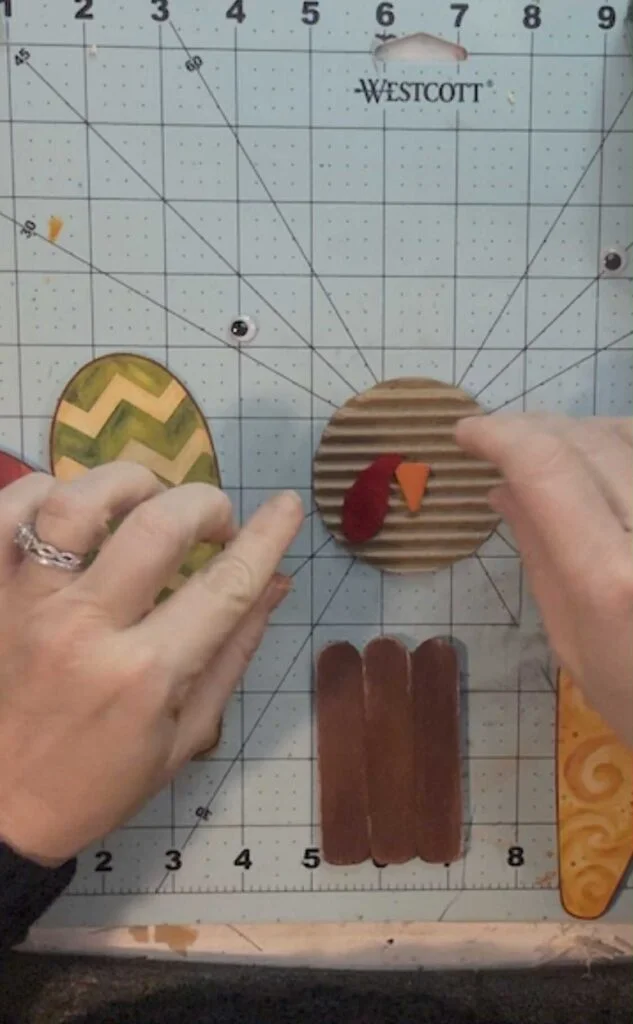
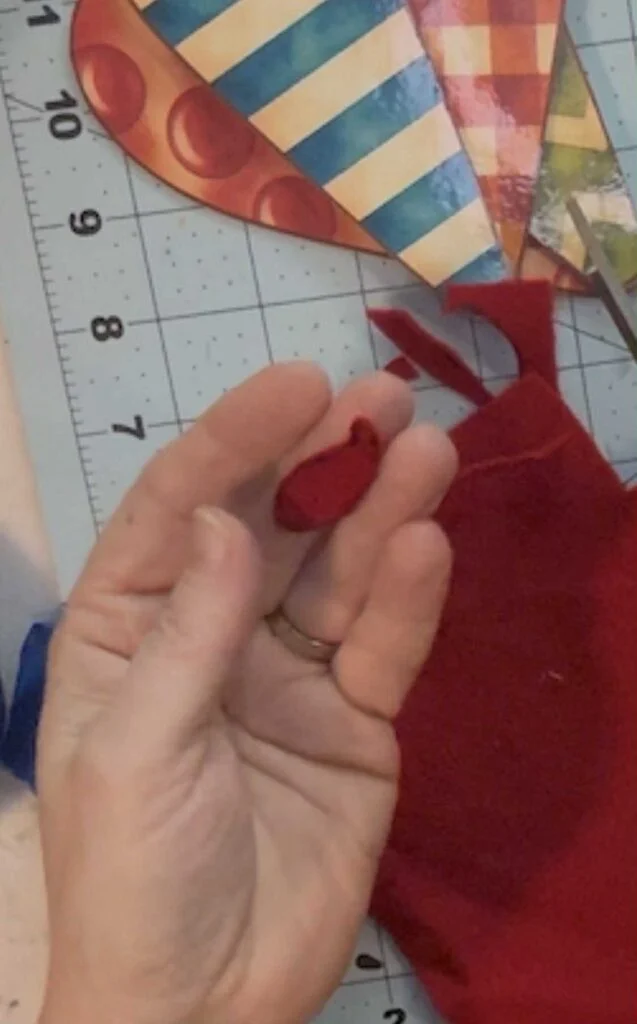
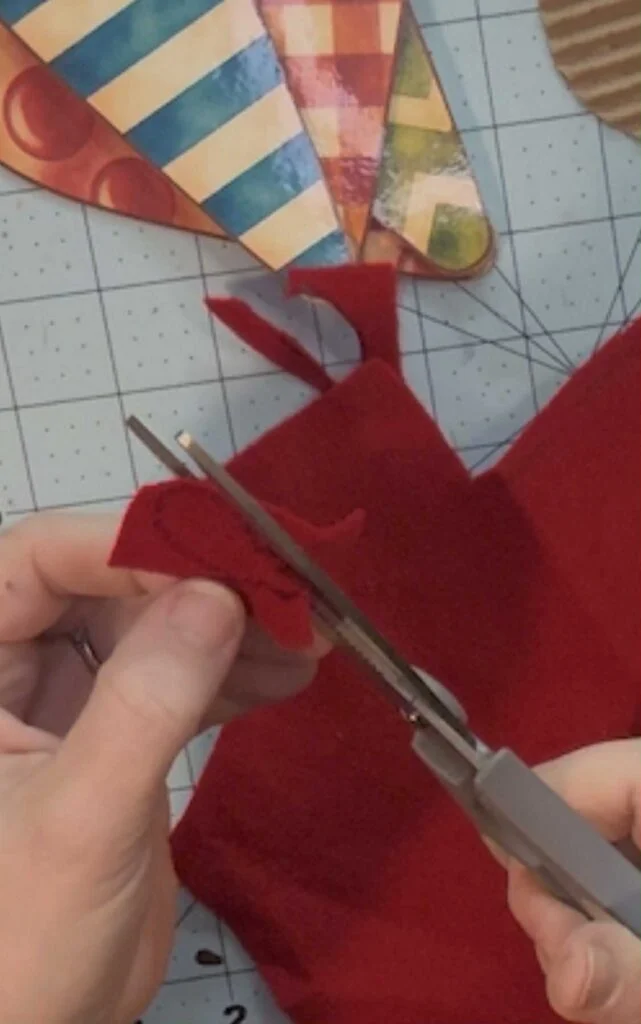
For the beak, cut a small triangle from one of your leftover craft stick scraps. Paint it orange and set it aside to dry. For the wattle, cut a small teardrop from red felt.
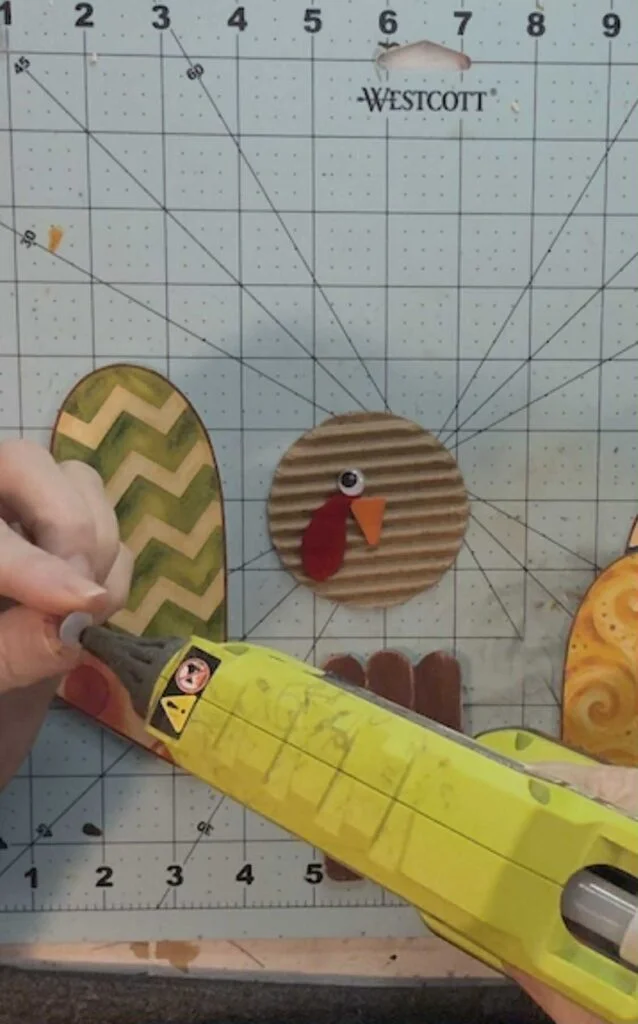
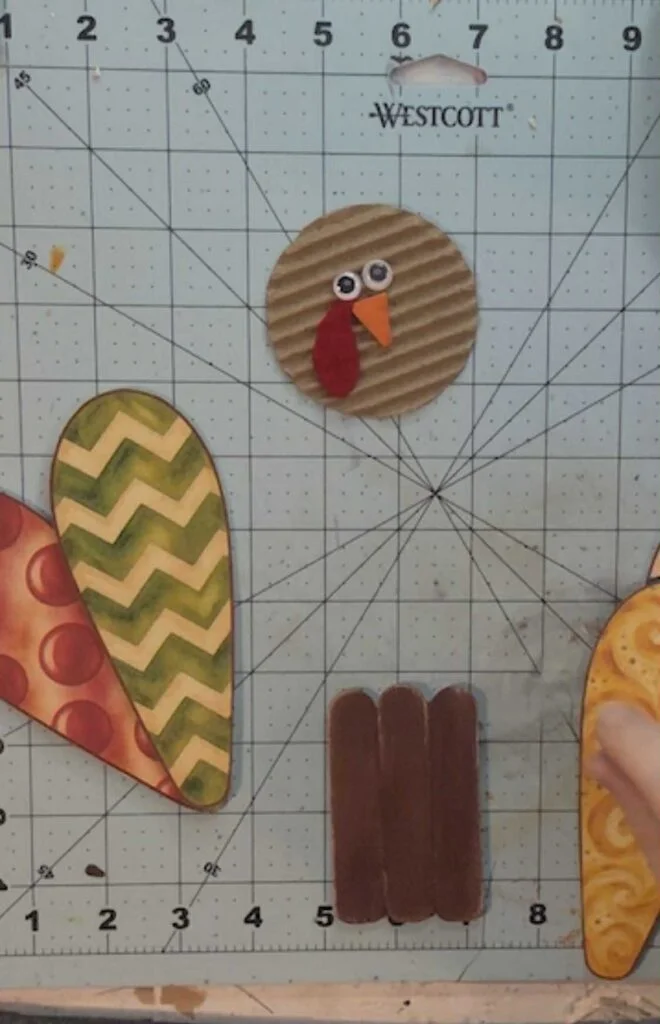
When the beak is dry, hot glue the two googly eyes, the orange beak and the red felt wattle onto the cardboard circle. Position the pieces first, then glue them down. The googly eyes do most of the personality work here, and the face is charming even if the placement is a little uneven.
Arranging and Attaching the Tail
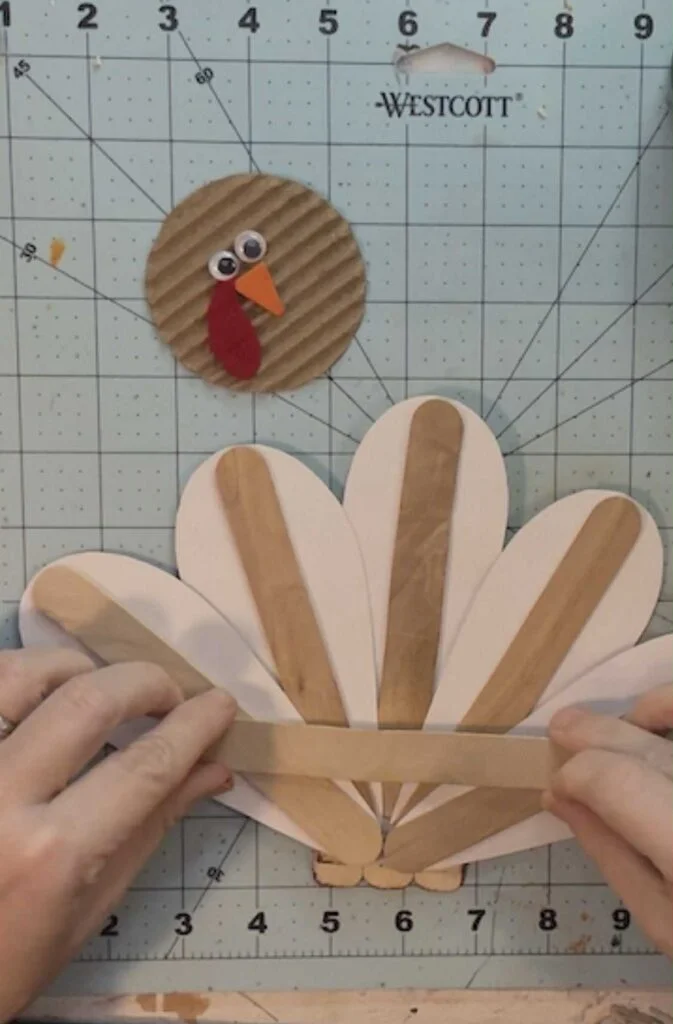
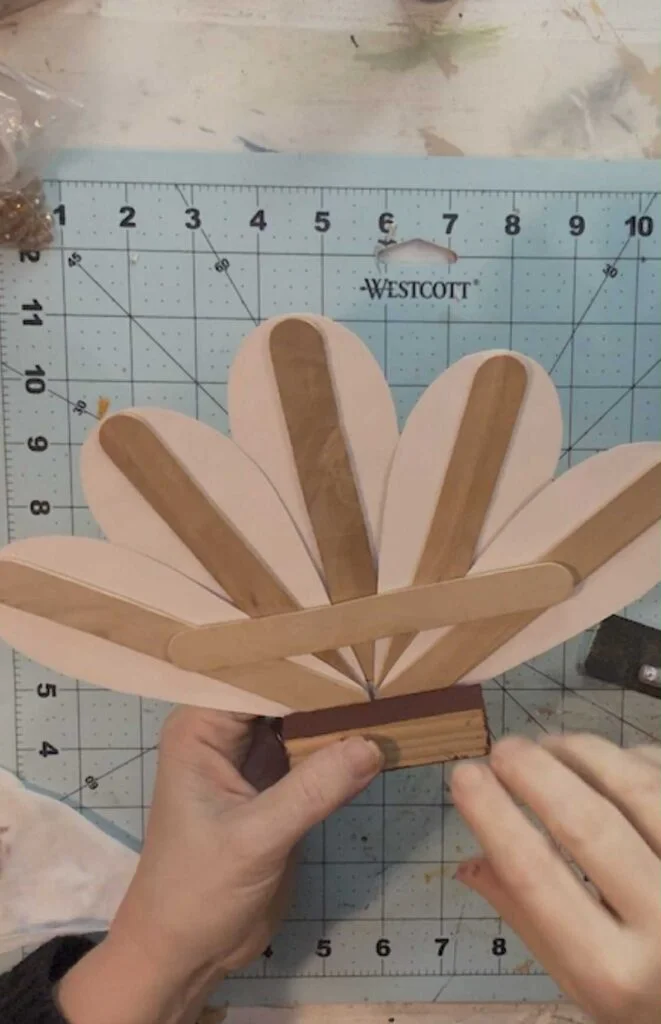
With all five feathers ready, start by fanning them out to see how you like the layout. The author placed one feather in the center, with two feathers on each side. Once you're happy with the arrangement, hot glue the feathers in each side together to make two sets. Leave the center feather on its own for now.
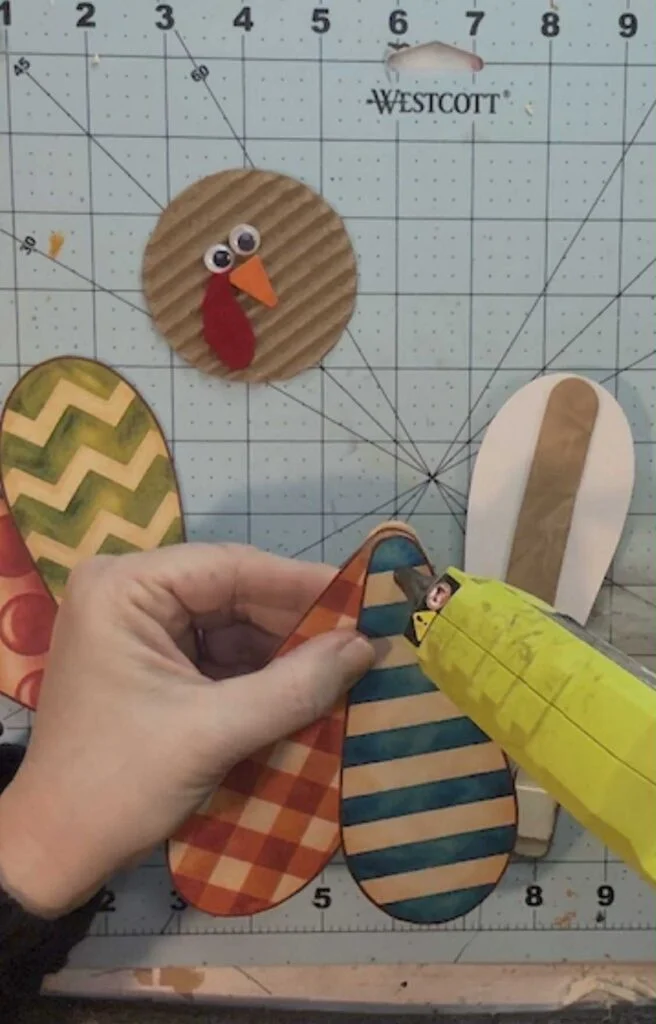
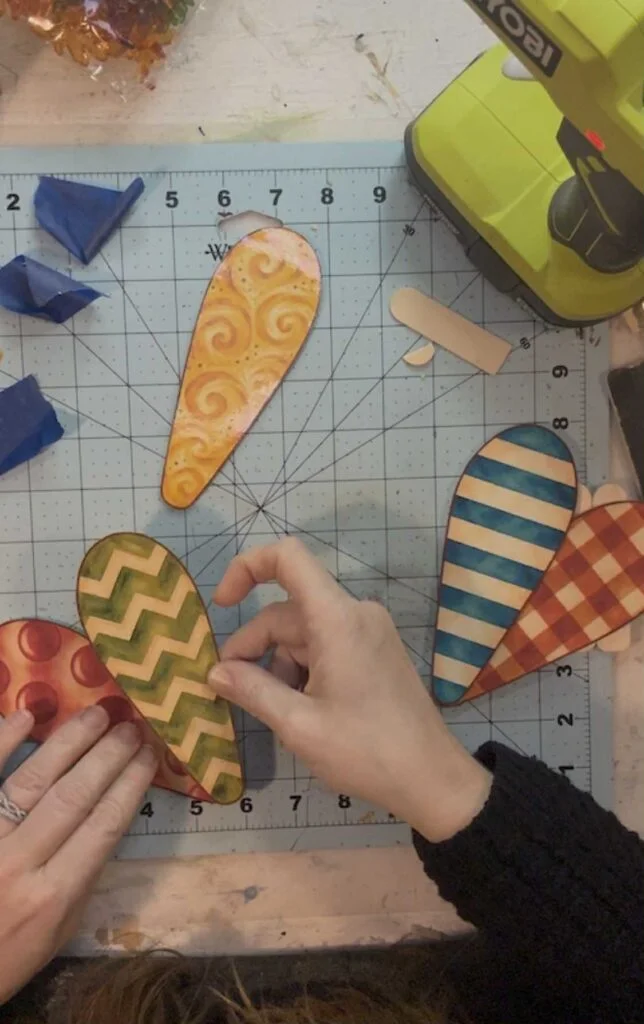
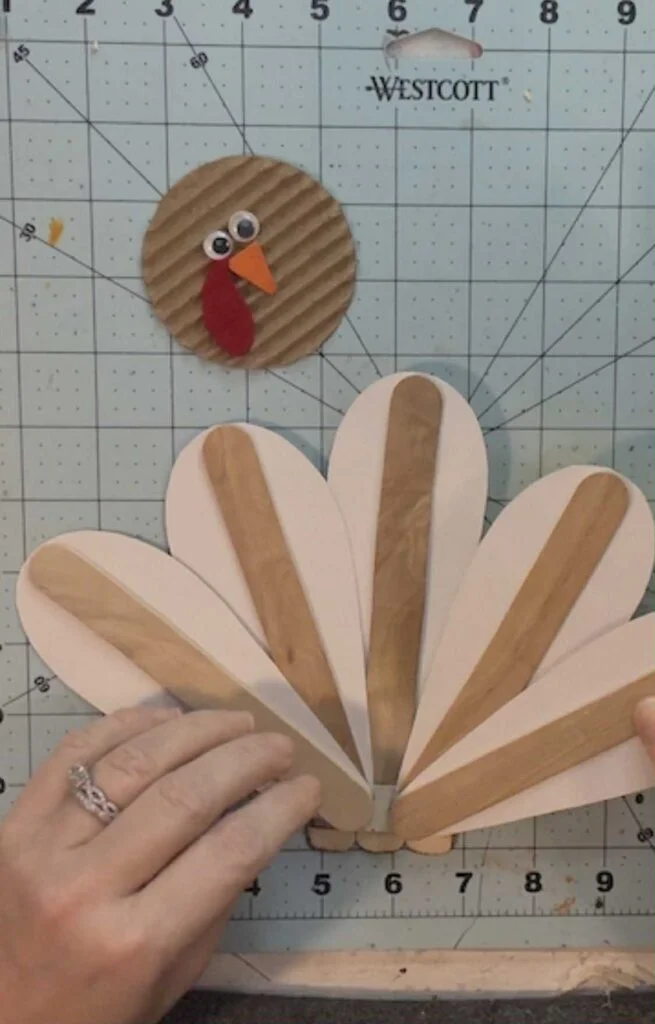
Turn the body over and hot glue the single center feather to the middle of the back. Next, attach the two feather sets on either side, spreading them into a fan. Adjust as you go. Check from the front that the feathers look evenly spaced and balanced, since that's the view people will see most.
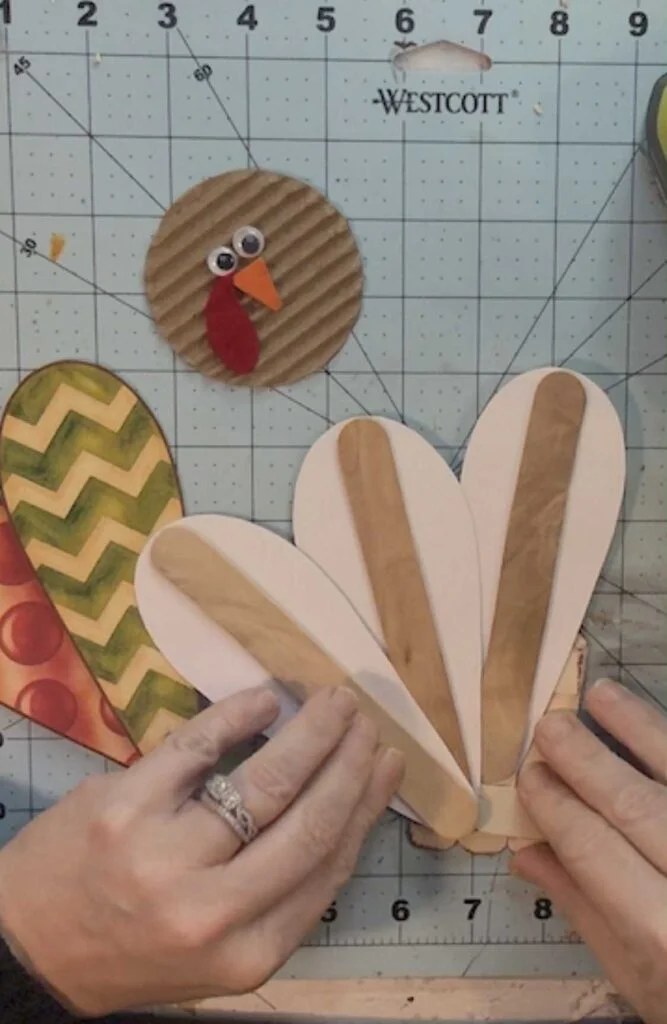
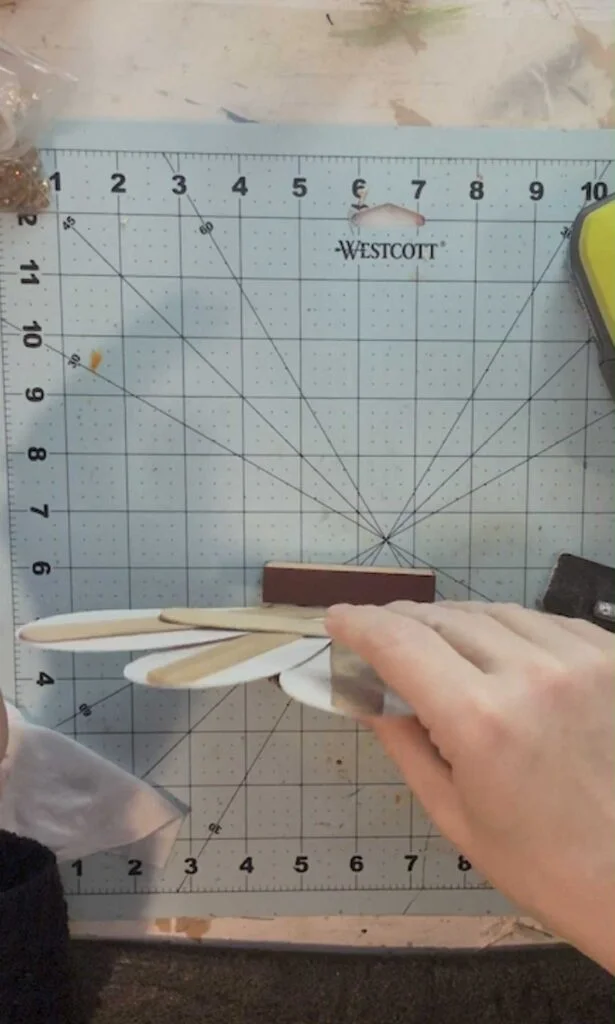
When the fan looks right, add one more craft stick horizontally across the back as a stabilizer. It locks the feathers together and gives the tail some extra support. Let it cool before you handle the piece.
Attaching the Head and Adding a Stand
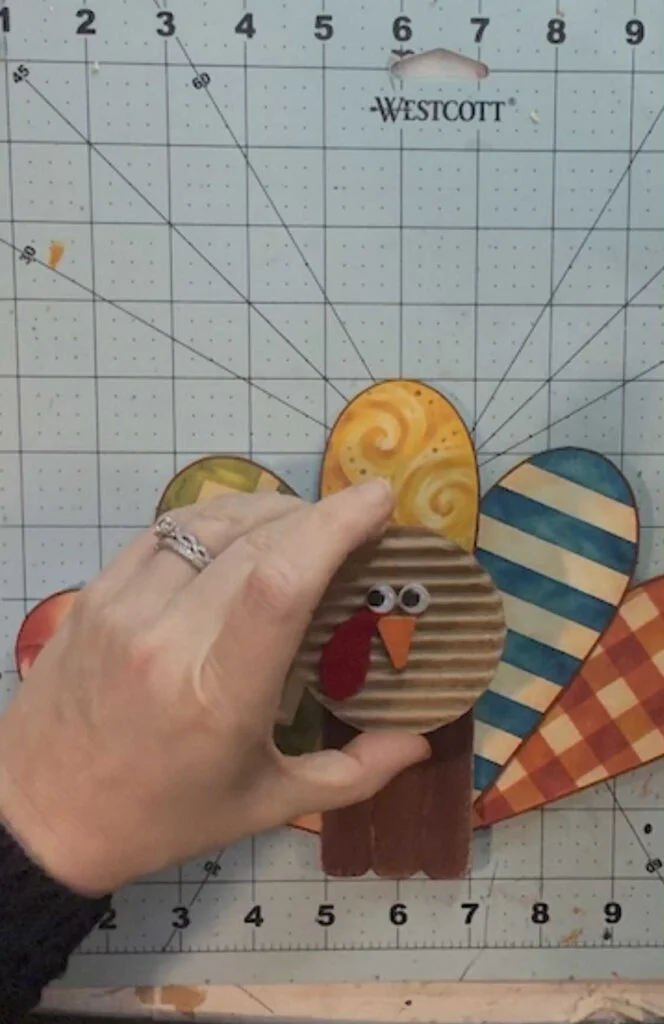
Hot glue the cardboard head to the upper part of the craft stick body. Position it so it covers the top of the body but leaves the feathers fully visible behind it.
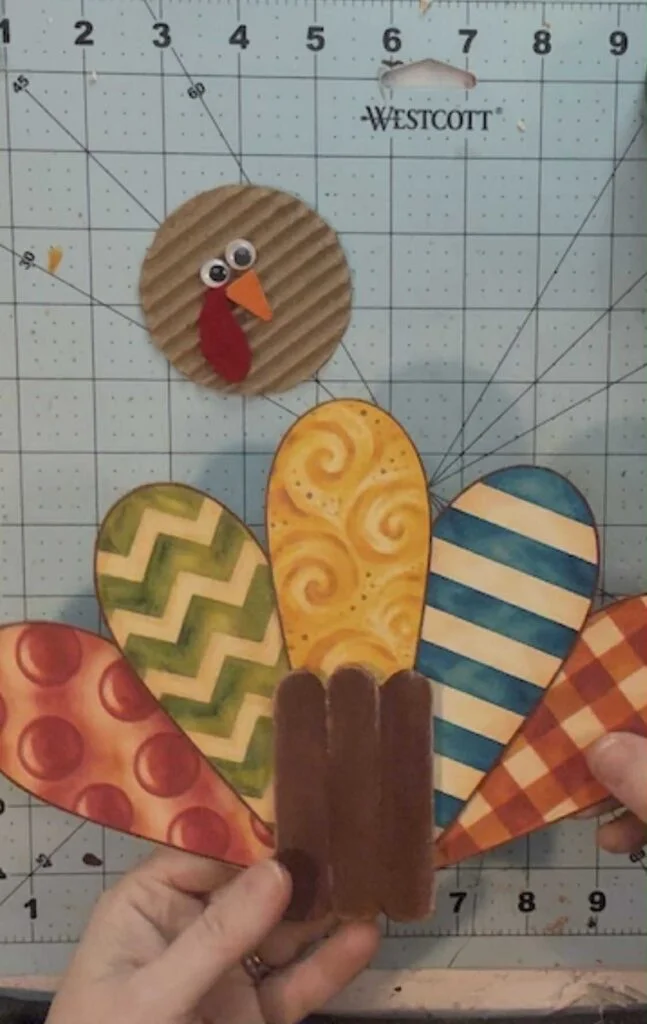
The author wanted a turkey that stands on a shelf or tabletop without leaning on anything. For that, grab the wooden tumbling tower block, paint it brown to match the body, and hot glue it to the lower back of the turkey. The block acts as a stand and adds stability. Once the glue has cooled, set him upright and he should hold his position.
Where This Turkey Works Best
Because he stands on his own, this turkey fits almost anywhere. He'd look right on a tiered tray, a bookshelf or a mantel, or as part of a Thanksgiving centerpiece. The bright feathers contrast well with the rustic brown body and the cardboard head.
Four Fall Decorations from One Package
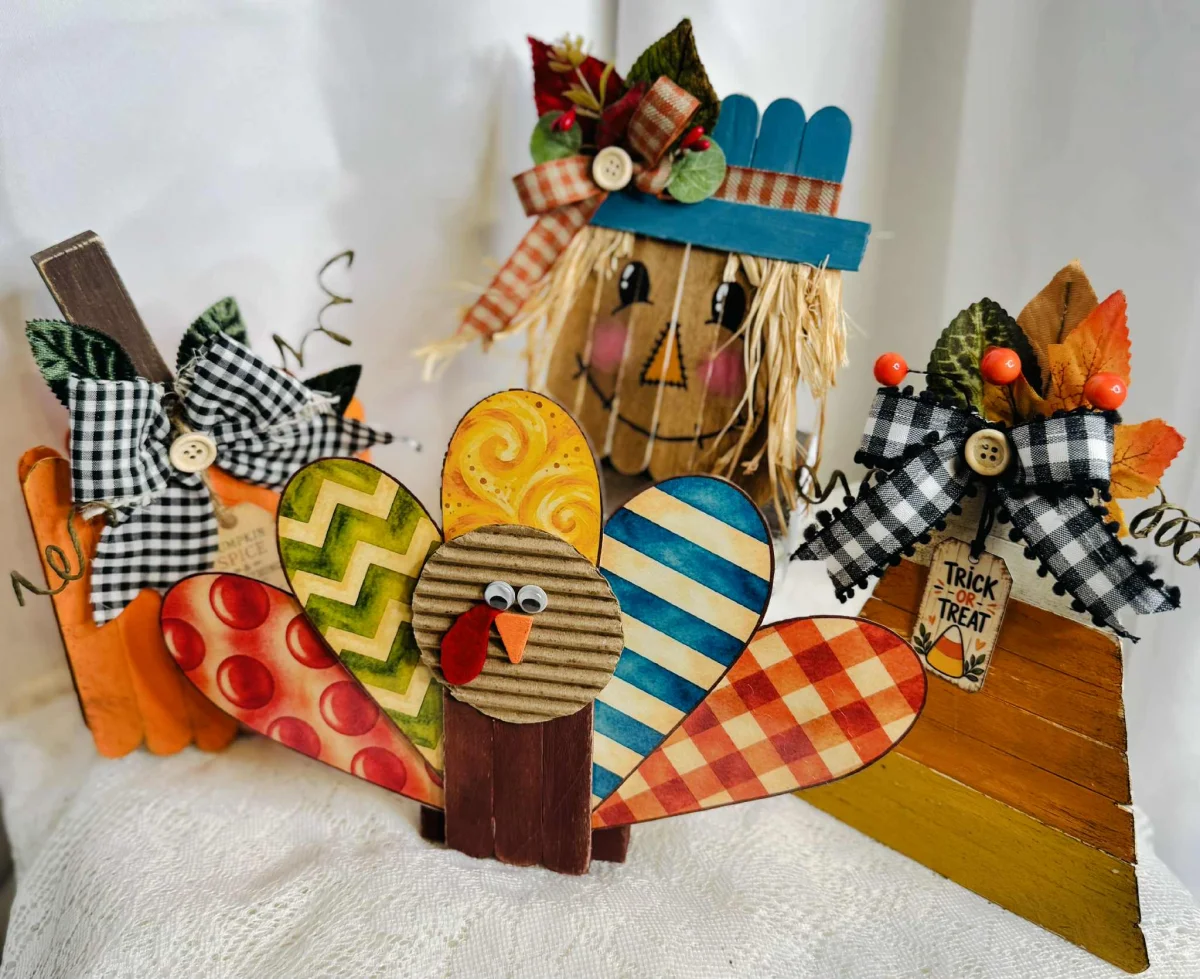
The real payoff of this series is how much one package of craft sticks produced. The scarecrow, pumpkin, candy corn and turkey all came from the same $1.25 Dollar Tree package, with a few other supplies pulled from the craft stash along the way. If you want more ideas in this style, the earlier projects in the series are worth a look:
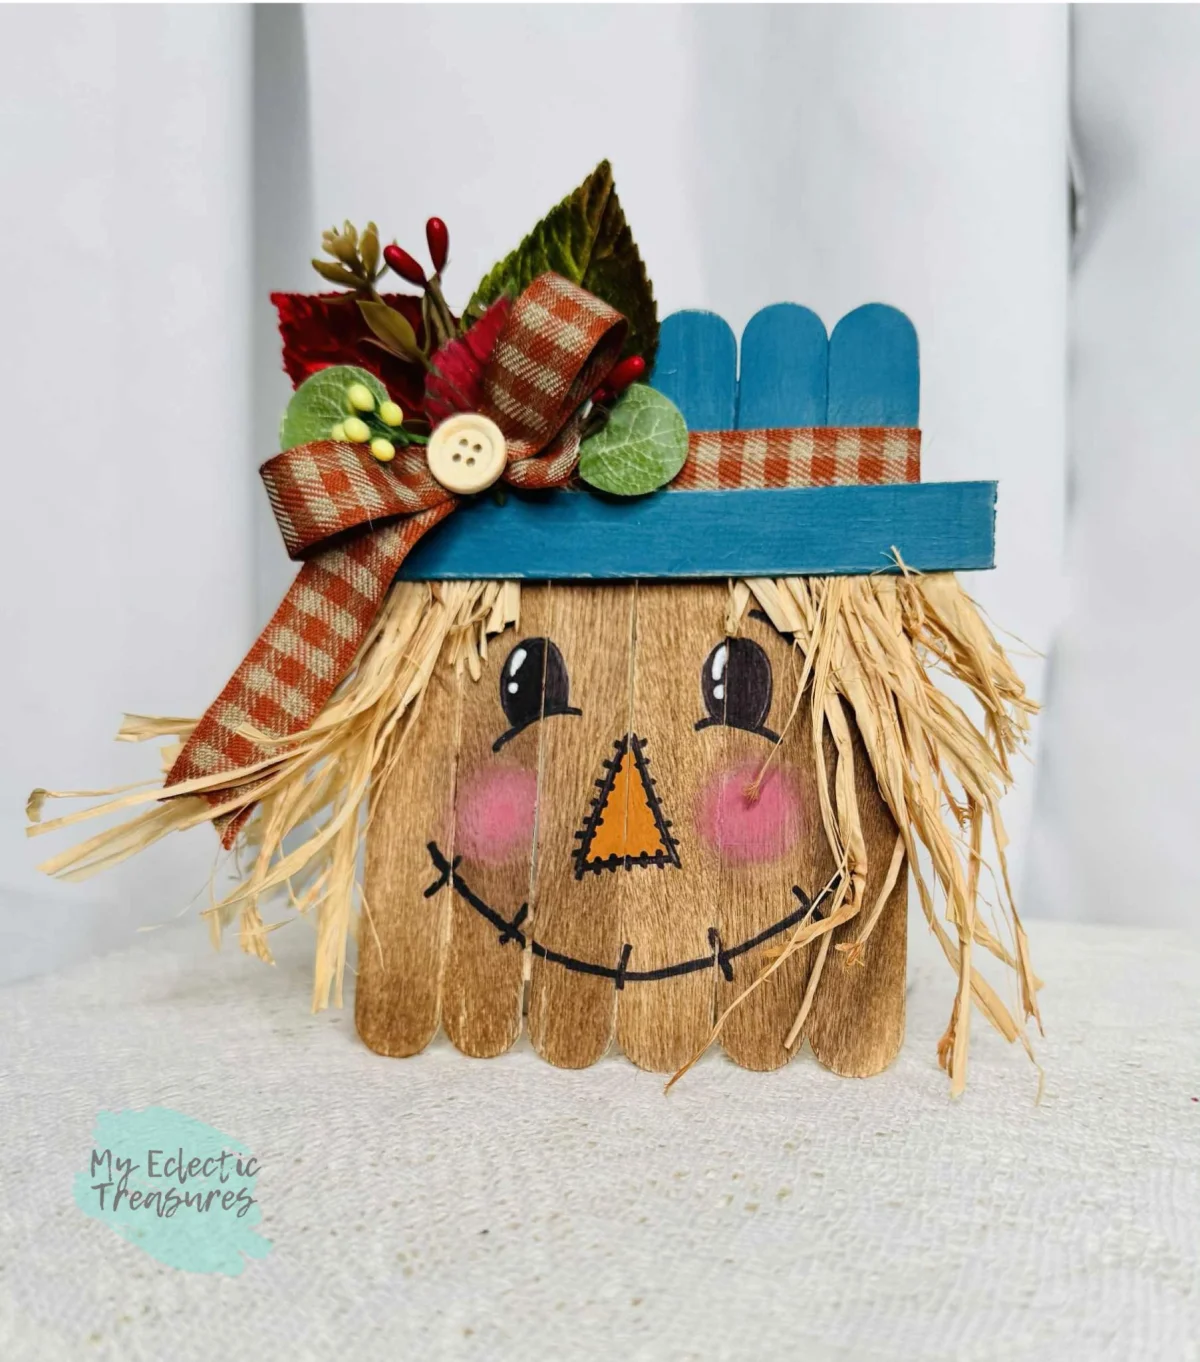
DIY Craft Stick Scarecrow
The scarecrow is the first project in the series. He has raffia hair, a painted face and festive fall embellishments.
[READ THE CRAFT STICK SCARECROW TUTORIAL]
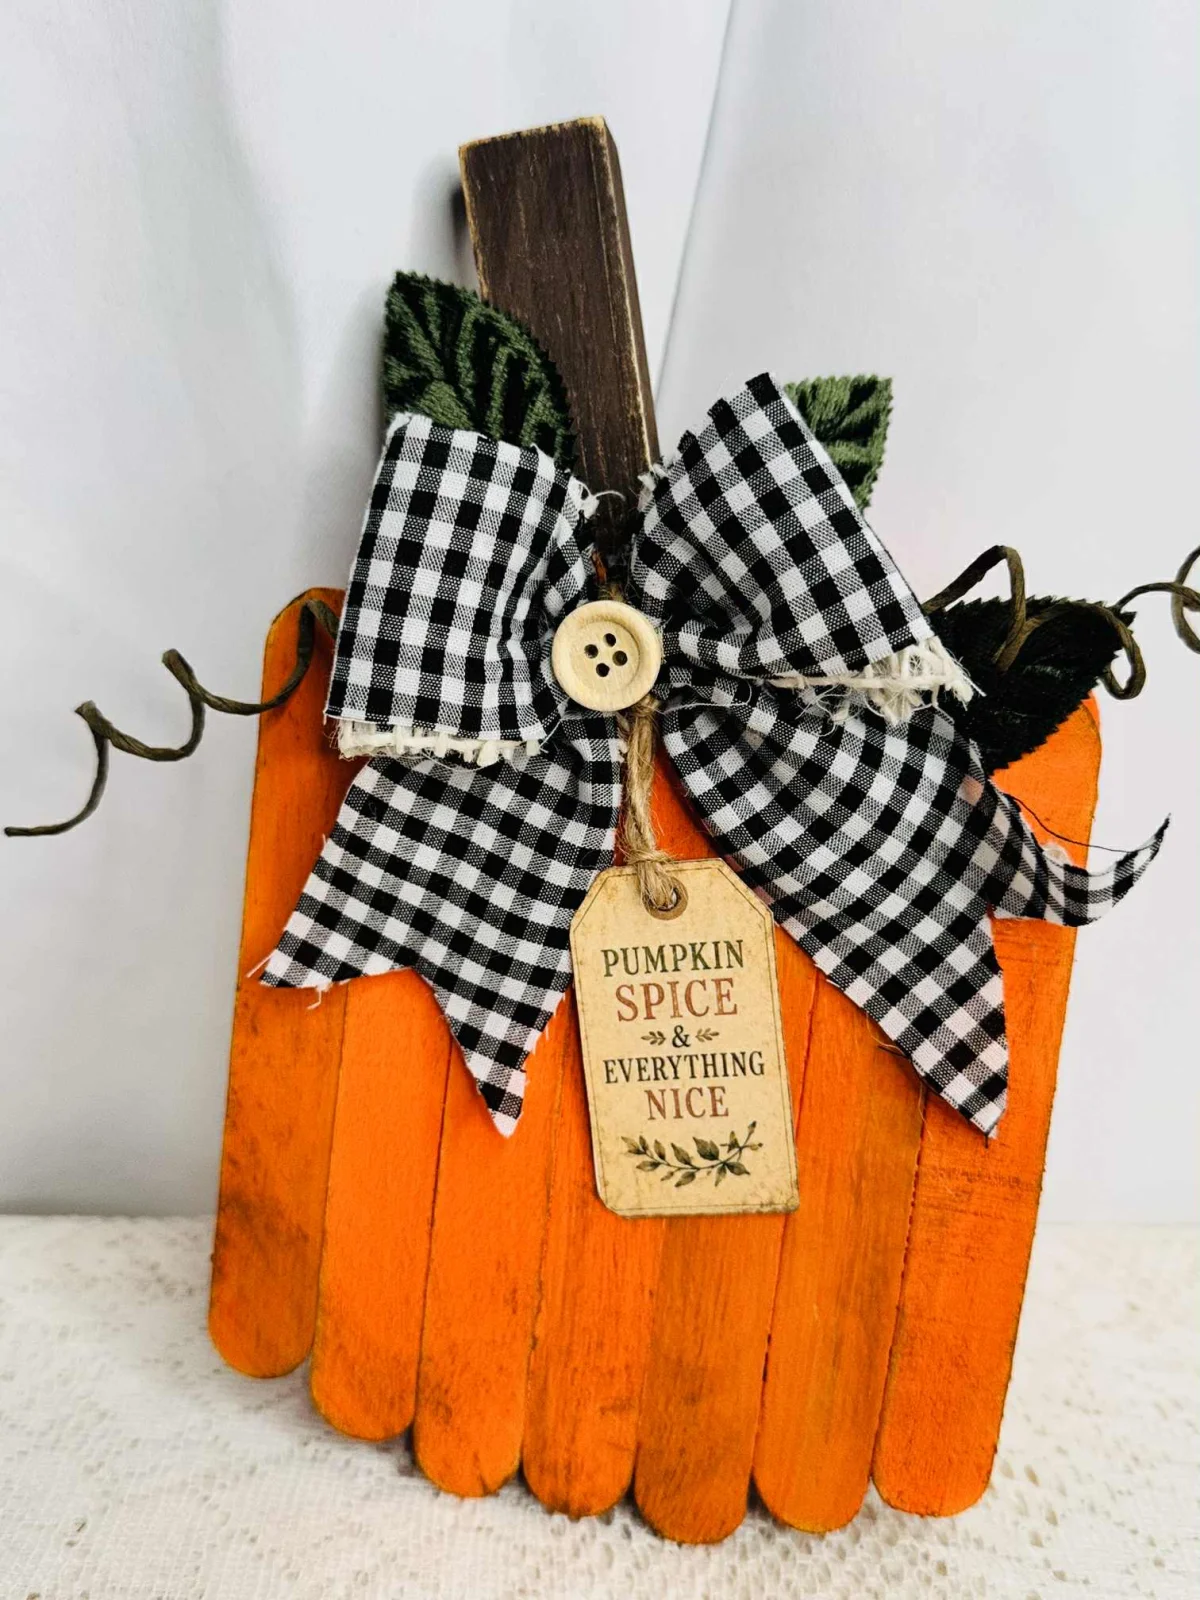
DIY Craft Stick Pumpkin
This pumpkin is built from jumbo craft sticks and finished with a bow and rustic details.
[READ THE CRAFT STICK PUMPKIN TUTORIAL]

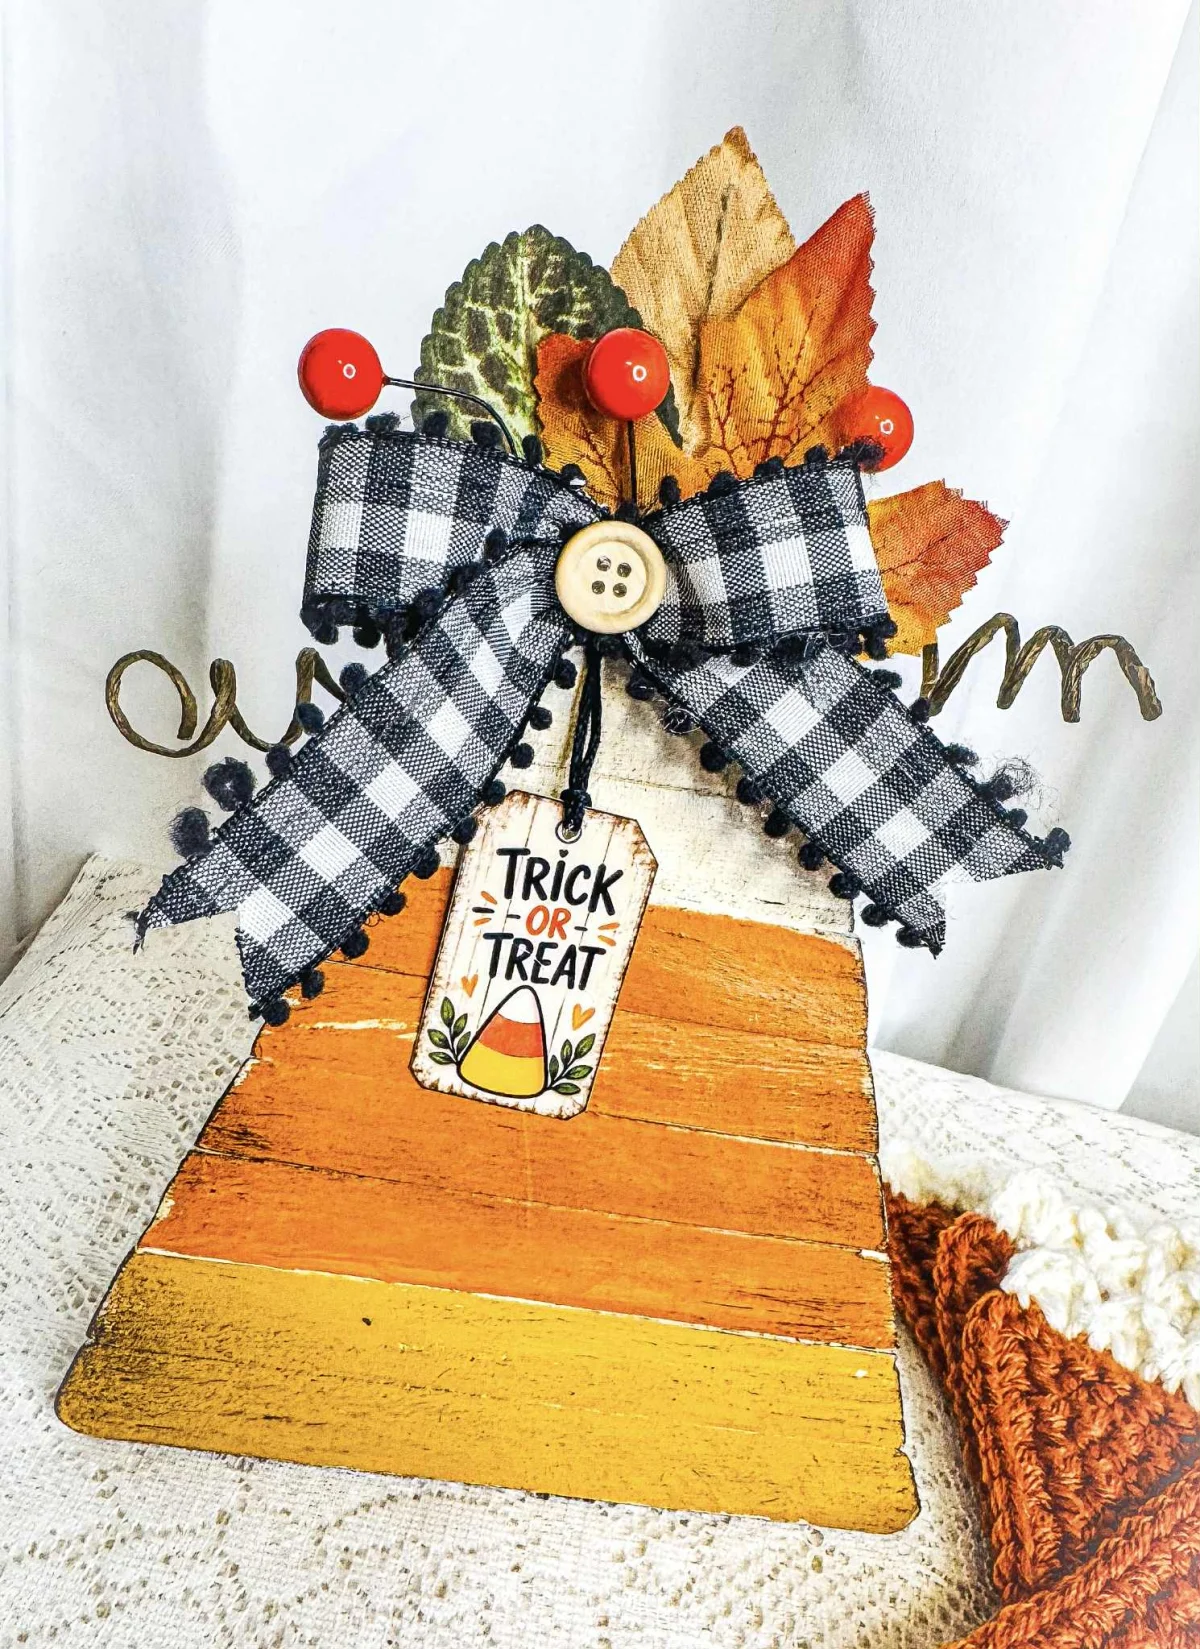
DIY Craft Stick Candy Corn
The candy corn turns basic craft sticks into a bright fall piece that sits right alongside the others.
[READ THE CRAFT STICK CANDY CORN TUTORIAL]
The turkey's watercolor feathers are the detail worth printing first. They're free, they coordinate with the rest of the series, and they make a simple wood-and-cardboard build look polished. Grab the printable, gather your craft sticks, and see how many decorations one package can produce.