Sample No. 0269
Reversible Wood Slice Pumpkin: Rustic Fall Decor and Chalkboard
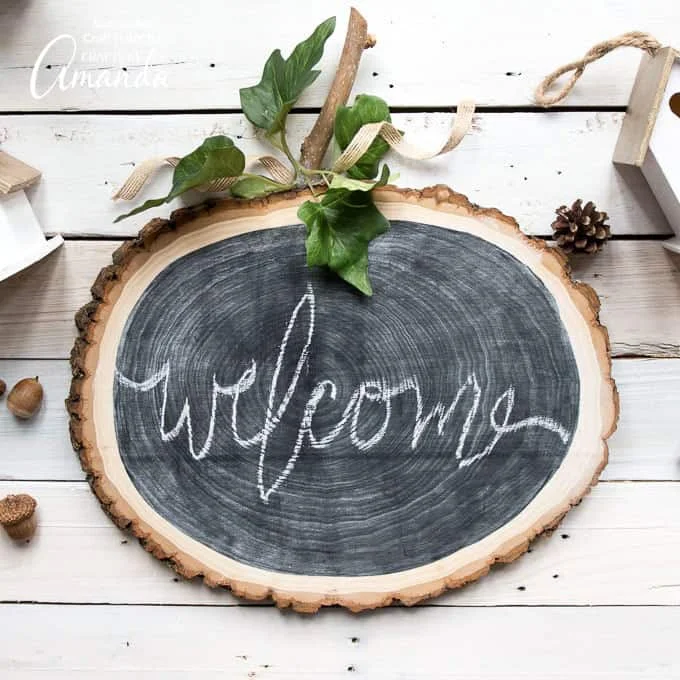
Turn a 9–11-inch wood round into two fall displays: a rustic orange pumpkin on one side and a reusable chalkboard on the other.
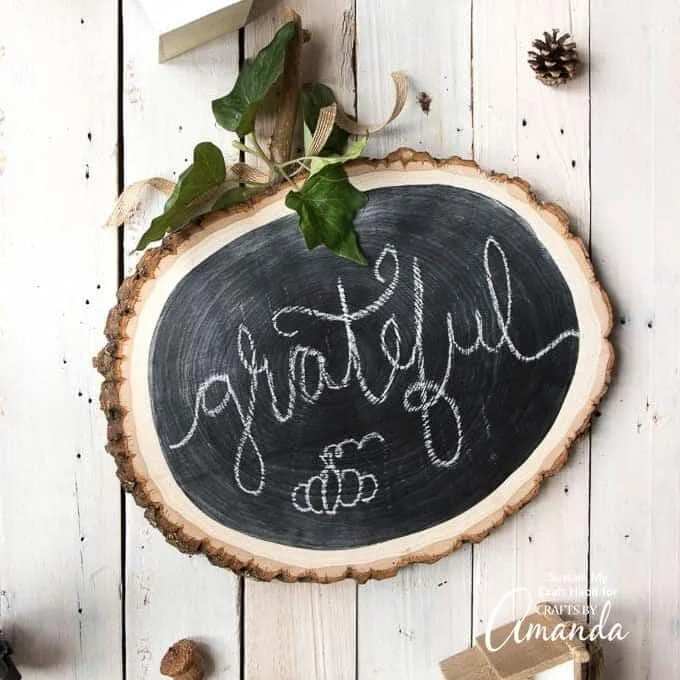
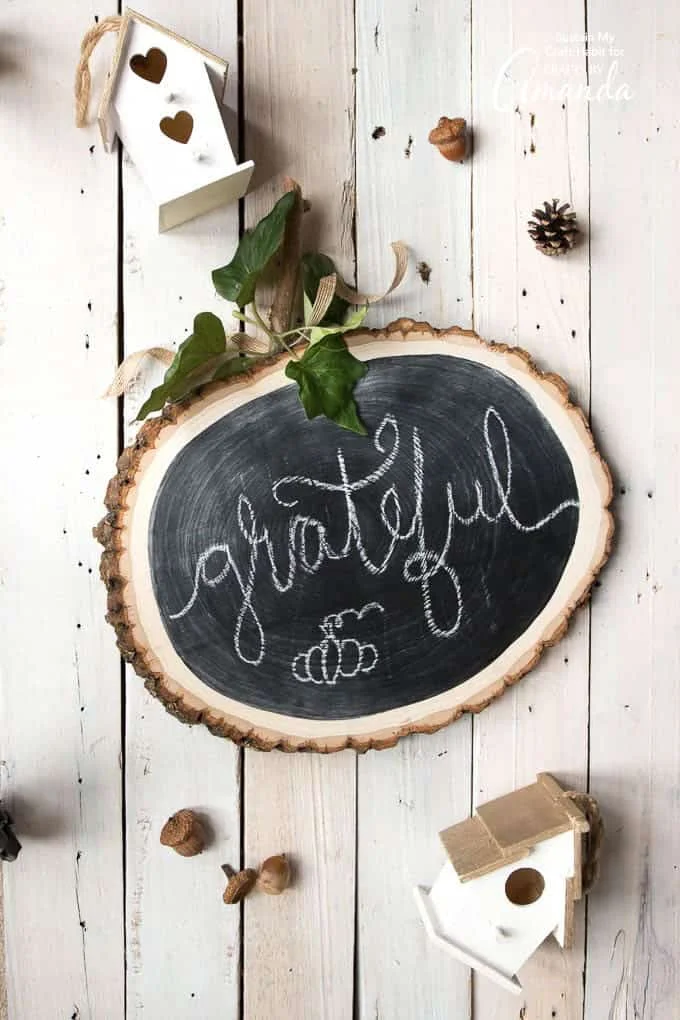
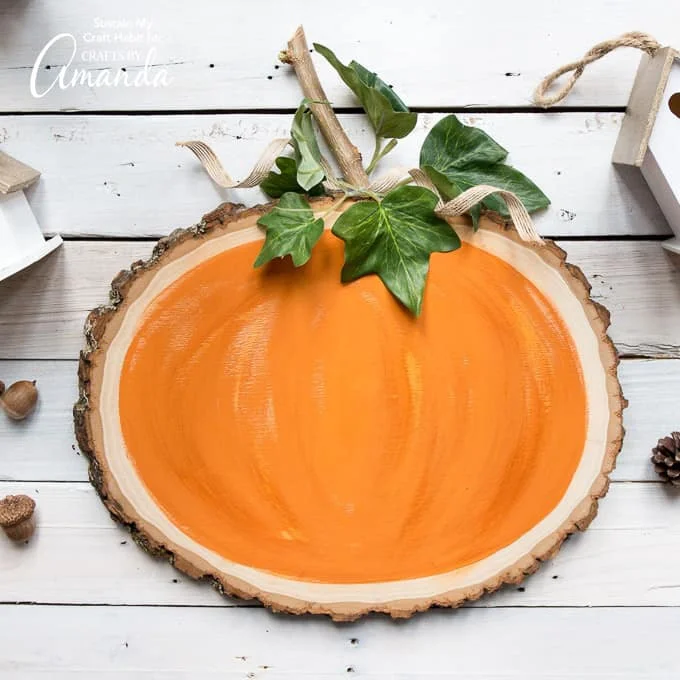
One wood round can serve as both a rustic pumpkin decoration and a small chalkboard. Jane and Sonja designed this reversible fall project with an orange, lightly distressed face on one side and a black writing surface on the other. Flip it around to change the look, or use the chalkboard side as a little message space. The craft is listed for adults, and the main wait is for the paint to dry.
Materials and preparation
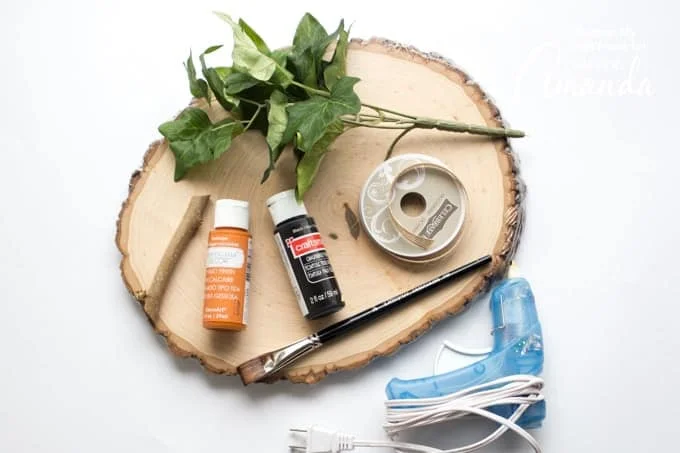
Choose a round wood slice about 9–11 inches wide. Jane and Sonja originally used a Walnut Hollow Large Basswood Country Round; if that round is unavailable, the instructions say another wood slice of the same size will work. The bark remains visible around the painted shapes, adding to the natural edge.
- One wood slice round, 9–11 inches wide
- DecoArt Americana Decor Chalky Finish paint in Heritage
- CraftSmart Black Chalkboard Paint
- Medium paint brush
- Fine grit sandpaper
- Clean, dry cloth
- Small stem, such as a twig or branch
- Burlap ribbon or twine
- Artificial green foliage
- Hot glue gun with clear craft glue
Set the round on a flat work surface and decide whether you want the pumpkin to read as tall or wide. The example is wide. Keep the paint inside the bark, leaving about ¼ inch of exposed wood around each painted oval. That margin frames both sides and helps the natural wood remain part of the finished piece.
Paint the rustic pumpkin side
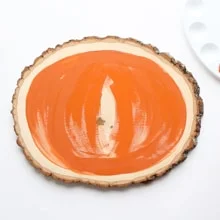
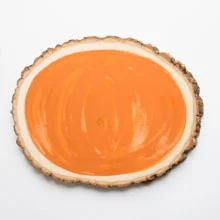
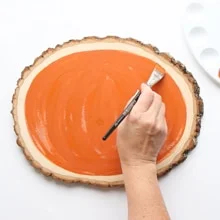
Begin with the Heritage paint. Brush a large oval onto one face of the wood slice, leaving roughly ¼ inch between the paint and the bark. The oval forms the base shape; the curved sections added next suggest the ribs of a pumpkin.
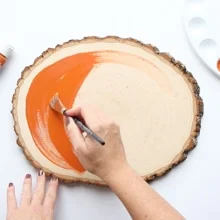
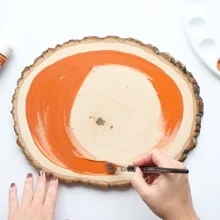
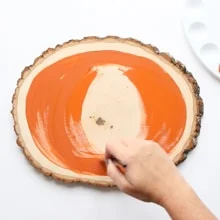
Work across the oval from one side of the round to the other, painting curved wedge sections. Vary how much paint you apply: leave some ribs very lightly covered, and let others show bare wood if you want a more weathered finish. The source doesn’t call for a solid, even coat here; the variation gives the pumpkin its rustic character.
Let the paint dry completely for at least one hour. Once it’s dry, lightly sand selected sections to bring out the curved wedges and give the surface a worn look. Wipe away sanding dust with a clean, dry cloth before turning the round over.
Make the reverse a chalkboard
On the back, paint another oval, again leaving a ¼-inch border of bare wood all around. Brush on the first coat of black chalkboard paint with vertical strokes, then leave it to dry for at least one hour.
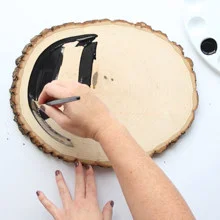
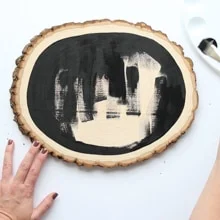
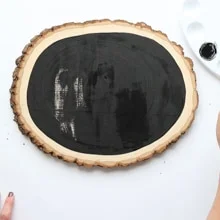
Apply a second coat using horizontal strokes, then let the paint dry completely. Crossing the brush direction between coats is the sequence given for this face. The instructions don’t specify a further drying time for the second coat, so allow it to dry fully before writing on it.
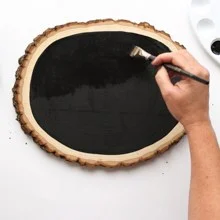
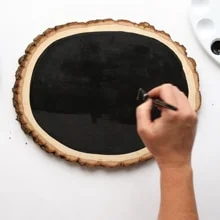
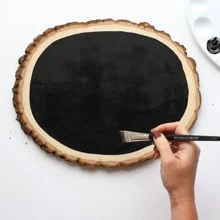
Before the first use, you may want to condition the chalkboard surface. Rub a piece of chalk lightly over the entire painted area in several directions, then wipe it away with a damp cloth. This helps reduce the chance that writing will leave an imprint behind.

Add the stem and foliage
For the stem, use a small branch or twig; Jane cut a 4-inch stem from a mulberry tree. A wine cork is also offered as an alternative. Cut or choose a stem that suits the scale of your round, keeping it small enough to sit at the top of the pumpkin.
Use the hot glue gun and clear craft glue to attach a curled piece of burlap ribbon or twine at the top edge of the wood slice. Glue the stem over the ribbon. Arrange several pieces of artificial green foliage so they drape over one side, then turn the round over and attach a few leaves to the reverse as well. Decorating both faces keeps the topper visible whichever side is displayed.
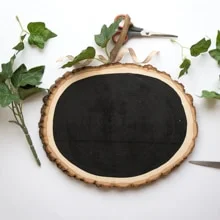
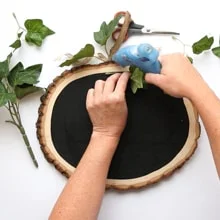
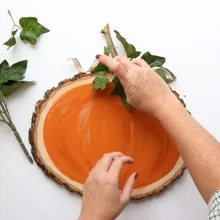
Once the glue is set, the wood slice is ready to display. Show the orange face for a worn, natural pumpkin look, then flip it to write a changeable note with chalk. Different chalk colors can refresh the small board while the painted pumpkin remains ready for its next turn.
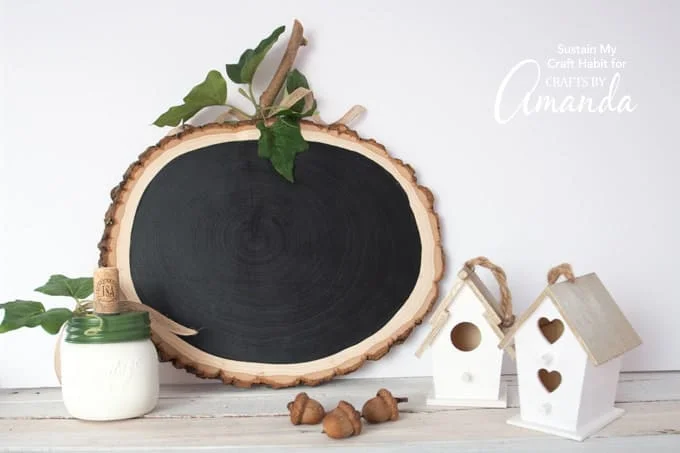
Jane and Sonja are the project’s credited makers. Their reversible design combines the texture of a wood round with two useful finishes, so a single piece can shift from seasonal decor to a chalkboard as the display changes.