Sample No. 0139
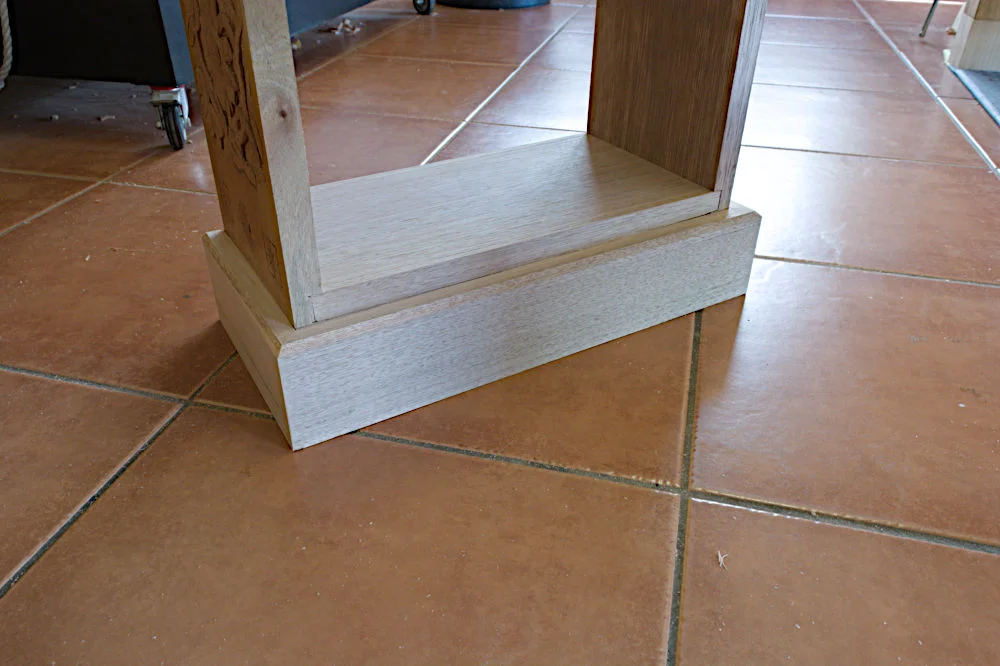
Building a Bookshelf Base Moulding with a Fitted, Three-Piece Design
A glued cleat and three fitted moulding pieces finish the bookshelf’s base, with practical notes on cut nails, mitres and bevel timing.

The base moulding gives this bookshelf a steadier foundation and a finished edge. This stage of the Bosnian, Ottoman-influenced build covers the lower moulding only; the top moulding is planned for the next part. The case has already been assembled, glued and clamped square, so the work now turns to adding a firm attachment point and fitting three pieces around the bottom.
The moulding forms a U around the case: one section across the front and one along each side. Each piece is fitted directly to the bookshelf, which lets the case itself guide the cuts. The maker uses this approach instead of measuring each section separately, echoing Christopher Schwarz’s remark that “measuring is your enemy.” For this build, fitting and marking in place keeps the mitres tied to the actual corners of the case.
Add a cleat for the front moulding
Before making the base, attach a cleat to the underside of the bookshelf. The cleat is made from ¾” thick stock and sits flush with the front of the case. Its job is to give the front section of moulding a solid surface for gluing. This creates a direct connection between the case and the moulding where the front piece meets the bottom edge.
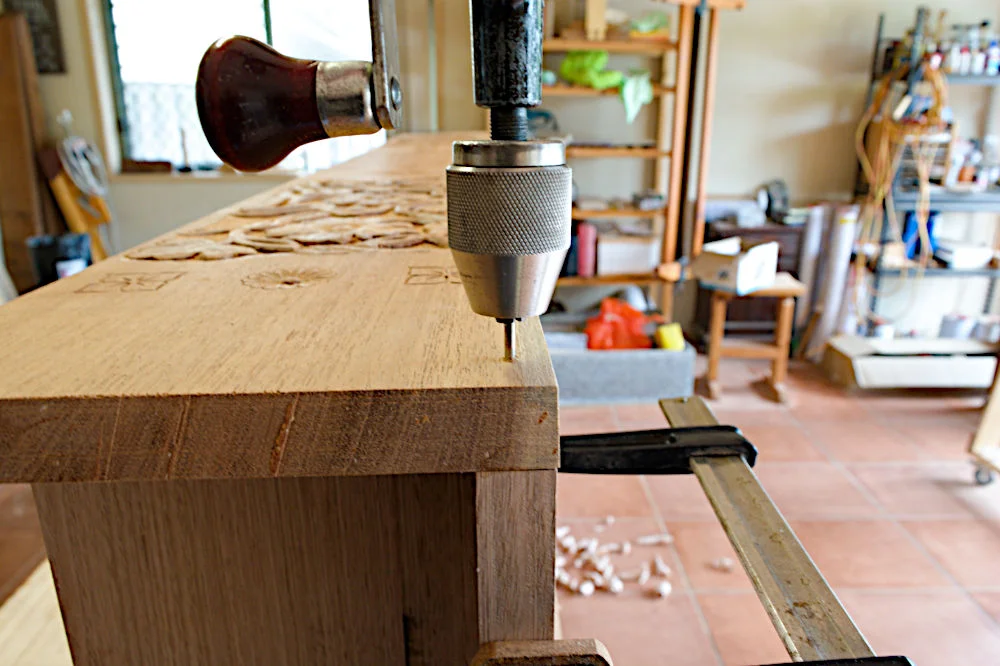
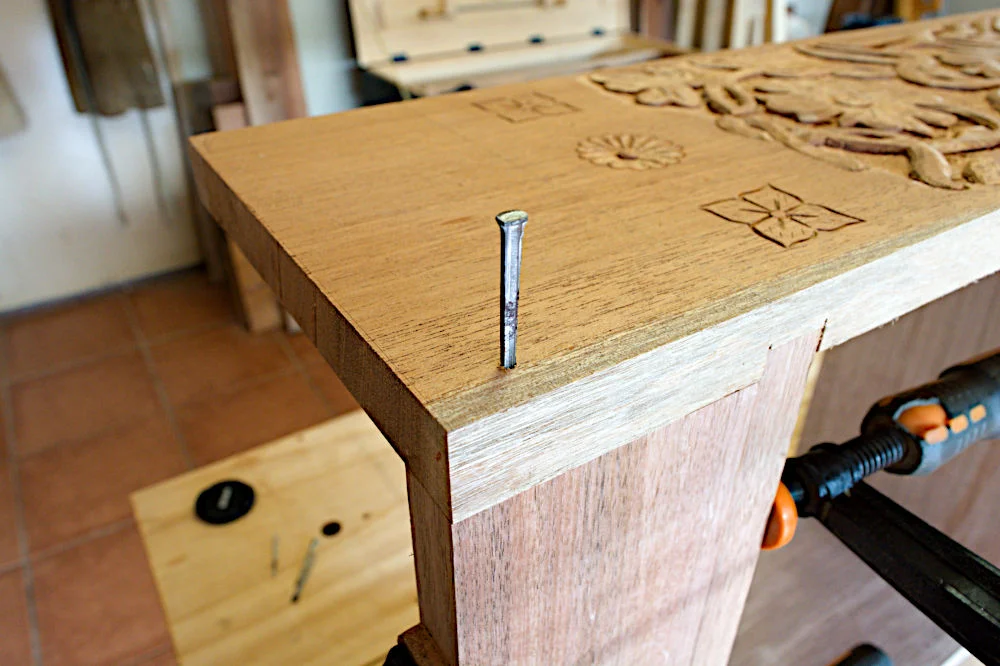
Cut the cleat to size, apply glue, and clamp it into position. The maker also secures it with cut nails, so the joint does not depend on glue alone while drying. That makes it possible to remove the clamps without waiting for the glue to set. The nails provide a mechanical hold as the cleat is fixed to the bookshelf.
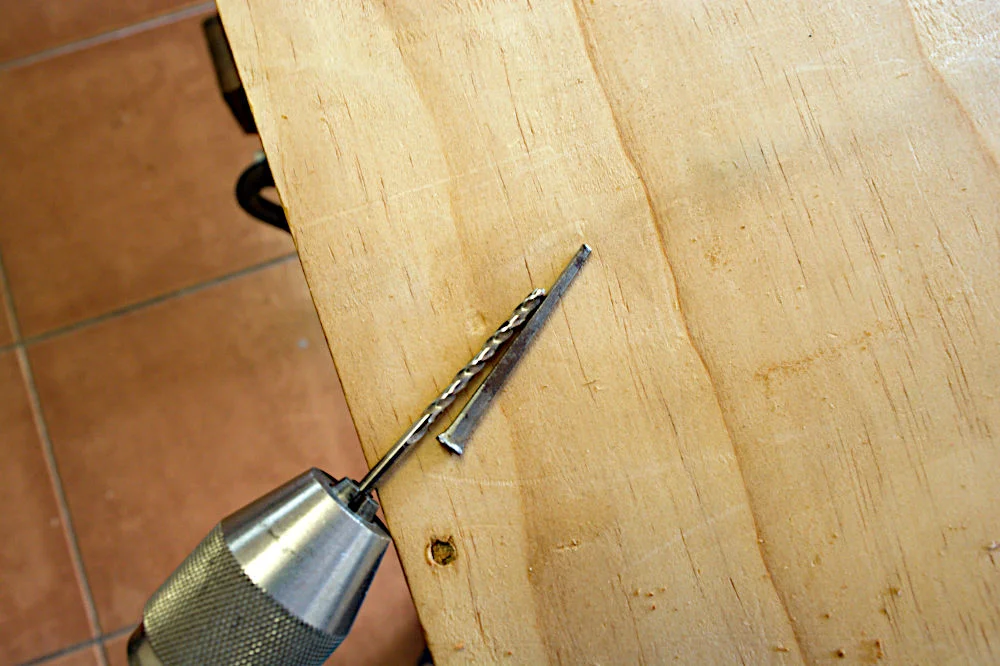
Take care when driving cut nails into the stock, since the wood can split. Drill a pilot hole part way into the wood; the hole does not need to extend the full length of the nail. Then position the nail so it follows the grain before driving it in. These steps help guide the nail through the stock and reduce the chance of forcing the wood apart.
Fit the three moulding pieces
Start with a long board approximately 20% longer than the amount needed. Rip it to the required width, then use it to make the three sections. Leaving extra length gives room to fit the parts to the bookshelf and trim their ends. The source doesn’t give a finished width or length, so those dimensions are determined by the case and the stock at hand.
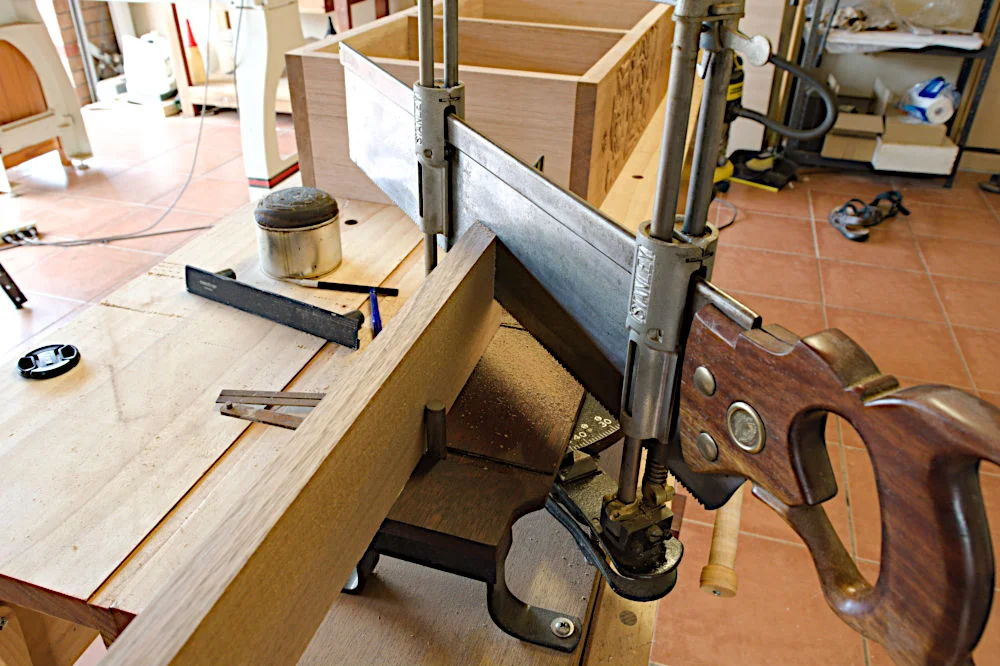
Begin with one side piece. Hold it against the bookshelf and mark the point where it meets the front corner. Take the board to the mitre and cut a 45° end to that pencil line. Repeat the fitting and marking process for the remaining pieces. The front section has a mitre at each end; each side section has a mitre at its front end. Fitting each board against the case keeps the three pieces coordinated at the corners.
Rather than marking all the cuts from a set of measurements, this method uses the bookshelf as the reference for each section. Work through the pieces in sequence, checking each against the case before cutting. The intended shape is a continuous U around the bottom, with the angled ends meeting at the two front corners.
Glue the base and finish the bevel
Once all three pieces fit, apply glue to the cleat and to the part of the case where the moulding will sit. Clamp the moulding in place and leave it overnight so the glue can dry properly. Check that the pieces remain seated while clamped, particularly where the mitred ends meet at the front corners.
The following day, plane a 45° bevel along the edge of the moulding. The maker’s hindsight is useful here: this bevel would have been easier to plane while the board was still one long piece, before it was divided into three sections. Working on the longer board would have provided a continuous edge to follow. With the pieces already attached, the bevel is completed on the assembled base instead.
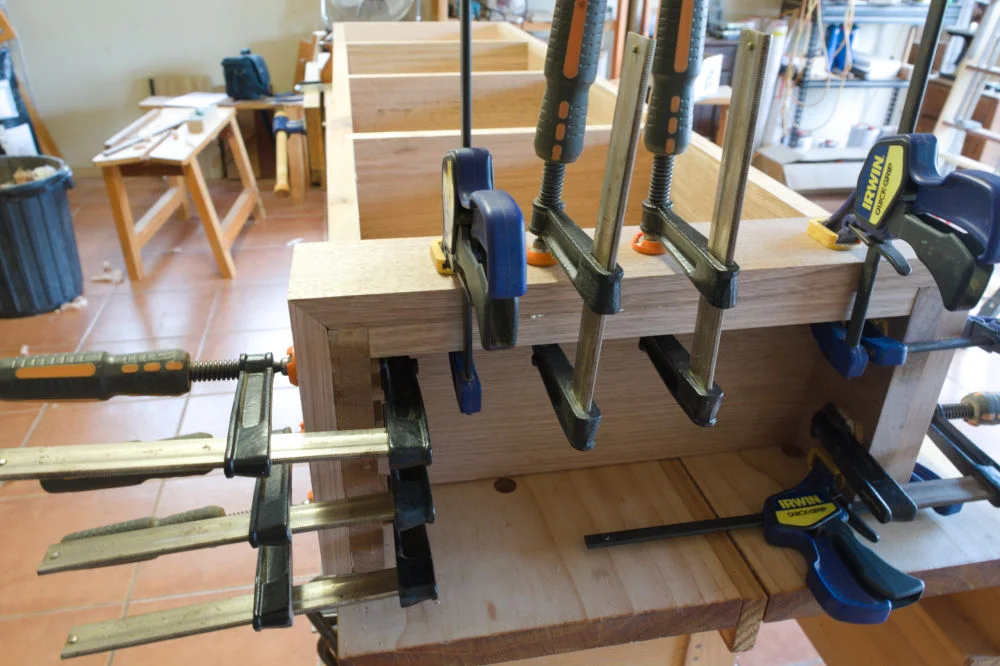
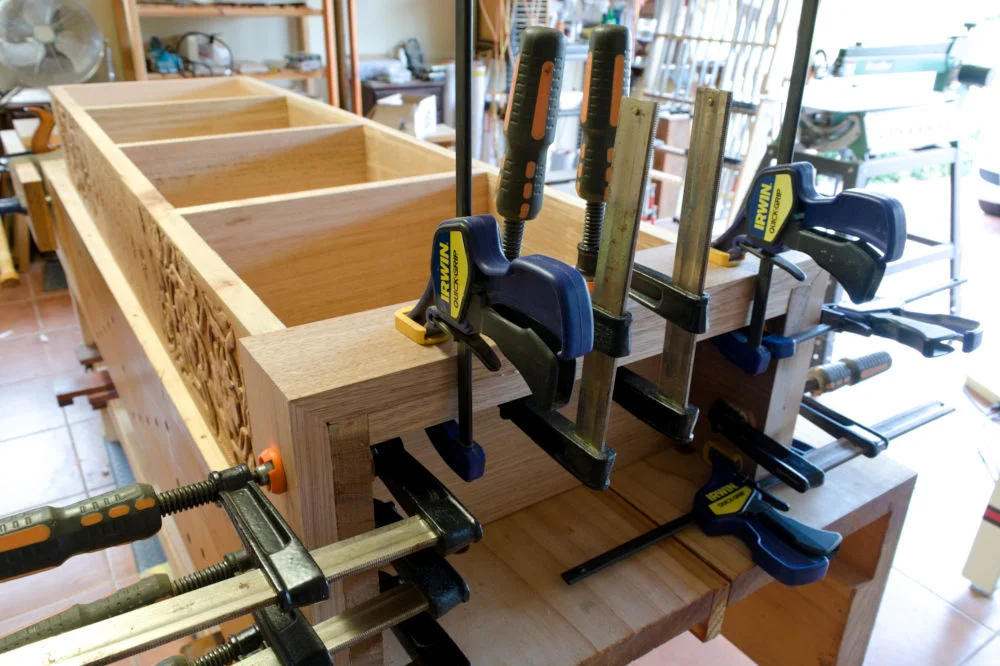
The base moulding is now complete. The cleat supports the front section, the three fitted pieces wrap around the bottom, and the bevel gives the edge its finished profile. The next stage of the build is making and attaching the top moulding.