Sample No. 0138
Fit a Three-Sided Bookshelf Top Moulding with Scribed Mitres
Fit the front and side moulding directly to the bookshelf, using the case to mark each cut and leaving a 1½-inch overhang on three sides.

A close-fitting top moulding depends on the bookshelf itself as the reference. For this three-sided frame, the maker uses the case to locate the mitres and set the lengths, avoiding a chain of measurements that could carry small errors from one piece to the next. The result is a U-shaped moulding with a 1½-inch overhang across the front and both sides.
The top moulding follows the same approach as the base moulding. First, all the parts are ripped to their finished width. Getting that work done before cutting any mitres means the pieces are already the intended width when they’re fitted against the case. The first cuts are a mitre on one end of each of two pieces; these ends meet at a corner.
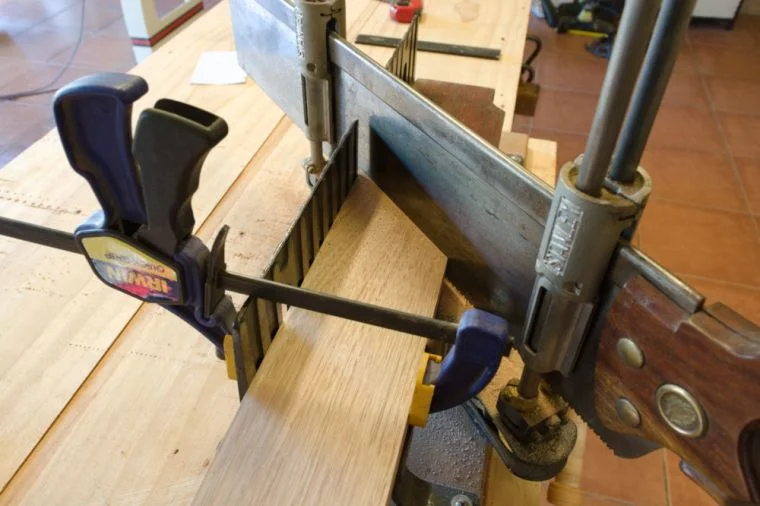
Fit the first corner, then mark the front
Bring the two mitred pieces to the top of the bookshelf and fit their angled ends together without glue. Clamp them in position so they can’t shift while you check the fit and mark the next cut. This dry arrangement establishes the corner before any piece is permanently attached.
With the corner sitting tight, look along the front moulding toward its far end, where it extends past the side of the bookshelf. Hold a pencil against the edge of the case and draw a line across the moulding. That mark shows where the next mitre starts. The case sets the length in place, so there’s no need to calculate it from a separate measurement.
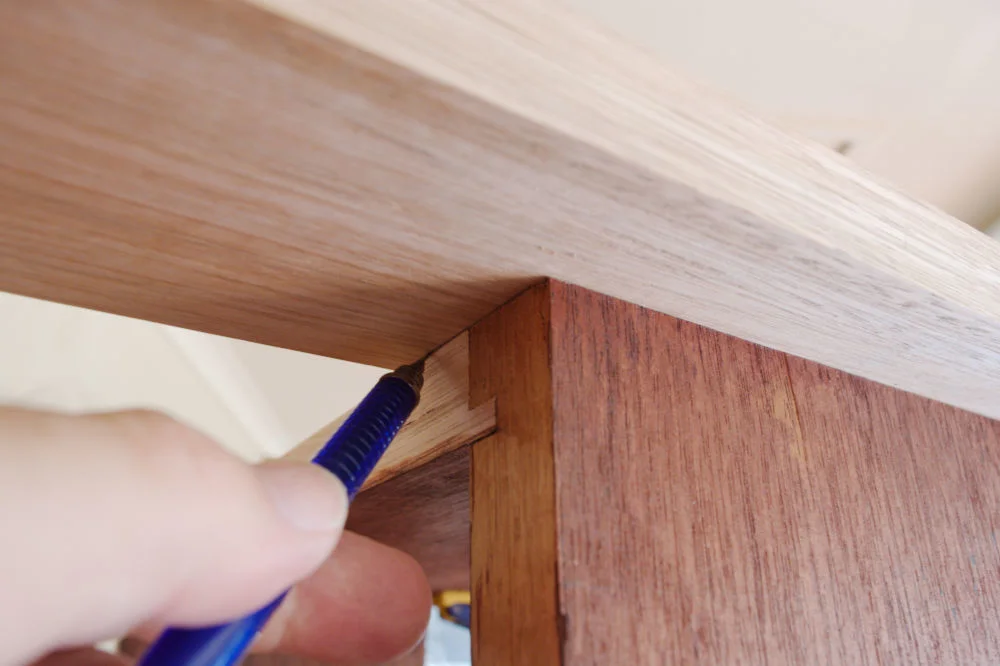
This is a practical way to handle a piece whose finished length is defined by its position on the furniture. A measurement can be accurate on paper and still miss the fit if the actual assembly shifts or the corner doesn’t sit quite as expected. Marking from the fitted case accounts for the conditions in front of you. Keep the pieces clamped as you make the mark, since movement between fitting and marking can change where the cut belongs.
Cut the mitre on the pencil line, then return the piece to the bookshelf and check how it meets the existing corner. The order matters: establish the first corner, mark the front piece from the case, cut it, and fit it back before moving on. Each piece then provides a clear reference for the one that follows.
Use the cut edge to mark the final piece
For the last side, lay the moulding over the mitre that has just been cut so the pieces overlap. Scribe along the angled edge to transfer the line onto the final piece. That line gives the final mitre; cut to it, then bring the pieces together to check the three-sided fit. The completed arrangement forms a U around the top of the case.
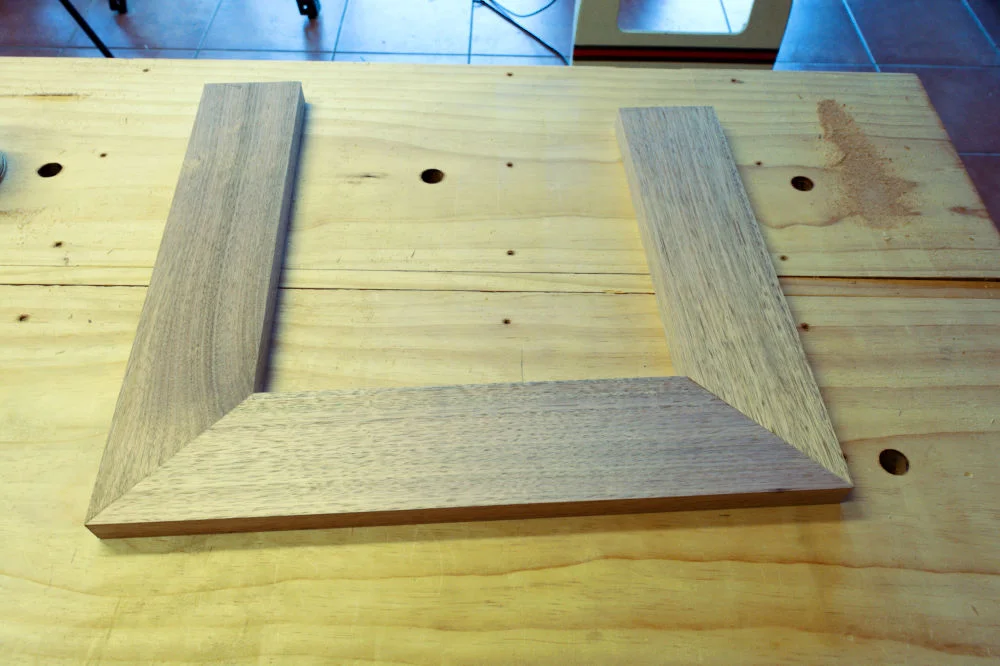
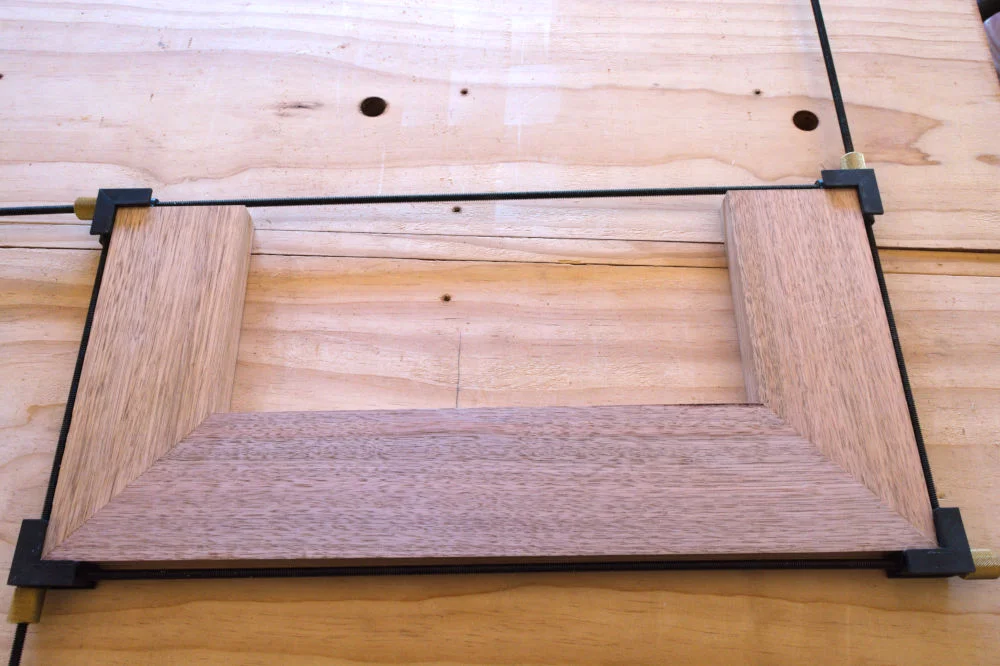
Scribing the last angle from the cut already in place keeps the two mating edges tied to each other. That helps avoid relying on a separately calculated angle or length. Before gluing, check that the mitres meet and that the moulding sits where intended around the case. If a piece needs another adjustment, it’s easier to make it while the assembly is still dry.
Set the overhang and attach the moulding
The moulding extends 1½ inches beyond the front and each side of the bookshelf. At the back, it ends flush with the case. Once those positions are established, glue and screws hold it down. The account doesn’t specify screw size or spacing, so those details depend on the materials and construction of the individual bookshelf.
The screw holes are left visible rather than plugged. Because the bookshelf is tall, the top won’t be seen in ordinary use, so filling the holes isn’t considered necessary for this piece. That choice keeps the finishing work in line with what will actually be visible.
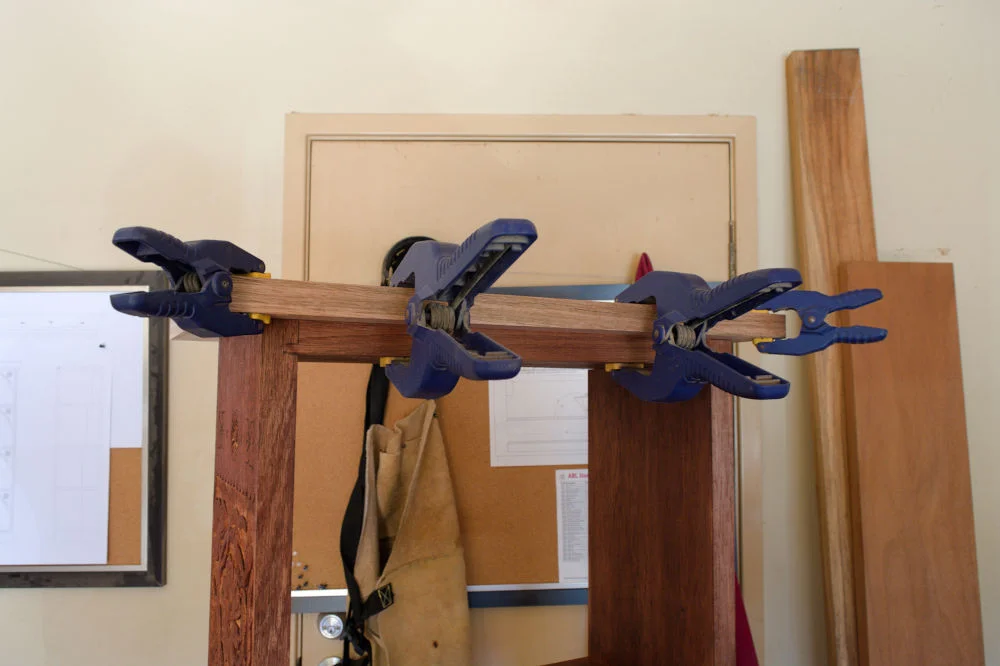
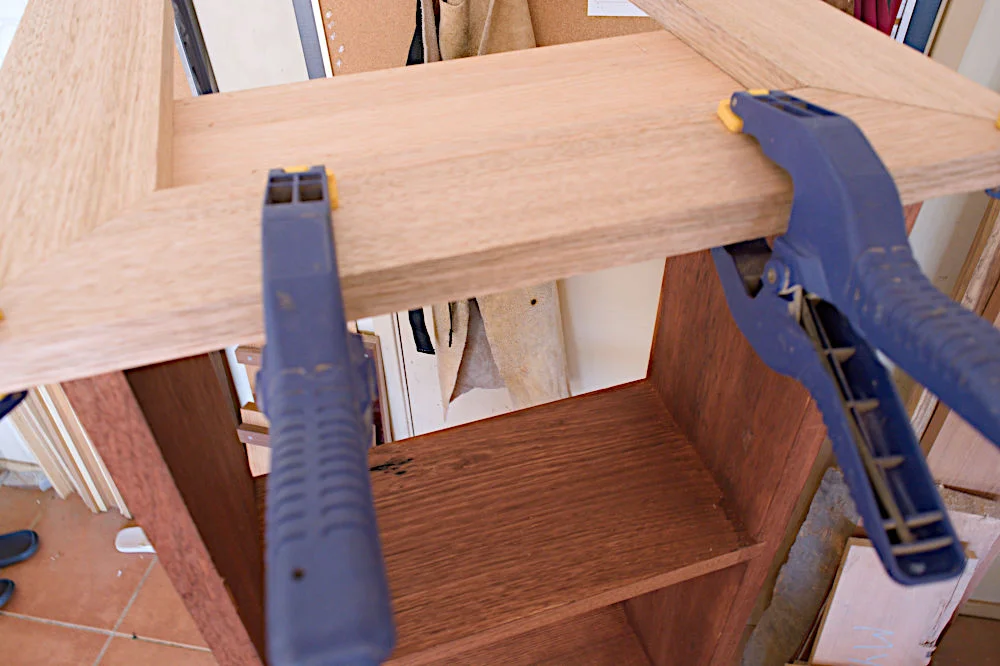
The key sequence is straightforward: prepare the widths, fit and clamp the first corner, mark the front from the case, and scribe the final mitre from its mating edge. Keeping the moulding dry-fitted while marking gives each cut a physical reference, and checking the overhang before attachment confirms the top sits as planned.


