Sample No. 0042
Create a Stunning 12″ Triangle of Squares Quilt Block Using Your Favorite Fabrics
Learn to make a 12" Triangle of Squares quilt block that showcases color and contrast, perfect for sampler quilts or standalone projects.
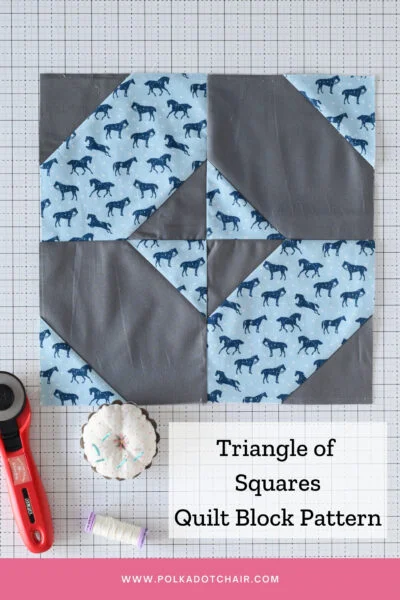
This tutorial presents a delightful pattern for creating a 12″ Triangle of Squares quilt block. With its geometric design, it offers countless opportunities to explore color and contrast.
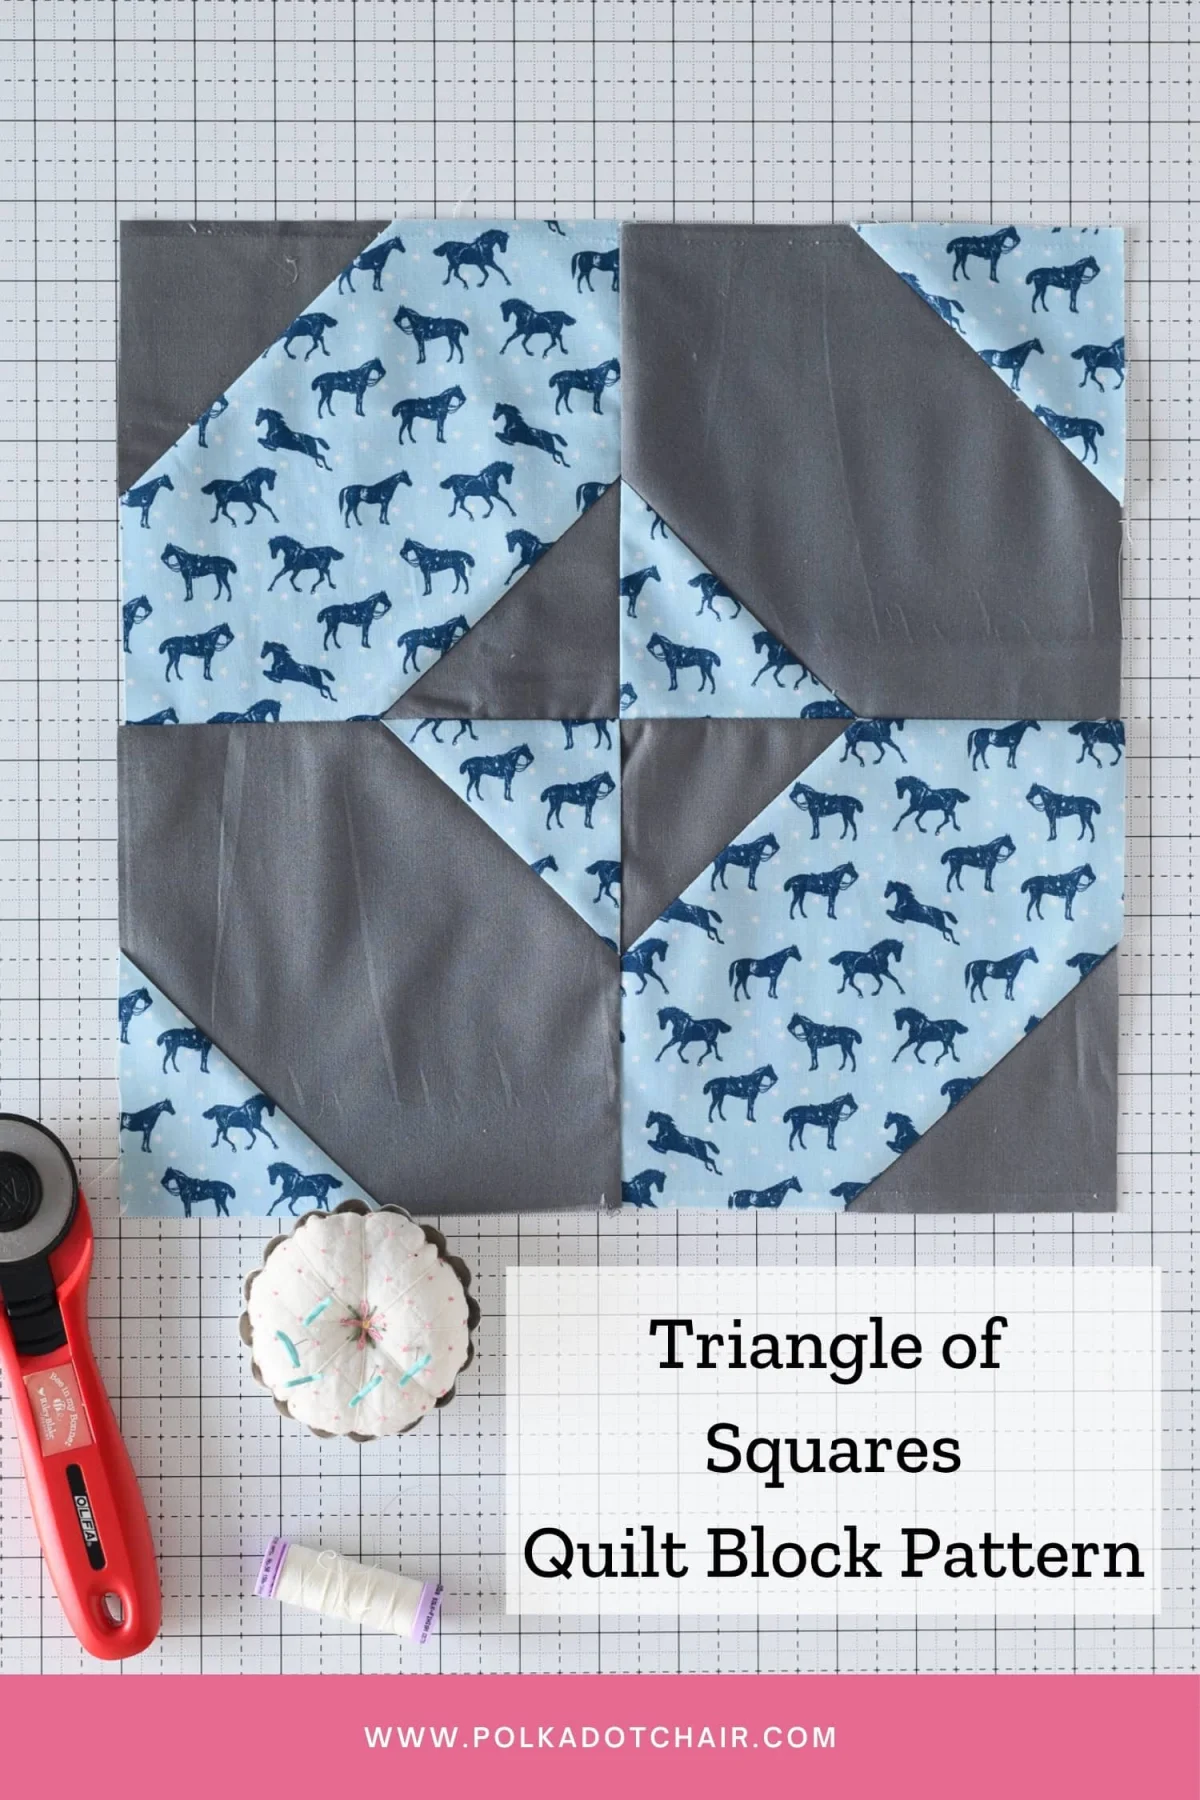
Sometimes, crafting a single quilt block is just the reset you need. It's a chance to experiment with fabric combinations at your sewing machine without the commitment of an entire quilt. This tutorial will guide you in making a block that can either enhance a sampler quilt or be replicated for a distinct project.
Choosing Fabrics for Your Block
One of the joys of making individual quilt blocks is the fabric selection process. It's a great excuse to bring out your favorite prints and evaluate how they interact with one another.
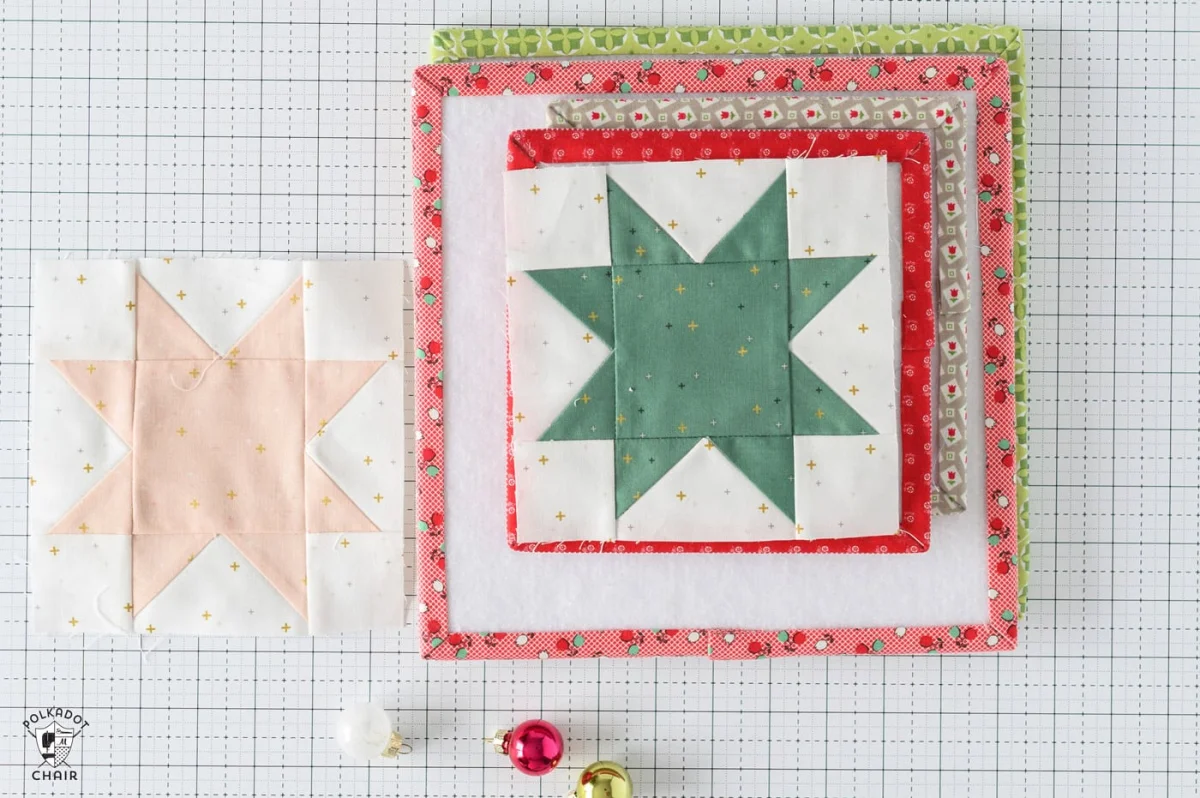

While selecting fabrics for this block, prioritize contrast between your patchwork fabrics and the background. A harmonious color palette can yield beautiful results, but for the design to truly stand out, opt for a background that allows the patchwork to shine.
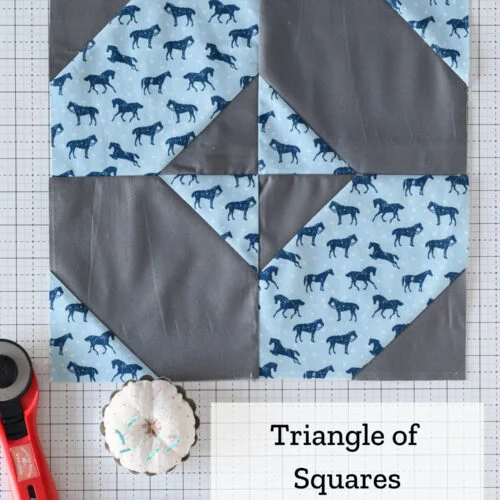
This block design accommodates directional fabrics while maintaining their orientation. To ensure they all face appropriately once sewn, position your print fabrics at a 45-degree angle relative to their final placement.
TIP: If you're unsure about your fabric placement, pin the fabrics against the proposed stitching line and lift them to verify the direction.
Visualizing the Finished Quilt Top
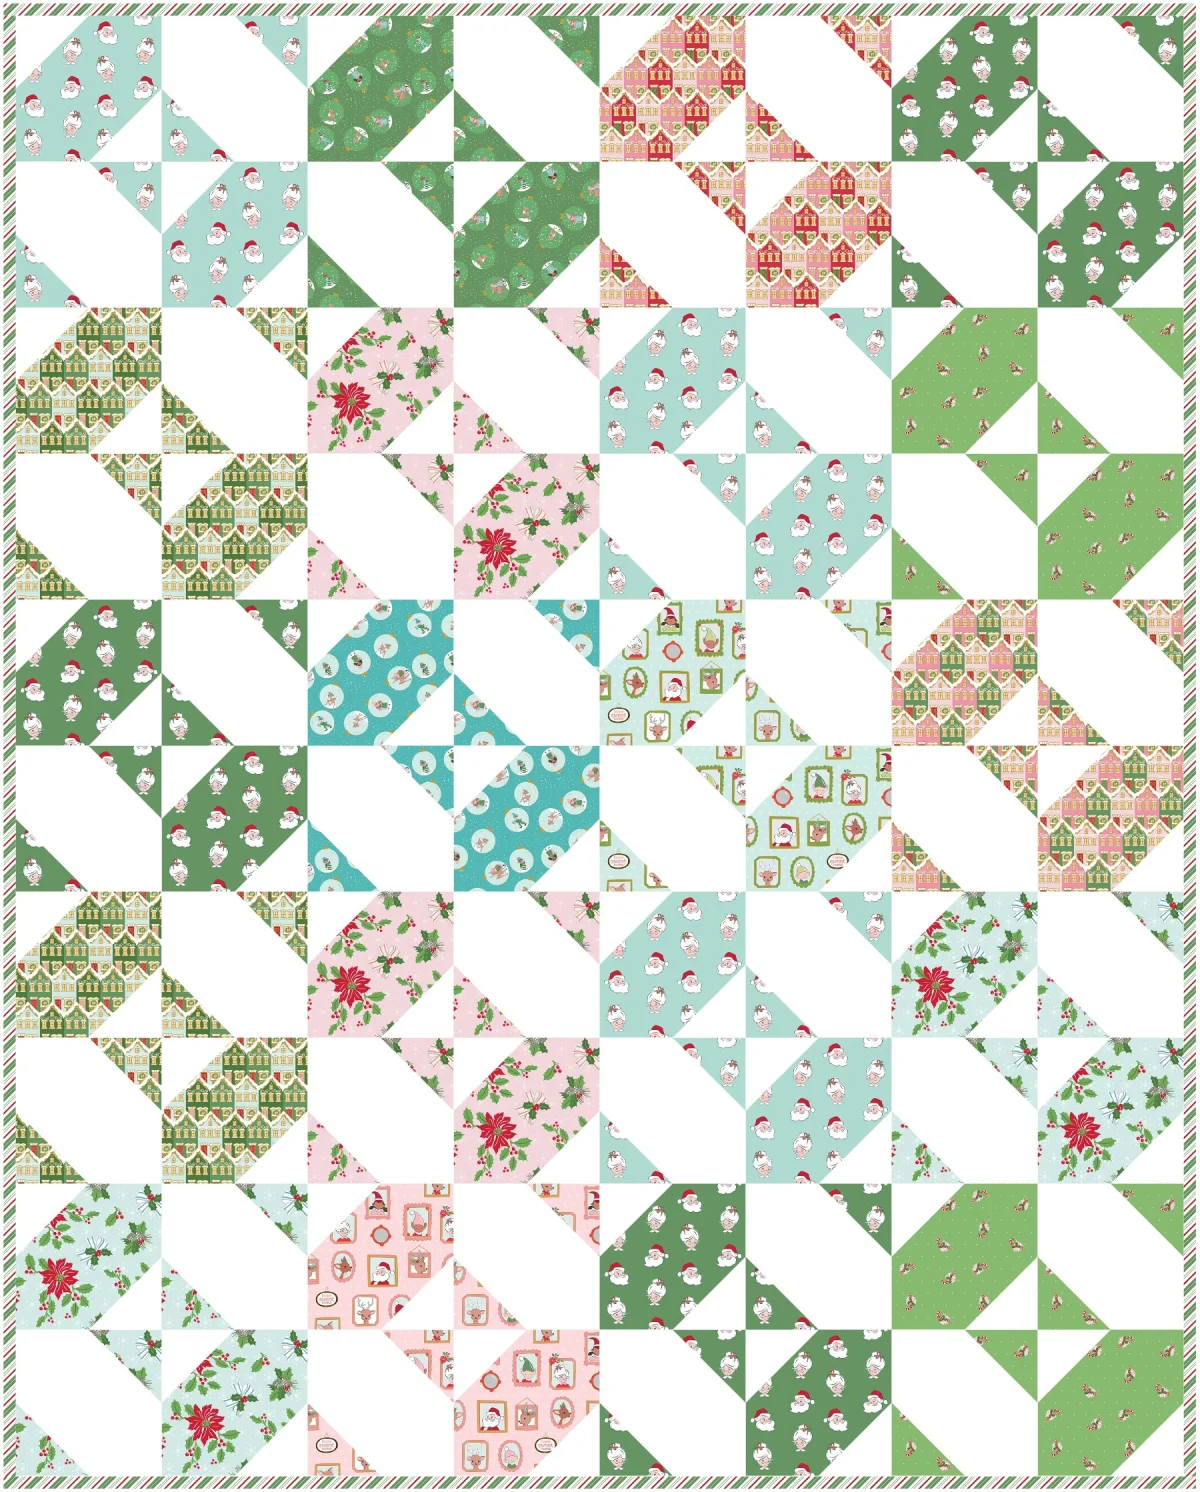
The interplay of light and dark fabrics in this block creates an engaging "secondary" pattern when assembled into a quilt. For inspiration, consider this mockup featuring 20 blocks arranged in a 4 x 5 grid, all crafted from my Claus & Co. Fabric collection.

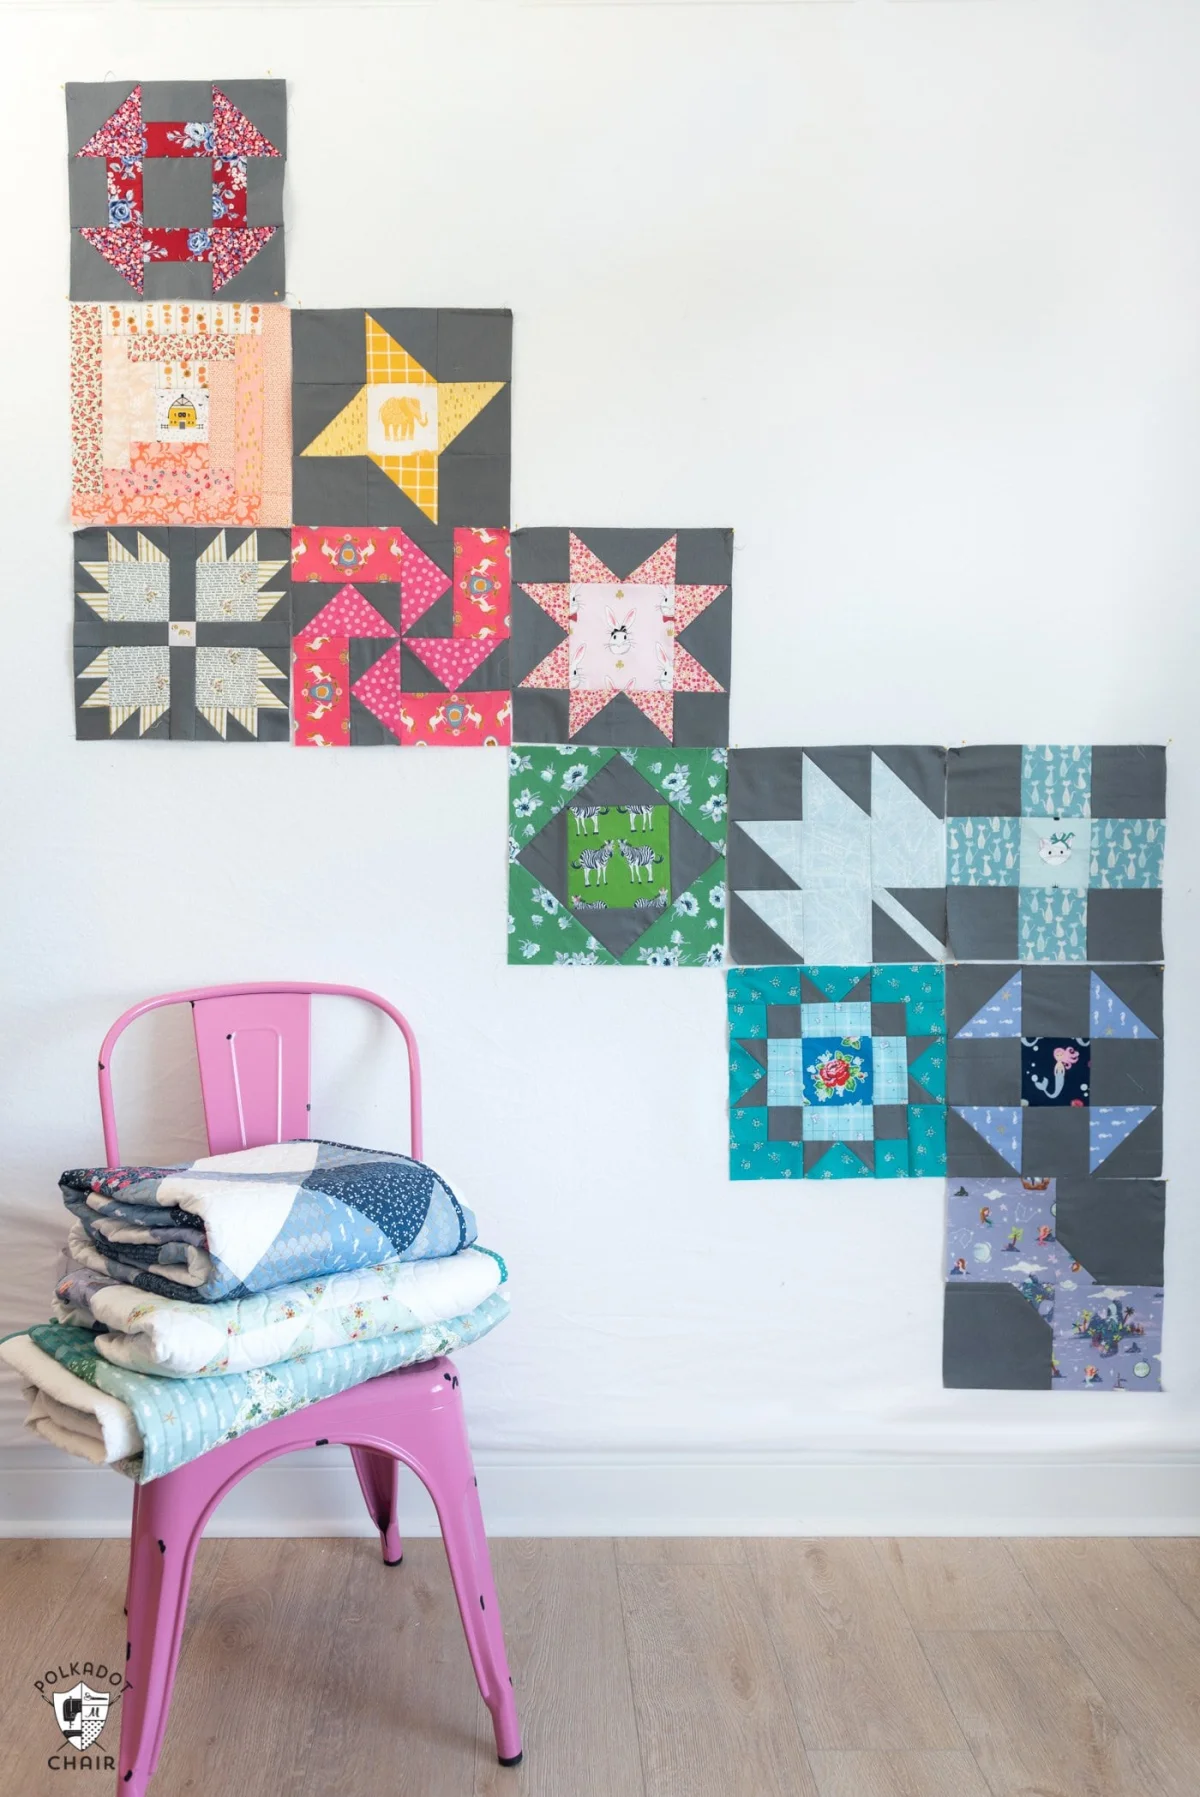
I plan to include my finished block in my ongoing sampler quilt project. This quilt has evolved over a few years, and I’m aiming to finalize the layout with three additional blocks by the end!
Tips Before You Start Sewing
- Before diving in, review the pattern and organize your cut pieces. Utilizing design boards can keep your pieces arranged as you sew.
- Check your work at each joining step to avoid mistakes; adjusting pieces before sewing is easier than using a seam ripper later!
- Maintain a consistent ¼” seam allowance and press carefully. Lift your iron rather than sliding it across seams, especially along bias edges.
- To achieve a finished block that measures 12″ square, cut the unfinished block to 12½” x 12½”. The extra ½” accommodates seam allowances when sewing into a quilt top.
Triangle of Squares Quilt Block Pattern; 12″ Finished Size
Designer: Melissa Mortenson
This design allows for creativity with color and layout. You can make one to fit into an existing sampler quilt or continue producing blocks for a dedicated project.
Equipment
- Sewing Machine (Recommended: BERNINA or Bernette)
- Basic Sewing Tools
- Rotary Cutter
- Cutting Mat
- Quilt Ruler
- Pins
Supplies
- Note: From one Fat Quarter of Fabric A and one Fat Quarter of Fabric B, you can create two quilt blocks.
- 1 Fat Quarter of Fabric A
- 1 Fat Quarter of Fabric B
Instructions
Stitch and Flip Method Directions
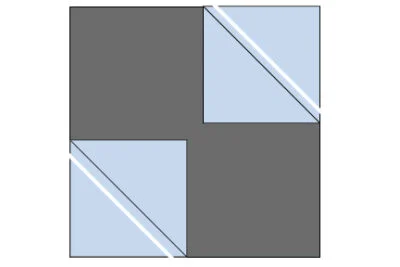
- The stitch-and-flip technique adds a triangle to a corner of a fabric square without needing to cut individual triangles.
- Mark the square by drawing a diagonal line across the wrong side of the smaller square.
- Position the marked square right sides together on a corner of the larger square.
- Sew along the marked line.
- Fold the small square back to cover the original corner, checking that the edges align.
- Trim the excess fabric, leaving a ¼” seam allowance beyond the stitching. Flip and press the triangle open.
- Tip: Before trimming, verify that the triangle fully covers the corner. If not, adjust stitching toward the cut corner for proper overlap.
Step One: Cutting Directions
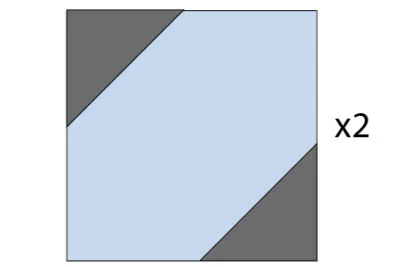
- Fabric A: Cut two 6½” x 6½” squares and four 3½” x 3½” squares.
- Fabric B: Cut two 6½” x 6½” squares and four 3½” x 3½” squares.
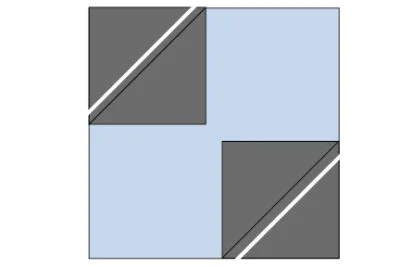
- Utilizing the stitch-and-flip method, sew two 3½” x 3½” pieces of Fabric A to opposite corners of one 6½” x 6½” Fabric B square.
Step Two
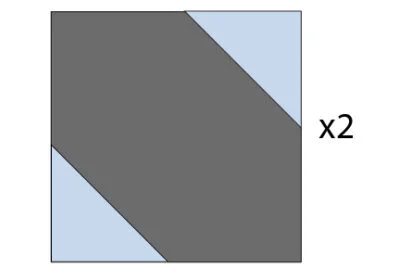
- Using the same method, apply two 3½” x 3½” pieces of Fabric B onto opposite corners of another 6½” x 6½” Fabric B square.
Step Three
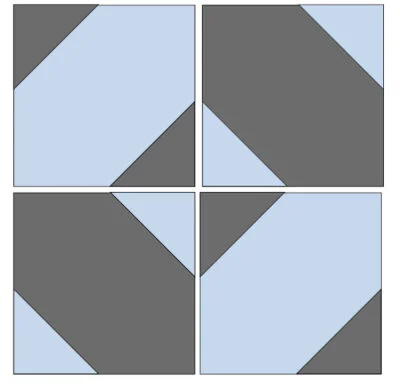
- Assemble the four completed units to finalize your block.
Ultimately, whether you select a carefully coordinated print group or utilize assorted scraps, this 12″ Triangle of Squares quilt block provides an excellent opportunity for creativity. Start with crafting one block, assess the fabric compatibility, and leap into your next project.
More 12″ Quilt Block Patterns
- Churn Dash Quilt Block
- Log Cabin Quilt Block
- Friendship Star Quilt Block
- Economy Block
- Shoo-Fly Quilt Block
- Bear Paw Quilt Block
- Maple Leaf Quilt Block
- Maple Star Quilt Block
- Nine Patch Quilt Block
- Turnstile Quilt Block
- Sawtooth Star Quilt Block
- Bow Tie Quilt Block
- Ohio Star Quilt Block
- Pinwheel Star Quilt Block
- Basket Quilt Block
- Heart Quilt Block
- Rail Fence Quilt Block
- Annie’s Choice Quilt Block
- Butterfly Cross Quilt Block


