Sample No. 0247
Make a Fall Succulent Pumpkin Arrangement with a Cinderella Pumpkin
Turn a medium Cinderella pumpkin into a seasonal succulent display, with a removable planter that can keep growing after the pumpkin is composted.
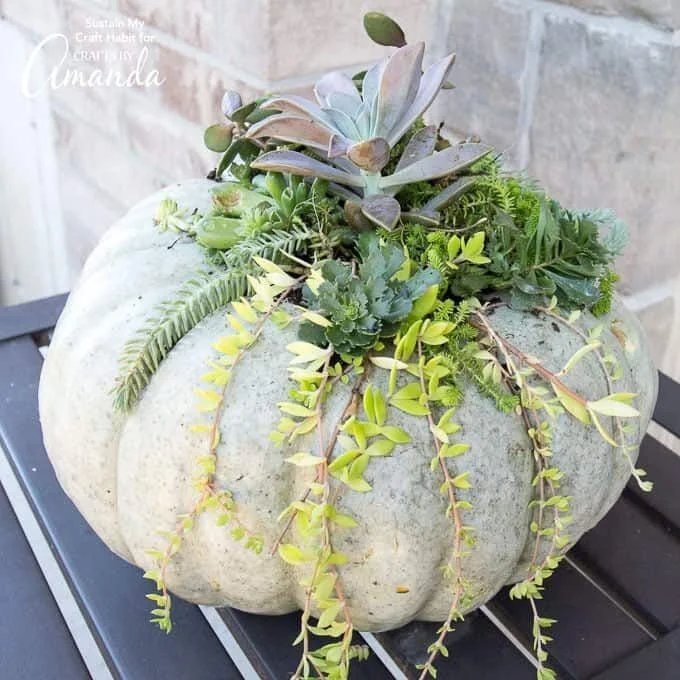
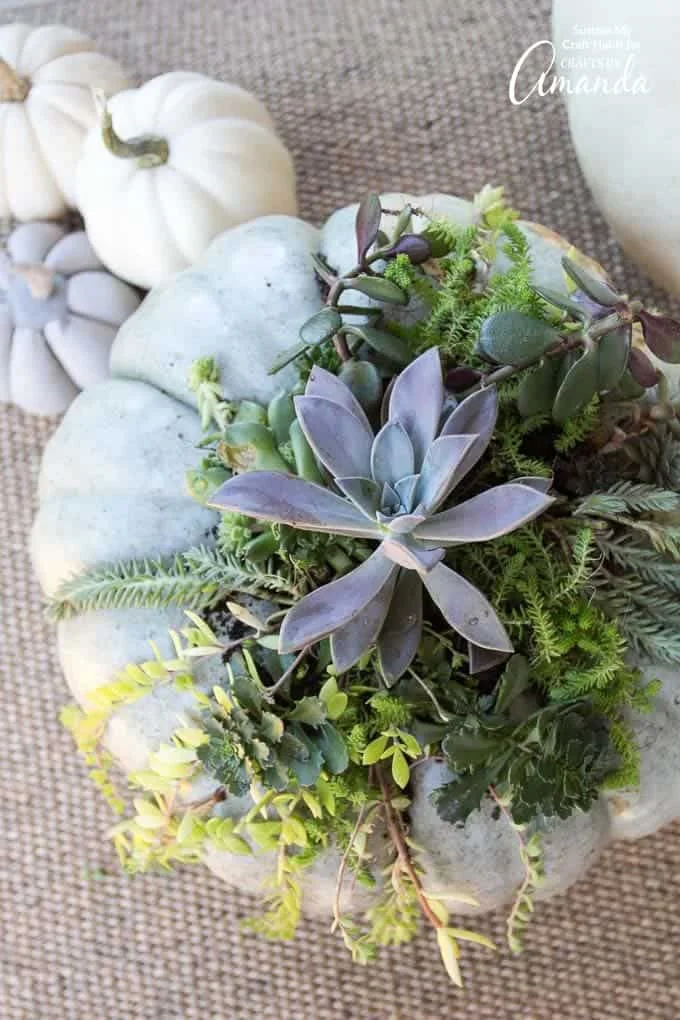
A Cinderella pumpkin makes a seasonal home for a living succulent arrangement, pairing its broad shape and blue coloring with the plants’ varied sizes and hues. The design is built around a small, separate container set into the carved pumpkin. That detail keeps the plants in their own growing space and lets you move them to another planter when the fresh pumpkin has reached the end of its display life.
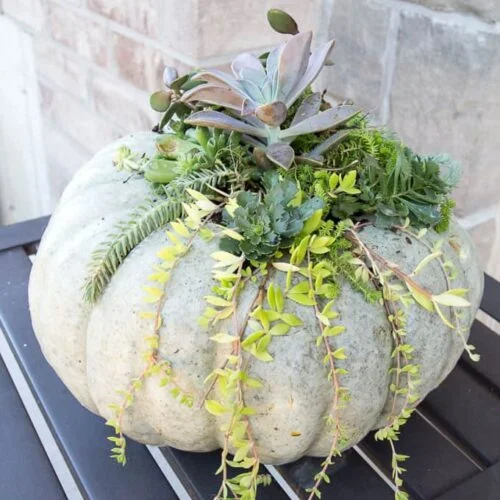
The project is credited to Amanda Formaro. Its inspiration was an arrangement from Stone Gable Blog. Use fresh succulents for a planted centerpiece, or choose faux succulents if you’d prefer a display without living plants. A fresh pumpkin lasts about two weeks, according to the source; for decor that lasts longer, use a plastic or foam pumpkin.
Materials and tools
- One fresh, medium-sized Cinderella pumpkin
- Pen
- Sharp paring knife
- Spoon
- A bowl or other container that fits inside the pumpkin and can hold the succulents
- Pebbles or charcoal for drainage
- Potting soil for succulents
- Fresh or faux succulents in different sizes and colors
Check the container’s fit before carving. It should rest at the pumpkin’s opening instead of dropping inside. This fit determines the outline you’ll draw and helps the finished arrangement sit at the top, where the plants can be seen. If the container needs to sit higher, the source suggests placing a large stone inside the pumpkin to add height and weight.
Prepare the pumpkin and planter
- Wash dirt from the pumpkin’s outer surface, then let it dry.
- Set the container against the pumpkin opening and use a pen to trace around it. This outline gives you a guide for cutting.
- With the paring knife, carefully cut around the marked shape. Use the outline as your guide.
- Lift away the cut top piece and discard it.
- Use a spoon or your hands to remove the seeds from inside the pumpkin.
- Place the container in the opening and check that it rests on the pumpkin rather than slipping down inside. If needed, add a large stone inside the pumpkin to raise the container and give it more weight.

The container is a key part of the construction: the pumpkin serves as the seasonal outer display, while the plants and soil sit inside the container. Keep the opening and container fit in mind as you work. A well-seated planter gives the arrangement a stable base and makes it possible to lift the planted succulents out later.
Plant the succulent arrangement
- Put pebbles or activated charcoal in the bottom of the container to provide drainage.
- Fill the container to the top with loose potting soil made for succulents.
- Plant the largest succulent in the center as the focal point.
- Arrange the other succulents around the central plant, combining different sizes and colors.
- Water the newly planted arrangement thoroughly.
Building from the center outward gives the display a clear focal point. Place the largest plant first, then fill around it with the other succulents. The source doesn’t specify a fixed number of plants or a set layout, so choose a combination that fits the container and leaves room for the different plants to show.
Display and reuse the plants
Expect a fresh pumpkin to last about two weeks. When it’s no longer suitable for display, compost the pumpkin if that’s an option for you. Before doing so, lift out the container with the succulent arrangement and move it to a different planter so the plants can continue growing.
For a longer-lasting seasonal display, the source suggests using a plastic or foam pumpkin in place of a fresh one. The arrangement still uses a separate container for the plants, so the planting steps remain the same: add pebbles or charcoal, fill with succulent soil, set the largest plant in the center, and arrange the others around it.

The soft blues, greens, and purples of the succulents complement the Cinderella pumpkin’s blue color, while the plants’ varied forms give the top of the pumpkin a layered look. Once the display period is over, the removable planter makes it easy to carry the living arrangement into its next home.
For more seasonal making, explore a burlap pumpkin wreath, mason jar lid pumpkins, or reversible scrap wood pumpkins. The succulent arrangement is credited to Amanda Formaro.