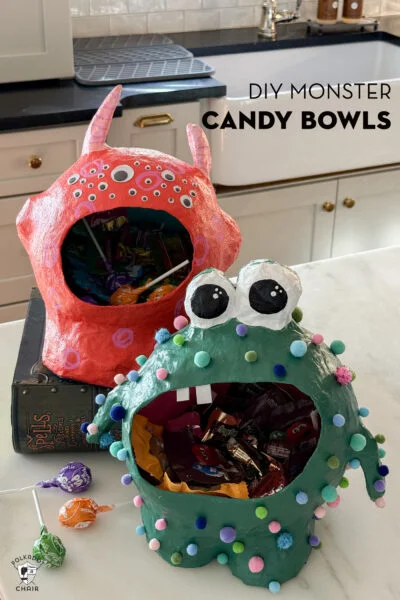
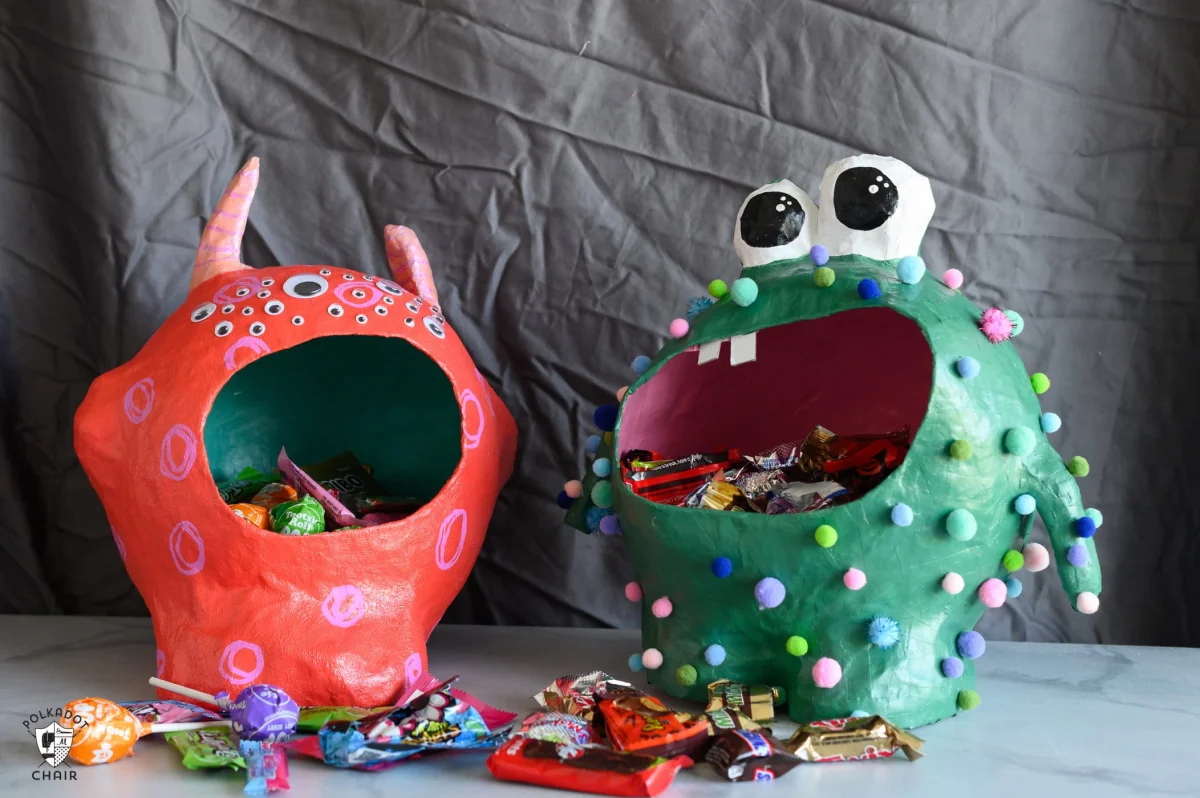
A little paint, a little glue, and a few ideas for goofy faces are all you need to turn simple craft supplies into a collection of Halloween monsters! These DIY papier-mâché monster candy bowls add personality and color to your Halloween decorations!
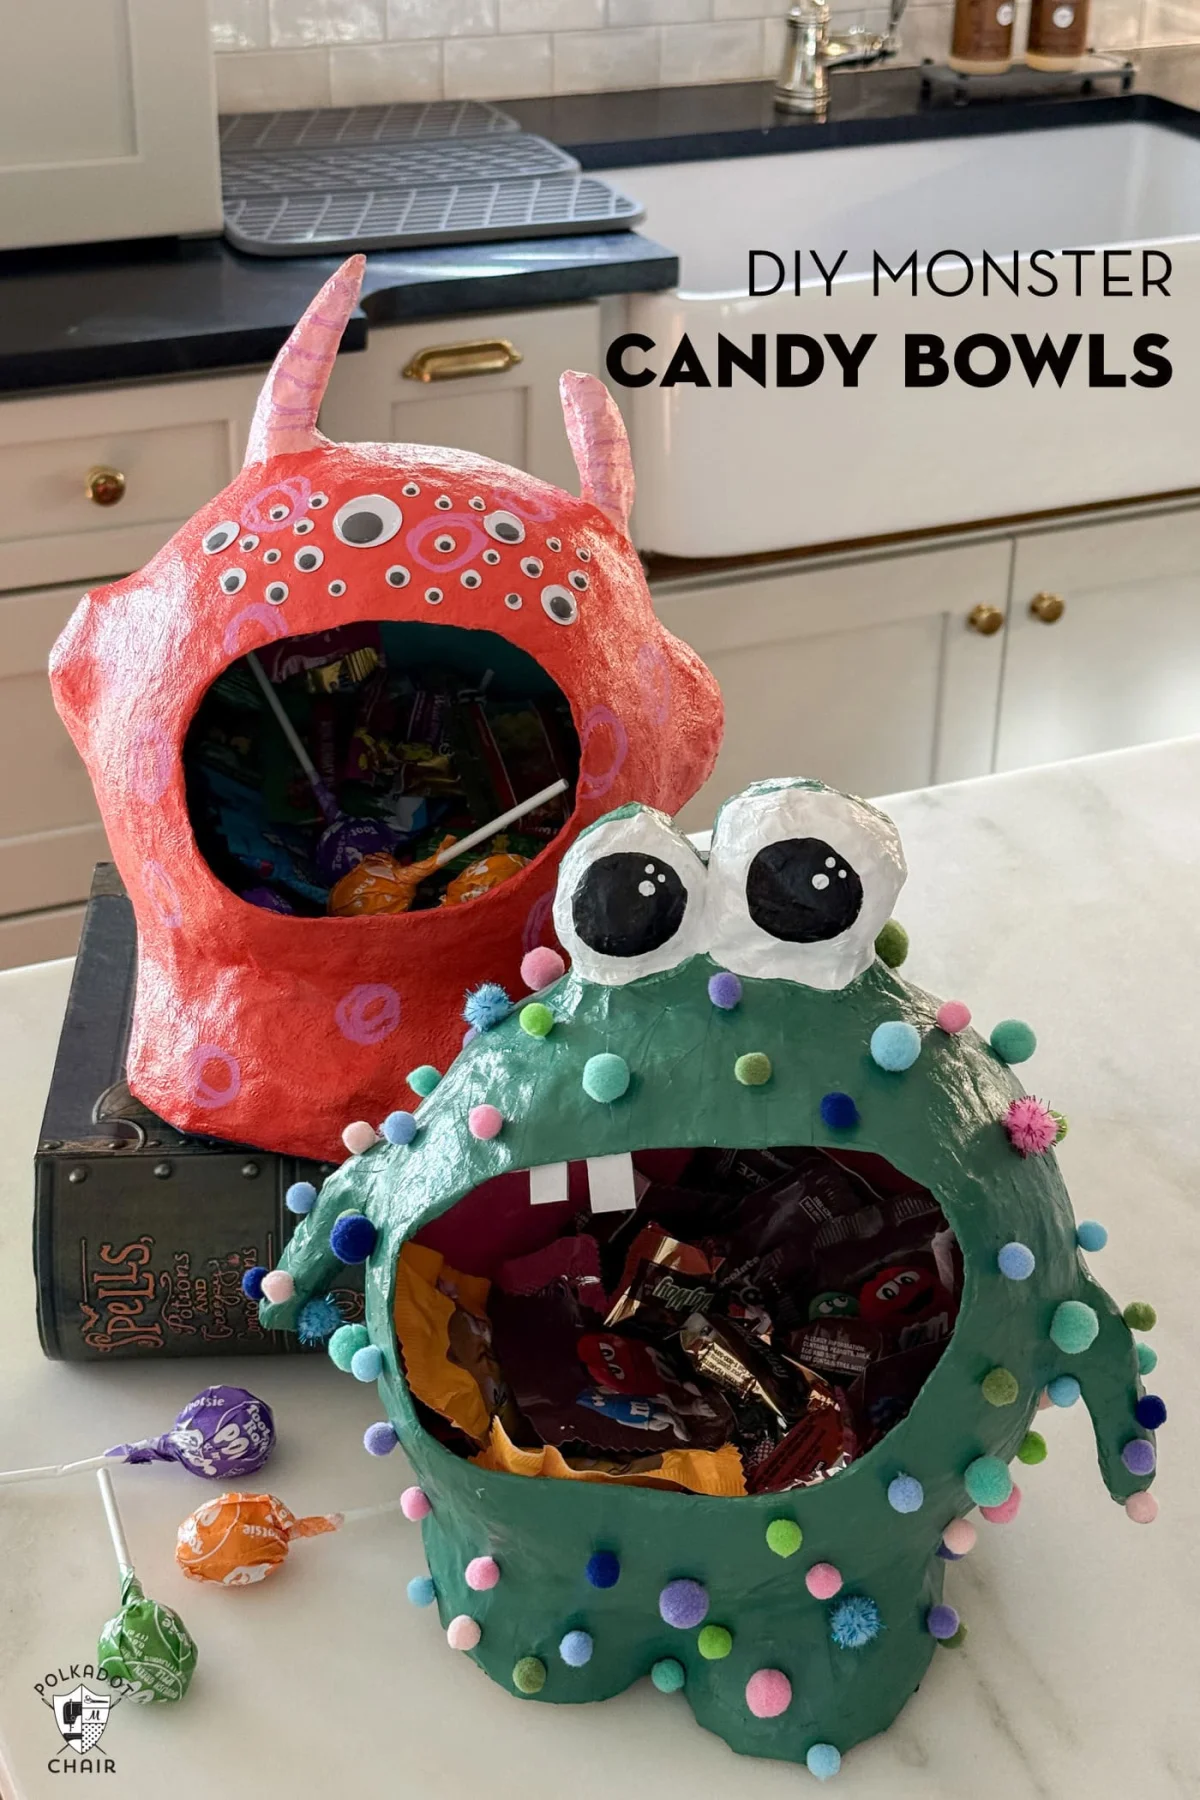
Last Halloween, I saw the cutest felt monster bowls for sale and thought it would be fun to make them in papier-mâché. These are great to make with your kids (when properly supervised obviously).
The best part is creating the faces! Give yours one big eye, crooked teeth, or a silly grin. They don’t need to be perfect; a few uneven features only make them more entertaining. Fill the finished bowls with wrapped candy, and your monsters are ready for Halloween.
If you like this project, you may also like our Monster Candy Apples or Monster Gift Card Holders.
Note: They take a couple of days to create because you have to wait for various elements to dry before starting the next step, so plan accordingly if you want yours ready for Halloween day.
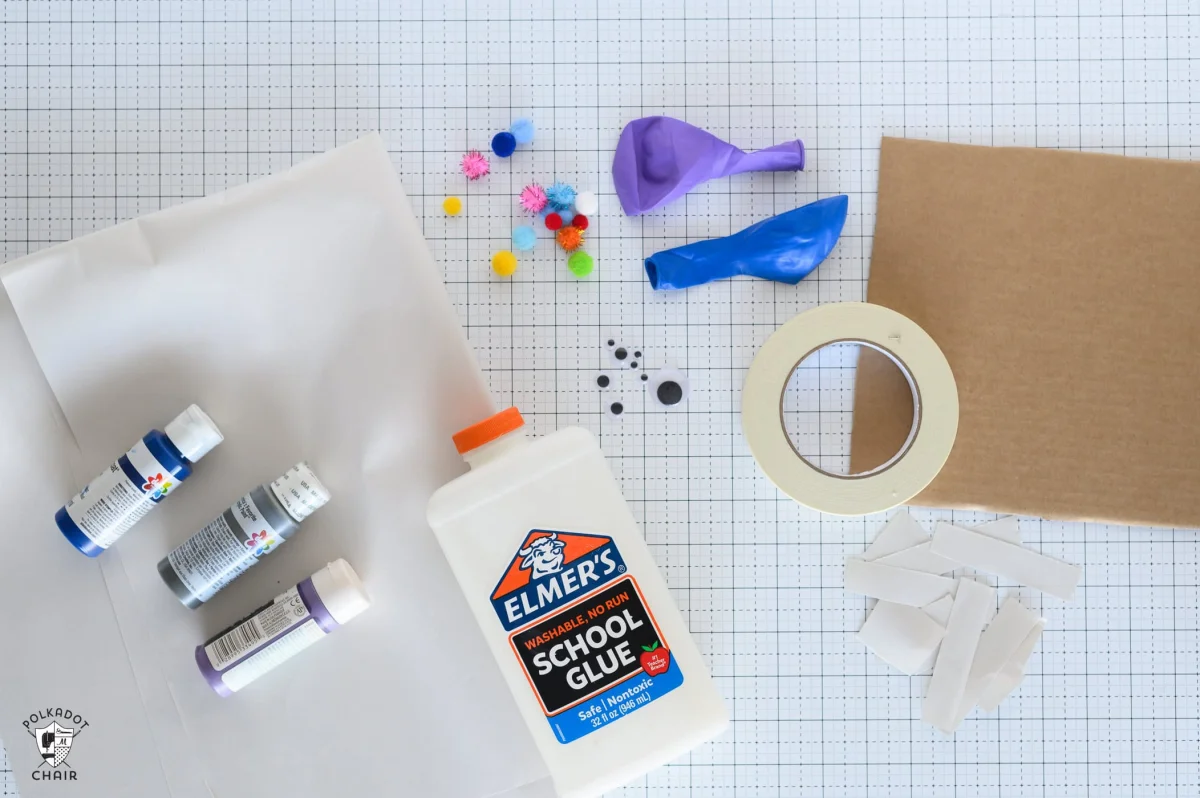
Supplies:
- Balloon
- Newsprint
- White glue
- Water
- Cardboard
- Masking tape
- Acrylic medium (optional, but recommended)
- Acrylic Paint
- Paint Brushes
- Paint pens (optional)
- Hot glue
- Decoration supplies (pompoms, pipe cleaners, googly eyes, etc.)
Supply Prep:
Before you start making your monster, prep your papier-mâché materials. For papier-mâché, I prefer white glue. I used the regular craft school glue, but for a stronger paste, you can also use wood glue. Mix equal parts water and glue to make your paste. For a super-traditional papier-mâché paste, mix 1 cup of flour with 1.5-2 cups of water.
For the paper strips, if you have newspaper lying around, great, but if you no longer get newspapers, you can buy a pack of newsprint and use that. I used both torn strips and cut strips, and I liked the torn strips better.
I noticed the raw torn edge smoothed out better with the paste, and each individual strip was less visible on the finished product than the cut strips. However, both methods work well; it is down to personal preference.
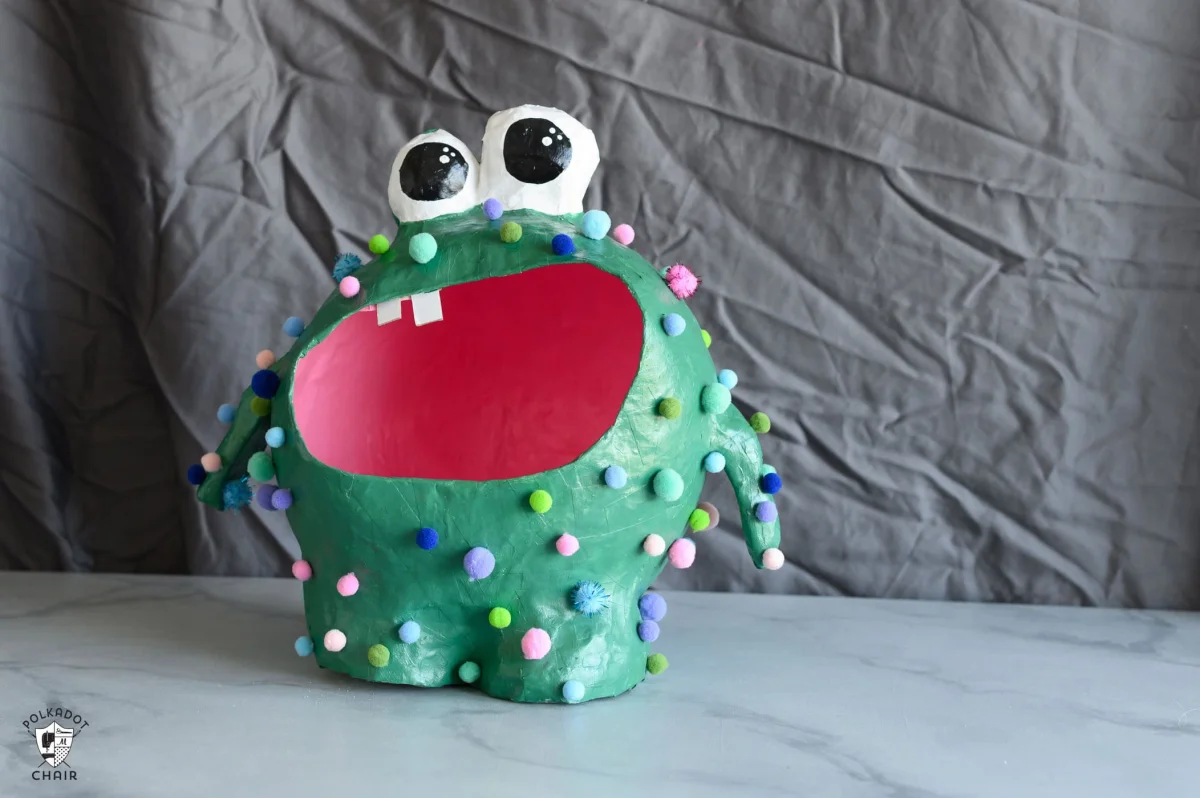
TIP: Use acrylic medium to cover your monster before painting. This will help smooth over any papier-mâché texture you don’t want to show and can also add extra texture to your monster.
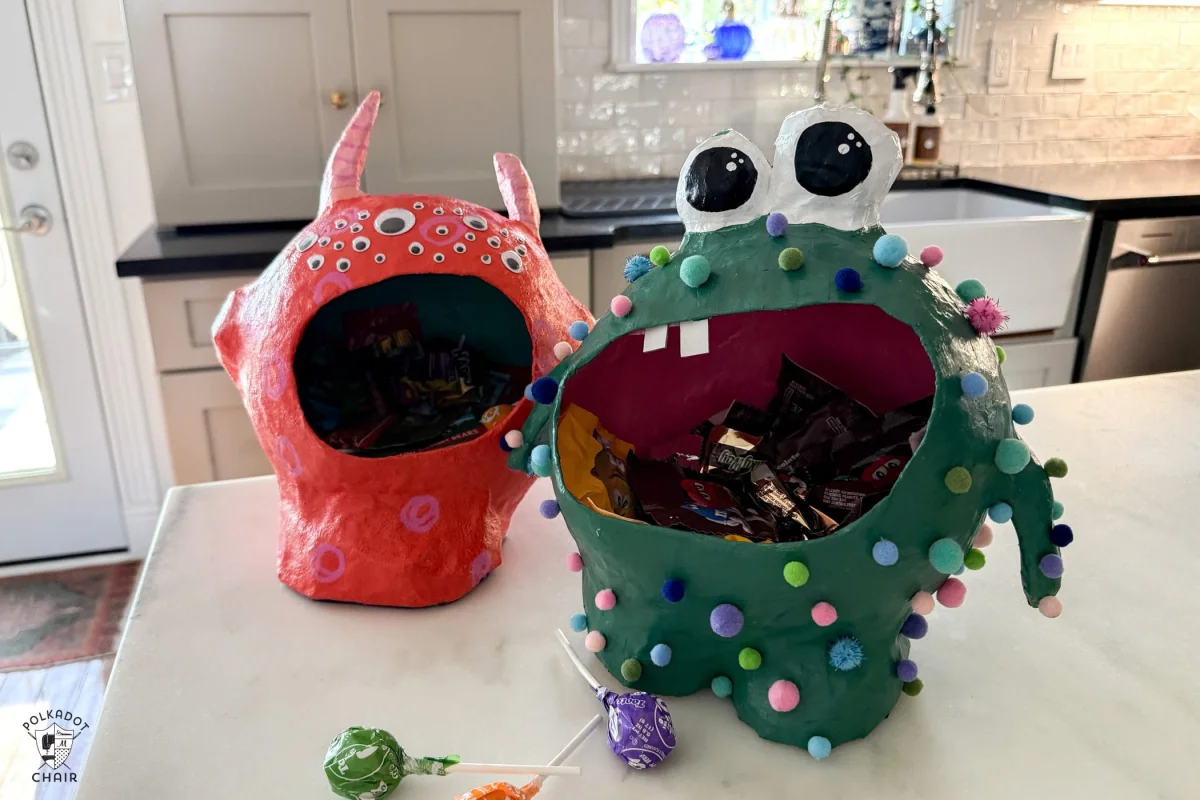
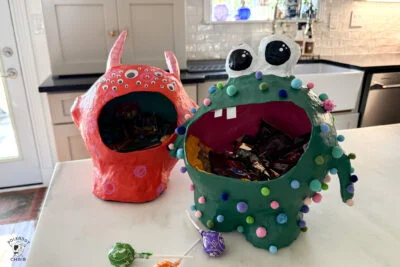
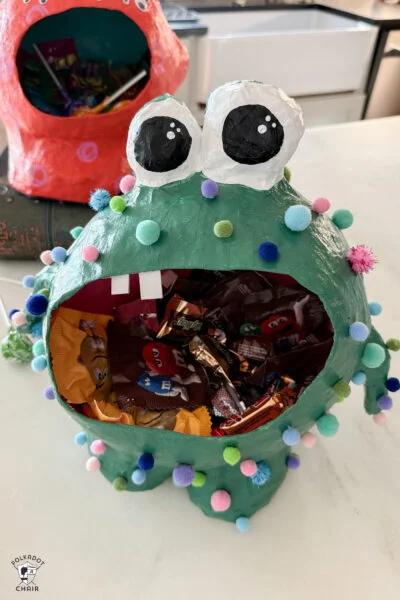
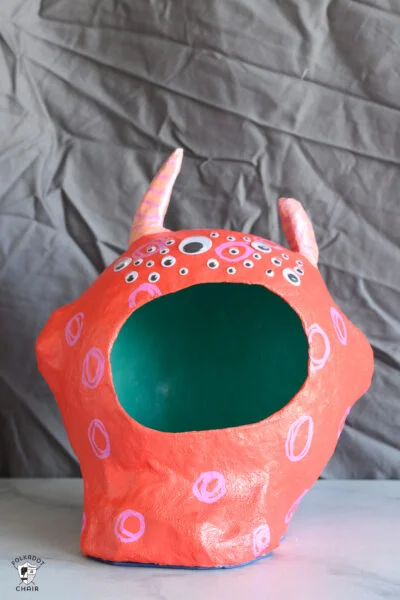
I used this on the orange monster but not the green one; if you look closely, you can see the difference that the medium made. The orange monster is much smoother.
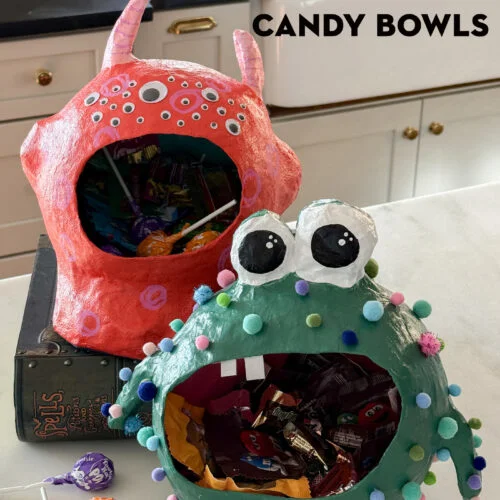
How to Make Monster Candy Bowls

Equipment
- Hot Glue Gun and Glue
supplies
- Balloon
- Newsprint
- White glue
- Water
- Cardboard
- Masking tape
- Acrylic medium optional
- Acrylic Paint
- Paint pens optional
- Decoration supplies pompoms, pipe cleaners, googly eyes, etc.
Instructions
Step 1:
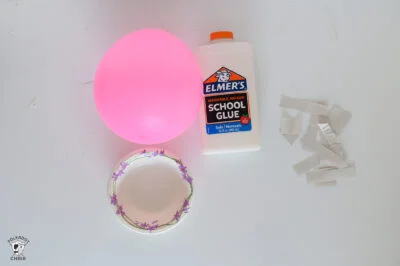
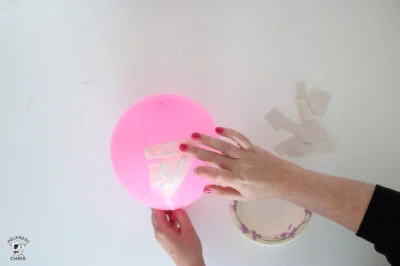
- Take your paper strips and dip them in the glue mixture. Start covering the balloon. This is just your base layer, so don’t worry too much about making it perfect, but you will want at least two layers so it is strong enough when the balloon is removed.

- To cover the balloon properly, overlap the strips so there are no empty or weak spots. Once covered, set aside to dry. I found that using a safety pin through the balloon tie and hanging it upside down is a good way to dry it quickly and evenly.
Step 2:
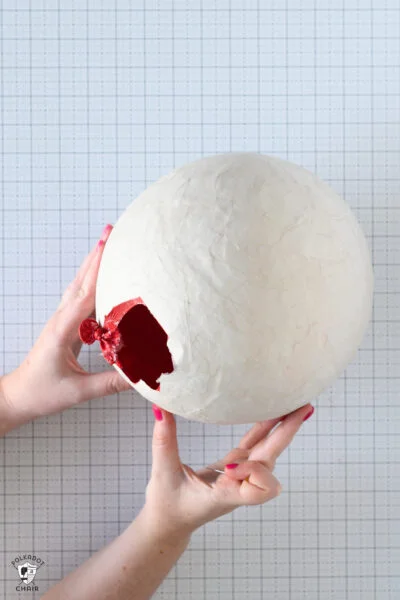
- Once the first layer of papier-mâché is dry, you can start adding the facial features. First, pop and remove the balloon; it might take a little force to peel it fully out of the papier-mâché. For this, you’ll need newsprint, a piece of cardboard, and masking tape.

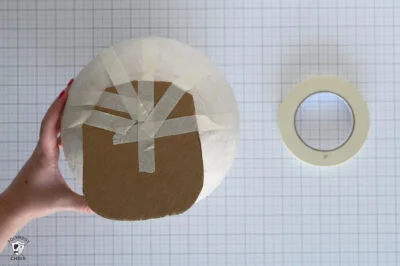
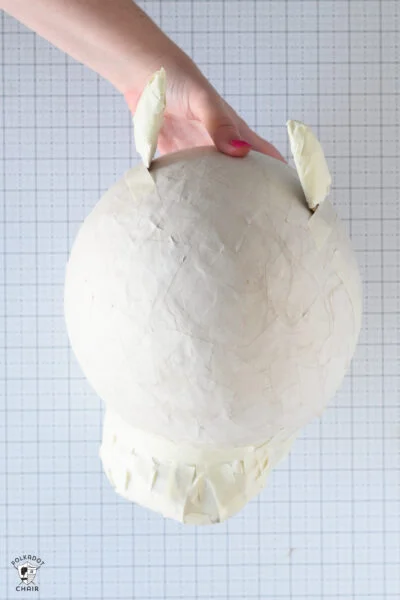
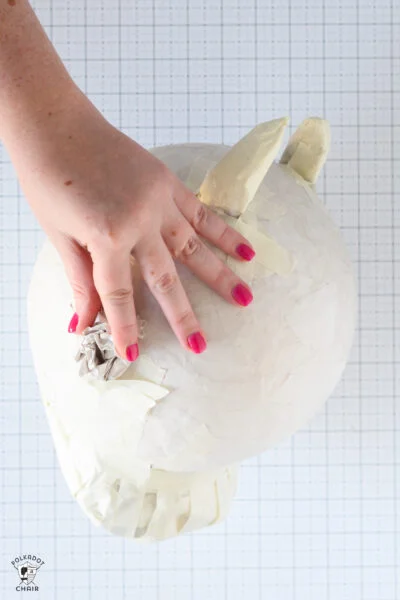
- I like to start by adding the base/feet. Take a square of cardboard, place the bottom of the papier-mâché on it (hole side down), and trace the foot shape you want. Then cut out the shape and use the masking tape to attach it to the papier-mâché body. Then fill the empty space between the cardboard base and the body with wadded-up pieces of newsprint, and cover it with masking tape to hold it in place.
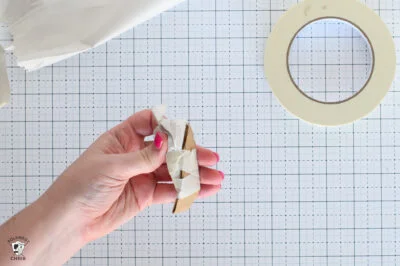
- To make arms or horns, cut the cardboard into the shape you want, leaving a little on the end so you can bend it to attach to the body. Take the piece of cardboard and, starting from the bent portion, cover it with wadded-up pieces of newsprint and wrap in masking tape.
- For the arms and horns on the monsters I made, I only covered one side of the cardboard, but you can cover both sides if you like. Once they are the right shape, take the bent end and use the masking tape to attach it to the body where you want.
- For large eyes or the nubby arms (like on the orange monster), just wad the newsprint into a ball and cover it with masking tape until it’s the shape you want. For a sphere, I taped it before adding to the body, but for half a sphere, I shaped it on the body of the papier-mâché base.
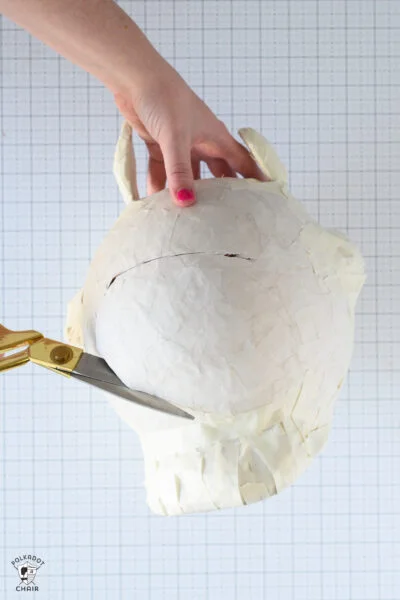
- Once the pieces are added, cut a large hole in the center of the body for the mouth. If you want to add teeth, wait until the end of the next step. Then tape the piece you cut out for the mouth to the inside where the balloon hole was to create a seamless inner bowl.
Step 3:
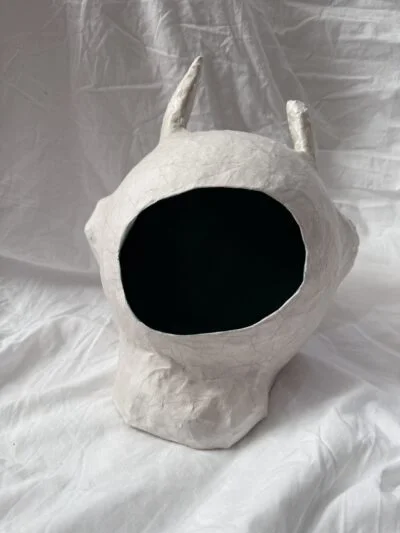
- Once you have the base structure of your monster complete, you add another layer of papier-mâché. I recommend starting from the base so the weight of the wet papier-mâché doesn’t cause the mouth to collapse. Make sure to papier-mâché the inside of the monster where the piece you cut out from the mouth was added, and around the edge of the mouth.

- This might take two sessions if the monster starts to distort in shape because of the heavy new layers of wet papier-mâché. If the mouth starts to droop closed, you can prop it open from the inside to keep it from losing its shape. Again, overlap the strips to fully cover the monster; the more layers, the sturdier your monster will be.
- When you finish this layer of papier-mâché, if you want to add teeth, now is the time to do it. Take your cardboard and paint it white (or if you have white cardboard like on the green monster, skip this step).
- Take a strip of papier-mâché paper and secure it in place on the inside edge of the monster's lips. You might want a couple of strips to keep it properly in place.
Step 4:
- Optional: Use acrylic medium to cover your monster before painting. This will help smooth over any papier-mâché texture you don't want to show and can also add extra texture to your monster. I used this on the orange monster but not the green one, and I just dapped the flat side of my paintbrush over the layer of medium I painted on. Let that dry, and then you can paint.
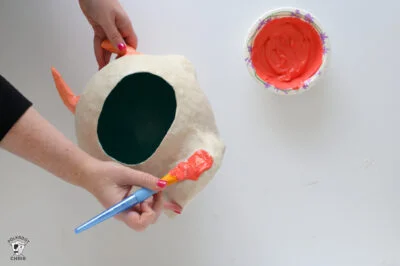
- Before decorating, it is time to paint your monster. I like to start inside the mouth and let that dry a bit before painting the outside, so I have something to hold on to while I paint. Once you have an opaque layer of paint over your monster, you can decorate.
Step 5:
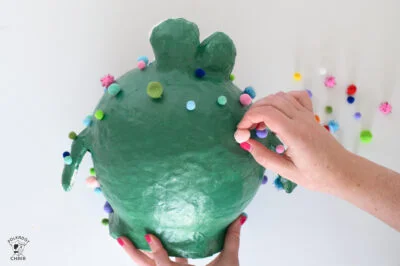
- There are so many ways you can decorate your monster. I left mine fairly simple with pom poms on one and googly eyes and polka dots on the other. You will need glue to attach your decorations. I used tacky glue on the pom poms, because it was what I had on hand, but hot glue would have worked better. For the large circle polka dots on the orange monster, I just used a paint pen to draw them on.
- Once you have decorated your monster to your liking, simply fill it with candy and put it out for people to enjoy.